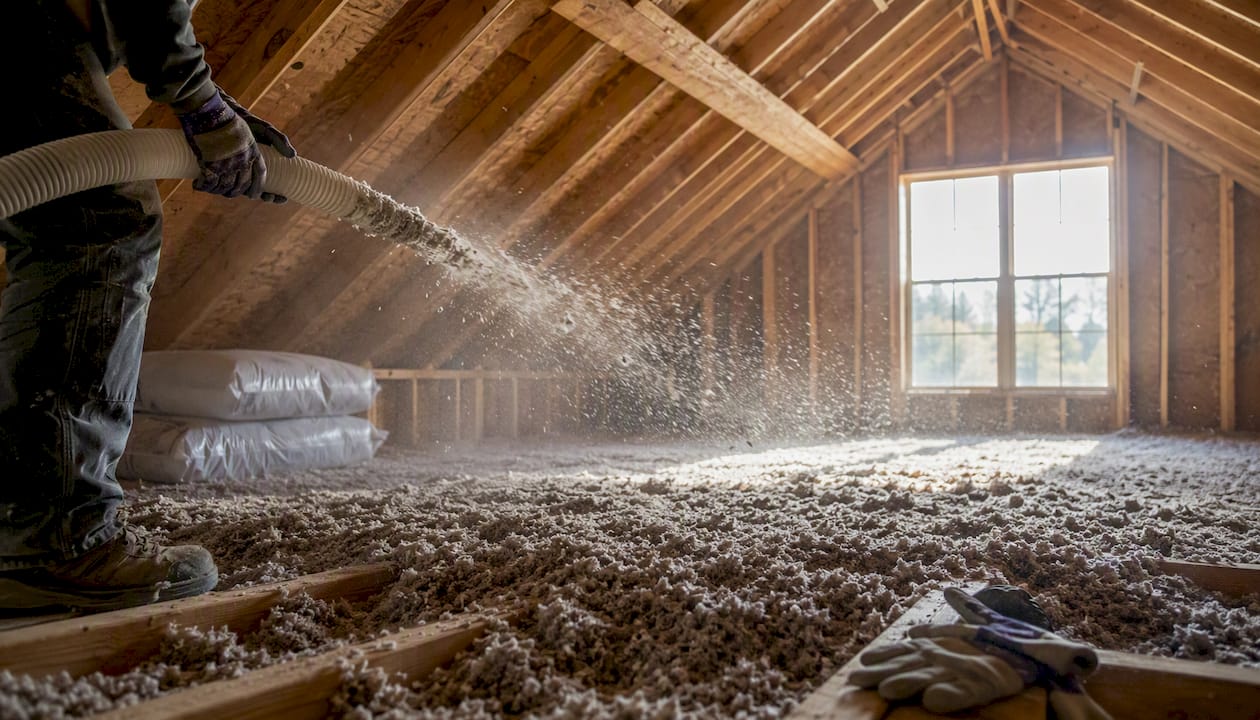
For most homes, the best insulation materials to consider are fiberglass or mineral wool batts, blown-in cellulose or fiberglass, closed-cell and open-cell spray foam, rigid foam boards (EPS, XPS, polyiso), reflective/radiant barriers, and natural fiber options. The four factors that actually determine which one fits your project: R-value per inch, moisture behavior, DIY difficulty, and installed cost. According to the U.S. Department of Energy, adding insulation to attics, floors, crawl spaces, and accessible rim joists along with reducing air leaks can save a notable portion on heating and cooling costs. Here is a quick one-line snapshot of each material to help you shortlist fast:
- Fiberglass batts: Pro: cheap, widely available, easy DIY. Con: loses R-value when compressed; not an air barrier.
- Mineral wool batts: Pro: better fire resistance and moisture tolerance than fiberglass. Con: costs more per square foot.
- Blown-in cellulose: Pro: fills gaps well, good R-per-inch, high recycled content. Con: settles over time; moisture-sensitive.
- Blown-in fiberglass: Pro: lightweight, doesn’t settle as much as cellulose. Con: slightly lower R-per-inch than cellulose at the same depth.
- Closed-cell spray foam: Pro: highest R-per-inch, excellent air and moisture seal. Con: expensive, requires professional install, must be covered per code.
- Open-cell spray foam: Pro: great air sealing, expands into gaps, lower cost than closed-cell. Con: vapor-permeable, not for below-grade use.
- Rigid foam boards (EPS/XPS/polyiso): Pro: continuous insulation, blocks thermal bridging. Con: requires careful seam sealing; most types need a thermal barrier when exposed indoors.
- Reflective/radiant barriers: Pro: reduces summer heat gain in hot climates. Con: minimal benefit in cold climates; not a substitute for bulk insulation.
- Natural fibers (cotton, sheep’s wool, hemp): Pro: low embodied energy, good acoustics. Con: higher cost, limited availability, moisture management varies.
One thing the DOE’s insulation guidance makes clear: installation quality and air sealing often matter more than which material you pick. A perfectly chosen product installed with gaps, compression, or bypasses will underperform a cheaper material installed correctly.
Key Takeaways
Matching insulation material to the specific application, climate, and moisture conditions in your home matters more than chasing the highest R-per-inch number on the label.
| Point | Details |
|---|---|
| Match material to application | Use blown-in cellulose or fiberglass for open attics; closed-cell spray foam or rigid foam for rim joists and below-grade walls. |
| Air sealing drives real-world performance | Sealing attic bypasses and the rim joist before adding insulation is often more impactful than upgrading to a higher R-value material. |
| Compression kills batt performance | A compressed fiberglass batt loses a significant portion of its rated R-value; always install at full thickness without forcing. |
| Foam requires a thermal barrier | Exposed spray foam and rigid foam boards on interior surfaces must be covered per IRC code, typically with ½-inch gypsum wallboard. |
| The Attic Genius handles the full scope | Inspection, air sealing, insulation installation or removal, moisture remediation, and written warranties for Chicagoland homeowners. |
Table of Contents
- How do common insulation materials compare at a glance?
- 1. Fiberglass and mineral wool batts: pros, cons, and DIY tips
- 2. Blown-in insulation (cellulose and fiberglass): where it beats batts
- 3. Spray foam insulation (open-cell vs. closed-cell): when it’s worth the price
- 4. Rigid foam boards (EPS, XPS, polyiso): continuous insulation done right
- 5. Reflective insulation and radiant barriers: the right climate matters
- 6. Natural and specialty insulation (cotton, wool, hemp, SIPs, cementitious): when to consider them
- 7. Mineral wool: the underrated upgrade for walls and fire-rated assemblies
- Health, safety, and code considerations you need to know
- Why air sealing and moisture control matter more than R-value alone
- How to choose the right insulation for your location and budget
- Quick pre-install checklist: what to inspect before you buy or install
- What installers see on the job: common mistakes and how to avoid them
- The Attic Genius: professional insulation help for Chicagoland homeowners
- What installers actually think about the insulation materials pros cons list debate
- Sources
How do common insulation materials compare at a glance?
Insulationrvalues, closed-cell spray foam delivers R-6.0–R-7.0 per inch, open-cell spray foam R-3.5–R-3.8 per inch, blown-in cellulose R-3.2–R-3.8 per inch, and fiberglass batts roughly R-2.2–R-3.8 per inch depending on density. Those per-inch numbers only tell part of the story. Installed R-value depends on cavity depth, whether the material is compressed, and whether air bypasses are sealed. The DOE’s technical insulation guide specifically cautions against compressing batts, which reduces their effective R-value significantly.
Energy savings note: Proper insulation combined with air sealing can cut heating and cooling costs significantly, per DOE. That number assumes correct installation, not just the right material on the shelf.
1. Fiberglass and mineral wool batts: pros, cons, and DIY tips
Batts are the right call for standard stud cavities and open attics where cost and ease of installation matter most. They are the most familiar insulation type for a reason: you can buy them at any home center, cut them with a utility knife, and install an attic floor in a weekend.
Pros:
- Lowest material cost of any common insulation type
- No special equipment needed for open-cavity installs
- Fiberglass batts can contain recycled glass content
- Mineral wool is naturally fire-resistant and hydrophobic, draining and drying rather than holding water
- Both types are available in pre-cut widths for standard 16-inch and 24-inch stud spacing
Cons:
- Fiberglass loses R-value when compressed — stuff a 6-inch batt into a 3.5-inch cavity and you lose a significant portion of its rated performance, as the DOE insulation guide explicitly warns
- Neither type is an air barrier; batts must be paired with air sealing to perform as expected
- Fitting batts around wiring, pipes, and penetrations takes care — gaps and voids are common DIY mistakes
- Fiberglass requires gloves, eye protection, and a dust mask during handling; the fibers irritate skin and lungs
- Mineral wool costs noticeably more per square foot than fiberglass
Pro Tip: Cut batts about a half-inch wider than the cavity so they friction-fit snugly without being forced in. Never fold or double a batt to fill a deeper space — buy the correct thickness instead. For attic floors, lay a second layer perpendicular to the first to cover joist tops and reduce thermal bridging.
2. Blown-in insulation (cellulose and fiberglass): where it beats batts
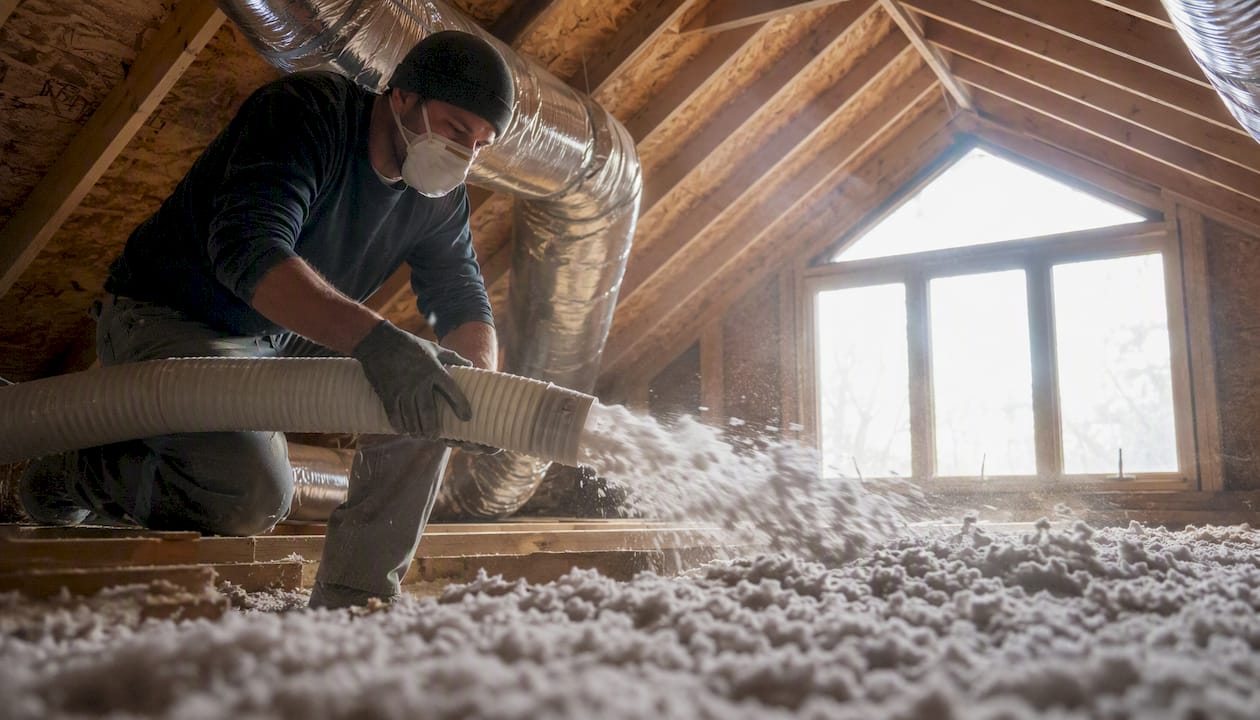
Blown-in loose-fill is the best choice for attic top-ups, retrofits over existing insulation, and any space with irregular framing or obstructions. You can rent a blower at most home centers when you purchase a minimum quantity of bags, making it a realistic DIY option for open attics.
Cellulose is made from roughly 75–85% recycled paper treated with borate for fire and pest resistance. It tends to deliver slightly better R-per-inch than blown fiberglass at the same installed depth, and it fills around obstructions more completely. Blown fiberglass settles less over time and is less sensitive to moisture, but its R-per-inch is lower.
The seven advantages of blown-in insulation for homeowners include its ability to cover existing insulation without removal, fill irregular joist bays, and achieve recommended attic R-values cost-effectively. Attic insulation top-ups with blown-in cellulose or fiberglass are typically the highest ROI insulation investment for most U.S. homes.
Watch out for these trade-offs:
- Cellulose can clump and lose R-value if it gets wet; always fix roof leaks and attic moisture issues before blowing in new material
- Settling is real, especially with cellulose — install to a depth that accounts for expected compaction, and verify the bag count against the coverage chart on the bag
- Dense-pack installation in closed wall cavities requires professional equipment and technique; DIY blowing works well for open attics but not for retrofitting closed walls
- The blower rental process is technique-sensitive: move the hose steadily and maintain consistent depth markers (stake flags work well) to avoid thin spots
3. Spray foam insulation (open-cell vs. closed-cell): when it’s worth the price
Closed-cell spray foam belongs on rim joists, below-grade assemblies, and moisture-prone areas. Open-cell foam fits interior assemblies where you want excellent air sealing and sound control but moisture resistance is less critical.
The performance gap between the two is significant. Closed-cell delivers R-6.0–R-7.0 per inch, acts as a Class II vapor retarder, and adds structural rigidity to assemblies. Open-cell runs R-3.5–R-3.8 per inch, is vapor-permeable, and expands aggressively to fill every gap in a framed cavity. Both types provide excellent air sealing, which is where they earn their premium over batts or loose-fill.
Pros:
- Closed-cell offers the highest R-per-inch of any common insulation material
- Both types seal air bypasses as they cure, eliminating the separate air-barrier step
- Closed-cell is the go-to for rim joist air sealing and foundation walls because it insulates and seals in one step
- Open-cell’s expansion makes it forgiving in irregular cavities
Cons:
- Cost is the biggest barrier: spray foam typically runs two to three times the installed cost of batts or blown-in for the same area
- Large-area applications require professional equipment and training; DIY two-component kits work for small rim-joist patches but not whole-attic installs
- Both types must be covered by a thermal barrier (typically ½-inch gypsum wallboard or an approved equivalent) when left exposed to interior living spaces, per the International Residential Code
- Off-gassing during and immediately after installation is real: isocyanate vapors are a respiratory hazard. Occupants and pets should vacate during installation and for the period specified in the manufacturer’s cure guidance, typically 24–72 hours
Safety callout: Ask your installer for the product data sheet and the manufacturer’s re-occupancy guidance before the job starts. Verify that the installer is trained and certified on the specific product system being used. Improperly mixed two-component foam can off-gas for much longer than properly cured material.
4. Rigid foam boards (EPS, XPS, polyiso): continuous insulation done right
Rigid foam boards are the best option when you need continuous insulation across a wall or foundation surface, high R-per-inch in limited depth, or reliable moisture resistance against a foundation wall. They are the primary tool for eliminating thermal bridging through studs, which batts alone cannot address.
PNNL/Building America guidance explains the key differences between the three board types: EPS (expanded polystyrene) is vapor-permeable, stable across temperatures, and uses no HFC blowing agents. XPS (extruded polystyrene) offers better moisture resistance and stable cold-temperature R-value, but historically used higher global-warming-potential blowing agents. Polyiso has the highest labeled R-per-inch at moderate temperatures but derates noticeably in cold climates, which matters for Chicagoland winters.
For basement and crawlspace walls, rigid foam boards installed on the interior face of the foundation wall are a common and effective approach. Pair them with vapor retarder and encapsulation strategies to keep moisture from migrating through the assembly.
Code note: Any foam plastic insulation left exposed on the interior of a living space requires a thermal barrier. The most common solution is ½-inch gypsum wallboard. In crawlspaces, check local code for ignition barrier requirements and for termite inspection strip requirements in termite-prone regions.
Seams between boards must be taped or foamed to prevent air and moisture bypass. A rigid board installed with open seams provides far less benefit than the R-value label suggests.
5. Reflective insulation and radiant barriers: the right climate matters
Radiant barriers and reflective insulation reduce summer attic heat gain in hot, sunny climates. They are not a substitute for bulk insulation in cold climates, and using them incorrectly can trap moisture.
Pros:
- Effective at reducing radiant heat transfer from a hot roof deck into the attic space in hot climates
- Low material cost and thin profile
- Can be stapled to attic rafters or laid over existing insulation (foil side down, air gap required)
Cons:
- Provide little to no benefit in cold climates where the dominant heat transfer mode is conduction, not radiation
- Must be installed with an air gap on at least one side to function; foil in direct contact with insulation does nothing
- Improper installation (wrong orientation, no air gap, vapor-impermeable placement) can trap moisture and cause sheathing damage
- Not rated by R-value, which makes direct comparison with bulk insulation materials misleading
Installation note: In a vented attic, a radiant barrier is typically stapled to the underside of the roof rafters with the foil facing down toward the attic floor. This keeps the foil clean (dust on the foil surface reduces effectiveness) and maintains the required air gap. For homes in the Chicago area, where heating loads dominate, a radiant barrier alone delivers minimal payback compared to adding bulk insulation to the recommended R-value.
6. Natural and specialty insulation (cotton, wool, hemp, SIPs, cementitious): when to consider them
Natural fiber insulation and specialty systems make the most sense when sustainability is a priority, acoustic performance matters, or you are building new construction and want a specific system performance. Budget and availability are the main barriers.
Pros:
- Cotton (denim) batts contain high recycled content and handle similarly to fiberglass batts without the skin irritation
- Sheep’s wool manages moisture well, absorbing and releasing vapor without losing significant R-value
- Hemp batts offer low embodied energy and reasonable R-per-inch
- Cementitious foam (Airkrete-type products) is fire-resistant, mold-resistant, and non-toxic
- Structural Insulated Panels (SIPs) provide consistent, factory-controlled insulation for new construction with minimal thermal bridging
Cons:
- Material costs run significantly higher than fiberglass or cellulose across all natural fiber types
- Availability is limited in many U.S. markets; you may need to special-order
- Organic fibers (wool, cotton, hemp) require proper vapor management to prevent mold if they stay wet
- SIP quality varies by manufacturer; homeowners should request third-party quality certifications and review warranty terms carefully before committing to a SIP-built structure
- Cementitious spray products require professional installation and are not widely available in all regions
For most homeowners doing a retrofit, natural fibers are a premium choice rather than a practical default. They earn their place in new construction projects where the full cost and performance picture is planned from the start.
7. Mineral wool: the underrated upgrade for walls and fire-rated assemblies
Mineral wool (sold as Rockwool/Roxul or similar brands) deserves its own spotlight because it outperforms standard fiberglass in several ways that matter for specific applications, yet many homeowners overlook it.
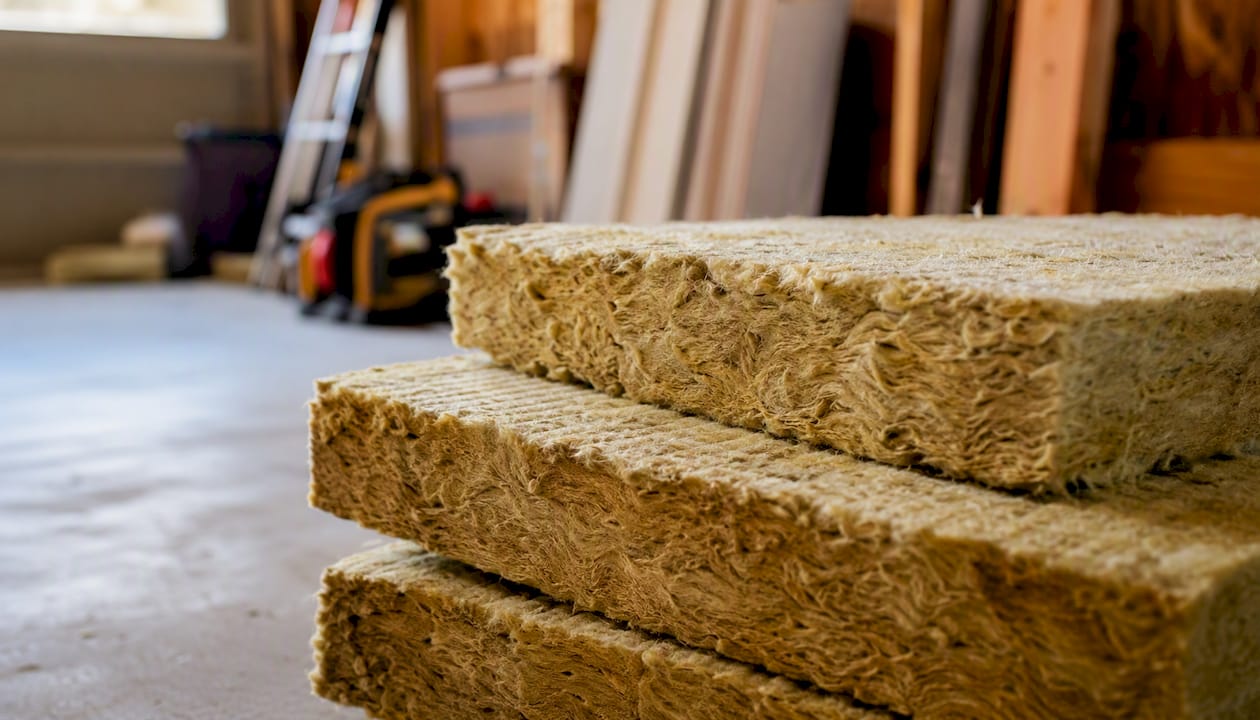
It is hydrophobic, meaning water beads off rather than soaking in. That matters in wall assemblies where bulk water intrusion is a risk. Its fire resistance is exceptional: mineral wool does not melt or contribute to flame spread the way fiberglass can at high temperatures, making it the preferred choice for fire-separation assemblies between attached garages and living spaces, and for assemblies around mechanical equipment.
The acoustic performance is also noticeably better than fiberglass at the same thickness. If you are insulating an interior wall for sound control between rooms, mineral wool batts are worth the extra cost per square foot.
The trade-off is price. Mineral wool batts typically cost 30–50% more than comparable fiberglass batts. For a whole-attic install where cost per square foot adds up quickly, that premium is hard to justify unless fire resistance or sound control is a specific requirement.
Health, safety, and code considerations you need to know
PPE and ventilation are non-negotiable for several insulation types, and foam insulation carries code requirements that can catch homeowners off guard.
PPE and handling:
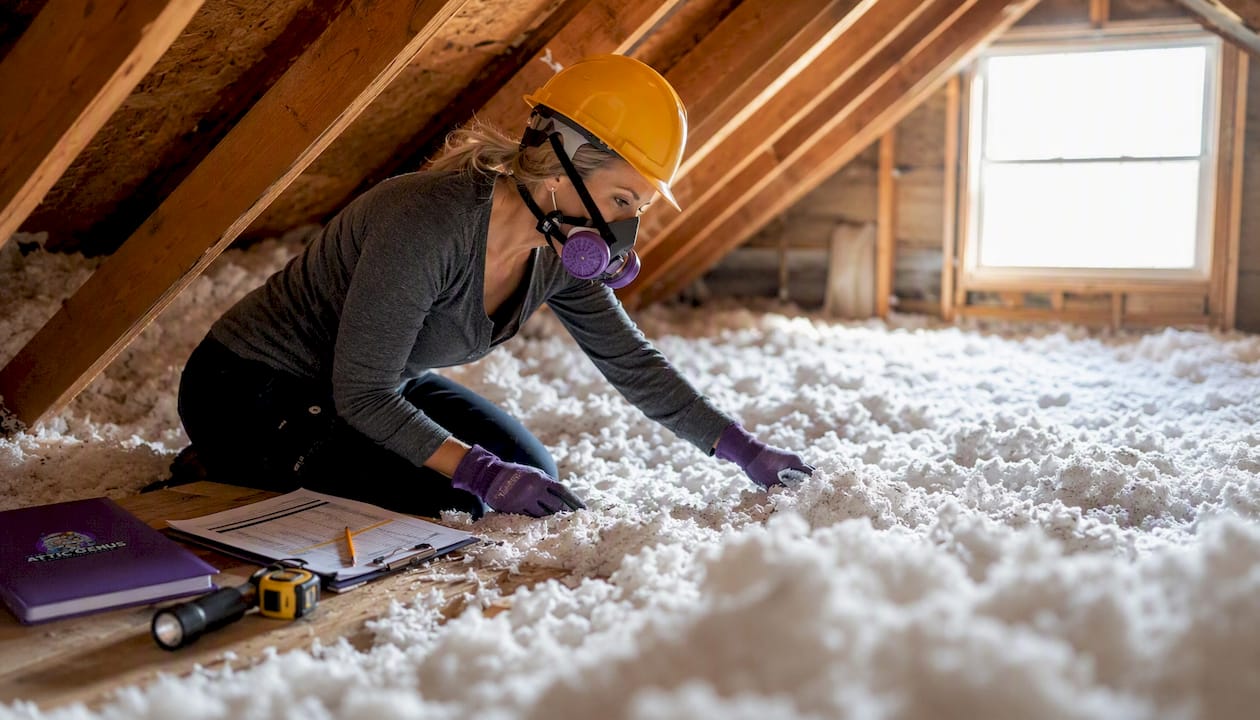
- Fiberglass and mineral wool: wear long sleeves, gloves, safety glasses, and an N95 respirator. The fibers are not acutely toxic but cause skin, eye, and respiratory irritation.
- Blown-in cellulose: dust mask and eye protection at minimum; the borate treatment is low-toxicity but dusty during installation.
- Spray foam (two-component): isocyanates in the A-component are a serious respiratory sensitizer. Full-face respirator with organic vapor cartridges, chemical-resistant gloves, and protective clothing are required. Occupants must vacate during installation and until the manufacturer’s re-occupancy period has passed.
- Wet or moldy insulation removal: treat as a hazmat task. Attic health hazards from mold-contaminated insulation are real; wear an N95 or P100 respirator, gloves, and eye protection, and bag material before carrying it through living spaces.
Code requirements:
- Exposed foam plastic insulation on interior surfaces requires a thermal barrier per the International Residential Code. The standard solution is ½-inch gypsum wallboard. Some products carry a listed ignition barrier approval for crawlspace use.
- Combustion appliance zones: if you are air-sealing a basement or mechanical room that contains a gas furnace, water heater, or boiler, consult a professional before sealing. Tight air sealing can deprive combustion appliances of makeup air and create dangerous backdrafting conditions.
- Check local amendments to the IRC; some jurisdictions have specific requirements for vapor retarder class, foam thickness, or crawlspace encapsulation.
Verification:
- Request product data sheets from your installer or supplier before work begins.
- Ask for manufacturer cure/ventilation guidance in writing for any spray foam job.
- Verify installer training and certification on the specific product system, especially for spray foam.
Why air sealing and moisture control matter more than R-value alone
The material on the shelf is only part of the equation. Air sealing and moisture management are the limiting factors that determine whether your insulation actually performs as expected.
Air bypasses are gaps in the building envelope where conditioned air moves through the structure rather than through the insulation. Common locations include top plates, attic hatch frames, recessed light fixtures, plumbing and electrical penetrations, and the rim joist. Insulation placed over these gaps does not stop air movement; it only slows conduction. Understanding how attic air barriers work is the first step toward getting full value from any insulation upgrade.
BASC/PNNL guidance on air-sealed, insulated basements recommends sealing the rim joist and addressing basement moisture before adding insulation to foundation walls. Skipping that step and insulating over a damp foundation is one of the most common ways homeowners create mold problems.
ENERGY STAR’s basement and crawlspace guidance rates these projects as moderate to difficult DIY tasks and recommends vapor retarder installation and encapsulation as part of any crawlspace insulation project.
Practical priorities for homeowners:
- Seal attic bypasses (top plates, flues, recessed lights) before adding blown-in insulation on top
- Air-seal the rim joist with closed-cell spray foam or rigid foam plus caulk before insulating basement walls
- Install a ground cover vapor barrier in crawlspaces before adding any insulation to walls or floor framing
- Use a blower-door test to verify airtightness after major air-sealing work; ask your contractor whether they include this in their scope
How to choose the right insulation for your location and budget
Match the material to the application first, then factor in budget and DIY comfort level.
By location:
- Open attic floor: Blown-in cellulose or fiberglass is the standard answer. It covers existing insulation, fills irregular joist bays, and delivers the best cost-per-R for most attics. Attic insulation top-ups are typically the highest ROI insulation project for most U.S. homes.
- Framed wall cavities: Batts (fiberglass or mineral wool) for new construction or open walls during renovation. Dense-pack cellulose for retrofitting closed walls without opening them.
- Rim joist: Closed-cell spray foam in 2–3 inch thickness, or rigid foam cut-and-cobble with caulked edges. Both provide insulation and air sealing in one step.
- Basement walls: Rigid foam boards (EPS or XPS) on the interior face, or closed-cell spray foam. See PNNL guidance on rigid foam for foundation walls for attachment and sealing details.
- Crawlspace walls/floor: Encapsulation with vapor barrier plus rigid foam or closed-cell spray foam on walls. Basement and crawlspace insulation is a moderate-to-difficult DIY task per ENERGY STAR.
R-value targets by location (DOE climate zone guidance):
Questions to ask before choosing:
- What is the cavity depth, and does it allow the target R-value with the material I’m considering?
- Is the space moisture-prone? If yes, avoid vapor-permeable materials without a moisture management plan.
- Is there existing insulation? If so, is it dry and in good condition, or does it need removal first?
- Do I need an air barrier as well as insulation? If yes, spray foam or rigid foam with sealed seams handles both.
- Are there combustion appliances in the space I plan to air-seal?
Decision red flags: prior mold or wet insulation, compressed batts in existing walls, unvented combustion appliances in a space you plan to tightly seal, and missing attic ventilation baffles at the eaves. Fix these before adding insulation.
Check the IRS Energy Efficient Home Improvement Credit for current eligibility rules on insulation upgrades. Federal tax credits can meaningfully improve the payback on qualifying projects.
Quick pre-install checklist: what to inspect before you buy or install
Fix moisture, pest, ventilation, and combustion safety issues before any insulation goes in. Insulating over existing problems seals them in.
- Check for active roof leaks or attic moisture. Look for stained sheathing, wet insulation, or frost on the underside of the roof deck in winter. Fix the source before proceeding.
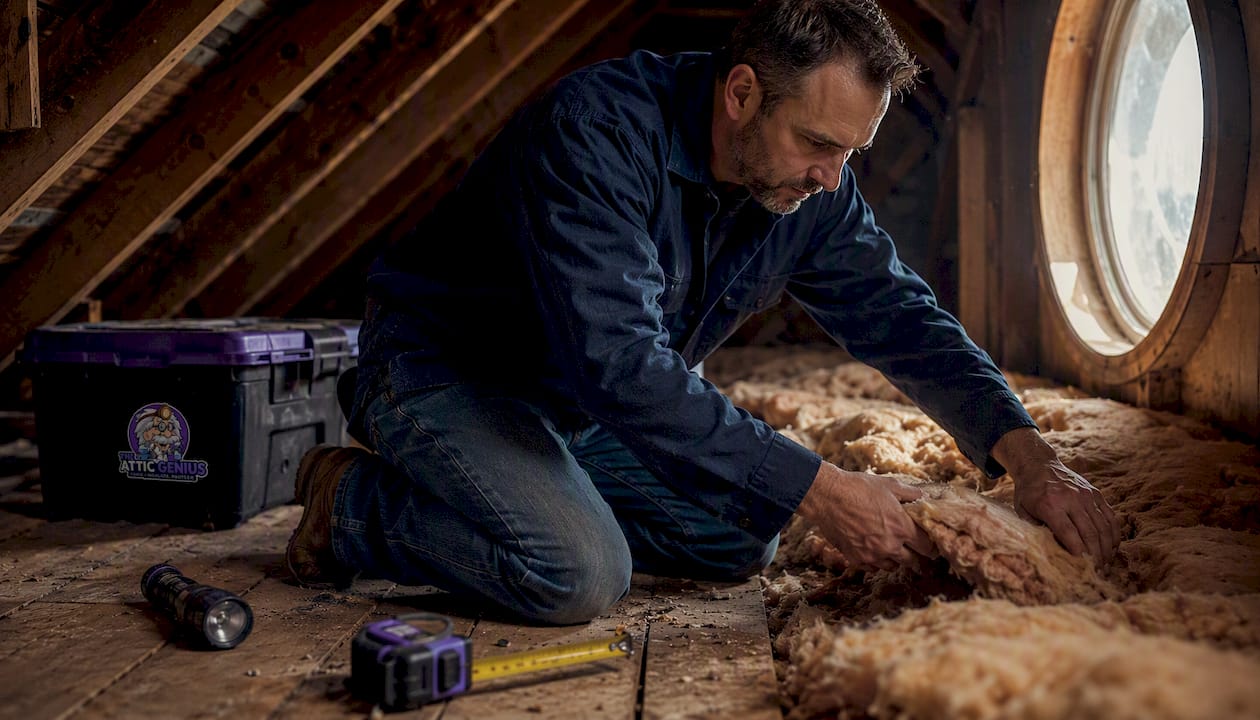
- Inspect existing insulation. Is it wet, moldy, compressed, or contaminated with pest waste? Wet or moldy insulation must be removed. See attic insulation after pest infestation for guidance on contaminated material.
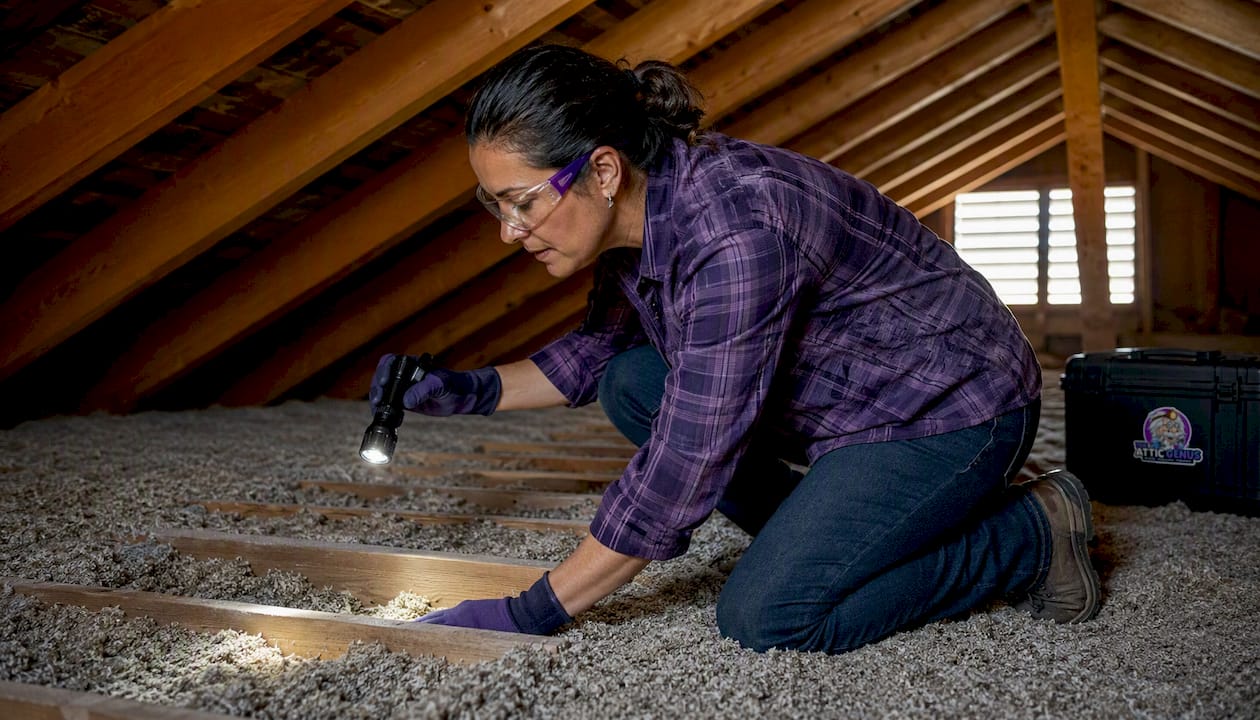
- Identify attic bypasses. Check top plates, recessed light fixtures, plumbing and electrical penetrations, attic hatch frames, and chimney/flue chases. These need air sealing before insulation is added on top.
- Inspect the rim joist. Look for gaps, missing insulation, and signs of moisture or pest entry. The rim joist is one of the highest-impact air-sealing locations in most homes.
- Check crawlspace groundcover. Is there a vapor barrier on the ground? Is it intact? Bare soil in a crawlspace drives moisture into the framing above.
- Verify attic ventilation. Confirm that soffit vents are not blocked by existing insulation and that ridge or gable vents are functional. Blocked ventilation causes moisture buildup.
- Identify combustion appliances. If a furnace, water heater, or boiler is in the space you plan to air-seal, consult a professional before proceeding. Tight air sealing can cause dangerous backdrafting.
- Request documentation from contractors. Ask for a blower-door or air-sealing report, installer certifications (especially for spray foam), product data sheets, and a written scope that includes thermal barrier and ventilation plans. Consumer Reports advises homeowners to compare contractor scopes carefully and vet installers thoroughly, especially for spray foam.
Preparing your attic for an insulation upgrade covers the full prep sequence in detail.
What installers see on the job: common mistakes and how to avoid them
The most common DIY insulation mistakes are compressing batts, skipping air sealing entirely, and mishandling spray foam cure and ventilation. These are not edge cases; they show up on a significant share of retrofit jobs.
Compressed batts are the most frequent problem in walls. A 3.5-inch fiberglass batt stuffed into a 3.5-inch cavity with wiring running through it ends up compressed around the wire, creating a thin spot with a fraction of the rated R-value. Cold spots on interior walls in winter are often traceable to exactly this.
Cellulose installed over wet or damp sheathing is a moisture trap. The material holds the moisture against the wood, and mold follows within weeks. The correct sequence is always: find and fix the moisture source, let the assembly dry, then insulate. Skipping that step is one of the most expensive mistakes a homeowner can make.
Rim-joist air sealing is the item most often left off DIY project lists. Homeowners add blown-in insulation to the attic floor and wonder why the basement still feels cold and drafty. The rim joist runs the entire perimeter of the house at the foundation sill, and it is often completely uninsulated and full of air gaps. Two inches of closed-cell spray foam on the rim joist can make a more noticeable comfort difference than adding several more inches of attic insulation.
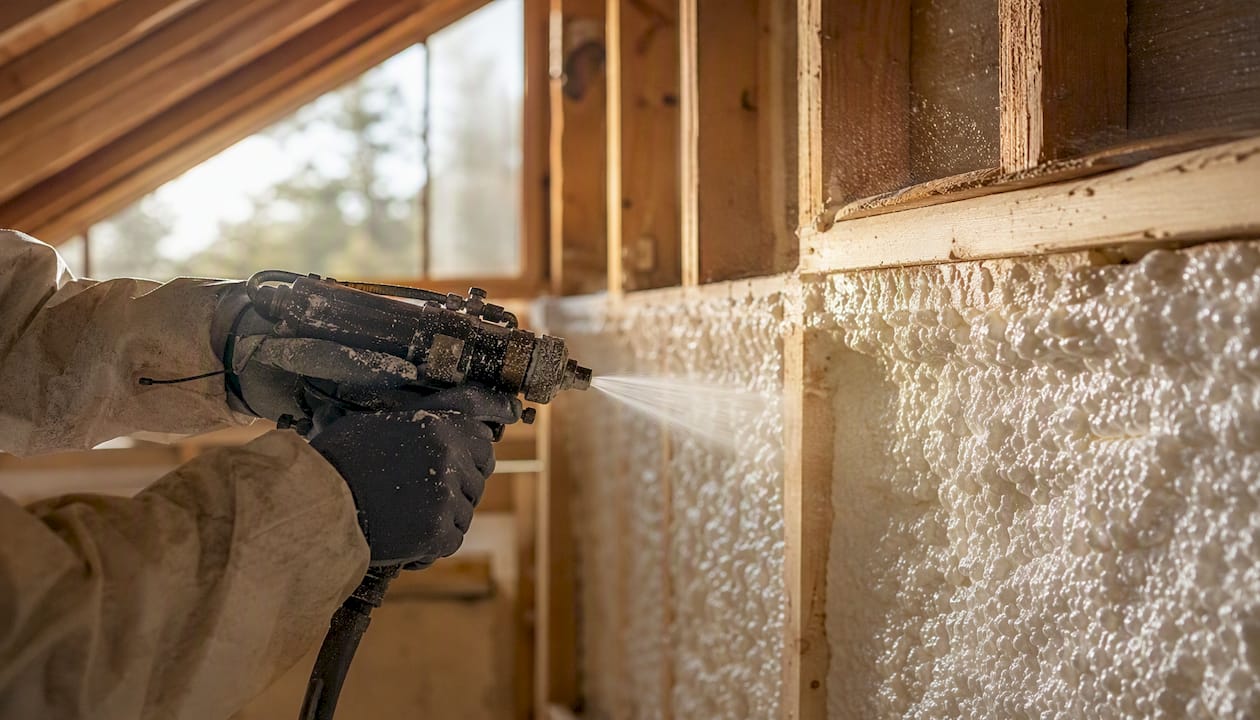
What professional installers check first: existing moisture, attic bypass locations, ventilation path integrity, and combustion appliance safety. Budget for air sealing and any necessary moisture or pest remediation in addition to the insulation itself. Skipping those line items to save money upfront usually costs more to fix later. Review common DIY insulation mistakes before starting any project.
The Attic Genius: professional insulation help for Chicagoland homeowners
Getting the material selection right is only half the job. The other half is installation quality, air sealing, and making sure moisture and ventilation issues are handled before new insulation goes in. That is where professional help pays for itself.

The Attic Genius serves homeowners and businesses throughout the Northwest Suburbs and across Chicagoland, including parts of Wisconsin. Services include attic insulation upgrades (blown-in and batt), professional air sealing, basement and crawlspace insulation, garage insulation, mold and moisture remediation, pest waste cleanup, and attic ventilation. The team brings 25+ years of combined experience and 400+ five-star reviews. Every job comes with upfront pricing, written warranties, and same-day inspections available.
If you are not sure whether your attic needs a top-up, a full upgrade, or removal and replacement, start with a signs your attic needs an insulation upgrade assessment or request a same-day inspection. You will get a clear, written scope with no guesswork about what is actually needed.
What installers actually think about the insulation materials pros cons list debate
Most homeowners come into an insulation project focused on the wrong variable. They want to know which material has the best R-per-inch, as if that single number determines the outcome. After years of seeing what actually happens inside attics and crawlspaces, the honest answer is: the material choice is usually the third or fourth most important decision you make.
The first decision is whether the space is ready for insulation at all. Moisture, mold, pest contamination, and blocked ventilation are disqualifying conditions. Insulating over any of them makes the problem worse and more expensive to fix later.
The second decision is air sealing. A well-sealed attic with R-38 blown-in cellulose will outperform an unsealed attic with R-60 of anything. The bypasses are where the energy goes, and no amount of bulk insulation stops air movement.
The third decision is installation quality. Compressed batts, thin spots in blown-in coverage, and open seams in rigid foam all create performance gaps that the R-value label never warned you about.
Only after those three decisions are made correctly does the specific material choice become the deciding factor. And at that point, for most attic applications, blown-in cellulose or fiberglass is the practical answer: cost-effective, widely available, and easy to install to the correct depth. Closed-cell foam earns its premium at the rim joist and below grade, where you need both insulation and a moisture seal in a tight space. Rigid foam boards earn their place on foundation walls and exterior continuous insulation applications.
The homeowners who get the best results are not the ones who picked the fanciest material. They are the ones who fixed the moisture issue first, sealed the bypasses, and then installed the right material at the right thickness.
Sources
These are the primary sources used to build this guide. Each covers a specific aspect of insulation selection, installation, and performance.
- Consumer Guide to Home Insulation
- Rigid foam board interior insulation for existing foundation walls | BASC (PNNL)
- Basement & crawl space sealing and insulation | ENERGY STAR
- Insulationrvalues
- Insulation R-value chart by climate zone | EstimationPro AI
- How to shop for home insulation | Consumer Reports