Attic insulation mistakes made by DIY homeowners are the leading cause of wasted energy, premature roof damage, and moisture problems in American homes. Most homes lose up to 40% of their heated or cooled air through a poorly insulated attic, and the majority of that loss comes from errors that are entirely preventable. The U.S. Department of Energy and industry professionals consistently point to the same culprits: skipped air sealing, blocked vents, and compressed or uneven insulation. The Attic Genius has seen these patterns across hundreds of Chicagoland homes, and the fixes are straightforward once you know what to look for.
1. Common attic insulation mistakes DIY homeowners make with ventilation
Ventilation is the most misunderstood part of any attic insulation project. Poor attic ventilation causes at least 30% of roof problems, including ice dams, mold growth, and accelerated shingle wear. That number reflects how often ventilation is treated as optional rather than foundational.
The most common ventilation errors include:
- Blocking soffit vents with insulation. Blocked soffit vents are the single most frequent ventilation failure in DIY projects. Insulation shifts toward the eaves over time and covers the vent openings entirely.
- Mixing exhaust vent types. Installing ridge vents alongside powered attic fans creates a short-circuit effect. Airflow moves between the two exhaust points instead of drawing fresh air through the soffit intakes.
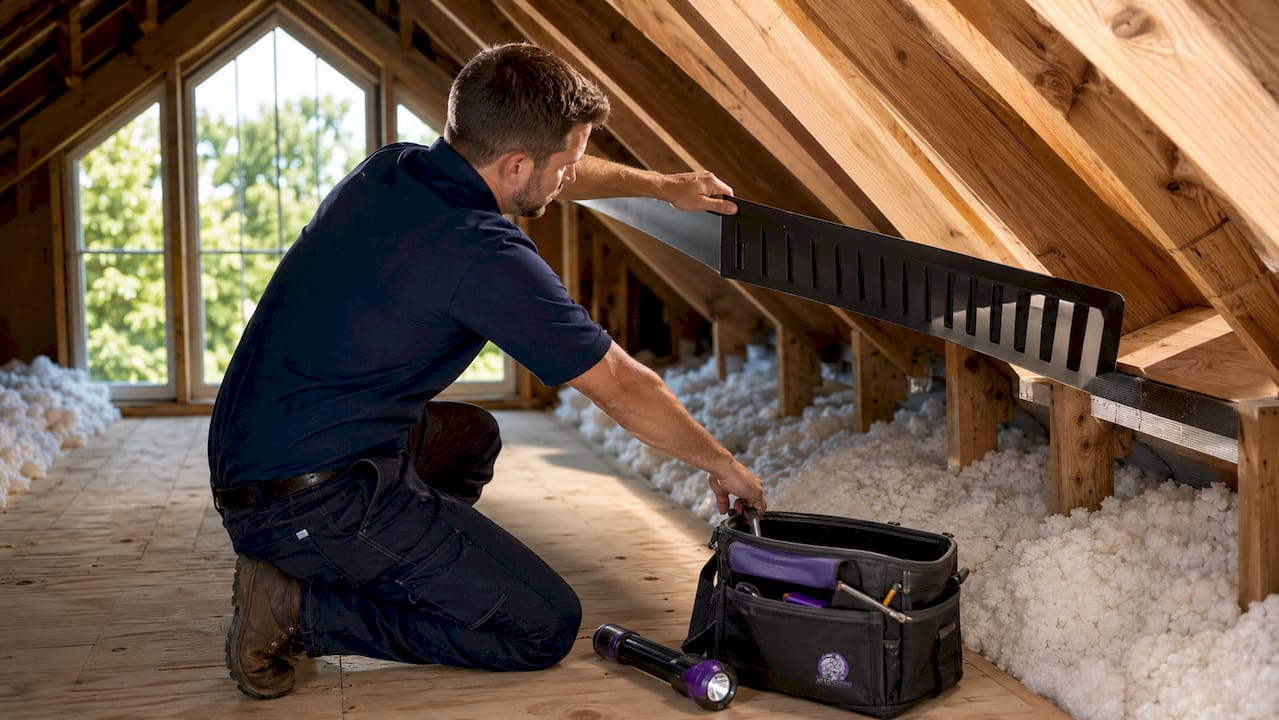
- Skipping rafter baffles. Without foam or cardboard baffles in each rafter bay, insulation will eventually migrate and block the intake path.
- Unbalanced intake and exhaust. The gold standard is continuous soffit intake paired with a ridge exhaust vent. Any other combination reduces airflow and traps moisture.
Pro Tip: Install a foam rafter baffle in every single rafter bay before you add any insulation. This takes an extra hour but protects your ventilation path permanently.
Proper attic ventilation relies on no moving parts. Continuous soffit intake and ridge exhaust vents create uniform airflow in all weather conditions. That simplicity is exactly why mixing vent types disrupts the system so badly.
2. Compressing fiberglass batts and losing R-value
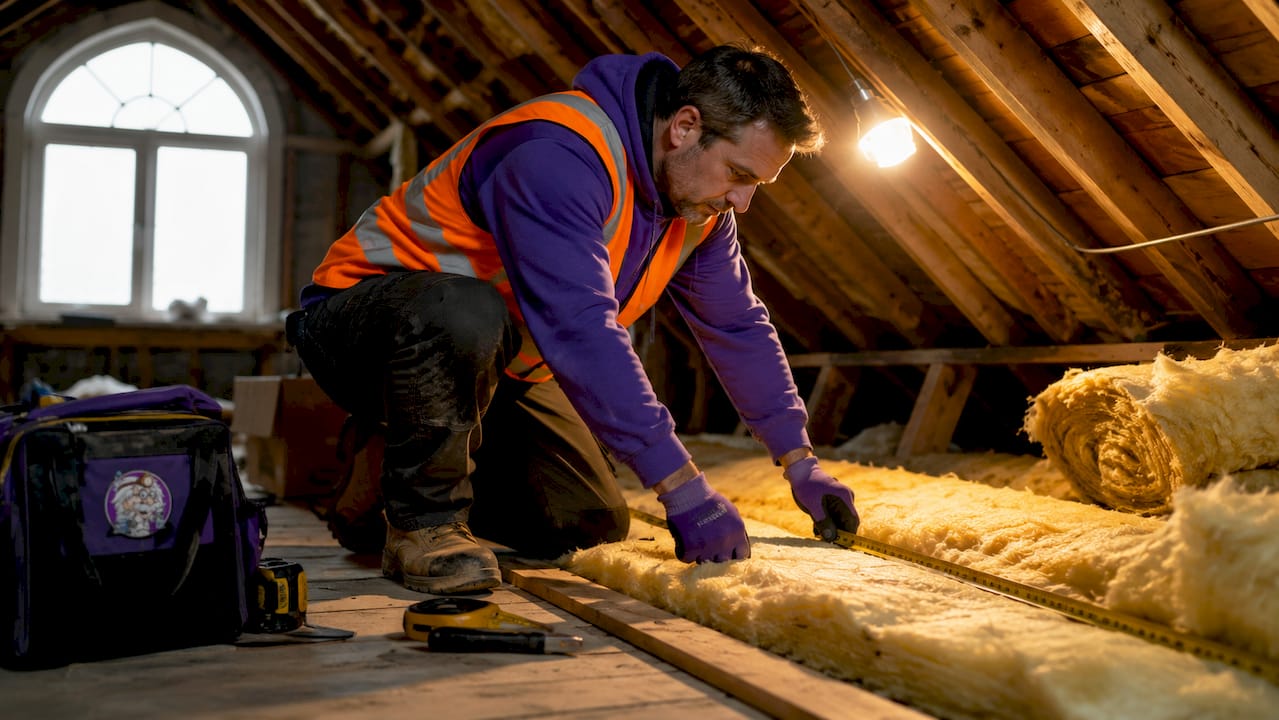
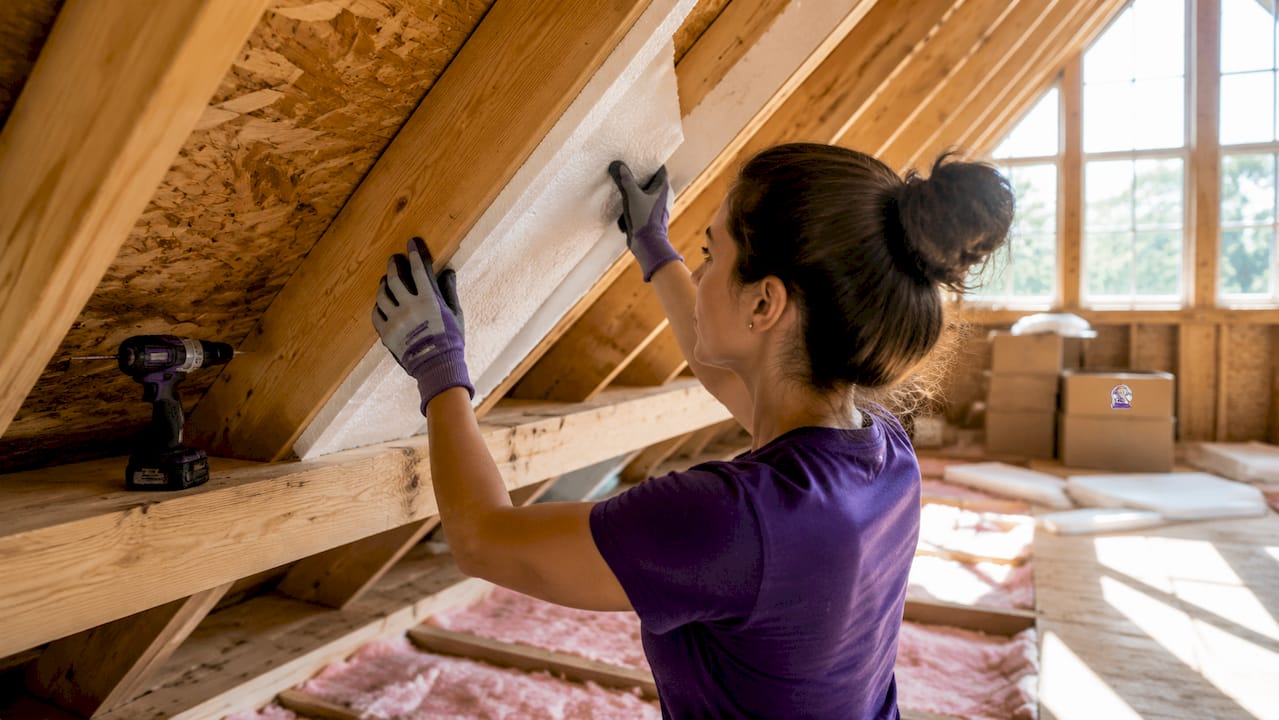
Fiberglass batt insulation loses its thermal performance the moment you compress it. Gaps or compression in fiberglass batt installation reduce actual R-value by 30% or more. That means an R-30 batt stuffed into a tight space performs closer to R-21.
The most common compression errors are:
- Forcing batts into spaces that are too small rather than cutting them to fit.
- Stacking batts without leaving the second layer perpendicular to the first.
- Leaving gaps at the edges of joists where heat escapes freely.
- Folding batts around obstructions instead of cutting around them cleanly.
Each of these errors creates a weak point. Heat does not average out across your attic floor. It escapes through the weakest spot, which is always the compressed or missing section.
Pro Tip: Cut batts with a utility knife and a straightedge. A clean cut takes 30 seconds and preserves the full R-value of the material.
Understanding attic convection effects helps explain why even small gaps matter. Warm air rises and finds any opening it can. A gap the width of your finger can account for a disproportionate share of your total heat loss.
3. Rushing blown-in insulation and creating thin spots
Blown-in insulation looks easy. You rent a machine, load the bags, and blow. The problem is that speed creates uneven coverage, and uneven coverage destroys thermal performance.
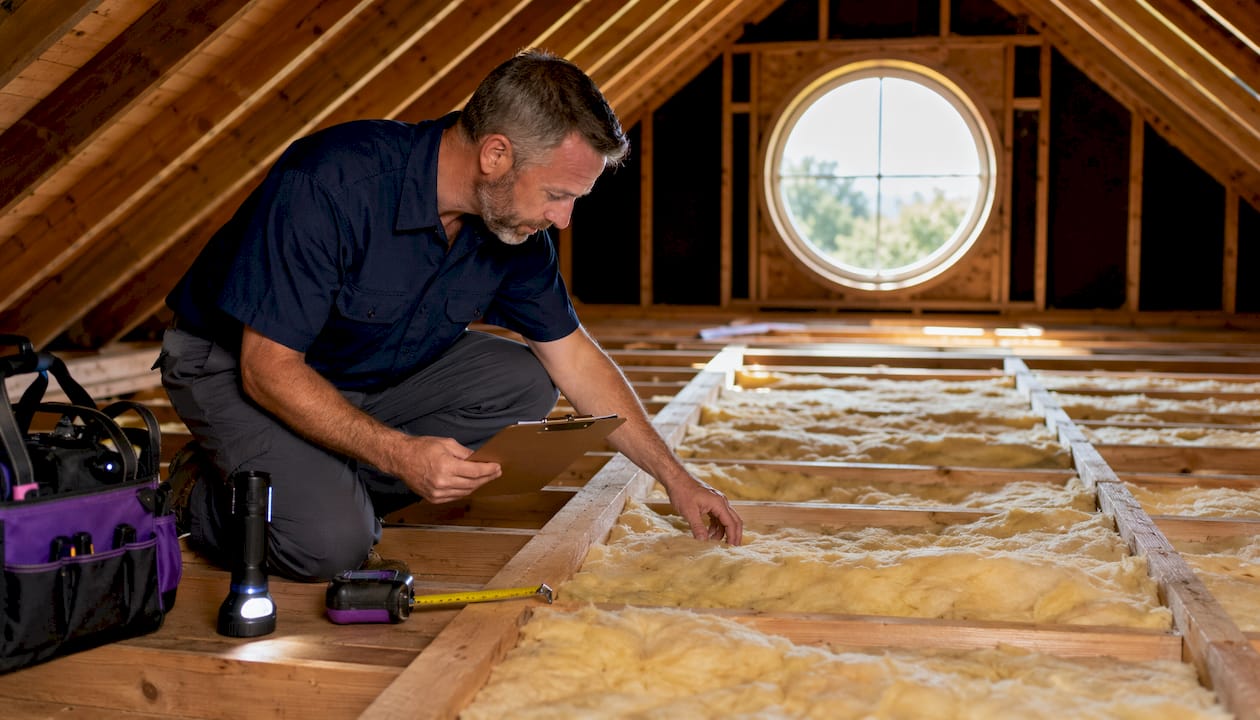
A 1,000 sq ft attic with blown-in insulation should take two people 3–5 hours to complete correctly. Finishing faster almost always means thin spots. Thin spots dominate your overall thermal performance because heat loss concentrates there.
The fix is systematic depth checking. Place depth markers every 4–6 feet across the attic floor before you start blowing. Check them as you go. “It looks about right” is not a measurement. Uniform coverage beats patchy high R-value peaks every time.
Consumer blowing machines also have a hard limit. Dense-pack insulation requires equipment that generates 3.0–3.5 lb/ft³ of pressure. Rental machines cannot reach that density. The result is insulation that settles over time, leaving you with less coverage than you paid for. For dense-pack applications in walls or tight spaces, professional equipment is the only option that holds.
Learn more about the advantages of blown-in insulation before you decide which material fits your attic best.
4. Skipping air sealing before you insulate
Air sealing is not optional. Insulation slows heat transfer through conduction. It does not stop air from moving through gaps. Those are two different problems, and insulation only solves one of them.
Air sealing before insulating reduces energy bills by 15–25%. That savings comes from blocking the actual air movement that bypasses your insulation entirely.
The gaps most homeowners miss include:
- Pipe stacks and electrical wire penetrations. Every hole drilled through the top plate is a direct path for conditioned air to escape.
- Recessed light fixtures. Older can lights are open to the attic and leak constantly.
- Attic hatch frames. The hatch itself is often uninsulated, and the frame around it is rarely sealed.
- Gaps at the top of interior walls. These connect directly to the attic and are invisible from below.
Sealing these penetrations with canned spray foam or acoustical caulk takes a few hours and costs very little. The energy savings pay back that time quickly. Professional air sealing services are worth considering for complex penetrations or older homes with many gaps.
5. Blocking soffit vents during installation
Soffit vents are the intake point for your entire ventilation system. Block them, and the whole system stops working. This is the most common reason attic ventilation fails after a DIY insulation project.
Insulation does not stay where you put it. Blown-in material shifts toward the eaves as it settles. Batts pushed too far toward the roof edge cover the vent openings. Either way, the result is the same: no fresh air enters, moisture builds up, and your roof deck starts to deteriorate.
The solution is a baffle in every rafter bay. Foam baffles are inexpensive and take about two minutes each to install. They create a physical channel that keeps insulation away from the vent opening regardless of how the material settles over time.
Pro Tip: Walk the perimeter of your attic after installation and visually confirm that every soffit vent is clear. Do this again six months later, especially after blown-in insulation has had time to settle.
6. Mixing exhaust vent types and short-circuiting airflow
This mistake is less obvious than a blocked vent but equally damaging. Many homeowners add a powered attic fan to an attic that already has ridge vents. The fan pulls air from the ridge vent instead of from the soffit intakes. The soffit vents stop functioning, and the attic gets no fresh air from outside.
Mixing exhaust vent types causes ventilation short-circuiting and leads directly to moisture problems and shingle damage. The fix is to choose one exhaust system and stick with it. Ridge vents paired with continuous soffit intakes are the most reliable and require zero maintenance.
Powered fans add complexity and failure points. They also draw conditioned air from the living space if the attic floor is not perfectly sealed. That creates negative pressure inside the home and increases your energy bills.
7. Underestimating how long the project takes
DIY homeowners consistently underestimate the time required for attic insulation work. This leads to rushing, which leads to every other mistake on this list.
A realistic timeline for a 1,000 sq ft attic includes: one to two hours for air sealing, one hour for baffle installation, and 3–5 hours for blown-in insulation with two people. That is a full day of work before cleanup. Plan for it.
Running out of material mid-project is a specific version of this problem. You stop, drive to the store, and return to find the insulation you already placed has shifted. Overpurchase by at least 10% and return what you do not use. Most rental programs include a return policy on unopened bags.
8. Ignoring moisture and mold before adding new insulation
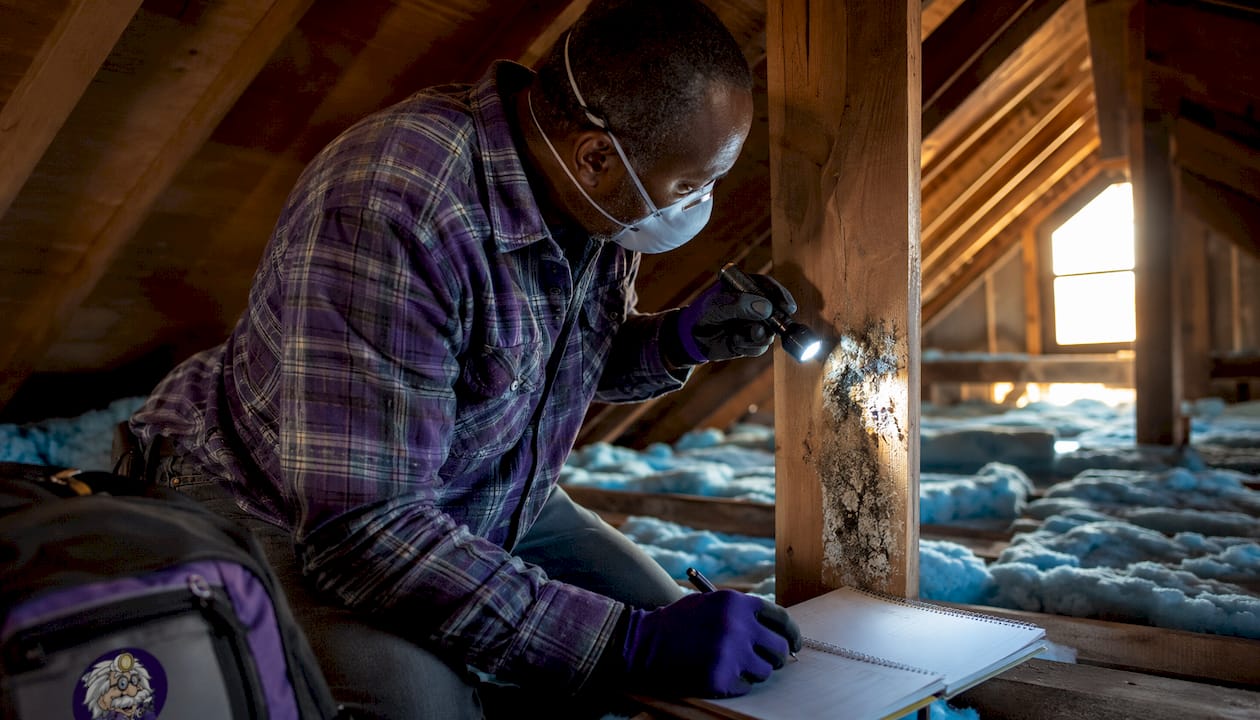
Adding new insulation over existing moisture damage is one of the most expensive mistakes a homeowner can make. Wet insulation loses its R-value almost entirely. It also traps moisture against the roof deck and accelerates mold growth.
Before you add any material, inspect the existing insulation for dark staining, clumping, or a musty smell. Check the roof deck for soft spots or discoloration. If you find either, stop and address the moisture source first.
Mold in the attic is not a cosmetic issue. It spreads to structural wood and can affect indoor air quality throughout the home. The Attic Genius handles moisture and mold remediation as a separate service before any insulation work begins.
Key Takeaways
Avoiding attic insulation errors requires air sealing first, proper ventilation setup, and consistent installation depth before adding any new material.
| Point | Details |
|---|---|
| Air seal before insulating | Sealing gaps around pipes, fixtures, and hatches reduces energy bills by 15–25%. |
| Protect soffit vents with baffles | Install a foam baffle in every rafter bay to prevent insulation from blocking intake vents. |
| Never compress fiberglass batts | Compression cuts R-value by 30% or more; always cut batts to fit rather than forcing them. |
| Use depth markers for blown-in work | Uniform coverage beats uneven peaks; check markers throughout installation, not just at the end. |
| Choose one exhaust vent type | Mixing ridge vents with powered fans short-circuits airflow and defeats the ventilation system. |
What I’ve learned watching homeowners insulate their own attics
The mistake I see most often is not a technical one. It is confidence without verification. A homeowner spends a Saturday in the attic, finishes the job, and never goes back up to check. Six months later, the insulation near the eaves has shifted, the soffit vents are blocked, and moisture is building up under the roof deck. The work looked fine from the hatch opening. It was not fine at the edges.
The second pattern I see is treating air sealing as optional. Homeowners read that insulation improves energy efficiency, buy the material, and skip the sealing step entirely. The insulation goes in, the energy bills barely move, and they conclude the project did not work. The insulation worked fine. The air leaks just routed around it.
My honest advice: spend the first hour of any attic project with a flashlight and a can of spray foam. Seal every gap you can find before you touch a single batt or bag. That one step delivers more energy savings than doubling your insulation thickness. The DIY insulation tips on The Attic Genius blog go deeper on this if you want a full checklist before you start.
The jobs that go wrong are almost always the ones that were rushed. Attic work is not glamorous, and it is tempting to finish fast and get out. Slow down. Check your vents. Measure your depth. The attic will reward patience in a way that very few home improvement projects do.
— Jim
When The Attic Genius can step in
Some parts of an attic insulation project are genuinely DIY-friendly. Others are not, and knowing the difference saves you money and headaches.

The Attic Genius provides professional attic insulation installation, air sealing, ventilation correction, and mold remediation across Chicagoland and the Northwest Suburbs. If your attic has existing moisture damage, complex penetrations, or ventilation problems you cannot diagnose, a professional assessment is the fastest path to a real fix. Same-day inspections are available, and every job comes with upfront pricing and a written warranty. Request a free inspection and get a clear picture of what your attic actually needs before you spend a dollar on materials.
FAQ
What is the most common attic insulation mistake?
Blocking soffit vents with insulation is the most frequent error. It shuts down the entire ventilation system and leads to moisture buildup, mold, and shingle damage.
Does insulation alone stop air leaks?
No. Insulation slows heat transfer but does not block moving air. Air sealing gaps around pipes, fixtures, and wall penetrations must happen before insulation is installed.
How much R-value do you lose by compressing fiberglass batts?
Compressing fiberglass batts reduces actual R-value by 30% or more. Always cut batts to fit the space rather than forcing them into a smaller cavity.
Can you mix ridge vents and powered attic fans?
No. Mixing exhaust vent types causes short-circuiting, where the fan pulls air from the ridge vent instead of the soffit intakes. Use one exhaust system throughout the attic.
How long does blown-in insulation take for a 1,000 sq ft attic?
A proper installation takes 3–5 hours with two people. Finishing faster almost always creates thin spots that undermine the insulation’s overall thermal performance.