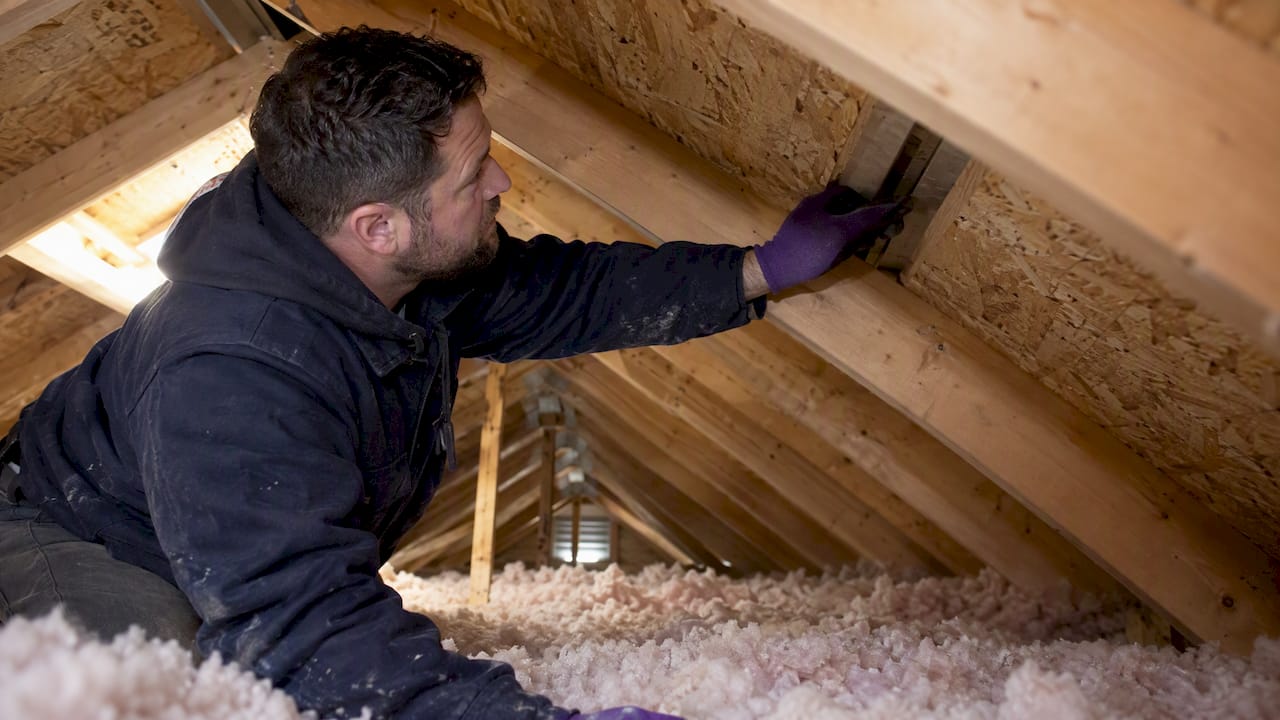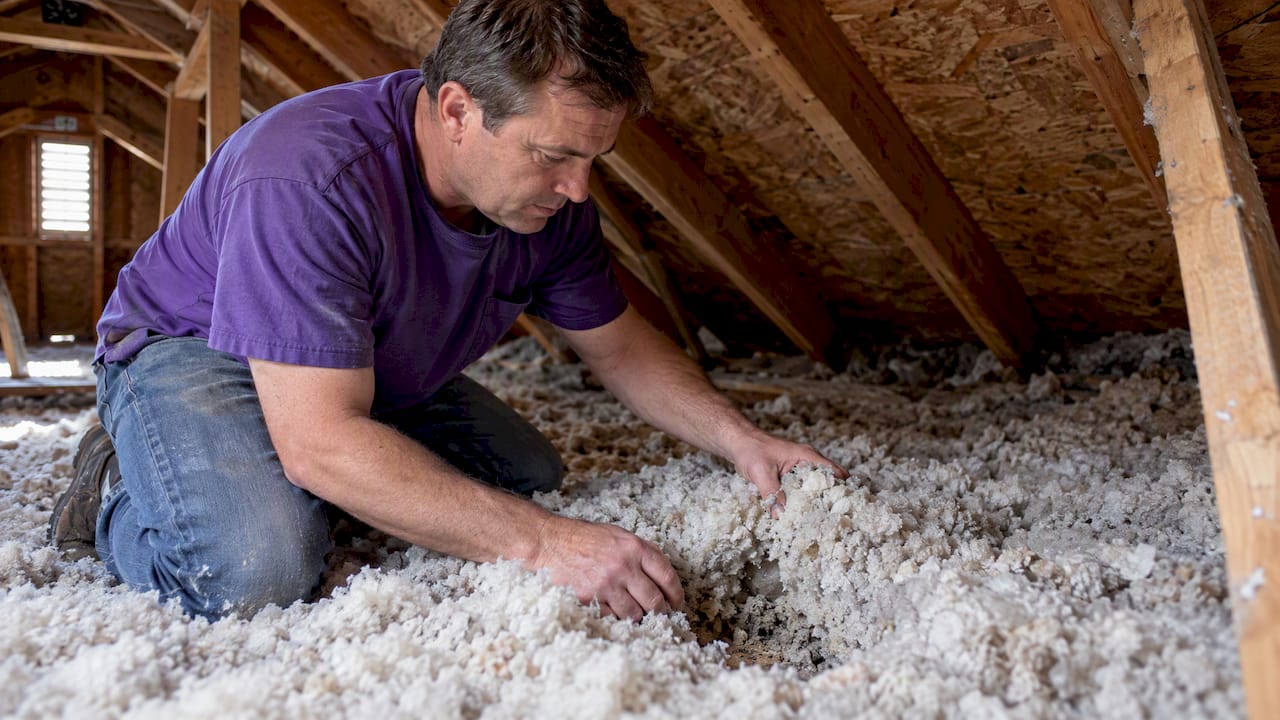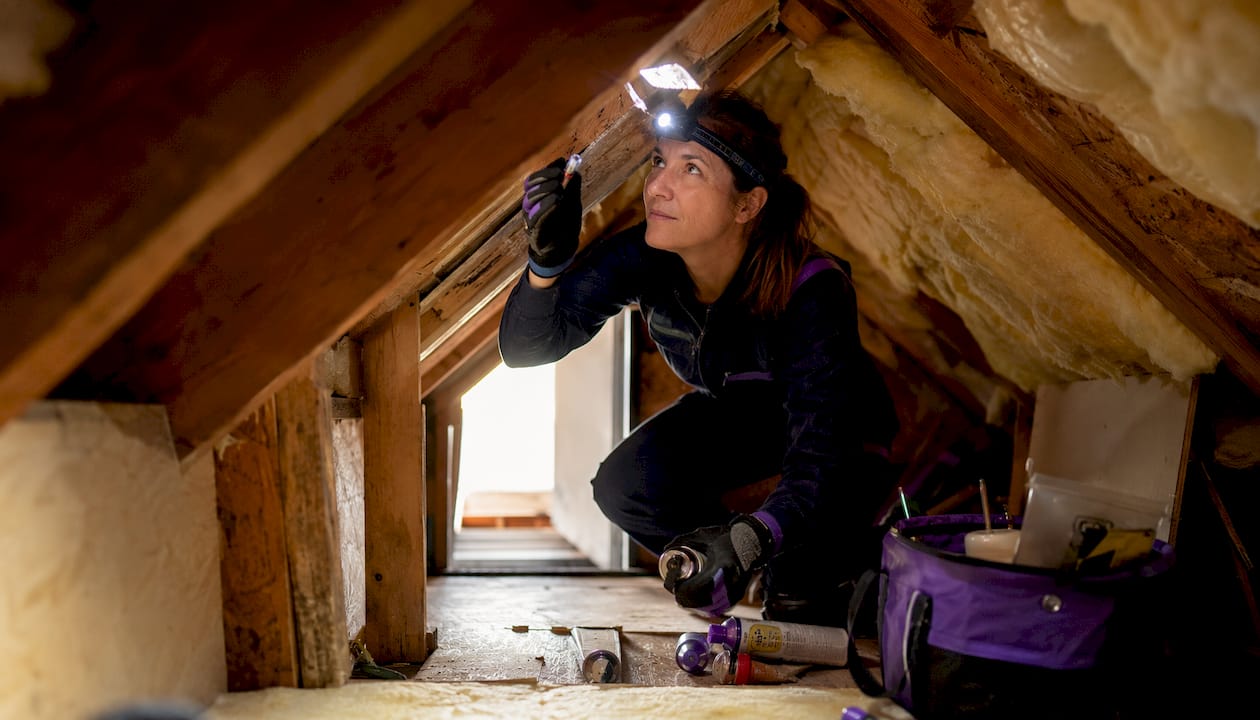
Sealing attic bypasses is one of the highest-impact things you can do to stop energy waste and protect your home from moisture damage, as explained in How New Interior Doors Improve Energy Efficiency in Older Portland Homes. Attic bypasses are the hidden gaps and openings where conditioned air escapes from your living space into the attic, through plumbing chases, chimney surrounds, dropped soffits, and dozens of other penetrations most homeowners never see. The role of air sealing attic bypasses goes well beyond comfort. Air leaks can waste 20% or more of the energy used to heat or cool a home, and insulation alone cannot stop that loss.
Here is why attic bypass sealing matters:
- Energy savings: Uncontrolled air movement through bypasses forces your HVAC system to work harder and longer, driving up utility bills.
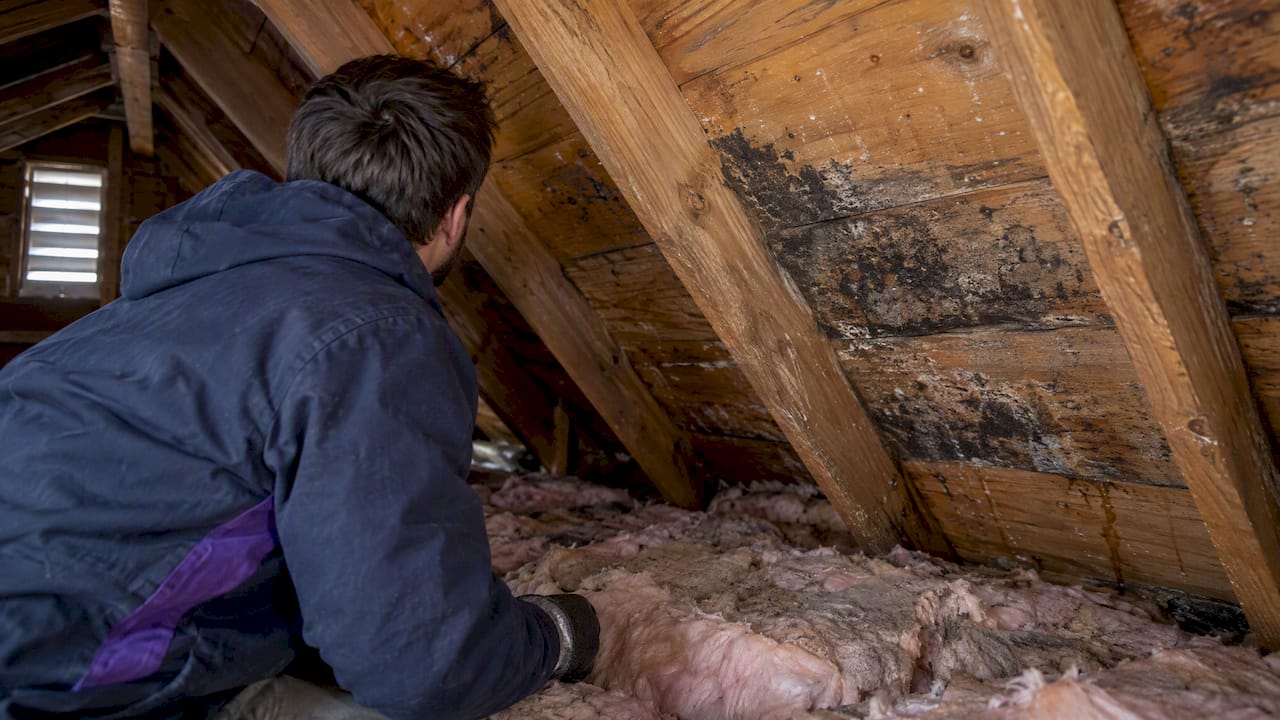
- Moisture protection: Warm, humid air escaping into a cold attic condenses on wood framing and sheathing, creating conditions for mold and rot.
- Insulation performance: Fiberglass and cellulose insulation slow heat transfer but do not block airflow. Bypasses left open can reduce insulation effectiveness by 30–70%.
- Ice dam prevention: Warm air leaking into the attic melts snow on the roof, which refreezes at the cold eaves and causes water intrusion.
- Indoor air quality: Sealing bypasses reduces the stack effect that pulls radon, soil gases, and outdoor pollutants into the home.
- HVAC efficiency: A tighter attic ceiling means your heating and cooling equipment runs fewer cycles to maintain the same temperature.
Sealing bypasses before adding insulation is the correct order of operations. Skip this step and you are insulating over a problem, not solving it.
Why sealing attic bypasses pays off in energy savings and comfort
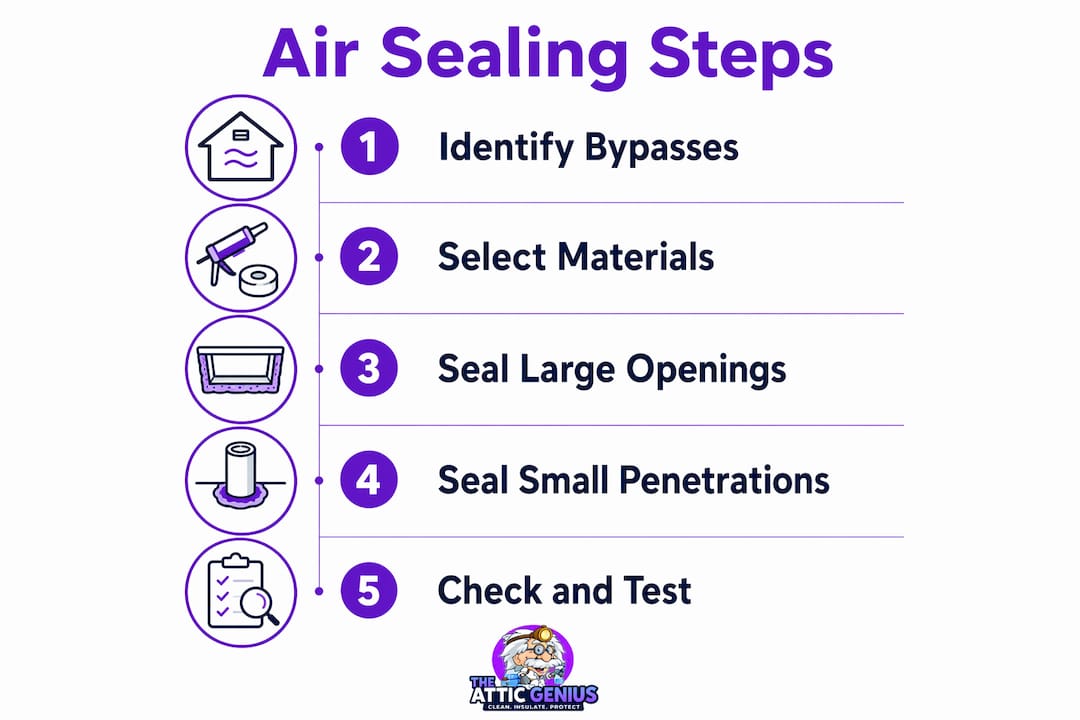
The financial case for attic bypass sealing is straightforward. Air leakage and improperly installed insulation can waste 20% or more of heating and cooling energy, the equivalent of leaving a window open year-round. Seal those bypasses and your HVAC system simply does not need to run as hard.
Beyond the utility bill, the comfort difference is noticeable. Drafts in winter, uneven room temperatures, and that persistent chill near exterior walls often trace back to attic air leaks rather than failing equipment. Once bypasses are sealed, indoor temperatures stabilize and those cold spots tend to disappear.
Key benefits of sealing attic bypasses:
- Lower heating and cooling bills by reducing the volume of conditioned air lost to the attic
- Ice dam prevention: stopping warm air from reaching the roof deck is the most reliable way to prevent ice dams, regardless of how much insulation you add
- Reduced moisture risk: warm air carrying humidity condenses when it hits cold attic surfaces, and sealing bypasses cuts that moisture load before it reaches wood framing
- Better indoor air quality: a tighter ceiling reduces the infiltration of dust, pollen, and outdoor pollutants, since less air is being drawn in at the bottom of the house to replace what escapes at the top
- Extended HVAC lifespan: equipment that cycles less frequently experiences less wear
- Quieter home: sealed bypasses also reduce sound transmission through the ceiling plane
Attic bypasses can reduce the effectiveness of attic insulation by 30–70% if left unsealed. Adding more insulation on top of open bypasses delivers a fraction of its rated performance.
The moisture angle deserves extra attention for Chicagoland homeowners. Cold winters mean the temperature differential between living space and attic is extreme for months at a time. Every cubic foot of warm air that escapes through a bypass carries moisture that has nowhere to go except into your roof structure. Sealing bypasses is the first line of defense against that cycle, and it works better than any dehumidifier or ventilation fan you could add after the fact. For a deeper look at how insulation and moisture interact, The Attic Genius covers the full picture.
How to identify attic bypasses and spot the signs of air leaks
Most attic bypasses are buried under insulation and invisible from below. That does not mean you cannot find them. Knowing where to look and what to look for makes the difference between a targeted fix and guesswork.
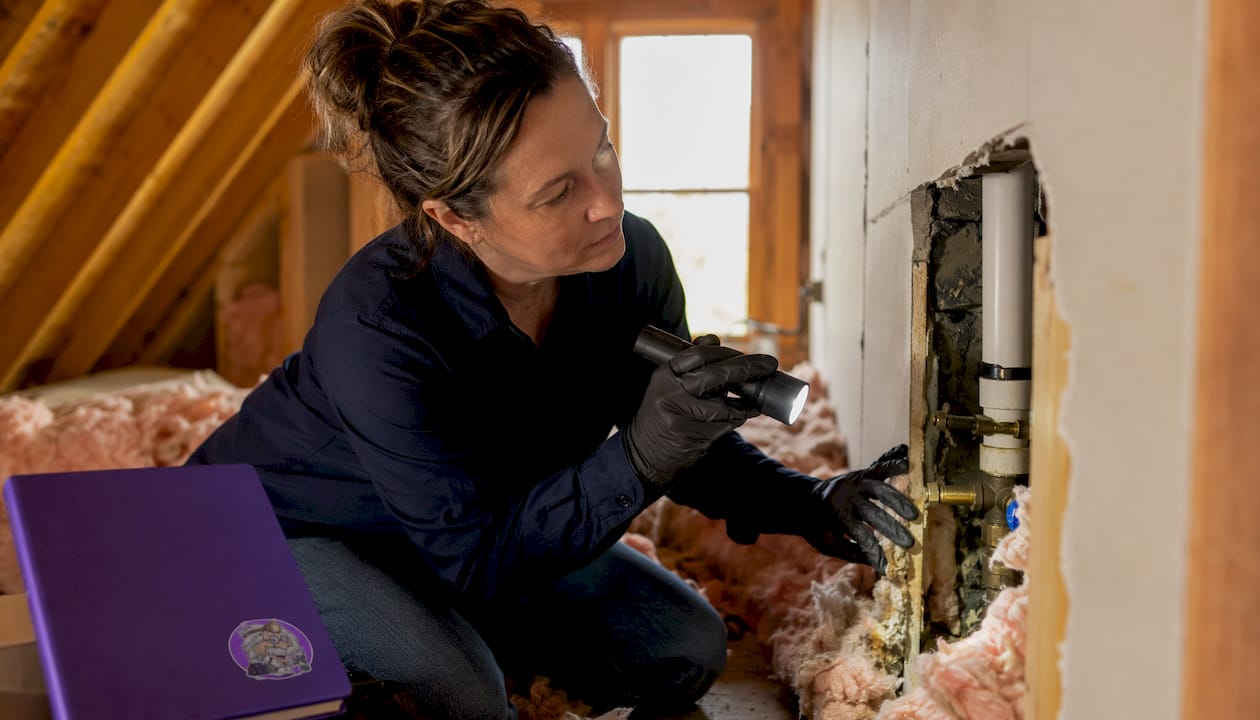
Where bypasses typically hide
The most common bypass locations in residential attics include:
- Plumbing chases: the framed cavities around drain stacks and supply pipes that run from basement to attic are often open at the top
- Chimney and flue chases: the gap between the masonry or metal flue and the framing around it can be surprisingly large
- Dropped soffits: the boxed-in areas above kitchen cabinets or bathroom vanities often have open tops that connect directly to the attic
- Knee walls: in finished attics or cape-style homes, the short walls at the sides of the living space frequently have open joist cavities behind them
- Attic access hatches and pull-down stairs: these are among the most overlooked bypass sources in any home
- Recessed light fixtures: older non-airtight cans are essentially holes in the ceiling
- Top plates: the gap between drywall and the top plate of interior walls is a continuous bypass running the full perimeter of every room
Signs you can see without going into the attic
You do not always need to climb up to confirm a problem. Look for:
- Darkened or dirty insulation: air filtering through insulation leaves a gray or brown stain on the fibers, marking the exact spot of a bypass below
- Frost patches in winter: warm, moist air condensing and freezing on cold insulation creates visible frost spots
- Water staining in the same areas during warmer months: the same spots that frost in winter often show moisture damage in summer
- Ice dams at the eaves: a reliable indicator that warm air is reaching the roof deck
- Drafts near ceiling fixtures or interior walls: air movement you can feel is air that is moving through a gap
Pro Tip: From inside the attic, look for places where you can see the back of interior wall drywall. That visible drywall face means the wall cavity is open to the attic, and you are looking directly at a major bypass. These open wall tops are responsible for a large share of total air leakage in many homes.
Using diagnostics to confirm leaks
A blower door test, performed by an energy auditor, depressurizes the house and makes air movement through bypasses much easier to detect. You can approximate this yourself by closing all windows and doors, turning on all exhaust fans, and then moving a lit incense stick near suspected bypass locations. Smoke that gets pulled toward a surface confirms airflow. It is a rough method, but it works well enough to prioritize where to start.
Before going into the attic, check for active knob and tube wiring, vermiculite insulation, and signs of a leaking roof. Any of these must be addressed before air sealing work begins.
What materials and methods actually work for sealing attic bypasses
The right material depends entirely on the size and type of the bypass. Using spray foam on a large open chase is like plugging a drain with tissue paper. Using rigid blocking on a small wire penetration is overkill. Match the material to the gap.
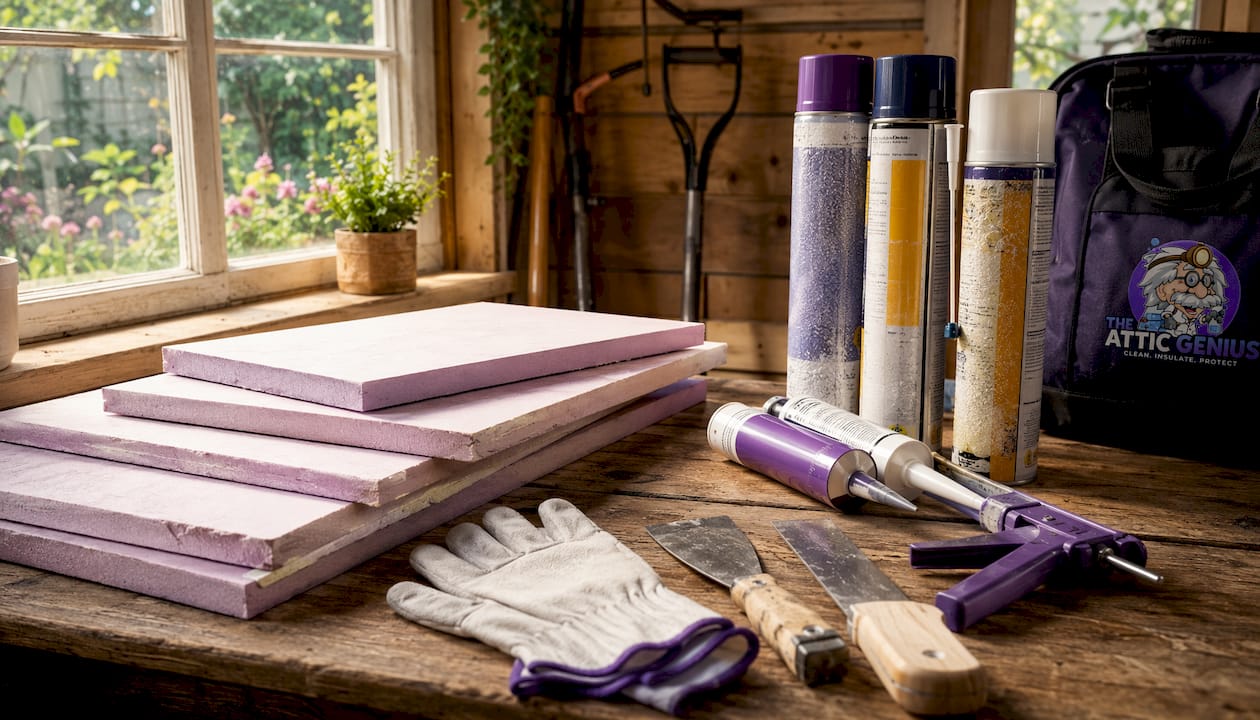
Rigid blocking for large openings
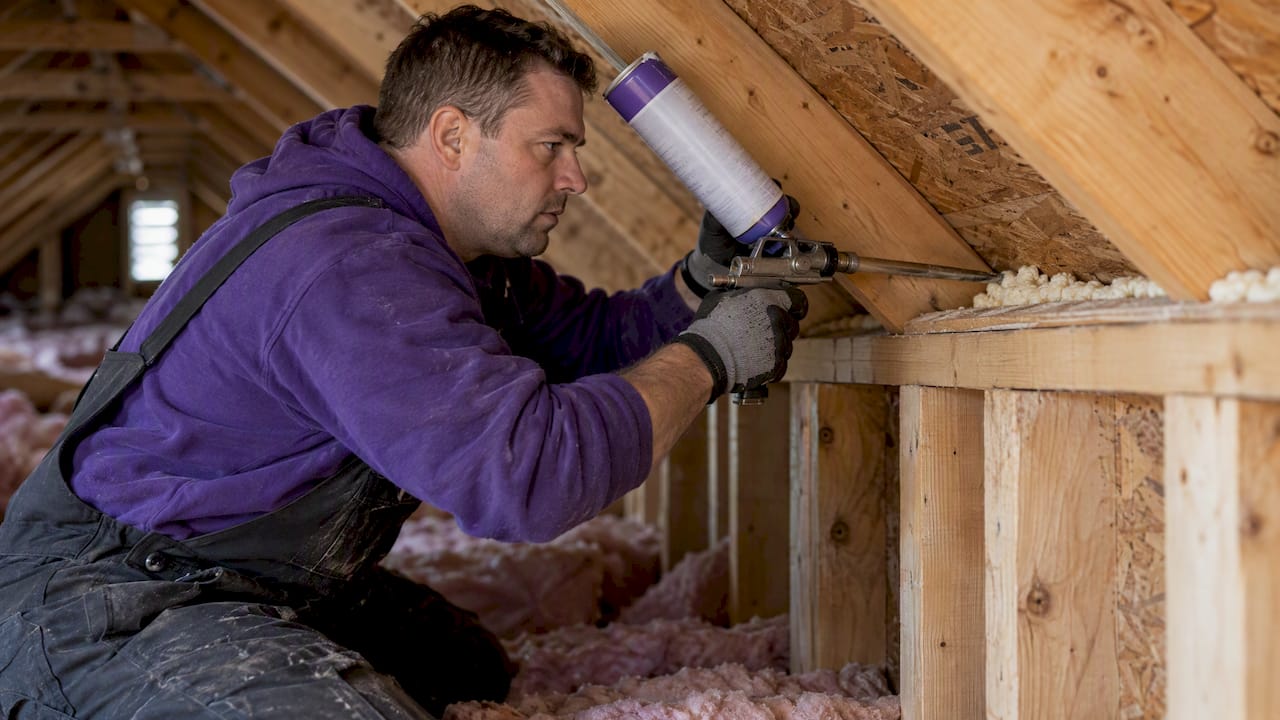
Large bypasses, including plumbing chases, chimney surrounds, dropped soffits, and open wall cavities, need rigid blocking first. Plywood, OSB, or sheet metal cut to fit and fastened to the framing creates a solid air barrier. Once the board is in place, seal the entire perimeter with one-part expanding foam or caulk to close any remaining gaps around the edges.
Around chimneys and metal flues, the approach is different. Fire safety clearances must be maintained, so rigid sheet metal flashing is used instead of wood, and high-temperature caulk rated for flue contact seals the joint. Spray foam alone is not appropriate here, and neither is standard caulk.
Foam and caulk for smaller penetrations
Smaller gaps around wires, pipes, and conduit respond well to one-part expanding polyurethane foam. Apply it in a single pass, let it cure, and trim any excess flush with the framing. Acoustical sealant or paintable latex caulk works for very small cracks and seams between drywall and top plates.
Recommended materials and their applications:
- One-part expanding foam: wire and pipe penetrations, gaps up to about 3 inches wide
- Acoustical sealant or latex caulk: top plate seams, drywall joints, small cracks
- Rigid plywood or OSB with foam perimeter seal: open wall tops, plumbing chases, dropped soffits
- Sheet metal flashing with high-temperature caulk: chimney and flue surrounds
- Weatherstripping plus rigid insulated cover: attic access hatches and pull-down stair frames
Sealing the attic hatch
The attic access point is one of the easiest bypasses to fix and one of the most commonly skipped. A standard pull-down stair or hatch has no insulation and no weatherstripping, creating a large, unobstructed opening between conditioned and unconditioned space. Adding weatherstripping to the frame and a rigid insulated cover on the attic side addresses both the air leak and the thermal gap at the same time. The Attic Genius covers this in detail in their guide on attic hatch insulation.
Pro Tip: Seal the big holes first. A single open plumbing chase or dropped soffit can leak more air than dozens of small wire penetrations combined. Prioritize by size, not by ease of access.
One caution worth stating plainly: do not seal bathroom exhaust fans into the attic. Fans that vent into the attic rather than to the exterior are a moisture problem on their own, and sealing around them without redirecting the duct makes things worse. Fix the venting first, then seal.
What you need to check before starting attic air sealing work
Air sealing an attic is not complicated, but skipping the pre-inspection checklist can turn a straightforward project into a hazard. The order of work matters. Health and safety issues come before energy efficiency, every time.
Hazards to identify before you touch anything
- Active knob and tube wiring: this older wiring system requires open air circulation to dissipate heat. Covering it with insulation or sealing around it without an electrician’s sign-off is a fire risk.
- Vermiculite insulation: vermiculite from certain sources contains asbestos. If your attic has gray, pebble-like insulation that predates the 1990s, have it tested before disturbing it.
- Moisture or active roof leaks: sealing a wet attic traps moisture inside. Fix any leaks and allow the structure to dry before proceeding.
- Bathroom fans vented into the attic: redirect these to the exterior before sealing, or you will be pumping humid air into a sealed space.
- Unvented combustion appliances: gas fireplaces or kerosene heaters without proper venting create carbon monoxide risks that worsen when the house is tightened.
Questions to ask before sealing
These are worth thinking through before you start or before you hire someone:
- Do you have any gas appliances, a furnace, water heater, or boiler that draws combustion air from the house? Tightening the envelope can affect their draft.
- Is your carbon monoxide detector working and recently tested?
- Does your attic have adequate ventilation, with intake at the soffits and exhaust at the ridge? Sealing bypasses does not replace attic ventilation. Proper ventilation requires both low intake and high exhaust vents to move moisture out of the attic cavity.
- Are there any structural concerns with the attic floor framing that need attention before insulation is moved or removed?
When to hire a professional
DIY attic air sealing is feasible for homeowners who are comfortable working in confined spaces and have confirmed the attic is free of the hazards listed above. That said, a few situations call for a professional. Homes with combustion appliances, complex framing with many hidden bypasses, or any of the hazards above benefit from a trained energy auditor or insulation contractor. A blower door test before and after the work also confirms whether the sealing was effective, and that requires specialized equipment.
The ENERGY STAR attic air sealing project guidance describes this as a challenging DIY project with substantial benefits, which is an accurate summary. Substantial benefits, but not a casual afternoon task.
Building science principles that explain why attic bypass sealing works
Understanding the physics behind attic bypasses makes it easier to prioritize the work and avoid common mistakes. The core concept is the stack effect.
How the stack effect drives air loss
Houses behave like hot air balloons that are too heavy to lift off. Warm air rises and escapes through openings at the top of the house, and replacement air is drawn in at the bottom. The higher the opening, the more air it leaks, because the pressure difference is greatest at the top. Sealing holes high in the attic reduces total air leakage more than sealing an equivalent area of gaps at the foundation, because of where those holes sit in the pressure gradient.
This is why attic bypass sealing delivers outsized results compared to sealing gaps at windows or doors. The attic ceiling is the top of the balloon.
Why insulation alone is not enough
Fiberglass batts and blown cellulose are thermal insulators, not air barriers. They slow the transfer of heat through conduction and radiation, but air moves through them freely. Insulation that is not backed by an air seal can become saturated with moisture carried by that moving air, losing its thermal performance over time and creating conditions for mold. The insulation is not failing. It is doing what it was designed to do. It just was never designed to stop airflow.
An attic air barrier is what stops the air. Insulation is what slows the heat. You need both, in that order.
The “attic ceiling chimney” effect and combustion safety
A leaky attic ceiling acts like a second chimney. It competes with the real chimney for the same air supply, which can cause backdrafting in gas appliances and pull combustion gases back into the living space. Sealing attic bypasses improves chimney draft by reducing this competition, making combustion appliances safer and more efficient. It also reduces the suction that draws radon and other soil gases up from the ground, since less air escaping at the top means less replacement air being pulled in at the bottom.
The building science community summarizes this with the phrase “build it tight and ventilate it right.” Seal the uncontrolled leaks, then provide controlled, intentional ventilation for fresh air and combustion needs. The two are not in conflict. Uncontrolled leakage through bypasses does not count as ventilation. It is just waste.
Pro Tip: When inspecting the attic, pay attention to joist cavities that run perpendicular to the exterior wall. These cavities often connect directly to the wall stud bays below, creating a hidden bypass path that runs the full height of the house. Blocking these at the top plate level closes a large leakage area that is easy to miss.
Blocking and sealing chases reduces total air leakage area more than adding combustion air ducts, resulting in net energy savings. Holes near the top of the house leak far more air due to the stack effect, so sealing high leaks delivers the greatest return.
Proper attic ventilation still needs to function after sealing. Intake vents at the soffits and exhaust vents at the ridge move moisture out of the attic cavity itself, which is separate from the air sealing work done at the attic floor. Confusing these two systems is one of the most common mistakes homeowners make. The role of attic baffles in keeping those ventilation channels open is worth understanding before you start moving insulation around.
For homeowners who want to go further, understanding common attic insulation mistakes helps avoid undoing the air sealing work with a poorly executed insulation job on top of it. The two projects are closely linked, and the sequence matters.
Key Takeaways
Sealing attic bypasses before adding insulation is the single most effective step a homeowner can take to stop energy waste, prevent moisture damage, and improve year-round comfort.
| Point | Details |
|---|---|
| Bypasses undermine insulation | Unsealed attic bypasses can reduce insulation effectiveness by 30–70%, making added insulation far less useful. |
| Energy loss is measurable | Air leaks waste 20% or more of heating and cooling energy, equivalent to leaving a window open year-round. |
| Seal before you insulate | Air sealing must come before insulation installation; adding insulation over open bypasses does not fix the underlying air loss. |
| Match material to gap size | Large openings need rigid blocking plus foam perimeter seals; small penetrations take one-part expanding foam or caulk. |
| Safety checks come first | Inspect for knob and tube wiring, vermiculite, and active roof leaks before any sealing work begins. |
Ready to stop the air leaks in your attic?

The Attic Genius serves homeowners throughout Chicagoland and the Northwest Suburbs with professional air sealing services backed by 25+ years of combined experience and 400+ five-star reviews. Whether you need a full attic assessment, bypass sealing before insulation, or a same-day inspection to find out what is actually happening up there, the team at The Attic Genius gives you upfront pricing and written warranties before any work begins.
If you are not sure where to start, the signs your attic needs an upgrade guide walks through the most common indicators that bypasses and insulation gaps are costing you money right now.