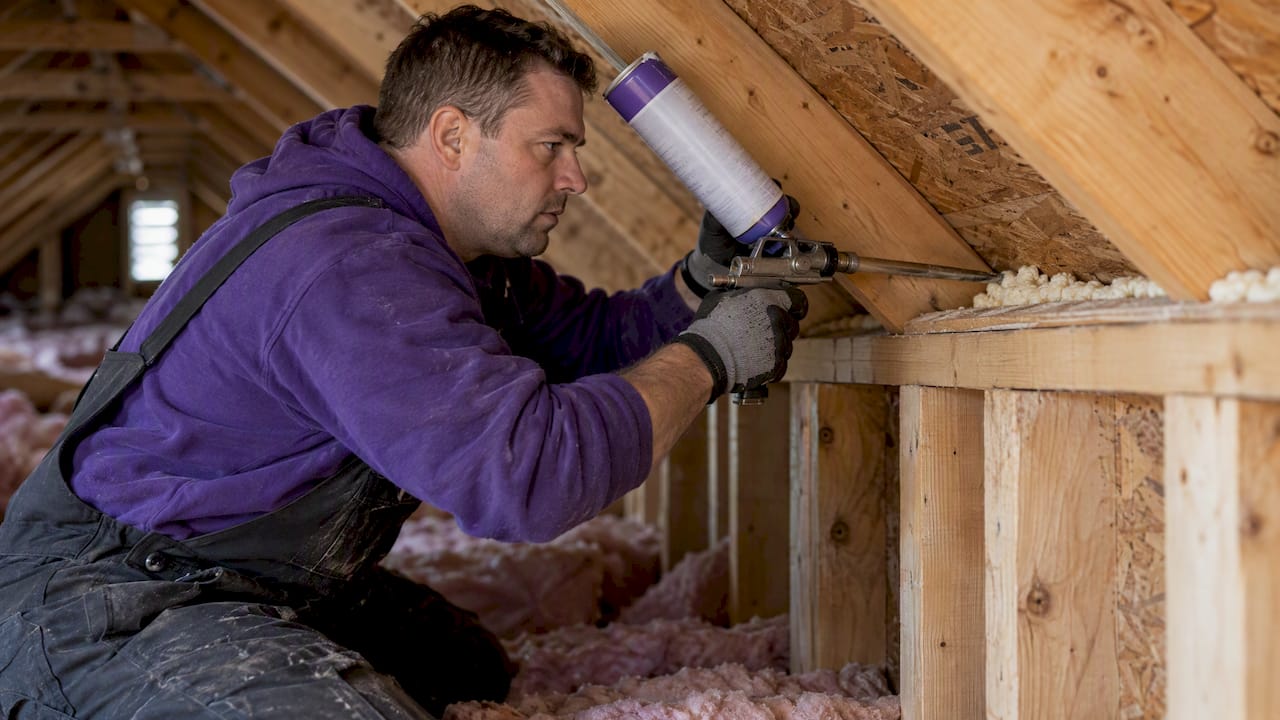
Yes, seal attic top plates whenever you can get to them, whether that is during an insulation upgrade, a drywall replacement, or any project that already has your attic opened up. Closing these gaps stops one of the biggest draft paths in a house, cuts energy loss, and lowers the odds of ice damming. Building America lists top-plate sealing among the highest-value attic air-sealing tasks, and it is one we handle on nearly every job we run.
TL;DR:
- Install new insulation only after air sealing; fiberglass and loose fill slow heat transfer but do not block moving air through top plate gaps.
- Caulk suits gaps up to 1/4 inch, one part foam or mastic up to 2 inches, two part foam up to 3 inches, and rigid backing for larger openings.
- Avoid standard spray foam near chimneys or flues; use high temperature sealant or metal flashing, and keep baffles clear to preserve attic ventilation.
- Repair roof leaks and standing water before sealing, and stop for knob and tube wiring, vermiculite, or combustion hazards; hire a professional for those conditions.
- When leak locations are unclear, use a blower door test or thermal inspection; DIY suits visible gaps, while hidden chases warrant a professional.
Table of Contents
- Why Top Plate Sealing Matters for Your Home’s Energy Use
- When Is the Best Time to Seal Attic Top Plates?
- Which Sealing Materials Work for Different Gap Sizes
- How to Seal Top Plates: A Practical Step Sequence
- Other Attic Air Leaks Worth Sealing at the Same Time
- Safety and Code Rules to Follow Before You Seal
- What a Professional Attic Inspection Actually Checks
- When to DIY and When to Call In a Pro
- Getting Your Top Plates Sealed Without the Guesswork
- FAQ
- Sources
Why Top Plate Sealing Matters for Your Home’s Energy Use
Warm air rises and escapes through every gap in your ceiling, then pulls replacement air in through your foundation, walls, and attic penetrations. Building scientists call this the stack effect, and it is the reason a leaky attic can make your whole house feel drafty even when the walls seem fine. Air moving through top-plate gaps does not just carry heat. It can also drag moisture, dust, and soil gases up from lower floors into your living space and attic.
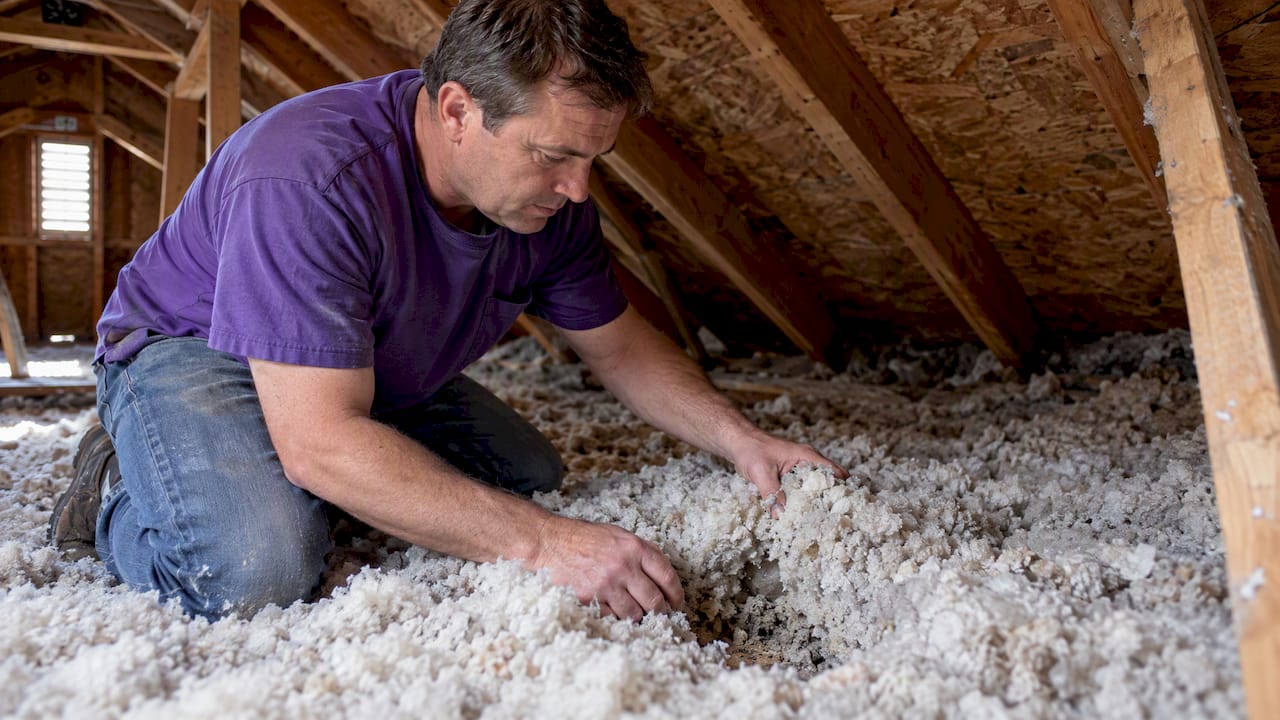
This is also why insulation alone rarely solves the problem. Fiberglass and loose-fill insulation slow heat transfer, but they do not block moving air, so a well-insulated attic sitting on top of unsealed top plates still leaks heavily.
- Air leaks let heat escape in winter and heat in during summer, straining your heating and cooling system.
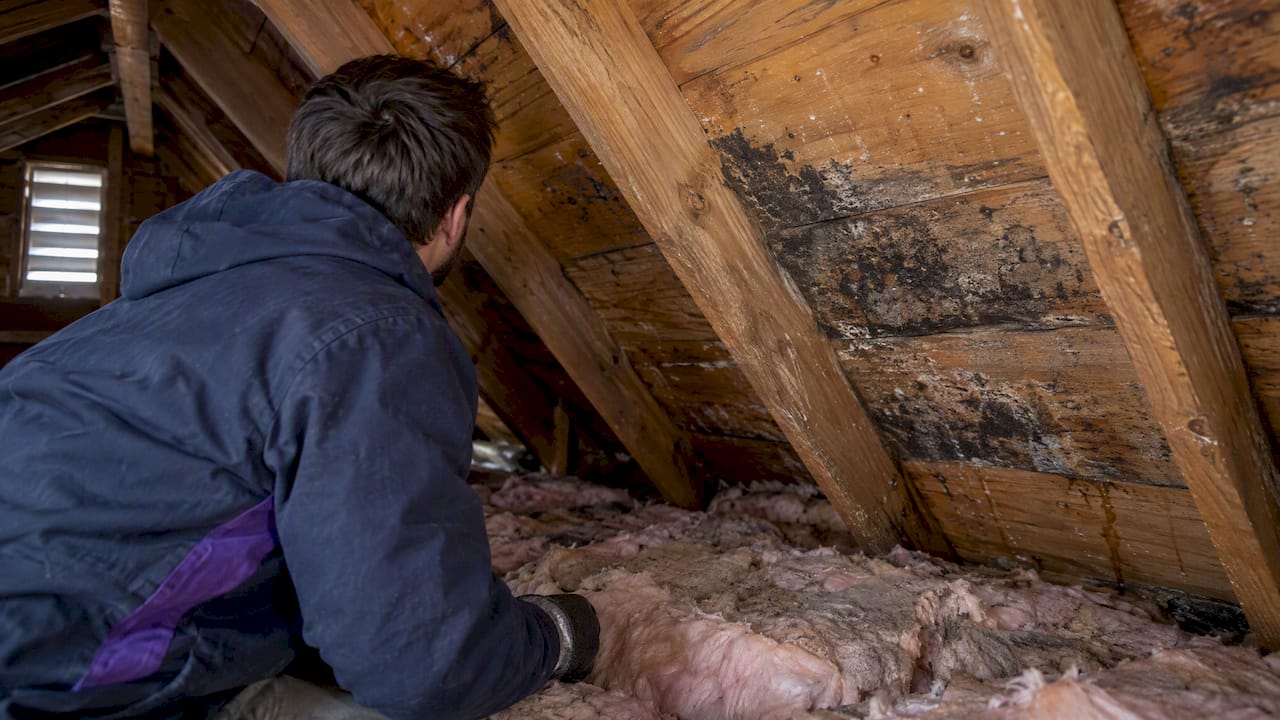
- Moisture riding on that air can condense in the attic and feed mold or wood rot over time.
- Warm air escaping near the roof deck melts snow unevenly, a leading contributor to ice dams at the eaves.
Sealing top plates before insulation is installed helps create a continuous air barrier across the ceiling plane, which is the detail that actually stops the stack effect rather than just slowing it down. Closing that gap at the wall-to-ceiling junction is what turns a pile of insulation into an effective thermal boundary.
When Is the Best Time to Seal Attic Top Plates?
Timing matters almost as much as technique. Sealing top plates works best when the attic is already open and accessible, which usually means one of three moments in a home’s life.
- During an insulation upgrade, when old insulation is being removed or pulled back anyway, exposing the top plates for direct access.
- During drywall replacement or a remodel, when ceiling drywall can be air-sealed to the top plate from the attic side with caulk, foam, or adhesive before the attic side is covered again.
- Any time the attic is already open for another project, such as rewiring, ductwork, or a ventilation upgrade, since getting back in later costs more time and effort.
There are also moments to hold off. An active roof leak, standing water, or unsafe footing in the attic needs to be fixed first; sealing gaps while moisture is actively entering just traps the problem behind new sealant. The same goes for attics with damaged decking or exposed electrical hazards. If you are not sure where your worst leaks are, a blower-door test or a basic thermal inspection helps you prioritize the top-plate sections and other gaps that are losing the most air, so sealing time goes where it counts.
Which Sealing Materials Work for Different Gap Sizes
Not every gap calls for the same product, and using the wrong one wastes material or fails within a year. The DOE’s job aid for sealing attic top plates lays out a simple rule of thumb based on gap width.
| Gap size | Recommended material |
|---|---|
| Up to 1/4 inch | Caulk |
| 1/4 inch to 2 inches | One-component foam or mastic |
| 2 inches to 3 inches | Two-component (two-part) foam |
| Larger than 3 inches | Rigid infill material plus sealant |
A few notes go along with that table. Standard spray foam is not rated for high heat, so any gap near a chimney, flue, or metal chase needs a high-temperature sealant and often metal flashing instead. Visible seams in finished spaces are usually closed with paintable caulk so the repair disappears once painted.
- A caulking gun and a few tubes of caulk for small, accessible gaps.
- A can of one-part foam sealant for mid-size cracks around pipes and wiring.
- Two-part foam kits for larger openings that need more volume.
- Rigid foam board, plywood, or OSB scraps for blocking oversized chases.
How to Seal Top Plates: A Practical Step Sequence
Sealing top plates is not complicated in concept, but the order of operations matters, both for safety and for making sure the seal actually lasts.
- Inspect and map the leaks first. Look for dirty, compressed insulation (a sign air has been moving through it for years), visible gaps at the top plates, and use a smoke pencil or thermal camera to confirm where air is moving. A partner guide on finding air leaks walks through smoke-test and thermal-imaging basics if you want to see the technique in action.
- Make the attic safe before touching anything. Fix any active roof leak, keep clear of exposed knob-and-tube wiring or combustion appliances, lay walkboards over joists, and move stored boxes or materials out of the way.
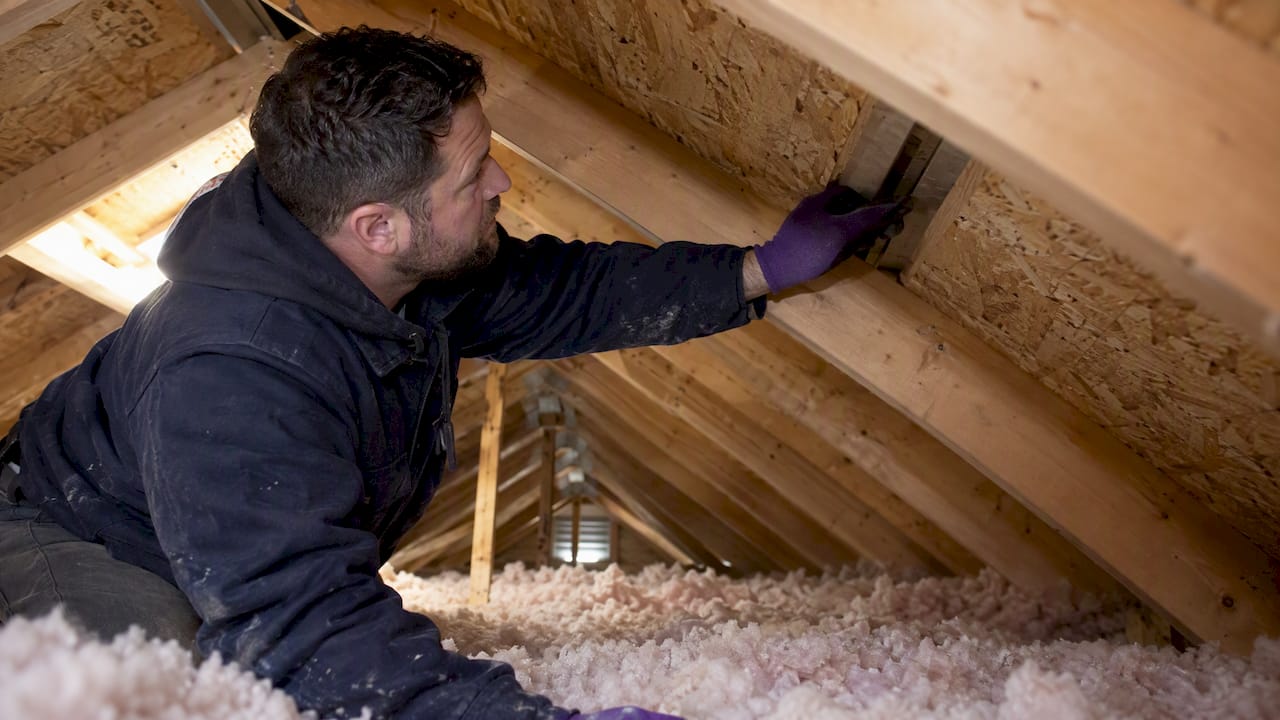
- Expose the top plates. Pull back or temporarily move insulation along the wall-to-ceiling line so the plate and any gaps are visible and reachable.
- Install backing where gaps are large. For balloon-framed walls or missing blocking, rigid infill material sealed at the edges holds up far better over time than foam alone stretched across an open cavity.
- Seal according to gap size, following the material guide above, working section by section rather than rushing the whole perimeter at once.
- Reinstall baffles and insulation. Baffles need to stay clear of the sealed area so soffit-to-ridge airflow is not blocked once insulation goes back down.
- Verify the work. A smoke test or visual check under light pressure, and where equipment is available, a blower-door reading taken at roughly 50 pascals, confirms there is no visible air movement at the newly sealed seams.
Pro Tip: Sketch your attic’s top-plate layout before you start. Marking which sections are sealed as you go prevents missed spots once insulation covers everything back up.
Other Attic Air Leaks Worth Sealing at the Same Time
Top plates are a priority, but they are rarely the only leak in an attic. Addressing these alongside top-plate work gets you a more complete air barrier in a single trip.
- Attic hatch or pull-down stairs: add weatherstripping and a gasket, since these openings are often the largest single gap in the ceiling plane.
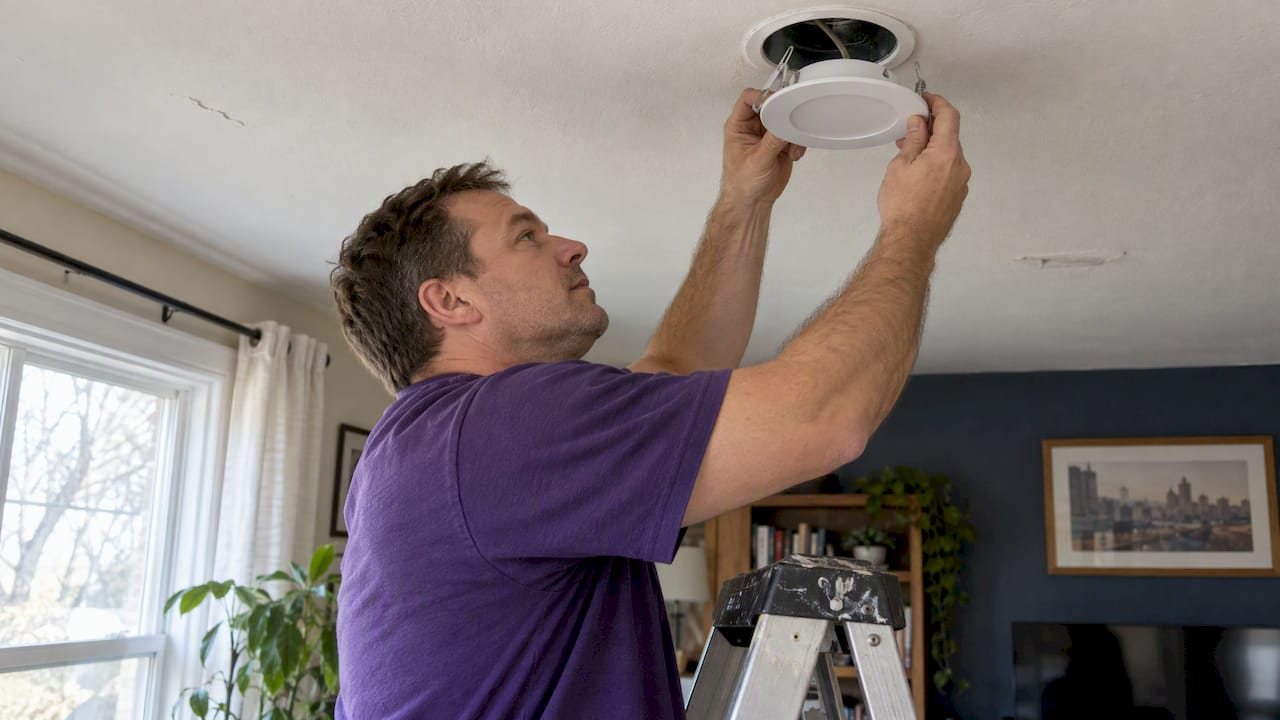
- Recessed light fixtures: older non-ICAT fixtures need a cover or replacement before insulation can safely contact them, while ICAT-rated fixtures can usually be insulated over directly.
- Duct boots and plumbing stacks: these penetrations typically get sealed with caulk or foam where they pass through the ceiling.
- Dropped soffits and chimney chases: these often need rigid blocking and sheet metal at the chimney chase rather than foam, and are sometimes best left to a specialist.
A broader rundown of these common gaps lives in our guide to attic air-sealing bypasses if you want to see how they interact with each other.
Safety and Code Rules to Follow Before You Seal
A few hard limits apply no matter how comfortable you are with a caulking gun. Flues and chimneys need clearance and high-temperature rated sealants; standard expanding foam is not built to sit against a hot flue and should never be used there. Metal flashing is often required in those spots instead of foam.
Ventilation has to stay intact, too. Sealing air leaks is not the same as blocking vents: baffles and wind dams need to stay in place so air can still travel from the soffit vents to the ridge vent once insulation is reinstalled. Skipping this step can trap moisture in the attic even after a good sealing job.
- Knob-and-tube wiring in the work area means stopping and calling an electrician first.
- Vermiculite insulation may contain asbestos and should not be disturbed without proper handling.
- A combustion appliance venting through the attic changes clearance requirements significantly.
ENERGY STAR notes that many attic air-sealing tasks are manageable for homeowners, but recommends hiring a professional for large chases, combustion hazards, or either of the two wiring and insulation hazards above. That line is a useful gut check before starting any top-plate project yourself.
What a Professional Attic Inspection Actually Checks
On a typical inspection, our technicians work through a consistent checklist: attic hatch condition, baffle placement, top-plate accessibility, signs of dirty or compressed insulation, and any penetrations around ducts, pipes, or chimney chases. That order mirrors the sequence building-science guides recommend, mapping leaks before touching anything.
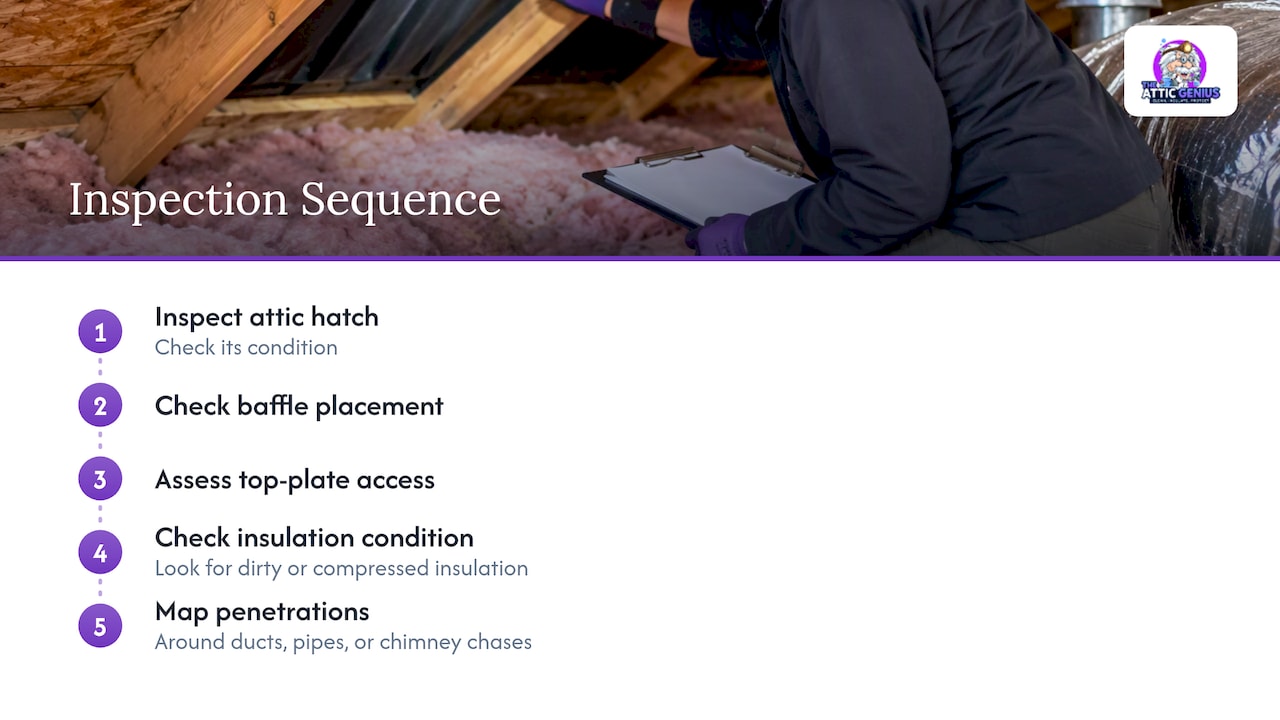
From there, the fixes are usually a mix of rigid blocking for oversized gaps, caulk or foam sealing matched to gap size, and reinstalling baffles so ventilation stays intact once insulation goes back down. Inspections are often available same-day, which matters when a homeowner has already spotted a draft and wants an answer quickly rather than waiting weeks for a quote.
When to DIY and When to Call In a Pro
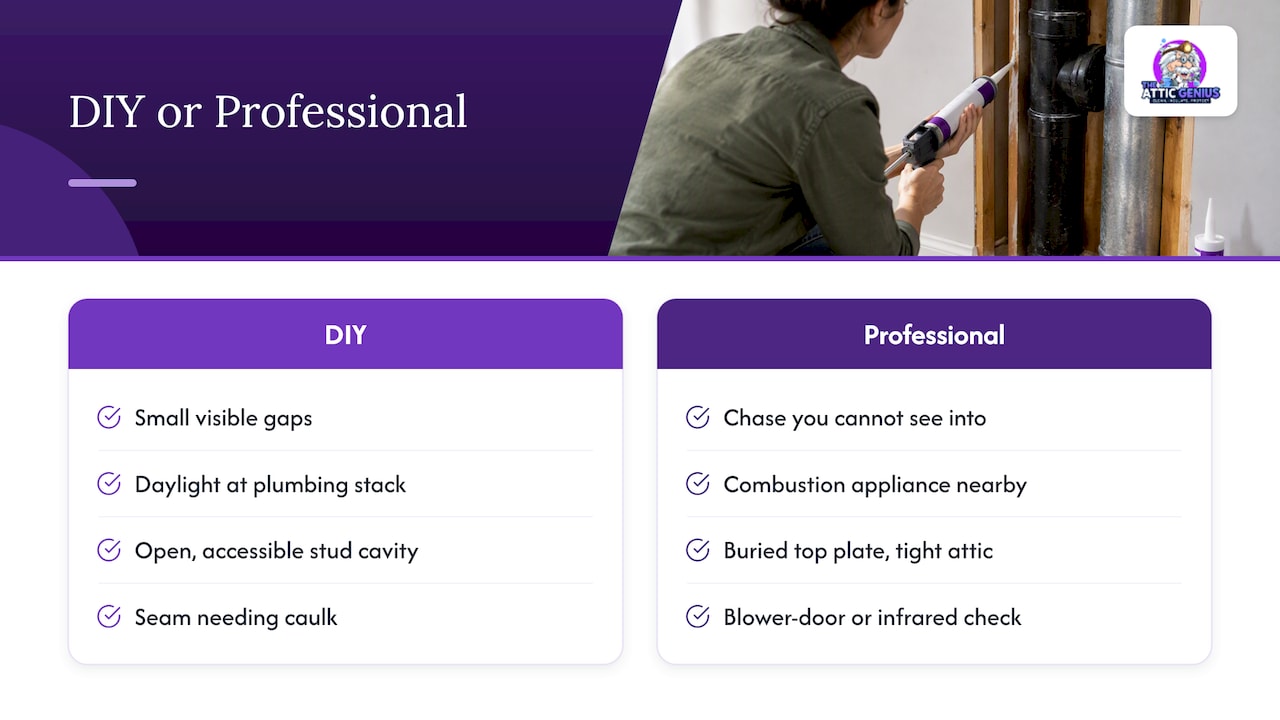
Small, visible gaps are a reasonable weekend project. If you can see daylight around a plumbing stack, a stud cavity is open and accessible, or a seam just needs a bead of caulk, a caulking gun and an afternoon will usually get you there.
Where I draw the line is anything involving a chase you cannot fully see into, a combustion appliance nearby, or a top plate buried under insulation in a tight, hard-to-reach section of attic. Those jobs benefit from a blower-door test or infrared check to confirm the seal actually worked, and from someone who has sealed a hundred attics and knows which shortcuts cause callbacks. Our crews run into both kinds of jobs every week across the area we serve, and the honest answer is usually obvious within the first ten minutes of an inspection.
— Jim
Getting Your Top Plates Sealed Without the Guesswork
If your attic has drafts you cannot pin down, or you are already planning an insulation upgrade, air sealing is best handled as part of a full attic assessment rather than a one-off patch job. A visit typically includes an inspection of your top plates, hatch, baffles, and penetrations, a written estimate before any work starts, a recommended order of operations, and a warranty on the finished work.

- Air Sealing: top-plate sealing, bypass closure, and gap-size-matched materials for your specific attic.
- Attic Insulation & Removal: paired with sealing so the two jobs happen in the right order instead of insulation covering up leaks.
- Attic Ventilation Solutions: baffle and wind-dam checks so sealing never comes at the cost of airflow.
- Moisture & Mold Remediation: for attics where trapped moisture has already caused damage.
A free inspection is the fastest way to find out exactly where your attic is losing air and get a straight answer on what it will take to fix it.
FAQ
What is the 7 and 7 rule for attics?
This term is not a recognized building-science standard, so there is no single definition to point to. If you have seen it referenced for ventilation or insulation depth, treat it as informal shorthand rather than an official code requirement, and check your attic against ENERGY STAR’s attic air-sealing guidance instead.
Is sealing an attic worth it?
Yes, for most homes. Attic air sealing closes the gaps that let conditioned air escape and moisture enter, which Building America identifies as one of the most effective steps for improving how well insulation actually performs.
What is a top plate in the attic?
A top plate is the horizontal framing piece that sits on top of a wall where it meets the attic floor or ceiling. Gaps at this wall-to-ceiling junction are a common path for conditioned air to escape into the attic, which is why sealing them is a priority task in most attic air-sealing projects.
How much does it cost to air-seal an attic?
Costs vary by attic size, how many gaps need sealing, and which materials are required, so there is no single published number that applies everywhere. A written estimate after an inspection is the most reliable way to know what your specific attic will cost to seal.
Should I seal my attic before or after adding insulation?
Seal first. Building America’s measure guideline recommends completing air sealing before new insulation goes in, since insulation does not stop air movement and covering unsealed gaps makes them much harder to find and fix later.
Sources
- Air Sealing Drywall to Top Plate — Building America Solution Center
- Measure Guideline: Guide to Attic Air Sealing — Building America
- Job Aid 2-1: Air Seal Top Plates in Attic — U.S. Department of Energy
- Attic air-sealing project — ENERGY STAR