Poor attic insulation is the leading cause of uneven home temperatures, high energy bills, and HVAC strain in American homes. The signs attic needs insulation upgrade are often visible, measurable, and already affecting your comfort right now. Most homeowners lose up to 40% of their heated or cooled air through a poorly insulated attic without ever realizing it. Knowing what to look for puts you in control of your home’s energy performance before the problem gets worse.
1. Signs attic needs insulation upgrade: temperature differences between floors
Uneven temperatures between floors are the clearest measurable sign that attic insulation is failing. A temperature gap over 5–8°F between your upstairs and downstairs rooms signals that your attic is no longer holding conditioned air effectively. That gap means heat is escaping in winter and flooding in during summer, forcing your HVAC system to work harder than it should.
When insulation breaks down, convection in your attic accelerates heat transfer between the living space and the outdoors. The result is rooms that never quite reach the set temperature, especially on the top floor. Your thermostat may show the right number while the bedroom feels five degrees off.
- Upstairs rooms feel noticeably hotter in summer or colder in winter than downstairs
- Your HVAC runs in longer cycles without reaching the set temperature
- Certain rooms always feel drafty regardless of the season
- You notice a sharp temperature drop near the ceiling on the top floor
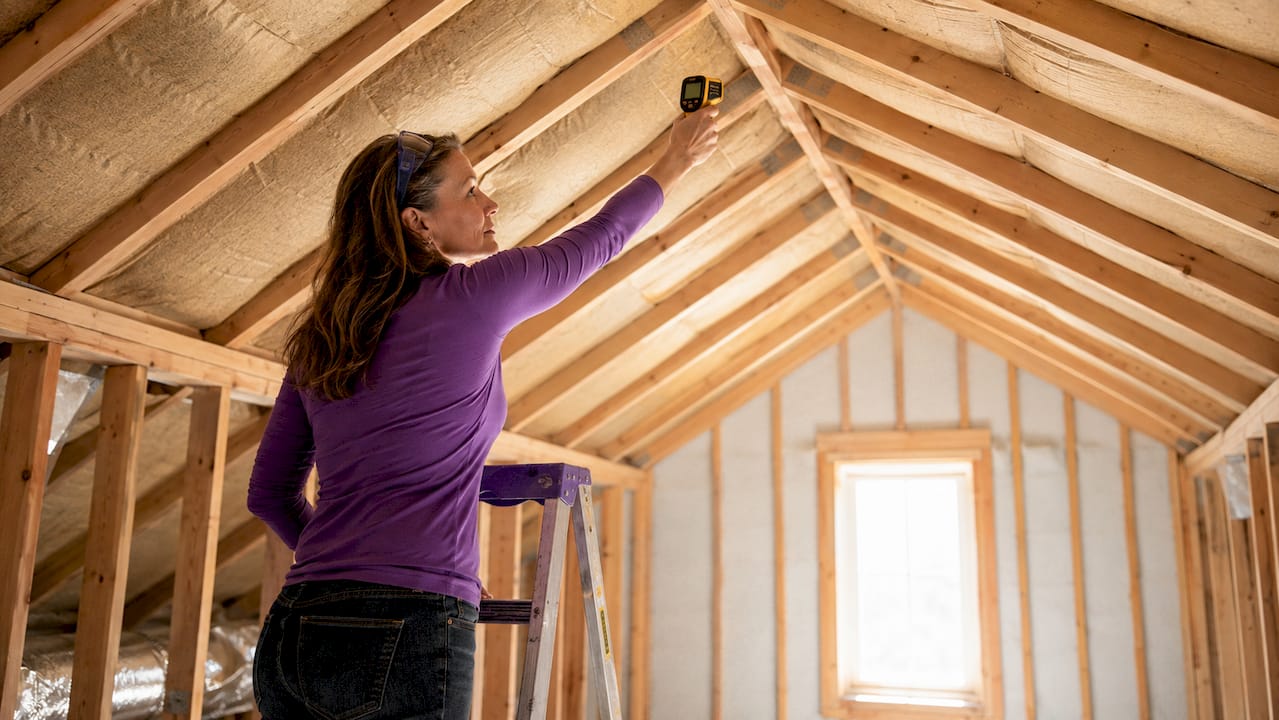
Pro Tip: Buy an inexpensive infrared thermometer and scan your ceiling from below. A reading that differs significantly from your wall temperature points directly to insulation failure above.
2. Visible joists and insufficient insulation depth
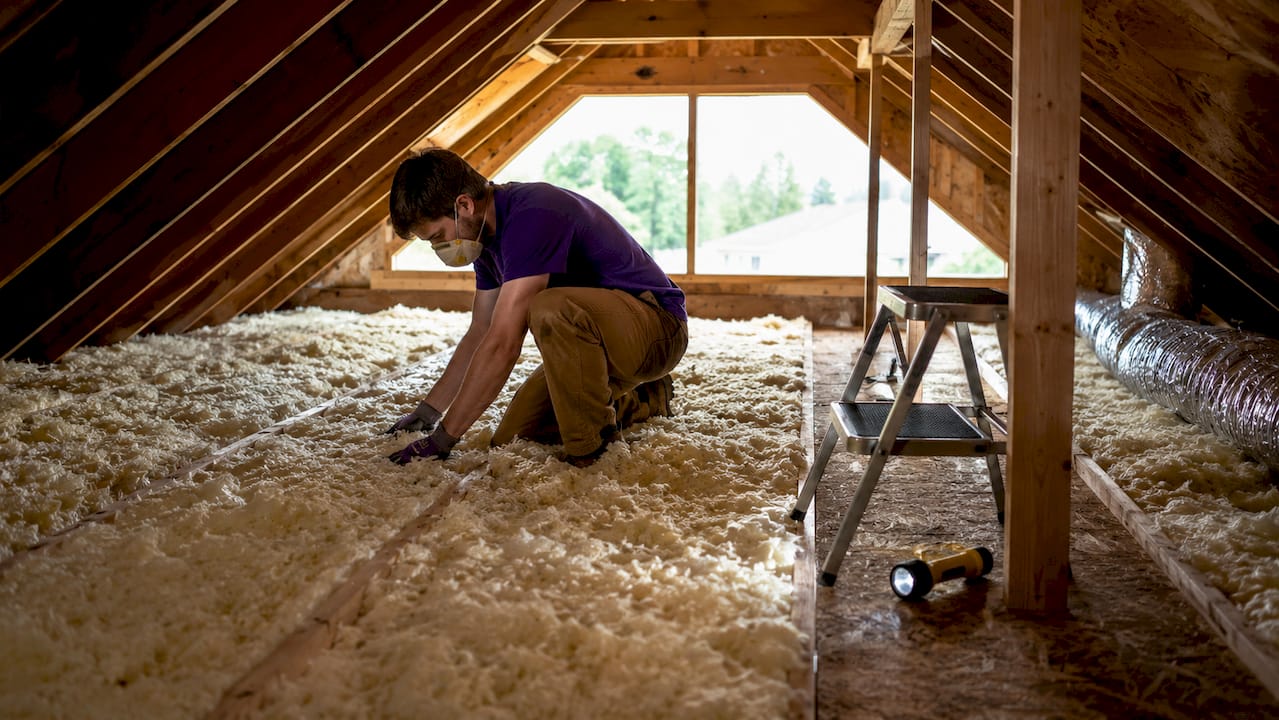
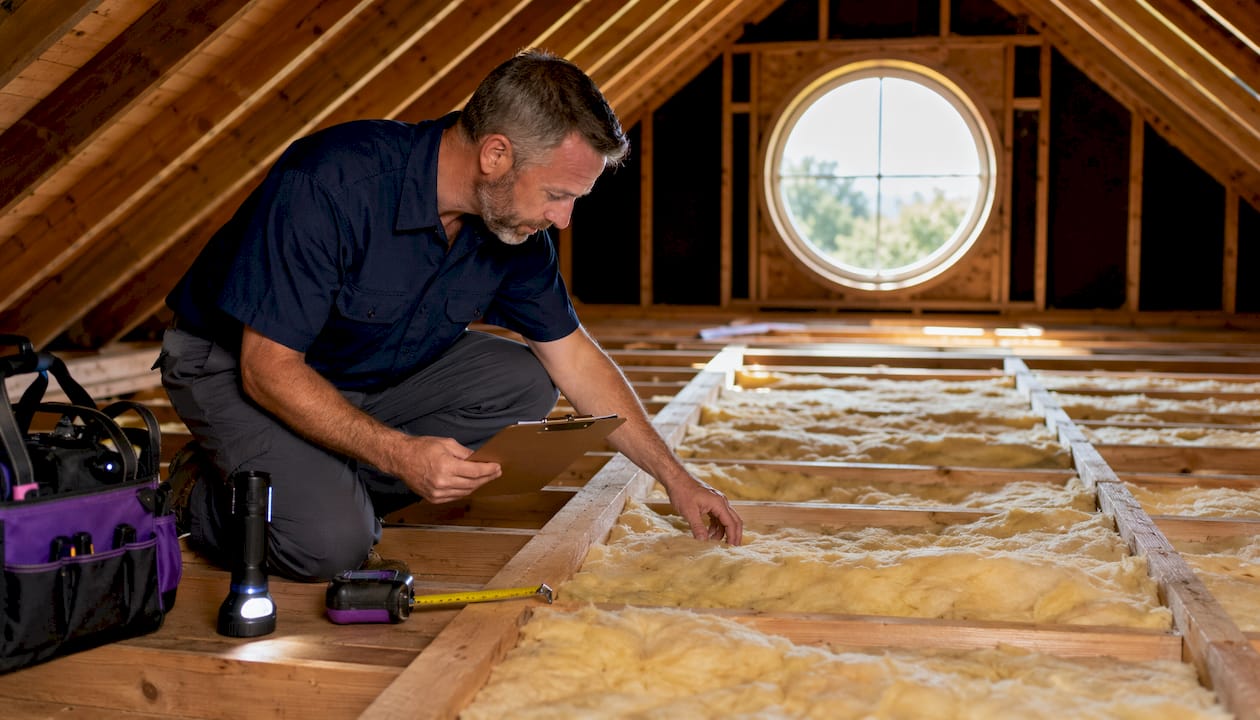
Visible attic floor joists are a direct sign that your insulation depth has fallen below effective levels. Recommended insulation depths are 16–18 inches for fiberglass batts and 12–13 inches for cellulose to meet modern building efficiency codes. When you can see the tops of your joists, your R-value is almost certainly below what current standards require.
Insulation compresses and settles over time, losing its ability to trap air and resist heat flow. A product that started at the right depth ten years ago may now sit two to four inches lower, cutting its thermal performance significantly. This settling happens gradually, which is exactly why most homeowners miss it.
- Bring a tape measure into your attic and measure the insulation depth at several points across the floor.
- Check for depth gauge markers installed during the original job. If none exist, visible joists confirm insufficient coverage.
- Look for patchy areas where insulation has shifted or been disturbed by foot traffic or pest activity.
- Compare your measured depth against the 16–18 inch fiberglass or 12–13 inch cellulose benchmarks.
- Note any areas where the insulation appears flattened, compressed, or discolored.
Pro Tip: Check your attic in late winter or early spring. Settling and damage from cold weather are easiest to spot before spring humidity sets in.
If you are considering a full upgrade, blown-in insulation fills gaps and irregular spaces more effectively than batts, making it a strong choice for attics with uneven coverage.
3. Dark streaks and air leaks hiding in plain sight
Dark gray or black streaks on your attic insulation are not just dirt. Those streaks indicate major air leaks where unconditioned air is being pulled through gaps in your building envelope, depositing dust and particles on the insulation surface. Adding new insulation on top of these leaks will not fix the underlying problem.
Air sealing must come before any insulation upgrade when streaks are present. The leaks driving those streaks also drive your heating and cooling costs up year-round. Skipping air sealing and going straight to insulation is one of the most common and costly mistakes homeowners make.
Air sealing services address the gaps around light fixtures, plumbing penetrations, and attic hatches that standard insulation cannot cover. Once those are sealed, new insulation performs at its rated R-value instead of fighting a losing battle against constant air movement.
4. Moisture, mold, and what you cannot see from the surface
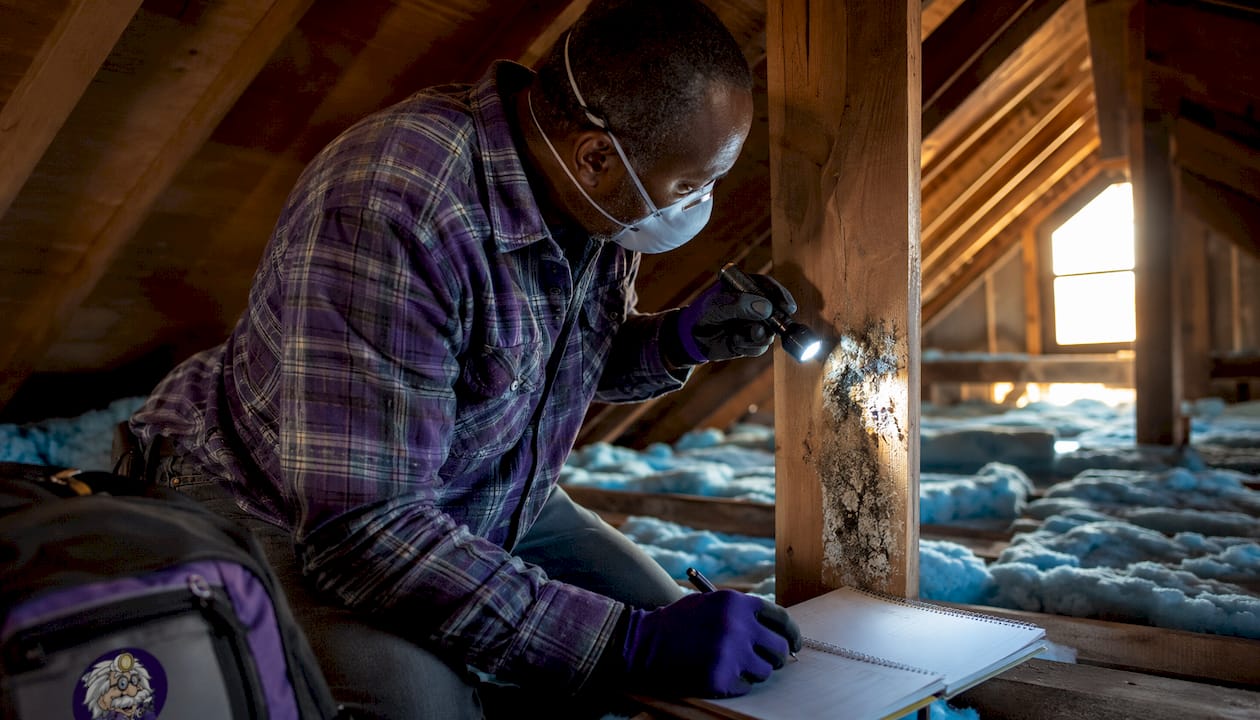
Moisture is the fastest way to destroy insulation performance, and it often hides where you cannot easily see it. Moisture and mold greatly reduce insulation performance and create serious indoor air quality and health risks. Wet insulation loses its ability to resist heat transfer almost entirely, meaning you are paying to heat or cool air that escapes immediately.
The tricky part is that insulation can look dry on the surface while remaining damp internally. Mold grows in that hidden moisture, spreading through the insulation and into the roof sheathing before you ever smell it. By the time a musty odor reaches your living space, the damage is already significant.
Inspect your roof sheathing for water stains, rust on nail heads, and dark discoloration along the rafters. These are the most reliable early signs of hidden moisture damage that has already compromised your insulation’s performance.
Common moisture sources include:
- Roof leaks from damaged shingles or flashing
- Bathroom or kitchen exhaust vents that terminate inside the attic instead of outside
- Condensation from temperature differences between the attic and living space
- Ice dams that force water under shingles during freeze-thaw cycles
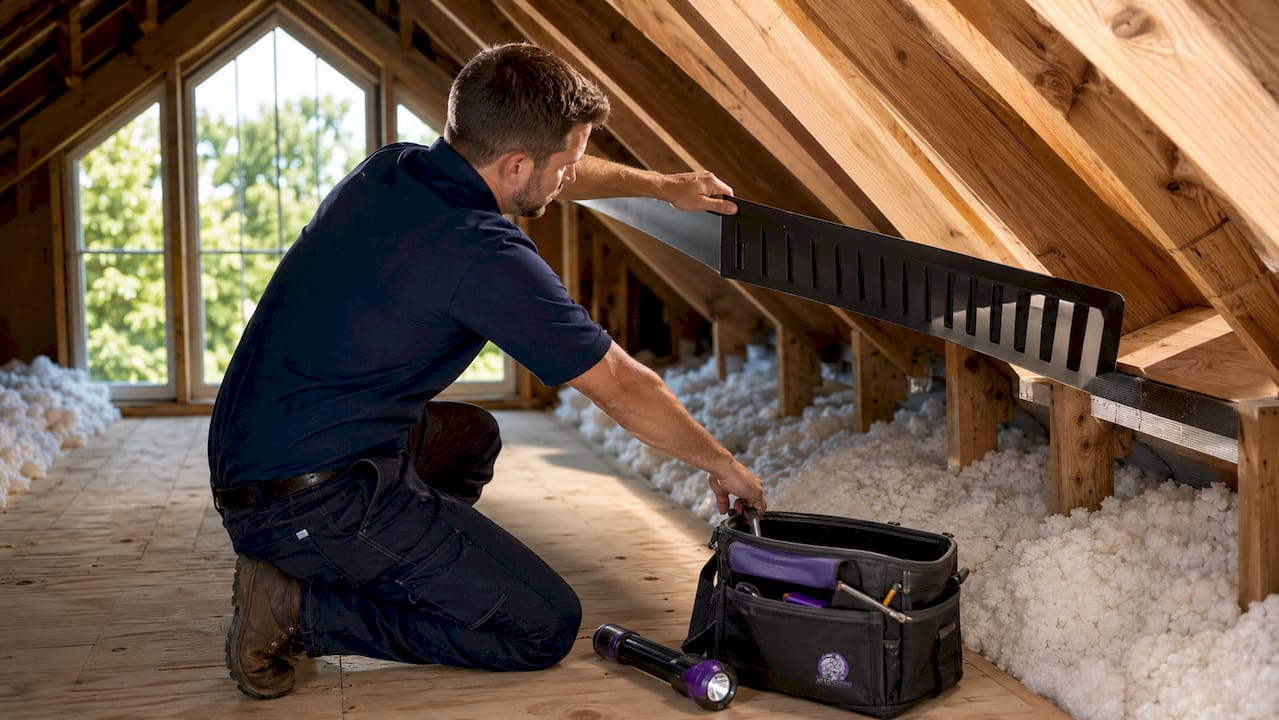
Ice dams specifically indicate heat loss from inadequate insulation combined with poor ventilation. Fixing insulation alone will not stop ice dams without also addressing attic airflow. Before any new insulation goes in, moisture and mold remediation must be completed to give the new material a clean, dry surface to perform on.
5. Pest damage and contamination that ruins insulation
Rodents and insects do not just live in attic insulation. They destroy it. Rodents compress insulation and contaminate it significantly, leaving gaps, cold spots, and biological waste throughout the material. That compression alone can cut the effective R-value in half in the areas they occupy.
Pest contamination degrades insulation R-value and damages indoor air quality in ways that no amount of added insulation can fix. Rodent droppings carry pathogens that become airborne when disturbed, creating a health risk for anyone in the home. The only safe solution is full removal and professional cleanup before re-insulating.
Signs of pest activity in your attic:
- Rodent droppings scattered across the insulation surface or concentrated in corners
- Nesting material made from shredded insulation, paper, or fabric
- Runways or tunnels pressed into the insulation where rodents travel repeatedly
- A persistent musty or ammonia-like odor coming from the attic
- Scratching or movement sounds from above the ceiling at night
Professional pest cleanup removes contaminated insulation safely and prepares the attic for a full replacement. Skipping this step and adding insulation on top of contaminated material traps the hazard inside your home permanently.
6. Rising energy bills that point to failing insulation
Your utility bills are one of the most reliable economic signs of poor attic insulation. Homes using 20–30% more energy than similar-sized neighbors with functioning HVAC systems commonly have attic insulation problems as the primary cause. That gap in energy use translates directly to money leaving your account every month.
Tracking your bills across seasons reveals patterns that a single month cannot show. Here is how to build a clear picture:
- Pull your utility bills for the last 12 months and note the highest and lowest months.
- Compare your usage in kilowatt-hours or therms against neighbors with similar square footage and HVAC equipment.
- Ask your utility provider for a usage comparison report. Many offer this free through their online portal.
- Track how often your HVAC runs per hour. Longer, more frequent cycles signal that conditioned air is escaping faster than the system can replace it.
Overworked HVAC equipment also wears out faster. A system that runs 30% longer than it should because of insulation failure reaches the end of its service life years earlier than expected. Upgrading your attic insulation reduces that strain and extends equipment life alongside cutting monthly bills.
Attic insulation degrades over 10–20 years, often so gradually that homeowners normalize the rising costs. By the time the bills feel obviously wrong, the insulation has typically been underperforming for years.
Key takeaways
Failing attic insulation shows up as measurable temperature gaps, visible depth loss, moisture damage, pest contamination, and energy bills running 20–30% above comparable homes.
| Point | Details |
|---|---|
| Temperature gap threshold | A difference over 5–8°F between floors is a direct, measurable sign of insulation failure. |
| Insulation depth benchmarks | Fiberglass needs 16–18 inches and cellulose needs 12–13 inches to meet current efficiency codes. |
| Moisture must be fixed first | Wet or moldy insulation requires professional remediation before any new material is installed. |
| Pest contamination requires removal | Rodent-damaged insulation cannot be topped off. Full removal and cleanup are required. |
| Track energy bills over seasons | Usage running 20–30% above comparable homes points to attic insulation as the primary cause. |
What I have learned after years of attic inspections
Most homeowners I talk to have been living with the signs for years before they call. The upstairs bedroom that never gets warm enough in january. The energy bill that crept up so slowly they stopped questioning it. Attic insulation degrades gradually, and that gradual pace is exactly what makes it so easy to ignore.
The pattern I see most often is a combination of factors, not just one. Moisture softens the insulation, pests move in because the material is already disturbed, and the whole system collapses quietly over a decade. By the time someone notices, they are dealing with mold, contamination, and insulation that is a fraction of its original R-value.
My honest recommendation is to schedule a professional inspection every 10 years, or immediately after any major roof event, pest infestation, or flooding. Do not wait for the bills to become undeniable. The cost of early action is always lower than the cost of a full remediation after years of compounding damage. The Attic Genius offers same-day attic inspections for exactly this reason.
— Jim
The Attic Genius can assess and upgrade your attic insulation
If any of the signs in this article sound familiar, a professional inspection is the right next step.

The Attic Genius serves homeowners across Chicagoland and the Northwest Suburbs with full attic assessments, insulation upgrades and replacement, pest waste cleanup, and mold remediation. Our team brings 25+ years of combined experience and has earned 400+ five-star reviews. We provide upfront pricing, written warranties, and same-day inspections so you know exactly what your attic needs before any work begins. Whether you are dealing with rising bills, uneven temperatures, or visible damage, we assess what you actually need and get it done right. You can also review our 2026 insulation guide to understand how current standards apply to your home.
FAQ
What temperature difference signals attic insulation failure?
A gap of more than 5–8°F between your upstairs and downstairs rooms is a measurable sign that attic insulation is no longer performing effectively.
How deep should attic insulation be?
Fiberglass insulation should reach 16–18 inches and cellulose should reach 12–13 inches to meet modern building efficiency standards. Visible joists mean you are below those levels.
Can I add insulation on top of old insulation?
Only if the existing insulation is dry, undamaged, and free of pest contamination. Moisture damage or rodent activity requires full removal before new material is installed.
How do I know if moisture has damaged my attic insulation?
Look for water stains on roof sheathing, rust on nail heads, musty odors, and dark discoloration on insulation. The surface may look dry while the material underneath remains damp.
How often should attic insulation be inspected?
Professional inspections are advisable every 10 years, or immediately after a roof leak, pest infestation, or major storm event.