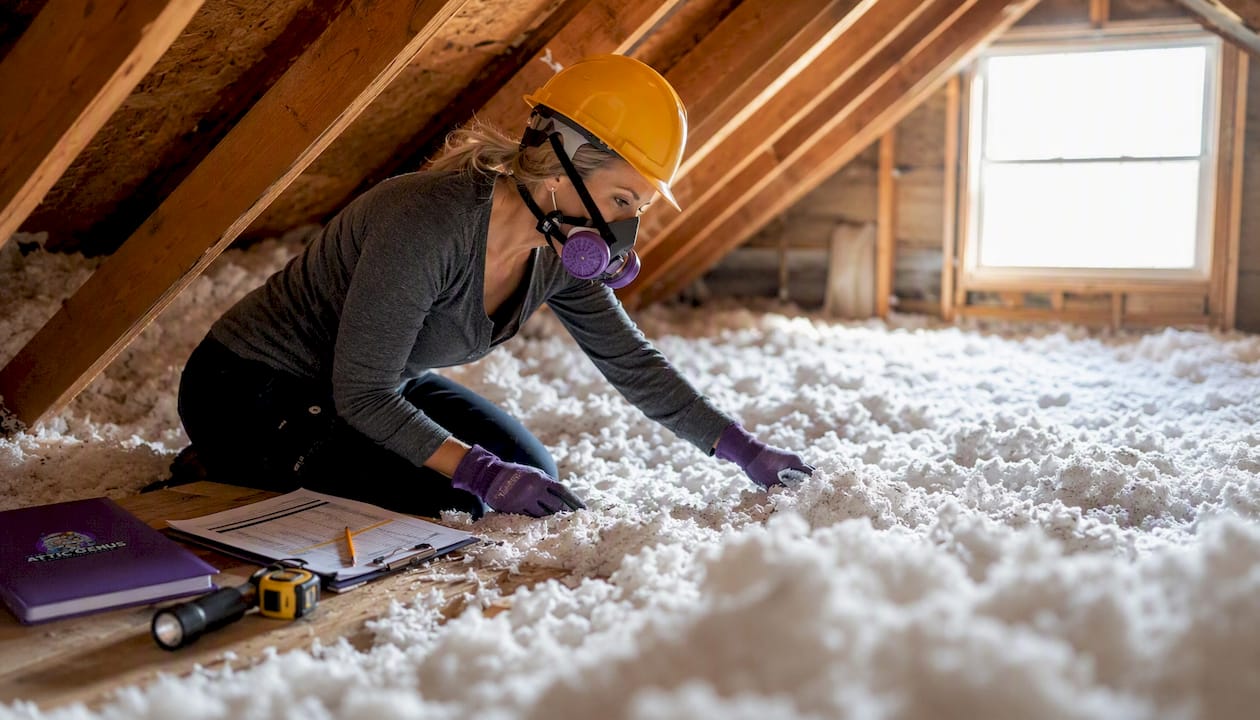
Attic insulation is a magnet for nesting animals because it delivers three things every creature needs: warmth, concealment, and material that shreds easily into a cozy nest. Mice, squirrels, raccoons, bats, and birds all exploit the same basic physics — your insulated attic holds heat far better than the outdoors, stays quiet, and rarely gets disturbed. If you suspect something is living up there, the single most important first step is to avoid touching or sweeping any droppings you find. Open the attic hatch, shine a flashlight from the access point, and look without stepping in. If you see heavy fecal deposits, active nests, or smell a strong ammonia or musky odor, stop and call a professional. The CDC’s rodent prevention guidance classifies large infestations with significant fecal accumulation as situations requiring professional intervention, not DIY cleanup.
Stat to know: The CDC flags any gap larger than a quarter of an inch as a potential rodent entry point — a gap roughly the diameter of a pencil eraser is all a mouse needs.
Pro Tip: Before you open the attic hatch, put on an N95 respirator and disposable gloves. Even a brief look can stir up dust that carries pathogens if droppings are present.
Table of Contents
- Which animals are most likely nesting in your attic?
- Why does attic insulation attract animals so reliably?
- How to tell if animals have nested in your attic insulation
- What damage and health risks do nesting animals actually cause?
- Safe steps to take before calling a professional
- How to prevent animals from nesting in your insulation
- When should you call a professional, and what does the service involve?
- Key Takeaways
- The part most homeowners get wrong
- The Attic Genius handles the whole job, not just part of it
- Useful sources and further reading
Which animals are most likely nesting in your attic?
Knowing the species matters because each one leaves different evidence, poses different risks, and requires a different removal approach.
Mice and rats are the most frequent offenders in Chicagoland and across the U.S. Mice build small, cup-shaped nests from shredded insulation, paper, and fabric. Rats prefer larger, flatter platforms. Both are primarily nocturnal, so you’ll hear scratching or scurrying after dark. Rats also gnaw wiring aggressively, which creates a direct fire hazard.
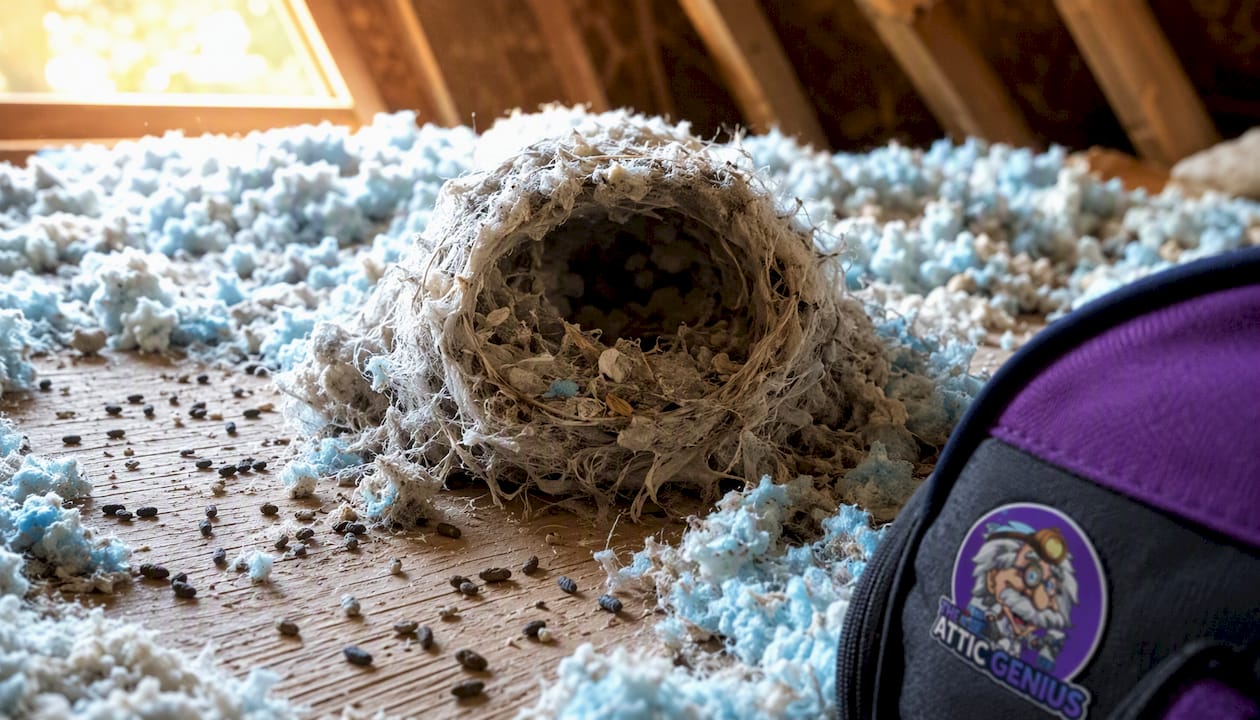
Squirrels are diurnal — active during the day — so daytime thumping overhead is a strong squirrel indicator. They’re most likely to enter in fall as temperatures drop, and they tear large sections of batt insulation to build bulky nests near eaves or gable vents.
Raccoons are strong enough to rip open soffits and push through rotted fascia boards. They leave large, dark droppings (similar in size to a small dog’s) and tend to use one corner of the attic as a latrine. A raccoon in the attic usually means significant structural damage, not just soiled insulation.
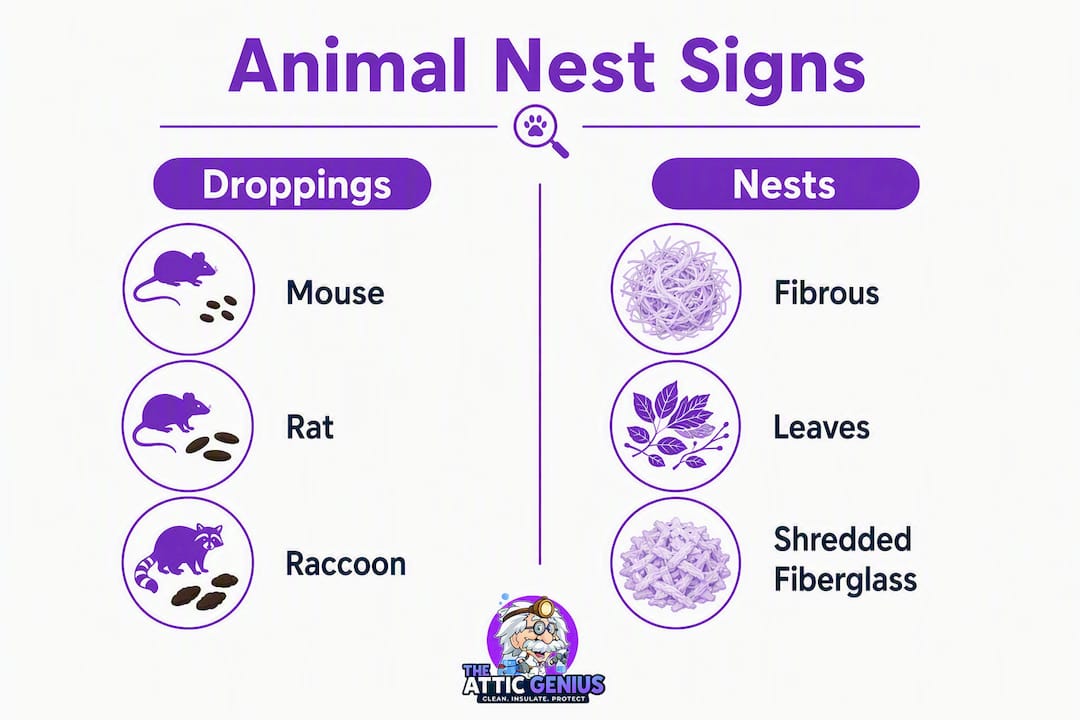
Birds (starlings, pigeons, sparrows) enter through open ridge vents or broken soffit panels. They build dense nests from twigs, feathers, and debris and are more common in spring and summer. Bird guano accumulates fast and carries Histoplasma capsulatum, the fungus linked to histoplasmosis.
Opossums are less common but will use an attic as a den, especially in winter. They’re slow-moving and leave large, irregular droppings.
Bats roost in colonies and squeeze through gaps as small as 3/8 inch. They don’t build nests but accumulate guano directly below roosting spots. Bat guano is one of the most serious attic health hazards — NIOSH field reports document fungal spore release during uncontrolled disturbance, with direct links to histoplasmosis outbreaks.
Seasonal patterns to note:
- Cold months (October through March): rodents, squirrels, and opossums are most active in attics, seeking thermal shelter.
- Spring and summer: birds and bats are more likely to establish colonies.
- Year-round risk: rats and mice breed continuously and don’t follow seasonal patterns the way wildlife does.
What you can safely observe from the access hatch:
- Droppings on top of insulation (note size and shape)
- Flattened or compressed paths through loose-fill insulation
- Shredded material, fur clumps, or feathers
- Visible entry holes near eaves, soffits, or vent openings
Why does attic insulation attract animals so reliably?
The short answer is that your attic functions like a purpose-built animal shelter. Three properties work together to make it irresistible.
Thermal refuge. Attics sit directly above heated living spaces, which means the air temperature inside stays significantly warmer than the outdoor air in winter. For a small mammal, that temperature difference translates directly into energy savings — less metabolic work to stay warm, more energy available for reproduction. Insulation amplifies this effect by slowing heat loss, creating stable warm pockets that persist even on the coldest nights. Rats and other mammals preferentially use insulated cavities in winter precisely because the energy savings are measurable.
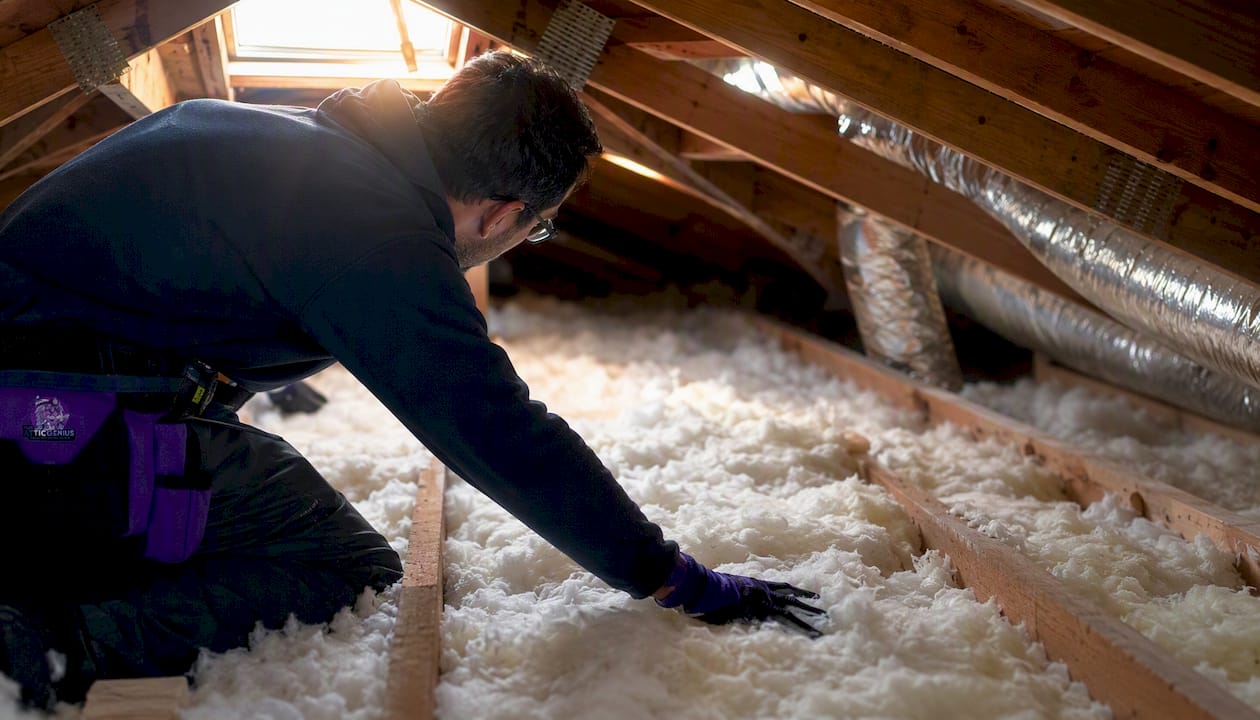
Manipulable material. Fiberglass batts, blown-in cellulose, and loose-fill mineral wool all shred or compress into shapes animals can form into nesting bowls. A mouse can pull fiberglass apart with its front teeth in minutes, creating a tight, insulated cup that traps body heat around its young. The nest itself becomes a secondary insulator — the animal is essentially building a sleeping bag inside your sleeping bag.
Concealment and low disturbance. Most homeowners enter their attic a handful of times per year, if that. Animals read that as a safe, predator-free zone. Soffits, eaves, and the spaces behind knee walls create additional hidden runways that animals use to move without exposure. Once a colony or family group is established, the attic becomes a multi-generational site — the same entry points get used year after year unless they’re physically sealed.
The thermal magnet effect: The gap between your heated living space and the cold outdoor air concentrates warm air in the attic cavity. Animals don’t reason through this, but they find it reliably — which is why small entry points near soffits, vents, and plumbing stacks are the first places to check when you’re trying to understand how something got in.
Pro Tip: Attics near kitchens or laundry rooms are especially attractive because heat and moisture from those spaces rise directly into the cavity above. If your attic access is near one of these rooms, inspect it more frequently.
How to tell if animals have nested in your attic insulation
Think of your insulation as a record of everything that’s happened up there. Compressed runways, staining, and mixed nesting materials reveal species, activity level, and how far contamination has spread — attic insulation is effectively a forensic archive of pest activity.
Dropping size identification guide
| Species | Dropping size | Shape and notes |
|---|---|---|
| Mouse | 3–6 mm | Pointed ends, scattered widely |
| Rat | 6–12 mm | Blunt ends, capsule-shaped |
| Squirrel | 6–12 mm | Rounded, often near entry points |
| Raccoon | — | Tubular, often in latrine piles |
| Bird (pigeon/starling) | Variable | White uric acid cap, liquid component |
| Bat | 5–8 mm | Crumbles to powder when dry, shiny when fresh |
The light test
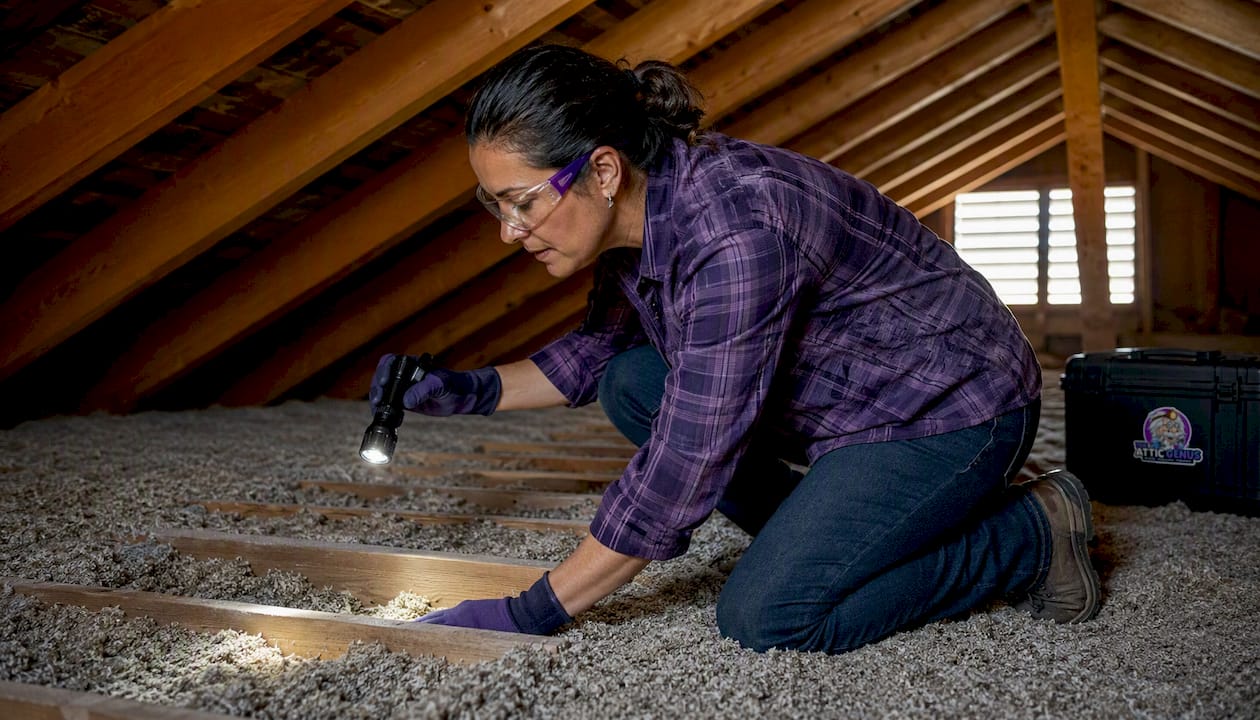
Shine a high-lumen flashlight at a low, acute angle across the insulation surface rather than straight down. This raking beam casts shadows that reveal flattened runways and compressed paths invisible under normal overhead lighting. Compare suspicious areas to undisturbed insulation nearby — early rodent signs include compressed nesting bowls, tunnels in blown-in insulation, and dark pelletized droppings that the raking light makes obvious.
Active vs. historical infestation:
- Active: Warm nests, fresh (shiny, moist) droppings, recent chew marks on wood or wiring, strong ammonia or musky odor
- Historical: Dry, crumbling droppings, settled debris, no fresh material, odor faded
Full checklist of infestation signs:
- Scratching, scurrying, or thumping sounds (note time of day to help identify species)
- Droppings on top of or embedded in insulation
- Flattened runways or compressed “bowls” in loose-fill insulation
- Clumps of fur, feathers, or plant material
- Strong ammonia or musky odor (stronger in warm weather as urine-soaked insulation heats up)
- Visible entry holes at eaves, soffits, ridge vents, or around plumbing stacks
- Unexplained increase in heating or cooling bills (compressed insulation loses R-value)
What damage and health risks do nesting animals actually cause?
The damage goes well beyond a few compressed batts. Animals nesting in insulation create problems across three categories: structural, mechanical, and biological.
Structural and system damage:
- Insulation compression lowers R-value, reducing thermal performance and raising energy bills
- Urine wicks through insulation, spreading contamination far beyond the visible nest
- Feces and urine stain and degrade insulation material, often requiring full removal
- Gnawed wiring is a direct fire hazard — rats and squirrels chew through electrical insulation regularly
- Nests packed into vent openings restrict airflow and can cause moisture buildup and mold
Health hazards:
- Hantavirus pulmonary syndrome from rodent droppings — the CDC’s hantavirus guidance specifically lists disturbing rodent nests and excreta as a primary exposure route
- Histoplasmosis from bat and bird guano — inhalation of Histoplasma capsulatum spores released when dried guano is disturbed; CDC epidemiological data links outbreaks directly to attic and building cleanouts
- Allergic reactions and respiratory irritation from animal dander and decomposing nesting material
- Secondary mold growth in insulation soaked with urine or exposed to moisture from blocked ventilation
Health risk that surprises most homeowners: Urine doesn’t stay where you see it. It wicks laterally through blown-in cellulose and fiberglass, spreading contamination well beyond the nest. In warm weather, the odor intensifies as the material heats up — a sign that contamination has spread further than the visible stain suggests.
When to treat it as urgent: Chewed wiring, large guano deposits, or any sign of bat or raccoon presence should move you directly to calling a professional. These are not situations where a partial cleanup and a can of spray foam are adequate.
Safe steps to take before calling a professional
The most common mistake homeowners make is grabbing a broom. Sweeping or vacuuming dry droppings aerosolizes particles that can carry hantavirus or histoplasmosis spores. The CDC’s cleanup guidance is explicit: do not sweep or vacuum contaminated areas without specific containment and PPE protocols in place.
What you can safely do:
- Conduct a non-invasive visual check from the attic access point. Use a flashlight; don’t step into the insulation or disturb any material.
- Document what you see with photos. Note dropping locations, compressed areas, visible entry holes, and any chewed material. This helps a professional assess scope before arriving.
- Identify obvious entry points from outside the home — look at soffits, ridge vents, gable vents, and where utility lines enter the structure. Don’t seal them yet; an animal trapped inside will cause more damage trying to exit.
- Keep children and pets away from the attic access until the situation is assessed.
- Call a licensed wildlife remover or pest-remediation professional if you observe any of the threshold indicators below.
Pro Tip: If you do enter the attic briefly for a visual check, wear an N95 respirator (not a dust mask), disposable gloves, and eye protection. Remove and bag the gloves before leaving the attic space.
Thresholds that require a professional — don’t attempt DIY cleanup if you find:
- Large piles of guano (bat or bird)
- Concentrated fresh rodent droppings covering more than a small area
- Evidence of raccoons or bats (size of droppings, colony-scale guano deposits)
- Chewed electrical wiring
- Active wildlife still present in the space
How to prevent animals from nesting in your insulation
Exclusion is more durable than removal alone. Animals will return to the same attic if the entry points stay open, so physical sealing is the non-negotiable foundation of any prevention plan.
Sealing and exclusion:
- Seal all gaps and holes larger than 1/4 inch (6 mm) around utility penetrations, plumbing stacks, vents, soffits, and eaves. The CDC’s rodent prevention guidance uses this threshold specifically for rodent exclusion
- Use hardware cloth (1/4-inch galvanized mesh) over vent openings rather than standard window screen, which rodents and squirrels can chew through
- Install proper attic baffles to maintain ventilation airflow while blocking animal access through soffit vents
- Cap ridge vents with commercial-grade vent covers rated for wildlife exclusion
- Check and repair gable vents, which are a common squirrel entry point
Landscape and behavioral fixes:
- Trim tree branches to at least 6–8 feet from the roofline — overhanging branches are the most common squirrel highway into an attic
- Secure compost bins, pet food, and garbage cans; food sources near the house increase animal pressure on entry points
- Fix any fascia rot or soffit damage promptly; soft wood is an invitation for raccoons and squirrels to enlarge existing gaps
Ongoing maintenance:
- Inspect the attic at least twice a year (fall before cold weather, spring after nesting season)
- After any inspection, check for new runways, fresh droppings, or new chew marks
- Integrate pest-proofing into routine insulation assessments — if your insulation is due for an upgrade, signs of performance loss from compression or contamination are worth checking at the same time
For homeowners who need ventilation work as part of their exclusion plan, a qualified attic venting contractor can install or upgrade vent covers that maintain airflow without creating animal access points.
When should you call a professional, and what does the service involve?
Call a professional when you find:
- Heavy droppings or guano deposits covering a significant area
- Chewed wiring or damaged ductwork
- Evidence of raccoons, bats, or other larger wildlife
- Any suspected disease exposure (you’ve been in the space without PPE and found heavy contamination)
- Odors that persist after ventilating the attic
What professional services typically include:
| Service component | What it involves |
|---|---|
| Wildlife exclusion | Identifying and sealing all entry points after animals are removed |
| Controlled insulation removal | Mechanical removal using HEPA-filtered equipment to avoid aerosolizing particles |
| Disinfection and remediation | Application of EPA-registered disinfectants per CDC cleanup protocols |
| Insulation replacement | Installation of new insulation to restore R-value and thermal performance |
| Wiring and duct inspection | Assessment of chew damage; coordination with electricians if needed |
| Waste disposal | Documented, contained disposal of contaminated material |
Professional cleanup is fundamentally different from household cleaning. Pros use moisture-controlled removal methods, HEPA-filtered vacuums, full containment, and documented waste disposal — all designed to avoid aerosolizing infectious particles, consistent with CDC cleanup protocols. A shop vac and a trash bag don’t meet that standard.
Questions to ask any contractor you’re vetting:
- Do you use HEPA-filtered equipment for removal?
- What PPE protocols do your technicians follow?
- How is contaminated waste disposed of, and is it documented?
- Do you coordinate with licensed wildlife removal if animals are still present?
- Do you offer written warranties on the replacement insulation?
- Is your pricing upfront and itemized before work begins?
On cost and timeline: Final cost depends on infestation size, insulation type, attic square footage, and whether additional repairs (wiring, ventilation, structural) are needed. A straightforward rodent cleanup and insulation replacement in a standard attic typically takes one to two days. Larger jobs involving bats, raccoons, or extensive contamination run longer. Get a written scope and price before any work begins. For a detailed look at what the replacement process involves, the guide on attic insulation after pest infestation walks through what homeowners should expect at each stage.
Key Takeaways
Animals nest in attic insulation because it provides warmth, concealment, and shreddable material — and the damage they cause, from compressed R-value to chewed wiring and pathogen-laden droppings, requires professional cleanup in any serious infestation.
| Point | Details |
|---|---|
| Why animals target insulation | Warmth, concealment, and easy-to-manipulate fibrous material make attics the ideal nesting site. |
| Inspect safely first | Use a flashlight from the access hatch; never sweep or vacuum droppings before calling a pro. |
| Seal gaps to prevent re-entry | Any gap larger than 1/4 inch (6 mm) is a potential rodent entry point per CDC guidance. |
| Health risks are real | Rodent droppings carry hantavirus; bat and bird guano can release histoplasmosis spores when disturbed. |
| The Attic Genius | Provides inspection, pest waste cleanup, controlled insulation removal, and replacement for Chicagoland homeowners. |
This article is general information, not professional health or legal advice. For specific guidance on contamination cleanup, consult the CDC’s published protocols or a licensed remediation professional.
The part most homeowners get wrong
The conventional wisdom on attic pests tends to focus on the animals themselves — trap it, remove it, done. What gets underestimated almost every time is the insulation. By the time a homeowner notices signs of infestation, the insulation has usually been compromised for months. Urine has wicked laterally through the material. Droppings are embedded in the fibers. The R-value has dropped in the compressed areas. And in many cases, the entry points that let the first animal in are still open.
The other mistake I see regularly: homeowners who do a partial cleanup — pull out the obvious nest, spray some disinfectant, add a layer of new insulation on top — without addressing the contamination underneath or sealing the entry. Six months later, the same corner of the attic is active again. The new insulation just gave the returning animals better nesting material.
The attics that stay clean after remediation are the ones where the job was done completely: full removal of contaminated material, proper disinfection, sealed entry points, and fresh insulation installed with the right R-value for the space. That’s not a sales pitch — it’s just what the pattern of re-infestations shows. Partial fixes invite repeat visits.
The Attic Genius team has handled hundreds of these jobs across Chicagoland, and the 400+ five-star reviews reflect what happens when the work is done right the first time. Twenty-five-plus years of combined experience means the team has seen every variation of this problem — from a single mouse nest in a corner to full-attic bat colony remediation.
The Attic Genius handles the whole job, not just part of it
If you’ve found signs of animals in your attic, the next step isn’t a partial fix. The Attic Genius offers same-day inspections across Chicagoland and the Northwest Suburbs, with upfront pricing and written warranties on every job. The team handles the complete scope: professional pest and vermin droppings cleanup, controlled insulation removal using HEPA-filtered equipment, full disinfection, and fresh insulation installation to restore your attic’s thermal performance.
For homeowners whose insulation has been compressed or contaminated, the signs your attic needs an insulation upgrade page is a good starting point to understand what performance loss looks like and what replacement involves. Air sealing is included where entry points need to be closed permanently. If you need a full attic cleanout before new insulation goes in, EasyScrap’s attic cleanout service is a specialized option worth considering for debris removal. Schedule your inspection with The Attic Genius today and get a clear picture of what’s in your attic and exactly what it will take to fix it.
Useful sources and further reading
- CDC — Rodent prevention guidance: Entry-sealing thresholds and when to call professionals for heavy infestations.
- CDC — Cleaning up after rodents: Step-by-step protocols for safe cleanup, including PPE requirements and aerosolization risks.
- Hantavirus Pulmonary Syndrome — CDC Updated Recommendations for Risk Reduction: Exposure routes and prevention measures for hantavirus from rodent nests and droppings.
- Epidemiology of Histoplasmosis Outbreaks, United States, 1938–2013 — CDC Emerging Infectious Diseases: Outbreak data linking attic and building cleanouts to histoplasmosis cases.
- HHE Report No. HETA-92-0348-2361 — NIOSH (bat guano case study): Field documentation of histoplasmosis risk during bat guano removal from a building attic.
- Recommendations for protecting workers from Histoplasma capsulatum exposure during bat guano removal — CDC/NIOSH: Specific PPE and containment protocols for guano removal in enclosed spaces.
- Attic insulation after pest infestation: a homeowner’s guide — The Attic Genius: What to expect from professional removal and replacement after an infestation.