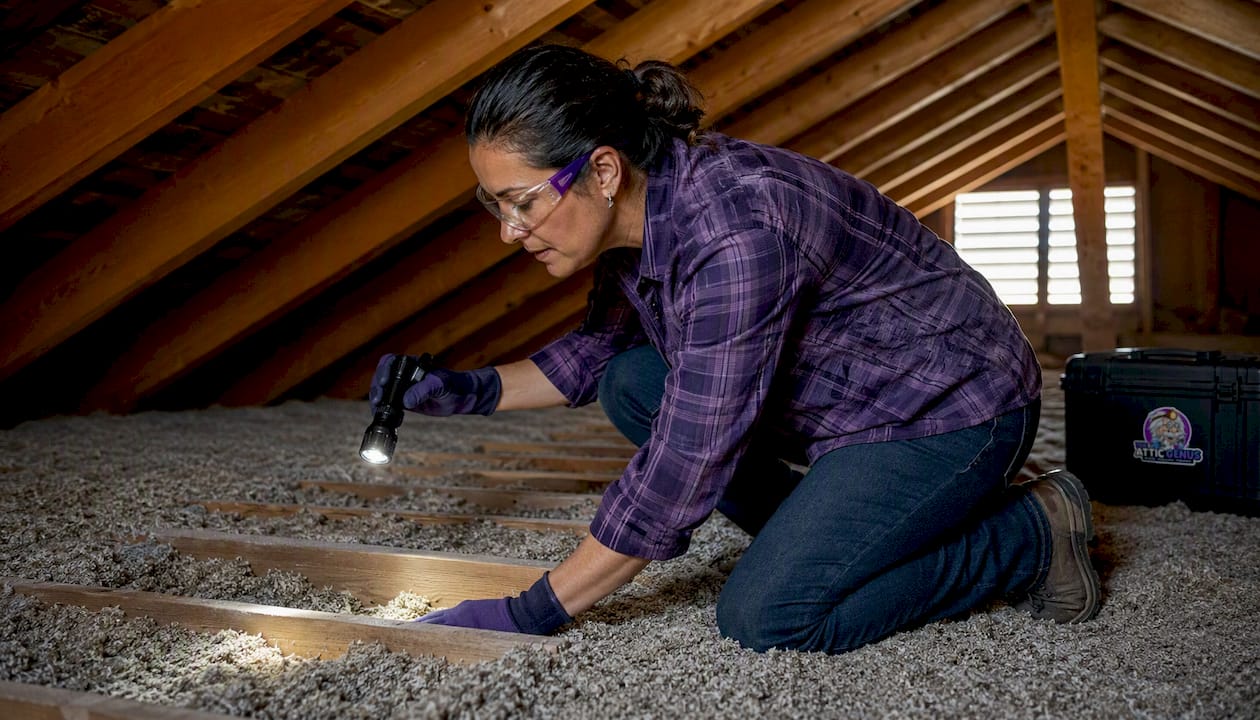
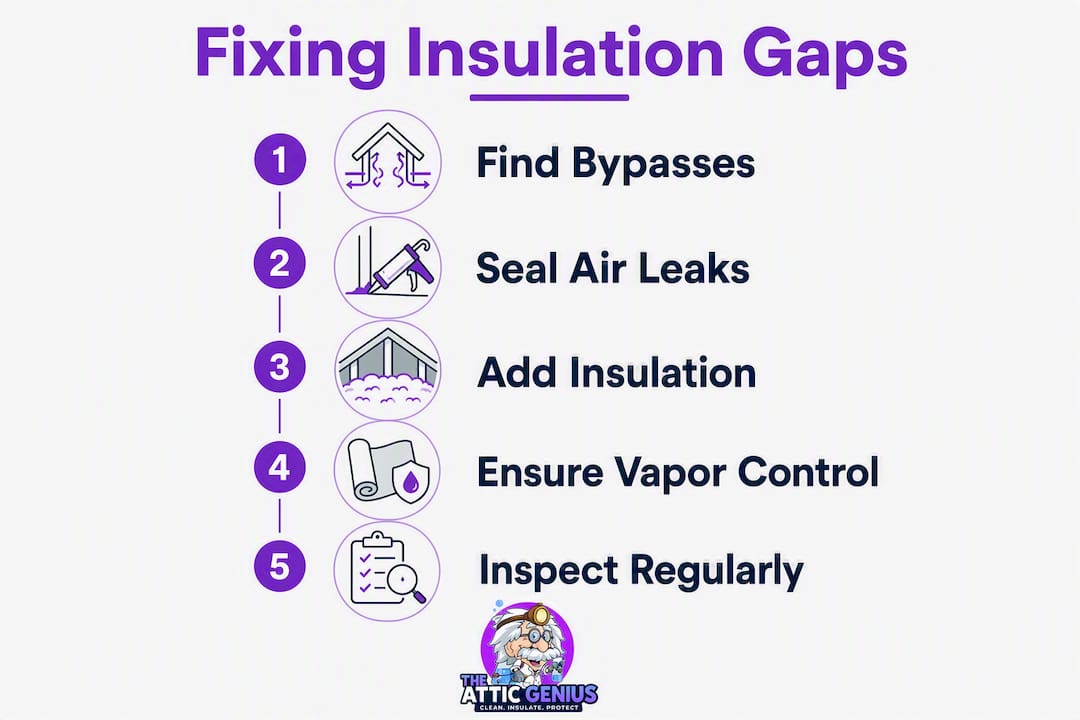
Gaps in insulation matter because they let air and moisture bypass your thermal barrier, and that air movement can erase much of the R-value you paid for. The fix is not just adding more insulation. You need to air-seal the bypasses first, then top up. Do those two things in the right order and you will actually feel the difference.
Three facts to know right now:
- Even small gaps allow warm, moist air to move through your walls and attic, triggering condensation and potential mold growth
- ENERGY STAR reports that sealing and insulating can save homeowners an average of 11–15% on energy costs, and most U.S. homes are currently under-insulated
- Air sealing must come before adding insulation, not after, because insulation slows conduction but cannot stop airflow
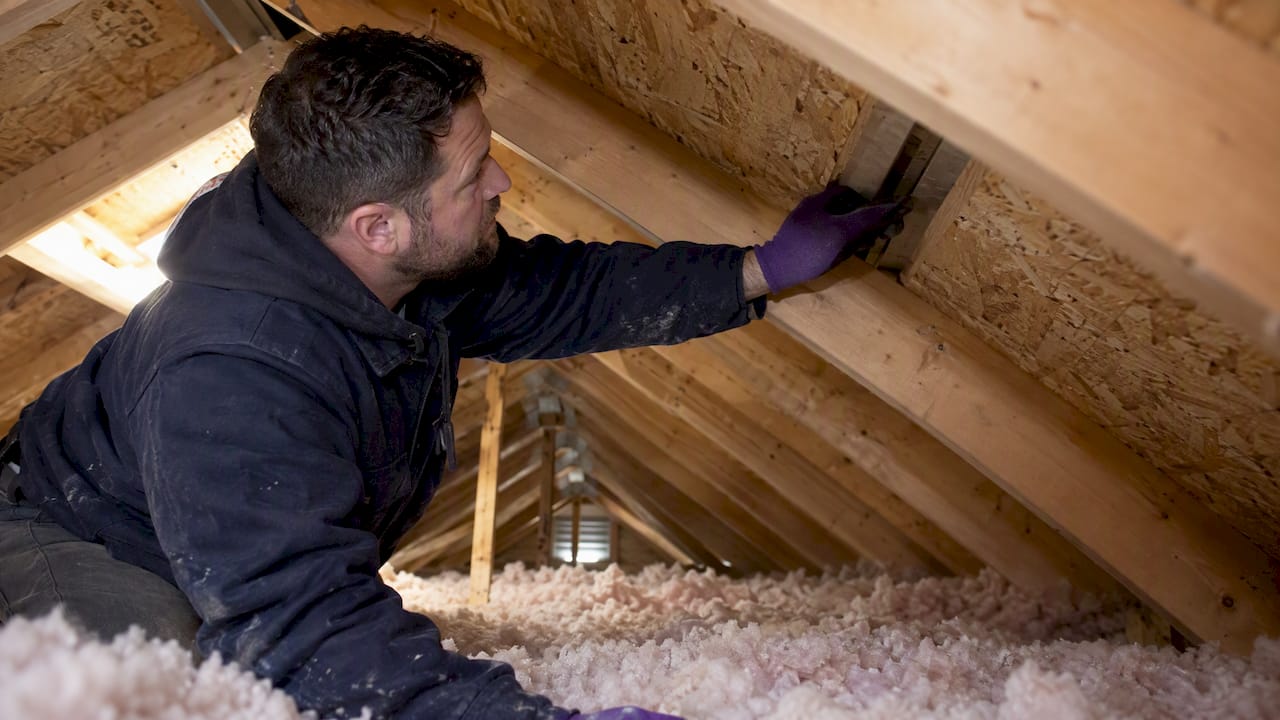
Quick action: Climb into your attic on a cold day and look for daylight around the chimney, recessed lights, and where interior walls meet the attic floor. If you feel a draft near any of those spots, air sealing those bypasses is your highest-priority fix before you add a single inch of new insulation.
Table of Contents
- 1. How gaps reduce your insulation’s performance
- 2. Why gaps increase your moisture and condensation risk
- 3. Where gaps and thermal bypasses actually show up
- 4. How to detect gaps: DIY tests and when to call a pro
- 5. How to fix gaps: air sealing first, then insulation
- 6. When an air gap is required: foil and radiant barriers
- 7. What the research says about energy loss from gaps
- Key Takeaways
- The part most homeowners get wrong
- The Attic Genius can assess and fix your insulation gaps
1. How gaps reduce your insulation’s performance
R-value measures how well a material resists heat moving through it by conduction. What it does not measure is what happens when air moves through or around that material. That distinction is the whole problem.
When a gap exists behind a batt, above a top plate, or around a recessed light, air circulates freely. That circulation is called thermal bypass, and it transfers heat far faster than conduction alone. A MDPI study on sealed versus unsealed air cavities found that sealed cavities can modestly improve R-value, while unsealed cavities with natural or forced convection reduce thermal resistance dramatically. Think of it this way: a down jacket is warm when it fits snugly. Unzip it and the wind cuts right through, regardless of how thick the fill is.
The mechanisms that create thermal bypass in a typical home include:
- Gaps behind batts where the batt was cut short or compressed against framing
- Air flanking around top plates between conditioned and unconditioned space
- Recessed light cans that open directly into the attic
- Chimney chases with no air barrier at the attic floor
- Unsealed rim joists and band joists in the basement or crawl space
- Plumbing and electrical penetrations through the top plate
Passivhaus building science analysis makes the point plainly: insulation slows conduction but does nothing to stop airflow. Thermal bypass can make insulation nearly ineffective in the spots where it matters most.
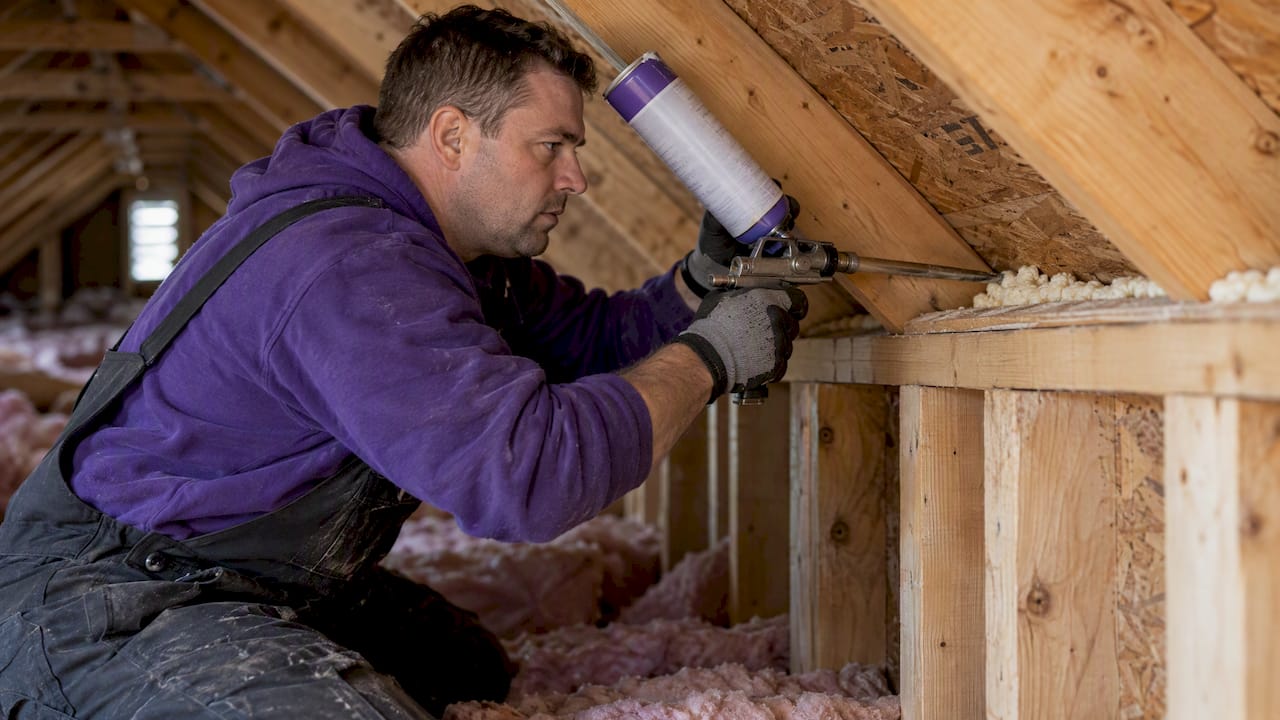
Pro Tip: Before adding blown-in insulation to an attic, seal every penetration you can reach with fire-block foam or caulk. Skipping this step and blowing insulation over open bypasses traps air pathways under the new material, where they are much harder to find and fix later.
2. Why gaps increase your moisture and condensation risk
Air carries moisture. When warm, humid indoor air moves through a gap into a cold wall cavity or attic, it eventually hits a surface cold enough to cause condensation. That temperature threshold is the dew point, and once air-transported moisture reaches it, water appears on your sheathing, framing, or insulation.
University of Missouri Extension guidance describes exactly this mechanism: interior air reaching cold surfaces through gaps deposits moisture that accumulates over time, leading to wet insulation, mold growth, and wood rot. Wet insulation loses a significant portion of its thermal resistance, so the problem compounds. You get less performance from the insulation you already have, plus structural damage that is expensive to repair.
The correct sequence is always: diagnose first, then air seal, then insulate. Adding insulation before sealing can actually push the dew point deeper into the wall assembly, creating hidden wetting in spots you cannot see or reach without tearing out drywall. BuildingScience BSD guidance warns that this sequence error is one of the most common causes of concealed moisture damage in retrofitted homes.
The 2/3–1/3 rule is a useful rule of thumb for cold and mixed climates. It says that at least two-thirds of a wall assembly’s total R-value should sit on the exterior side of any vapor-sensitive sheathing, keeping that sheathing warm enough to stay above the dew point. Ecohome’s explanation of the rule notes that it varies by climate zone and assembly type. In a hot, humid climate like the Gulf Coast, the concern flips: you want to keep moisture from driving inward from outside, which changes where vapor control belongs entirely.
Pro Tip: The 2/3–1/3 rule is a checklist item, not a design specification. For any wall assembly where you are adding exterior rigid foam or changing the vapor control layer, consult a building professional before committing to a material stack.
For a deeper look at how insulation controls moisture in your specific assembly, the interaction between air sealing and vapor control is worth understanding before you start any retrofit.
3. Where gaps and thermal bypasses actually show up
Not all gaps are equal. Some locations account for the majority of air leakage and moisture risk in a typical house. Knowing where to look first saves time and money.
Highest-priority locations:
- Attic floor penetrations — recessed lights, chimney chases, plumbing stacks, and the attic hatch are the biggest single sources of air leakage in most homes
- Rim joists and band joists — the framing at the top of your foundation wall is often completely uninsulated or has batts stuffed in without any air barrier
- Top plates — the gap between the top of interior partition walls and the attic floor is a direct highway for warm air into the attic
- Knee walls — in finished attics, the short vertical walls that separate conditioned from unconditioned space are frequently missing insulation on the floor behind them
- Duct boots and HVAC penetrations — where supply and return ducts pass through the ceiling, gaps around the boot allow conditioned air to escape directly into the attic
Secondary locations worth checking:
- Sill plates at the base of exterior walls
- Electrical outlets and switch boxes on exterior walls
- Window and door rough openings where backer rod or caulk has failed
- Dropped soffits above kitchen cabinets that open into the attic
Quick inspection checklist for a Saturday morning:
- Bring a flashlight and look for daylight or visible gaps around the chimney and any pipes coming through the attic floor
- On a windy day, hold your hand near electrical outlets on exterior walls and feel for drafts
- Check the attic hatch for weatherstripping and whether it has any insulation attached to the back
- In the basement, look at the rim joist for bare wood or compressed batts with no air barrier in front of them
Recognizing the signs your attic needs attention is the first step toward knowing which of these locations to prioritize.
4. How to detect gaps: DIY tests and when to call a pro
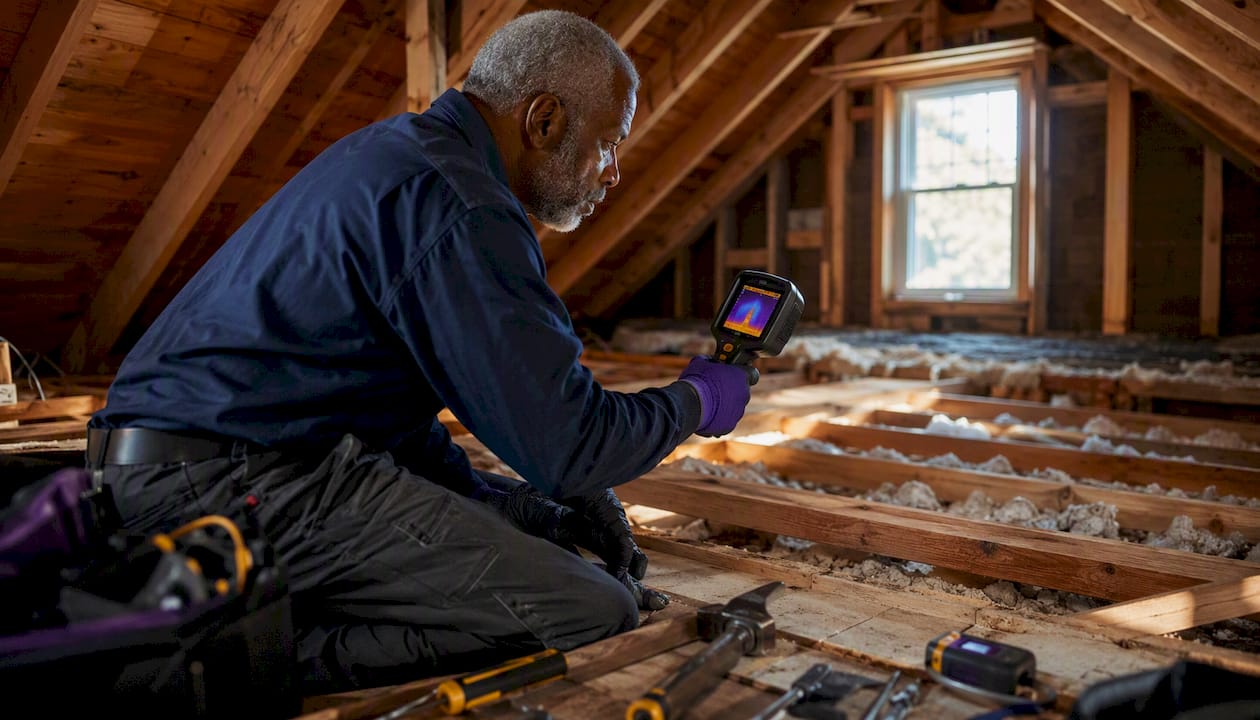
Most homeowners can find the worst bypasses themselves with no special equipment. Start simple.
DIY detection steps:
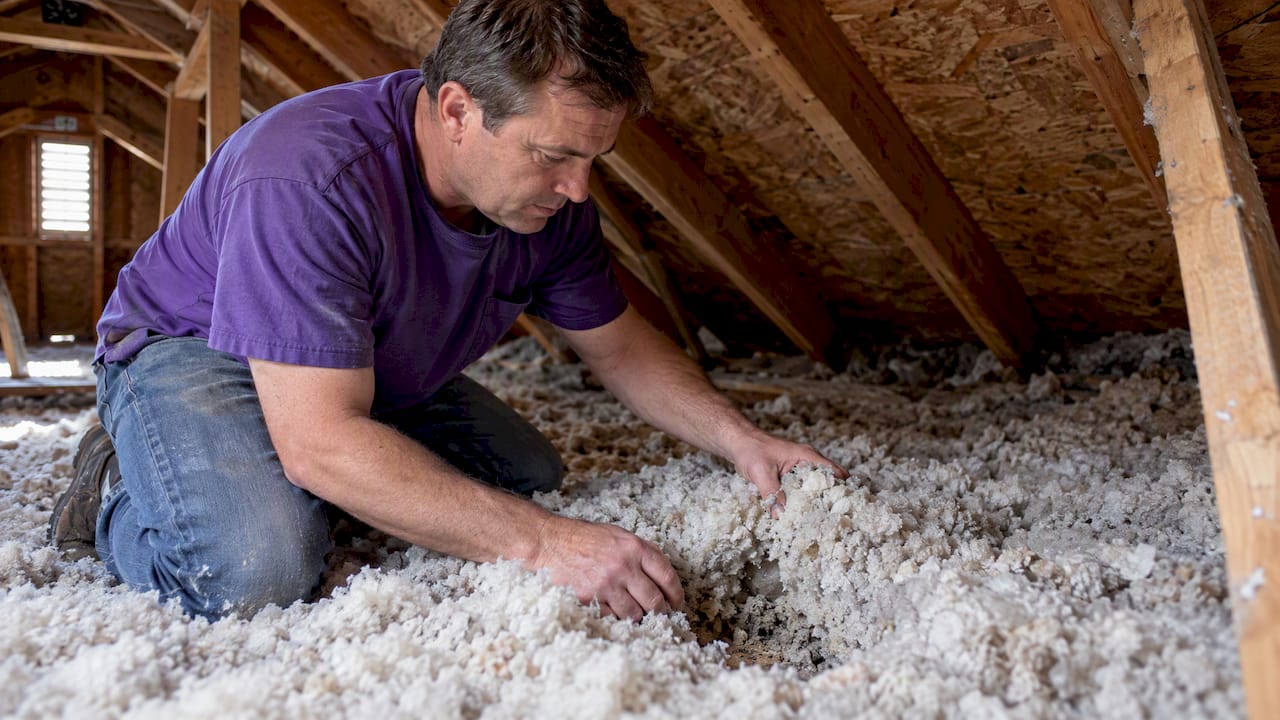
- Visual inspection: In the attic, look for gaps around every penetration. Insulation that has shifted, compressed, or pulled away from framing is a gap.
- The hand test: On a cold day, slowly move your hand along the base of exterior walls, around electrical outlets, and near the attic hatch. Noticeable cool air means a bypass.
- Smoke pen or incense stick: Hold a lit incense stick near suspected leaks. Smoke that bends sharply toward or away from a surface confirms airflow.
- Flashlight from the attic: On a bright day, turn off attic lights and look for pinpoints of light coming through the floor. Every point of light is a gap.
Thermal imaging cameras (available for rent at many home improvement stores) show temperature differences across surfaces. A cold spot on a ceiling or wall in winter often indicates missing insulation or a bypass. They are useful for confirming what you suspect, but they can miss gaps that are not actively moving air at the moment of the scan.
Pro Tip: A blower-door test, performed by a certified energy auditor, depressurizes the house and measures total air leakage in CFM50 (cubic feet per minute at 50 pascals). It is the most accurate way to quantify your leakage problem and identify every bypass location simultaneously. The air sealing techniques guide from A-Z.house covers what to expect from a professional assessment.
When to stop DIYing and call a professional:
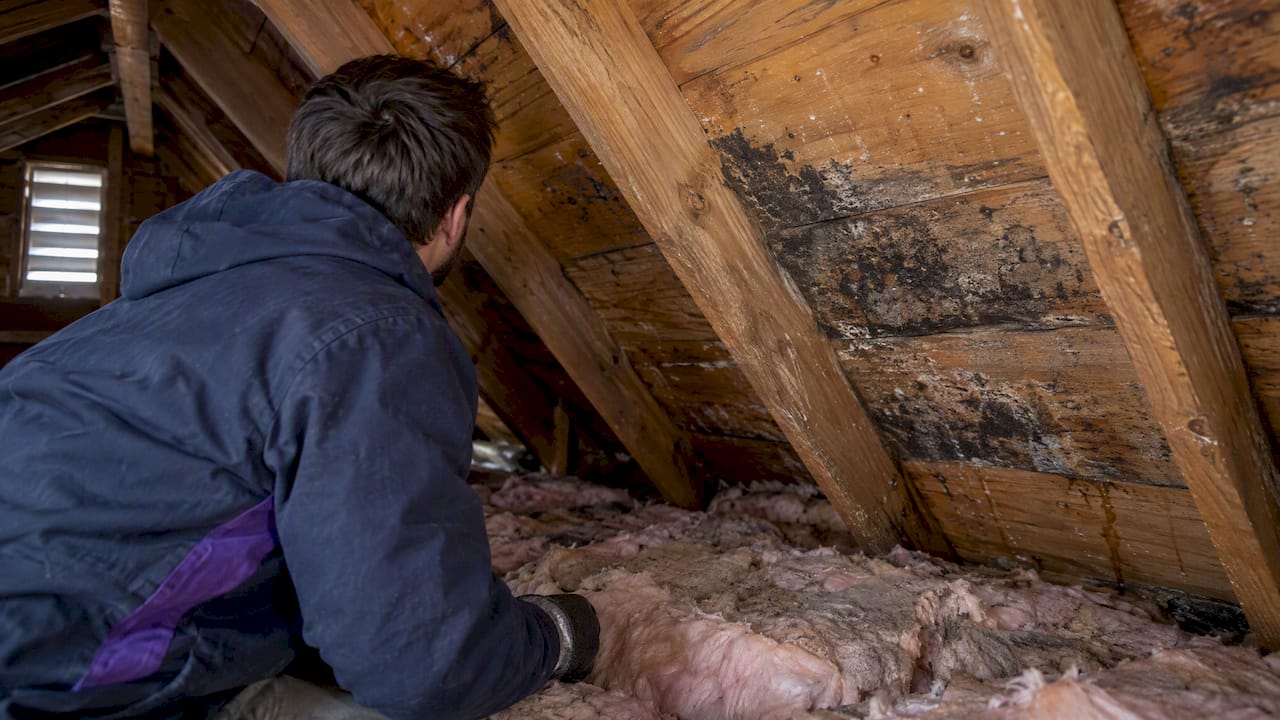
- You find dark staining or discoloration on insulation or framing (possible mold)
- The insulation looks like vermiculite or has a gray, fibrous, loose appearance that predates 1980 (possible asbestos)
- Gaps are in inaccessible cavities behind finished walls or in cathedral ceilings
- You smell musty odors in the attic or notice frost on the sheathing in winter
Safety reminders: Wear an N95 or P100 respirator, safety glasses, and gloves whenever you are in the attic. Never disturb material you suspect is mold or asbestos. If you see either, stop, leave the space, and call a professional for assessment before doing anything else.
5. How to fix gaps: air sealing first, then insulation
The repair sequence matters as much as the materials. Seal first, insulate second. Every time.
Prioritized repair steps:
- Seal all attic floor penetrations with fire-block foam (around chimneys, use a metal collar plus fire-block caulk, maintaining required clearances)
- Seal rim joists with rigid foam cut to fit plus low-expansion spray foam at the edges, or use two-part spray foam kits for larger areas
- Add weatherstripping and a rigid foam panel to the attic hatch
- Install attic baffles at every rafter bay to protect soffit vent airflow before adding blown insulation
- Top up or replace insulation to the appropriate R-value for your climate zone (R-38 to R-60 for most Chicagoland attics per DOE guidance)
Materials reference:
| Material | Best use | Notes |
|---|---|---|
| Low-expansion foam (e.g., Great Stuff Gaps & Cracks) | Electrical/plumbing penetrations, window frames | Expands slowly; will not bow framing |
| Fire-block foam | Attic floor penetrations, top plates | Required near chimneys and HVAC flues |
| Acoustical sealant / rope caulk | Seasonal gaps, around outlets | Paintable; removable if needed |
| Rigid foam board (XPS or polyiso) | Rim joists, attic hatch covers | Cut to fit; seal edges with foam |
| Mineral wool batts | Rim joists, fire-rated assemblies | Naturally fire-resistant; handles moisture better than fiberglass |
| Blown cellulose | Attic floors, dense-pack walls | Good air resistance when dense-packed; recycled content |
| Fiberglass batts | Standard wall cavities | Must be cut to fit without compression; requires separate air barrier |
| Two-part spray foam | Large gaps, inaccessible cavities | Professional application recommended for large volumes |
Installation notes by type:
Fiberglass batts must fill the cavity completely without being compressed. A compressed batt loses R-value in proportion to how much it is squeezed. Blown cellulose dense-packed into a wall cavity provides meaningful air resistance on its own, which is one reason it outperforms loose batts in retrofit walls. Rigid foam on rim joists should be cut to fit snugly, then sealed at every edge with low-expansion foam.
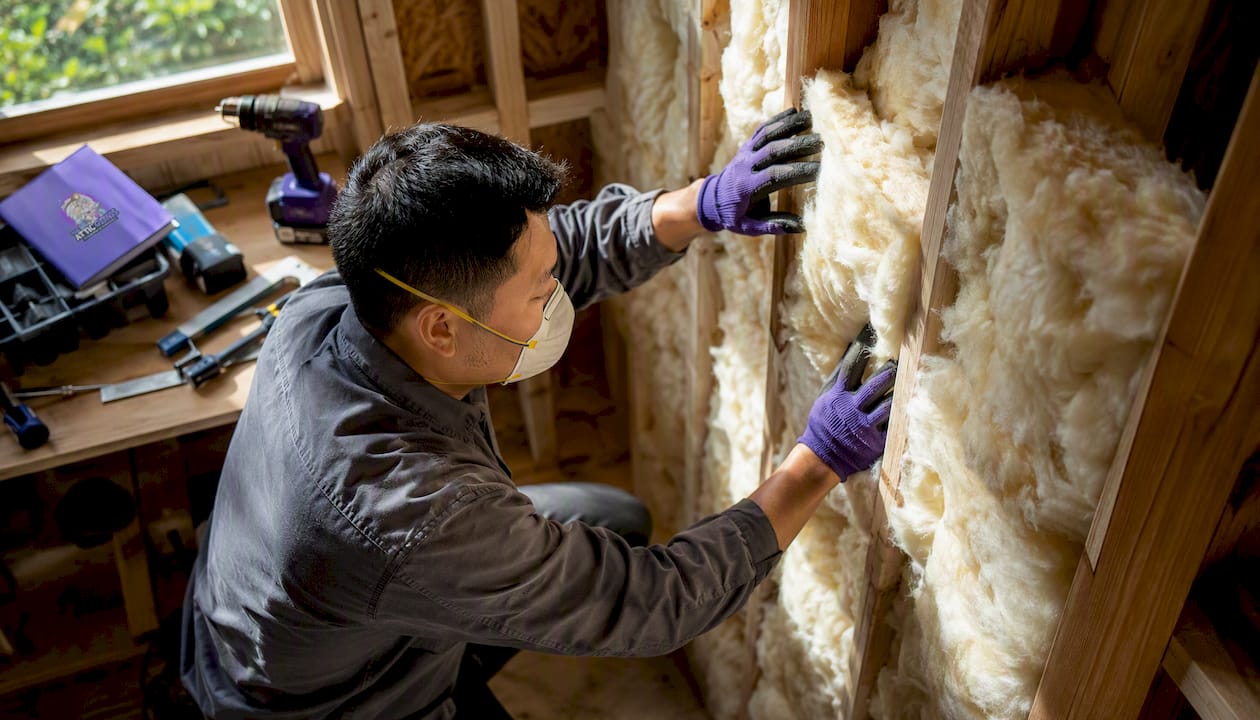
For preparing your attic before an insulation upgrade, clearing debris, checking for moisture damage, and confirming adequate ventilation are all steps that come before any new material goes in.
Cost and time estimates (broad ranges):
Cost and time for air sealing and insulation upgrades can vary widely depending on home size, accessibility, and complexity.
6. When an air gap is required: foil and radiant barriers
Most insulation works by trapping still air inside its structure to slow conduction. Radiant barriers work differently. They reflect radiant heat rather than absorbing it, and they only work when there is an air gap on the reflective side. Without that gap, the foil conducts heat directly to whatever it touches and loses most of its benefit.
Key points for foil and radiant barriers:
- A minimum air gap of 3/4 inch is the commonly cited starting point, but always follow the manufacturer’s specific installation instructions, which may call for larger gaps
- The reflective surface must face the air space, not be sandwiched between two solid materials
- In hot climates (like the southern U.S.), a radiant barrier installed on the underside of attic rafters with an air gap below it can meaningfully reduce summer cooling loads by reflecting solar-driven radiant heat away from the attic floor
- In cold climates like Chicagoland, the benefit of a radiant barrier alone is limited; bulk insulation (blown cellulose, fiberglass, mineral wool) does more work in heating-dominated climates
- Radiant barriers are not a substitute for bulk insulation; they address a different heat transfer mechanism
Reflective insulation vs. bulk insulation: Reflective products (foil-faced foam, bubble wrap foil, foil-faced batts) combine some bulk R-value with a radiant component. The stated R-value on the label applies only when the required air gap is maintained. Install it without the gap and you get a fraction of the rated performance.
For duct wrap in hot attics, a foil-faced product with an air gap can reduce duct heat gain significantly. For wall cavities in a cold climate, the same product without a proper gap adds little beyond its bulk R-value.
7. What the research says about energy loss from gaps
The energy impact of air leakage is not theoretical. ENERGY STAR’s guidance on sealing and insulating puts the savings from combined air sealing and insulation at an average of 11–15% on total energy costs for U.S. homeowners. That figure assumes the work is done in the right order: seal first, then insulate.
The NSF-funded study on air cavities in insulated panels found that sealed cavities of about 2–3 cm thickness improved R-value by approximately 9%, while unsealed cavities with convective airflow reduced thermal resistance substantially. The gap between sealed and unsealed performance is not marginal. It is the difference between an assembly that performs close to its rated R-value and one that may deliver a fraction of it under real conditions.
The CIBSE Journal’s analysis of thermal bypass impacts notes that the energy performance gap between modeled and actual building performance is largely driven by faulty or unconsidered construction details, including exactly the kinds of gaps described above. Standard U-value calculations assume perfect contact and no air movement, which is almost never the case in real homes.
The Attic Genius has observed this pattern consistently across Chicagoland homes: attics account for a disproportionate share of total home energy loss, and most of that loss is driven by air leakage through bypasses rather than by insufficient insulation depth alone. Addressing air sealing at attic bypasses before adding insulation is the approach that produces lasting results.
For a broader look at whole-house energy efficiency, the attic is consistently the highest-return starting point.
Key Takeaways
Gaps in insulation allow thermal bypass and moisture movement that can negate most of an assembly’s rated R-value; air sealing before insulating is the single most important step any homeowner can take.
| Point | Details |
|---|---|
| Air sealing comes first | Insulation slows conduction but cannot stop airflow; seal penetrations before adding any new material. |
| Attics and rim joists are the priority | These two locations account for the majority of air leakage and moisture risk in most U.S. homes. |
| Moisture follows air | Warm air moving through gaps deposits moisture at cold surfaces, leading to wet insulation, mold, and rot. |
| The 2/3–1/3 rule has limits | It is a useful cold-climate guide, not a universal design rule; climate zone and assembly type both affect where vapor control belongs. |
| The Attic Genius | Provides air sealing, insulation upgrades, and moisture assessment for Chicagoland homeowners, with same-day inspections available. |
The part most homeowners get wrong
The conventional wisdom says “add more insulation.” It is on every home improvement show, in every contractor brochure, and it is usually wrong as a first step.
The homeowners who call after a failed DIY insulation project almost always made the same mistake: they added R-value on top of a leaky attic floor and wondered why their energy bills barely moved. The insulation is sitting there doing its job against conduction, but the air is still moving freely underneath it, around it, and through every unsealed penetration. You have not fixed the problem. You have buried it.
What actually works is the sequence that building science has supported for decades: find the bypasses, seal them, then insulate. A blower-door test before and after air sealing will show you exactly how much leakage you eliminated. That number is more satisfying than any R-value label.
The other mistake worth calling out is blocking soffit vents with insulation. Homeowners push blown insulation all the way to the eaves, cover the baffles, and kill the attic ventilation that was keeping moisture from building up in the first place. Now you have a sealed, damp attic instead of a leaky, damp one. Attic insulation mistakes like this one are common and entirely avoidable with a little preparation.
One more: rim joists. Almost every homeowner who has had an energy audit done is surprised by how much of their heating loss traces back to uninsulated rim joists. They are accessible, they are fixable in an afternoon with rigid foam and a can of spray foam, and they make a noticeable difference in floor temperature above the basement. Start there if the attic feels overwhelming.
The Attic Genius can assess and fix your insulation gaps
If your attic has not been inspected in the last few years, there is a good chance you have bypasses that are costing you money every month. The Attic Genius serves homeowners throughout Chicagoland and the Northwest Suburbs with same-day inspections, upfront pricing, and written warranties on every job.

The team handles the full sequence: professional air sealing to close bypasses at the attic floor, insulation removal and upgrade when existing material is damaged or insufficient, attic ventilation corrections to protect your new insulation, and mold remediation when moisture has already done damage. If you have found signs of pest activity, that gets handled too before any new insulation goes in.
With 25+ years of combined experience and 400+ five-star reviews across Chicagoland, the crew knows what a properly sealed and insulated attic looks like, and they will tell you exactly what yours needs before any work begins. Schedule your same-day inspection at theatticgenius.com and find out what your attic is actually doing to your energy bills.