Thermal bridging happens when a conductive material, like a wood stud or metal fastener, cuts through your insulation layer and gives heat a direct path to escape, bypassing the insulation entirely. If your home has cold spots on interior walls in January, unexplained condensation near window frames, or energy bills that never seem to match your insulation’s R-value. Thermal bridging is likely part of the problem.
Three things you can do right now:
- Walk your home on a cold day and feel for cold patches on interior wall surfaces, especially near studs, window perimeters, and the rim joist area above your foundation.
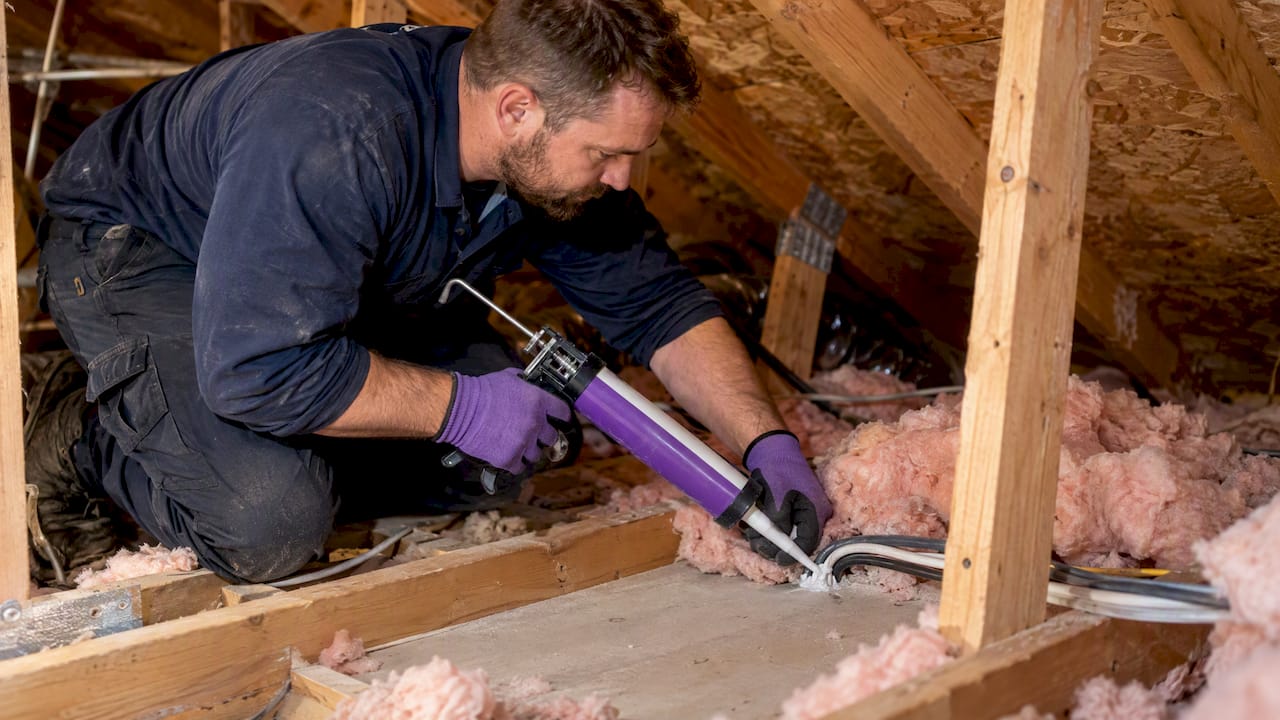
- Seal obvious air bypasses around electrical outlets, pipe penetrations, and attic hatches with caulk or foam. The ENERGY STAR Thermal Bypass Checklist is a free reference for exactly where to look.
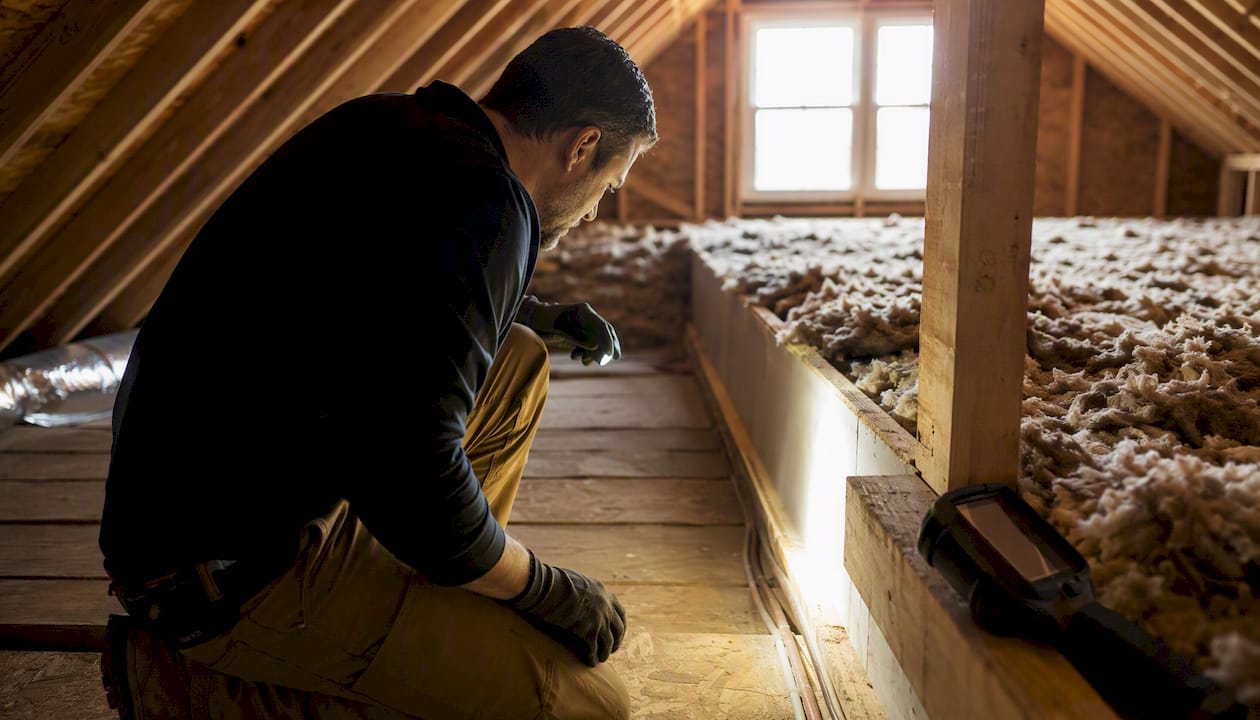
- Schedule a professional energy audit with thermal imaging. The Attic Genius offers same-day inspections in Chicagoland and can show you exactly where your home is losing heat.
Key takeaways
Thermal bridging is one of the most underdiagnosed causes of high energy bills and comfort problems in American homes, and addressing it starts with the attic and rim joist before anything else.
| Point | Details |
|---|---|
| Biggest energy impact | Addressing thermal bridges can reduce wall heating and cooling loads by roughly 15–27%, per modeled research. |
| Fastest retrofit wins | Air sealing bypasses, covering attic joists, and insulating the rim joist deliver the highest ROI with the least disruption. |
| Best diagnostic tools | Thermal imaging combined with a blower-door test reveals both conductive bridges and air bypasses that visual checks miss. |
| The Attic Genius | Offers same-day inspections, attic insulation upgrades, rim-joist insulation, and air sealing across Chicagoland and southern Wisconsin. |
Table of Contents
- What thermal bridging is and why your R-value lies to you
- Where thermal bridges most commonly appear in your home
- Why thermal bridging matters more than most homeowners realize
- How to find and measure thermal bridging in your home
- How to stop thermal bridging: strategies for new builds and retrofits
- A prioritized fix list for your existing home
- When to call a professional instead of doing it yourself
- What most homeowners get wrong about thermal bridging
- The Attic Genius can help you find and fix thermal bridges in Chicagoland
- Sources
What thermal bridging is and why your R-value lies to you
Thermal bridging is the building science term for what happens when a material with high thermal conductivity spans the full thickness of a wall, floor, or roof assembly. Heat always moves toward cold. When a wood stud or steel beam runs from the warm interior face of a wall to the cold exterior face, heat flows through that stud far more readily than through the insulation beside it. The stud becomes a shortcut.
A simple analogy: imagine wearing a thick wool sweater with a dozen metal zippers running from your chest to your back. The wool insulates well. The zippers do not. Your body loses heat through every zipper regardless of how good the wool is.
Three types of thermal bridges show up in residential buildings:
- Repeating thermal bridges are the most common in homes. Every wood stud in a standard 2×6 wall is one. They repeat at regular intervals and, taken together, can meaningfully reduce the wall’s effective R-value.
- Linear thermal bridges run continuously along a line, like a concrete slab edge that extends through the exterior wall plane, or a header above a window that spans the full wall depth.
- Point thermal bridges are isolated spots: a steel anchor bolt, a metal hanger, or a structural fastener that punctures the insulation plane.
Here is the part most homeowners miss: the R-value printed on a bag of insulation describes the insulation material alone, tested in a lab with no framing. In a real stud-framed wall, framing can account for a significant portion of the total wall area. That framing conducts heat far better than the insulation beside it, so the wall’s effective R-value is substantially lower than the label suggests.
Where thermal bridges most commonly appear in your home
Knowing where to look is half the diagnostic battle. Thermal bridges occur at studs, slab edges, headers, and metal fasteners, and the symptoms homeowners notice, such as ghosting, mold streaks, or cold spots, almost always trace back to one of these locations.
- Wall studs: Every stud in a standard wood-framed wall is a repeating thermal bridge. In older 2×4 construction, the framing fraction is even higher relative to cavity depth, making the problem worse.
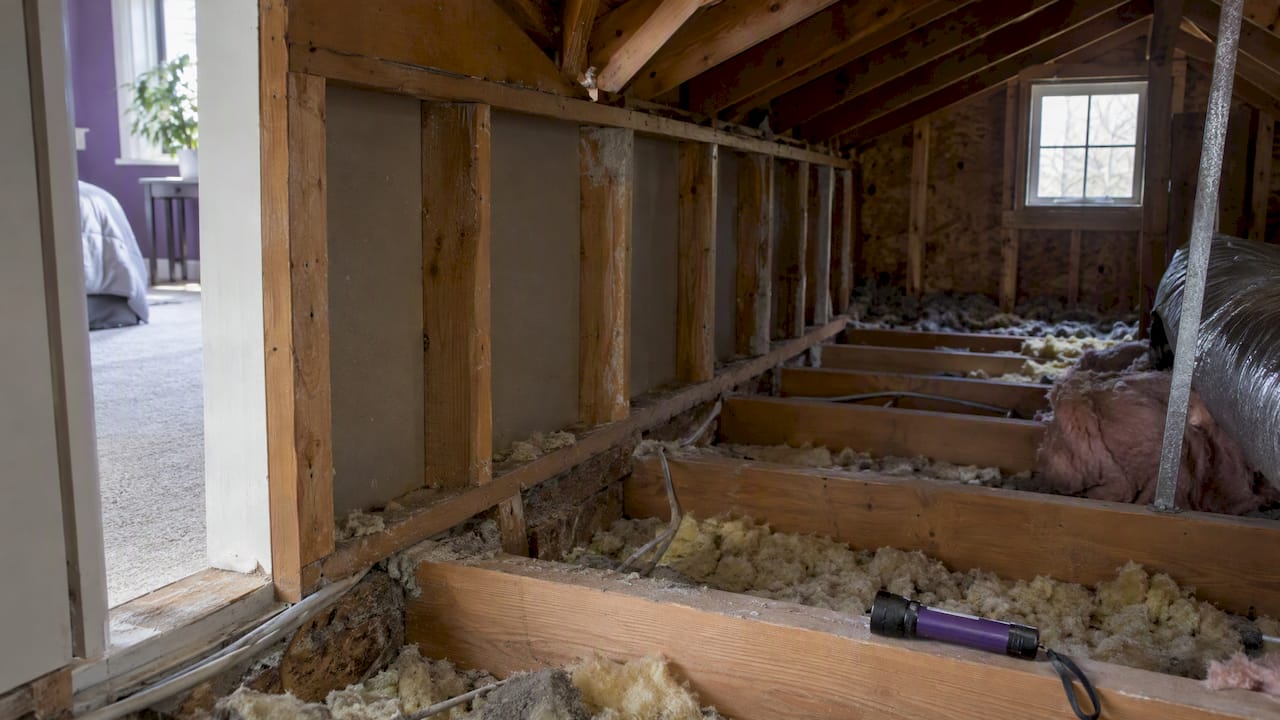
- Rim joists: The band of framing that sits on top of your foundation wall is one of the most significant thermal weak points in most homes. It is often uninsulated or poorly insulated, and it connects the warm floor system directly to the cold exterior.
- Headers and lintels: The solid wood or steel beams above windows and doors span the full wall depth. A double 2×10 header above a garage door, for example, is essentially a large thermal bridge with almost no insulating value.
- Floor and ceiling joist tops: Where floor joists run perpendicular to an exterior wall, their tops can be exposed in an attic or crawl space, creating a repeating bridge pattern similar to wall studs.
- Window and door perimeters: The rough framing around openings, combined with gaps in the air barrier, creates both conductive and convective heat loss. You often see condensation or frost here first.
- Balconies and cantilevers: A cantilevered floor or balcony slab that extends through the exterior wall is one of the most severe linear thermal bridges in residential construction. Cold concrete or steel runs uninterrupted from outside to inside.
- Penetrations: Pipes, flues, electrical conduit, and structural fasteners that pass through the building envelope all create point thermal bridges. Metal is especially problematic given its high conductivity.
Homes with metal framing have a significantly worse thermal bridging problem than wood-framed ones, since steel conducts heat roughly 300 times better than wood. Older 2×4 construction and retrofit details where insulation was added without addressing framing are also higher-risk categories.
Why thermal bridging matters more than most homeowners realize
The energy impact is real and measurable. A modeled thermal-bridge breaker applied to a residential building reduced heating and cooling loads through exterior walls by roughly 15–27% in the study’s scenarios. That is not a marginal improvement.
Beyond energy costs, thermal bridging creates two problems that compound over time: comfort and moisture.
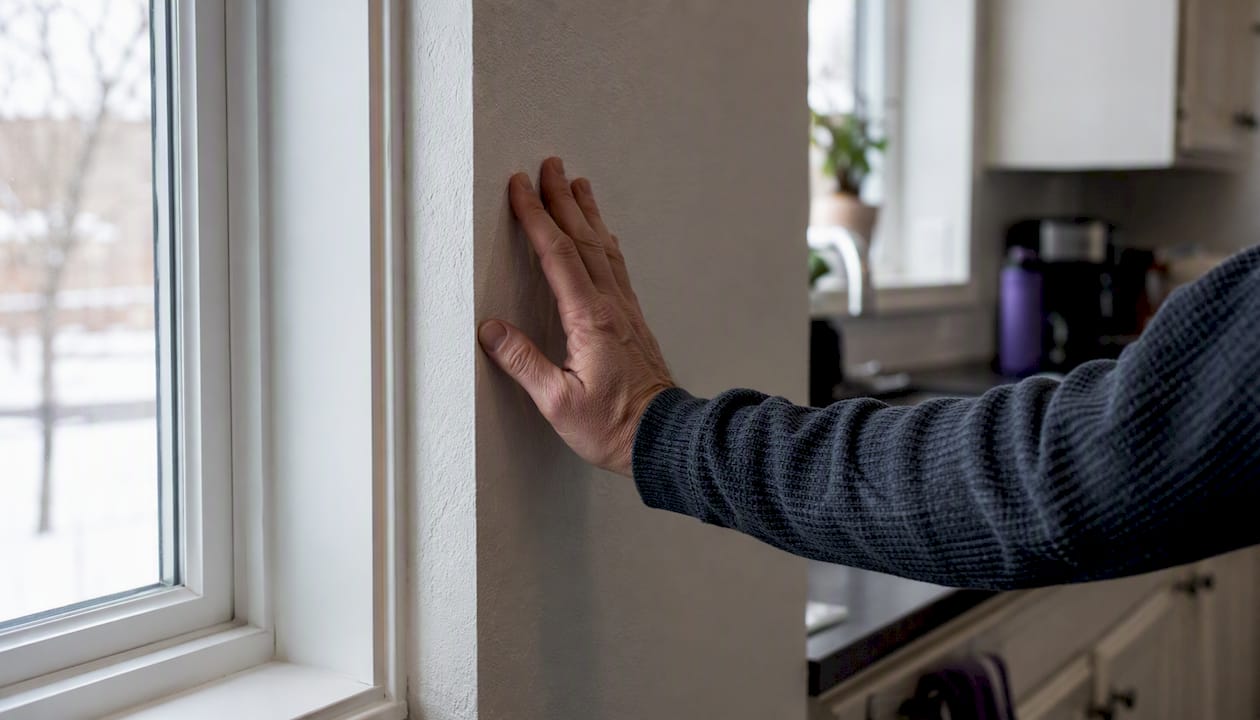
Comfort suffers because cold surfaces radiate cold toward occupants. You can feel a cold wall from several feet away, even if the air temperature in the room is 70°F. This is why some rooms never feel warm in winter despite adequate heating.
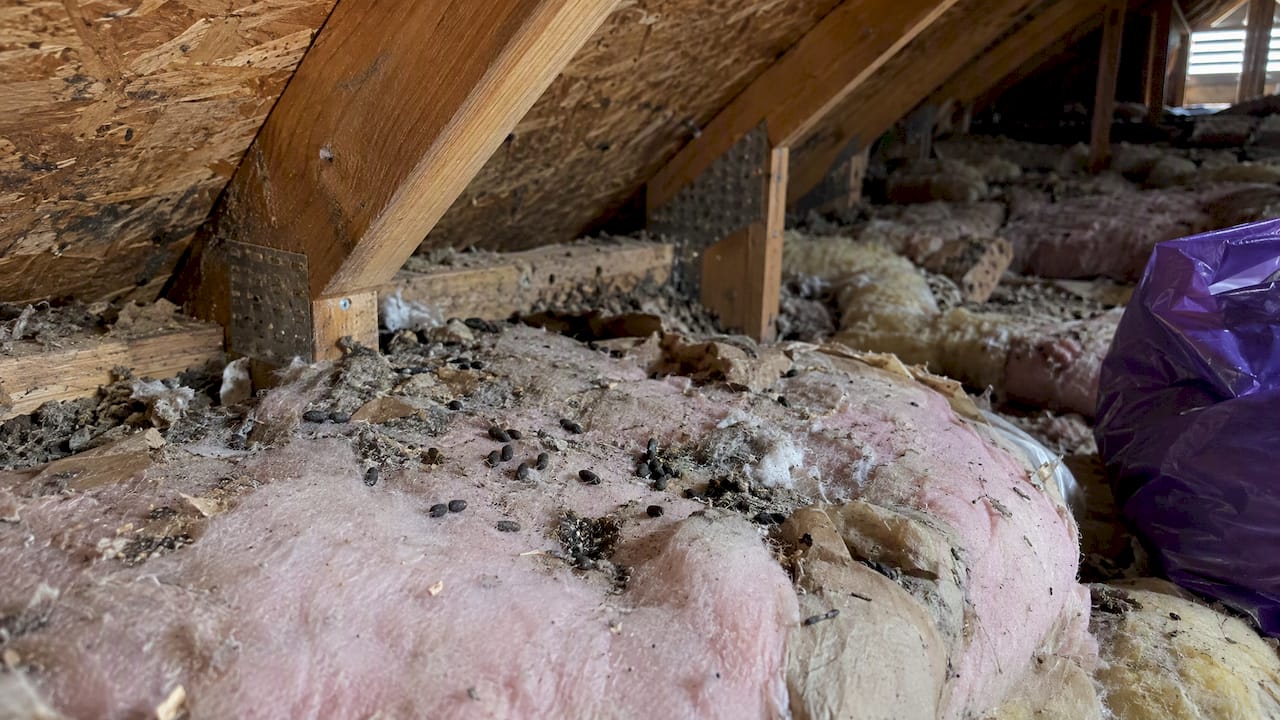
Moisture and mold are the more serious long-term risk. When a structural member gets cold enough, water vapor in the warm interior air condenses on it. You may see this as ghosting, the faint dark streaks on drywall that trace the stud pattern, or as visible mold near window corners and exterior wall bases. Persistent condensation on framing members can lead to rot and attic mold issues that cost far more to fix than the original insulation upgrade would have.
| Impact | Mechanism | Homeowner Symptom |
|---|---|---|
| Higher energy bills | Heat bypasses insulation through framing | Bills don’t match insulation R-value |
| Cold spots and discomfort | Conductive surfaces radiate cold | Cold walls, drafty corners |
| Condensation and mold | Framing surface drops below dew point | Ghosting, mold streaks, musty odor |
| Structural durability | Repeated wetting and drying of framing | Rot, fastener corrosion over time |
How to find and measure thermal bridging in your home
What you can do yourself
A cold winter day is your best diagnostic tool. Walk the perimeter of your home’s interior and press your hand against exterior walls, especially near the floor, around window frames, and along the top of basement walls. Cold patches that follow a regular pattern (every 16 or 24 inches) are almost certainly stud lines.
Look for ghosting on painted walls. The faint gray lines that follow framing are caused by dust particles settling on slightly cooler surfaces, a reliable visual indicator of repeating thermal bridges.
An entry-level consumer infrared camera, or a thermal imaging attachment for a smartphone, can make these patterns dramatically more visible. You do not need professional equipment to get a useful picture of where your walls are losing heat.
What a professional audit adds
A certified energy auditor brings two tools that change the diagnostic picture entirely. The blower-door test depressurizes the house to a standard pressure, which amplifies air movement through gaps and bypasses. Combined with thermal imaging, it reveals not just conductive bridges but also convective bypasses where air is moving through the assembly.
For measurement and reporting, professionals use U-value (the rate of heat flow through an assembly) and linear thermal transmittance, known as the psi-value, to quantify how much heat a specific bridge adds to the total heat loss. You do not need to calculate these yourself, but understanding that they exist helps you read an audit report and compare quotes. The BCHydro Building Envelope Thermal Bridging Guide covers the methodology for readers who want the technical detail.
Pro Tip: The best time for thermal imaging is a cold, calm winter day when the temperature difference between inside and outside is at least 15°F. Wind and direct sunlight both distort surface temperatures and reduce the accuracy of the scan. Stable conditions for a few hours before the scan give the clearest results.
The ENERGY STAR Thermal Bypass Checklist is also worth downloading before any audit. It maps the specific locations where insulation must align with a continuous air barrier, and it gives you a structured checklist to verify that your contractor is addressing the right spots.
How to stop thermal bridging: strategies for new builds and retrofits
The most effective solutions depend on whether you are building new or retrofitting an existing home.
Continuous exterior insulation
Adding a layer of rigid foam or insulated sheathing to the outside of the wall framing is the most reliable way to interrupt repeating thermal bridges. Because the insulation sits outside the framing, it wraps every stud, header, and rim joist in a continuous thermal layer. The Building America Solution Center confirms this is one of the most effective approaches available. The trade-off is cost and complexity: windows and doors need to be extended or re-detailed to account for the added wall thickness, and the work is most practical during a full re-siding project.
Thermal breaks at structural connections
At slab edges, balconies, and structural connections, purpose-built thermal break products interrupt the conductive path without compromising structural integrity. These are primarily a new-construction or major-renovation solution.
Advanced framing (Optimal Value Engineering)
Reducing the number of studs in a wall, using 2×6 framing at 24-inch spacing instead of 2×4 at 16-inch, and eliminating redundant corner framing all reduce the framing fraction and increase the proportion of cavity insulation. The Building America gut-rehab guide covers this approach in detail for renovation projects.
Spray foam, SIPs, and ICFs
Closed-cell spray foam applied to rim joists and other framing-heavy areas both insulates and air-seals in one step, addressing two problems simultaneously. Structural Insulated Panels (SIPs) and Insulated Concrete Forms (ICFs) are primarily new-construction solutions that essentially eliminate repeating thermal bridges by integrating insulation into the structural system.
Attic joist coverage
Covering attic floor joists with a second layer of insulation run perpendicular to the first creates a continuous thermal blanket that interrupts bridging through the joists. Energy specifically highlights covering joist tops as a key step in attic insulation. This is one of the highest-ROI retrofits available to most homeowners because it requires no structural work.
Pro Tip: Always pair insulation upgrades with air sealing. Insulation slows conductive heat transfer, but air movement through gaps can carry heat past even well-installed insulation. Addressing both together avoids the moisture problems that can occur when you insulate without sealing, and it maximizes the comfort and energy benefit of the work.
A prioritized fix list for your existing home
Not every fix requires a renovation. Here is where to start, ordered by impact and ease of access.
-
Air seal key bypasses first. Gaps around electrical outlets on exterior walls, pipe penetrations, attic hatches, and top plates are where air movement amplifies the effect of thermal bridges. Caulk and low-expansion foam are inexpensive. Sealing attic bypasses is often the single fastest way to improve comfort and reduce bills. Do this before adding insulation.
-
Add insulation to cover attic joists. If your attic insulation sits between the joists but does not cover them, adding a perpendicular layer brings the joists into the thermal envelope. Aim for the R-value recommended for your climate zone (R-49 to R-60 in most of the Midwest). This is a high-impact, relatively low-cost project.
-
Insulate and seal the rim joist. Cut rigid foam to fit between floor joists at the rim, seal the edges with spray foam, and you have addressed one of the most significant thermal weak points in most homes. Closed-cell spray foam alone works well here too.
-
Address window and door perimeters. Check for gaps in the rough framing around every window and door. Backer rod and caulk on the interior, combined with proper exterior flashing, close both the air and conductive paths. Upgrading to energy-efficient door products can also reduce thermal bypass at interior partitions.
-
Plan continuous exterior insulation for your next re-siding project. This is not a weekend fix, but if your siding is due for replacement in the next few years, adding rigid foam under the new siding is the most cost-effective window to address wall-level thermal bridging. Budget for window extension jambs and proper flashing details.
For each step, take photos before and after. A before-and-after thermal image is the clearest evidence of improvement, and it gives a contractor a baseline if you hire out the work later.
When to call a professional instead of doing it yourself
Some thermal bridging problems are straightforward enough for a confident DIYer. Others are not.
Hire a professional when you see:
- Persistent condensation or mold on interior wall surfaces, especially near the base of exterior walls or around window corners.
- Energy bills that remain high after you have completed basic air sealing and attic insulation.
- Visible rot or structural damage near rim joists, sill plates, or balcony connections.
- A planned siding replacement, roof replacement, or major addition, where the envelope is already open and continuous insulation can be added at minimal incremental cost.
What a qualified professional should deliver:
- A blower-door test with a measured air changes per hour (ACH) result, before and after air sealing.
- Thermal imaging with a calibrated camera, ideally combined with the blower-door test for maximum resolution.
- A written scope of work with target R-values, specific locations to be addressed, and measurable outcomes.
- Written warranties on both materials and labor.
- Guidance on signs your attic needs an insulation upgrade and what to expect from the project timeline.
Ask any contractor whether they follow the ENERGY STAR Thermal Bypass Checklist as part of their scope. A contractor who does not know what that checklist is has not been trained to address the full picture.
What most homeowners get wrong about thermal bridging
The most common mistake is treating insulation as the whole solution. A homeowner adds R-38 to their attic, sees a modest improvement in bills, and assumes the job is done. What they often miss is that the joists are still exposed, the rim joist is still uninsulated, and the attic hatch is a thermal sieve. The insulation did its job, but the bridges around it are still working against it.
The second mistake is chasing air leaks without addressing conduction, or vice versa. Air sealing alone does not stop heat from conducting through a stud. Insulation alone does not stop air from moving through a gap. The combination is what produces the results homeowners expect when they invest in efficiency upgrades.
With 25+ years of combined experience and 400+ five-star reviews across Chicagoland, The Attic Genius team sees this pattern repeatedly: homes where the insulation looks fine on paper but the effective performance is well below what the R-value suggests, because nobody addressed the framing, the rim joist, or the air barrier. The fix is usually less invasive than homeowners expect.
The Attic Genius can help you find and fix thermal bridges in Chicagoland
If cold spots, high bills, or condensation are telling you something is wrong with your home’s envelope, The Attic Genius offers the diagnostics and the fixes in one place.

The team handles thermal-imaging-assisted inspections, attic insulation upgrades (blown-in and batt), rim-joist insulation, professional air sealing, and exterior insulation planning for re-siding projects. Same-day inspections are available across the Northwest Suburbs and greater Chicagoland area, including parts of Wisconsin. Every project comes with upfront written pricing and a written warranty. If you are not sure where to start, the signs your attic needs an upgrade page is a good first read. Ready to stop guessing and get a real picture of where your home is losing heat? Book your inspection with The Attic Genius today.
Sources
- Investigation of Thermal and Energy Performance of the Thermal Bridge Breaker for Reinforced Concrete Residential Buildings
- Building Envelope Solutions To Eliminate Thermal Bridging | Pro Remodeler