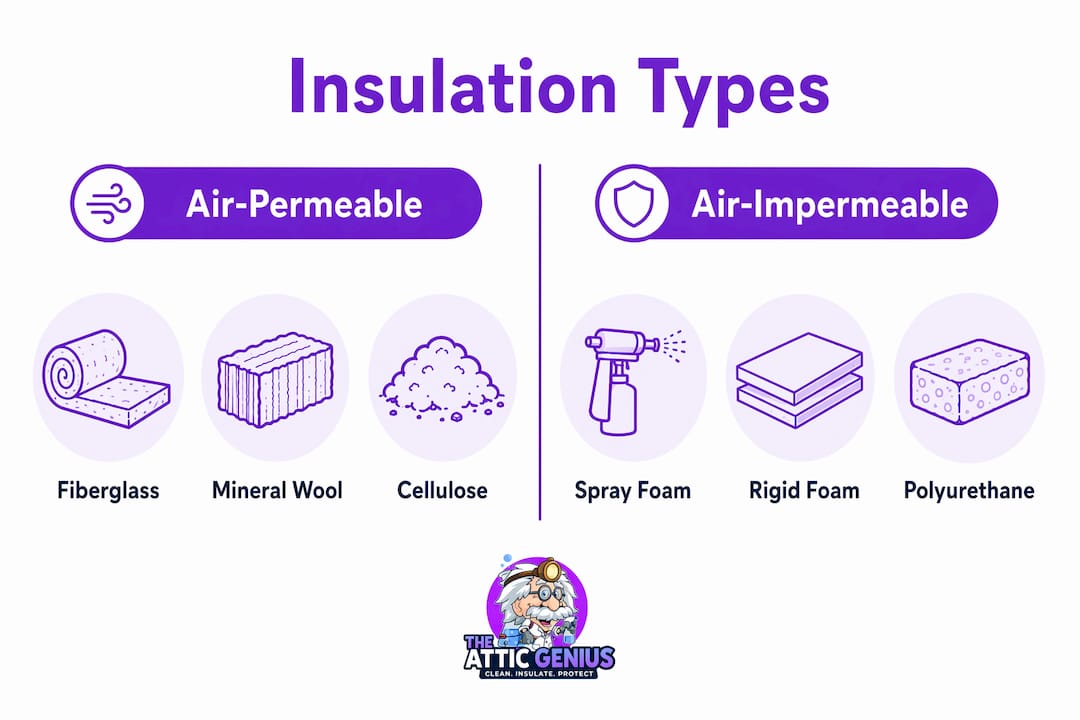
Air-permeable insulation is any insulation material that allows air to pass through its structure. Fiberglass batts, mineral wool, blown cellulose, and loose-fill fiberglass all fall into this category. The single most important thing to understand: permeable insulation requires a continuous air barrier to perform as rated. Without one, convective air movement through the material reduces its effective R-value, sometimes significantly. If you take nothing else from this article, take that.
Table of Contents
- What is air-permeable insulation and how does it actually work?
- Common air-permeable materials and where you’ll find them
- Moisture control: what you need to know before you install
- Why a continuous air barrier is non-negotiable with permeable insulation
- Pros and cons of air-permeable insulation for homeowners
- How to decide between permeable and impermeable insulation
- What good installation looks like and what it costs
- Signs your insulation or air sealing is failing
- Key Takeaways
- What homeowners in Chicagoland usually get wrong about permeable insulation
- The Attic Genius can handle your insulation and air-sealing needs
- Useful sources and further reading
What is air-permeable insulation and how does it actually work?
Permeability allows air to move through the insulation’s fibrous or loose-fill structure. In a controlled assembly, that’s fine. In an uncontrolled one, it’s a problem.
Here’s the mechanics: when warm air meets cold air across a wall or attic cavity, convection drives air movement. If the insulation can’t stop that movement, heat transfers through the material faster than its R-value label suggests. Research from Lawrence Berkeley National Laboratory confirms that airflow through fibrous insulation can measurably increase thermal conductance, especially when air velocity rises.
The contrast with air-impermeable materials is straightforward. Spray foam (both open- and closed-cell) and rigid foam boards like polyisocyanurate (polyiso) or extruded polystyrene (XPS) physically block air movement. Foam insulations are generally the only commonly available air-impermeable products. All fibrous and most loose-fill insulations are permeable.
Air moves through permeable insulation via:
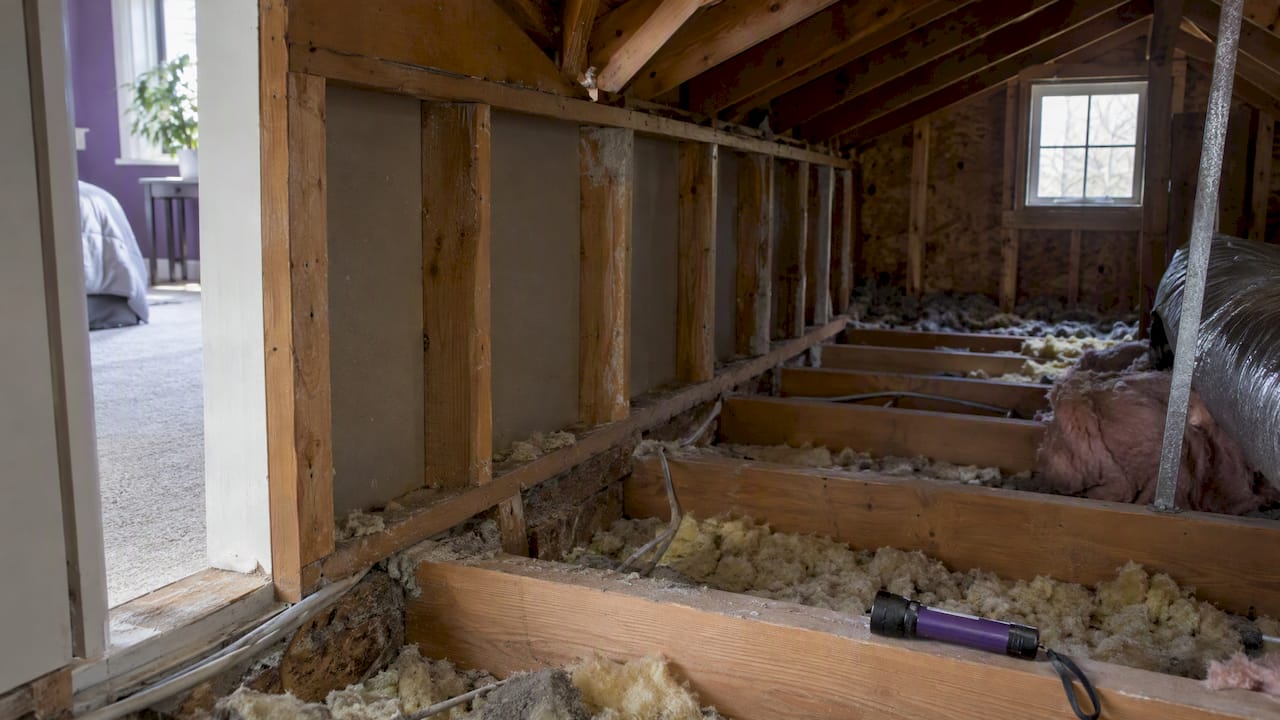
- Gaps and bypasses around framing, electrical boxes, and plumbing penetrations
- Wind-washing along the underside of roof sheathing or at eave edges
- Stack-effect pressure driving air from lower floors up through attic cavities
- Thermal bridging paths where framing interrupts the insulation plane
Common air-permeable materials and where you’ll find them
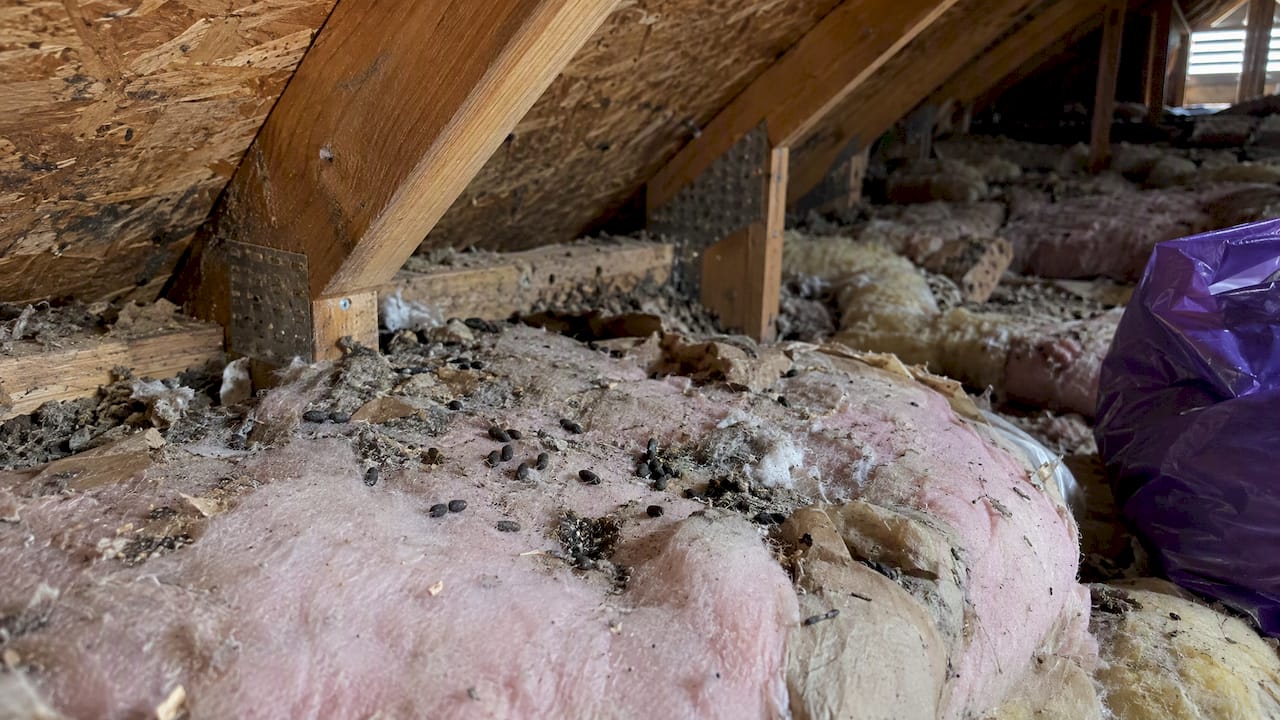
Fiberglass batts are the most familiar. They fit between standard 2×4 and 2×6 framing, deliver roughly R-3 to R-4 per inch, and are widely available for DIY installation. One critical note: compressing a batt to fit a shallower cavity reduces its R-value proportionally. Fiberglass doesn’t feed mold or insects, though rodents will nest in it.
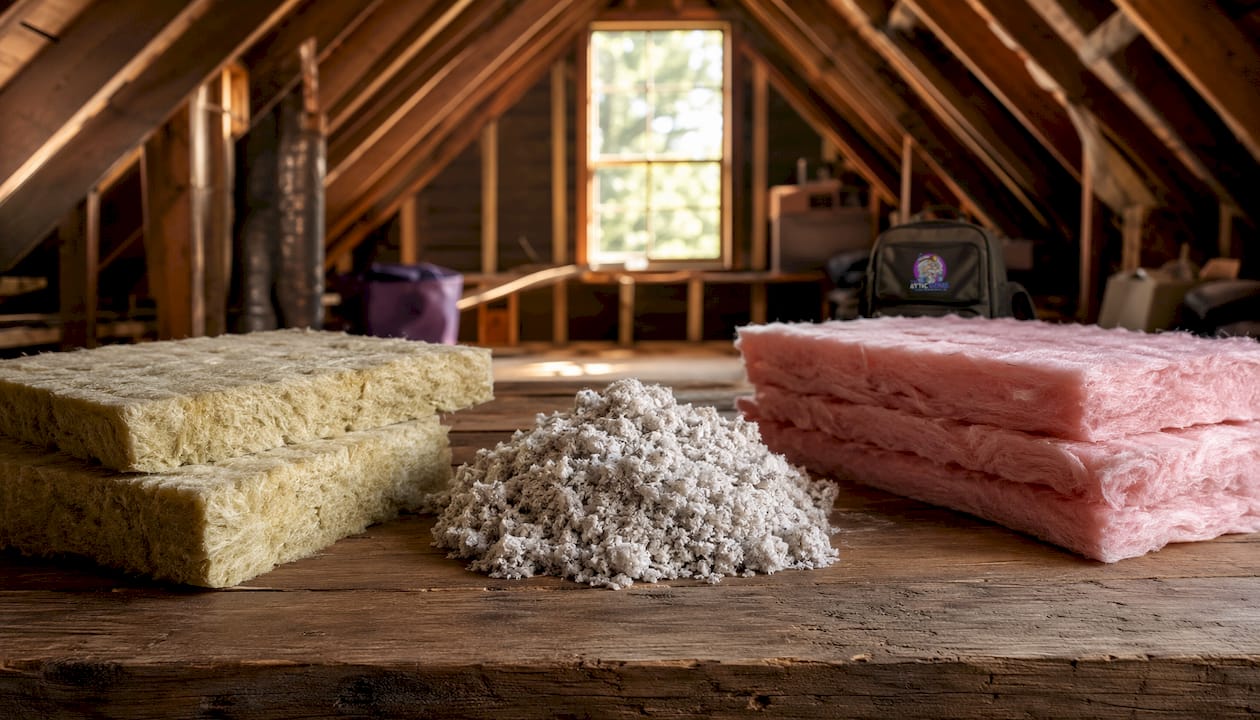
Mineral wool (also sold as rock wool or slag wool) performs similarly to fiberglass in R-value per inch but handles moisture better and is naturally fire-resistant. It holds its shape under compression more reliably than fiberglass, which makes it a strong choice for wall cavities where fit matters. You’ll find it in both batt and rigid-board forms, though only the batt form is air-permeable.
Blown cellulose is made from recycled paper treated with borax or boric acid for fire and mold resistance. It settles over time, so installers typically overshoot the target depth. Cellulose is both air- and vapor-permeable, meaning it needs both an air barrier and a moisture-management strategy. The blown-in insulation advantages for attic floors are real: it fills irregular cavities and covers framing members that batts bridge over.
Loose-fill fiberglass behaves similarly to cellulose in attic applications but is lighter and less prone to settling. It’s common for attic top-ups. R-value per inch runs slightly lower than cellulose, so you need more depth to hit the same target.
Where you’ll encounter each:
- Attic floors: blown cellulose and loose-fill fiberglass dominate
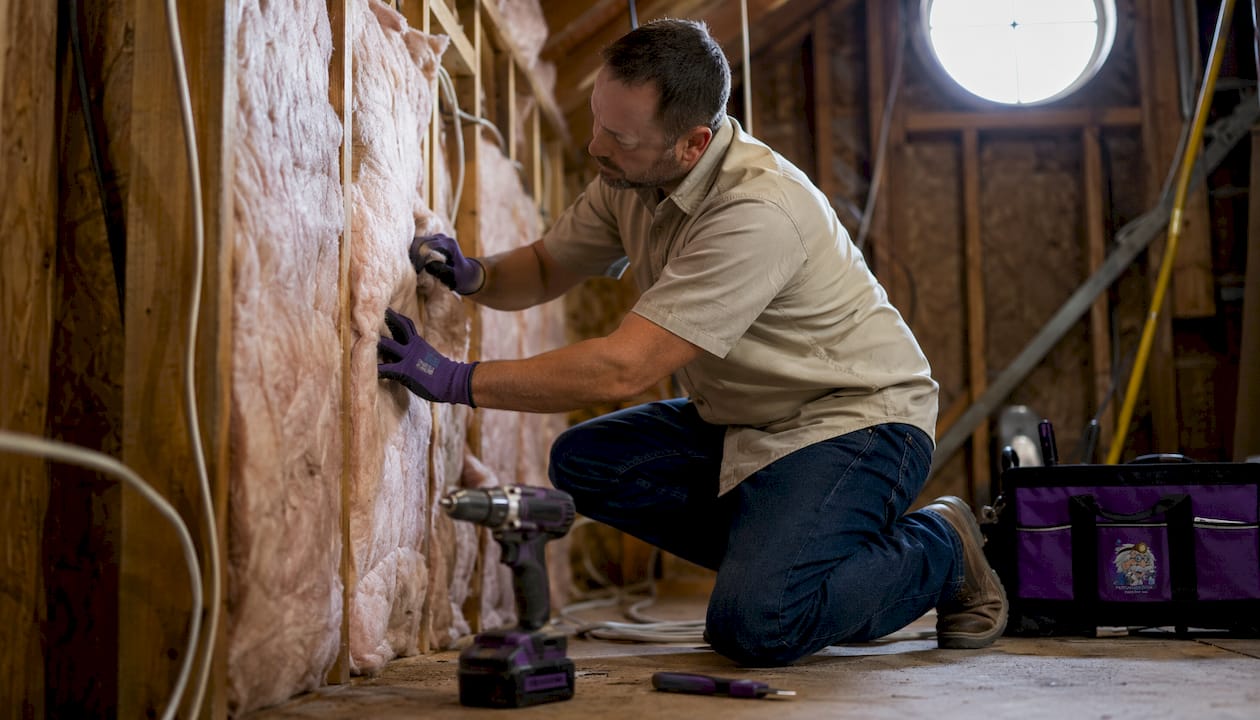
- Wall cavities: fiberglass batts and mineral wool batts
- Basements and crawl spaces: mineral wool or fiberglass batts between studs, though below-grade assemblies carry extra moisture risk
- Cathedral ceilings: batts or blown-in between rafters, always requiring careful air-barrier and ventilation design
Moisture control: what you need to know before you install
The assembly must be designed to manage moisture. Permeable insulation needs a drying strategy, and vapor-retarder choices matter more than most homeowners realize.
The core rule, backed by Building America Solution Center guidance: avoid Class I vapor retarders (polyethylene sheeting, foil-faced materials with a perm rating at or below 0.1) on the interior side of air-permeable insulation in most below-grade and warm-humid assemblies. A Class I retarder traps moisture in the assembly instead of letting it dry inward. In a Chicago-area basement, for example, wrapping fiberglass batts with poly sheeting on the interior side is a common mistake that leads to mold behind the wall.
In Climate Zones 5 through 8 (which includes most of the Midwest and northern states), IBC guidance requires rigid board or sheathing above the roof deck when using air-permeable cavity insulation in unvented enclosed roof assemblies. This controls condensation risk at the sheathing layer.
Practical moisture dos and don’ts:
- Do design the assembly to dry to at least one side, interior or exterior
- Do use Class II (kraft-faced batts) or Class III (latex paint) retarders where a retarder is needed
- Don’t install polyethylene sheeting on the interior side of below-grade walls with permeable insulation
- Don’t seal both sides of a permeable assembly without a clear drying path
- Do check local building codes, which may specify retarder class by climate zone
For a deeper look at how insulation controls moisture in different assemblies, The Attic Genius covers the specifics by location.
Why a continuous air barrier is non-negotiable with permeable insulation
An air barrier is mandatory when using air-permeable insulation. Without it, the insulation’s rated R-value is theoretical, not real-world. BuildingScience.com defines measurable performance targets for air-barrier systems: a material must achieve no more than 0.02 l/(s·m²) at 75 Pa, an assembly 0.20 l/(s·m²), and the full enclosure 2.00 l/(s·m²).
Common air-barrier strategies include:
- Taped exterior sheathing (OSB or plywood with sealed joints and penetrations)
- Sealed interior drywall as the air-control layer in some wall assemblies
- Spray-applied membranes on sheathing or roof decks
- Continuous rigid foam at the exterior, which doubles as thermal control
Interior vs. exterior placement involves tradeoffs. Interior air barriers control exfiltration in cold climates; exterior barriers stop wind-washing but can complicate drying in some assemblies. Your climate zone and wall assembly type determine which approach fits.
When hiring a contractor, ask specifically about: sealed seams at sheathing joints, caulked or foamed penetrations (wires, pipes, ducts), and how they handle the transition between the wall and attic plane. That transition is where most assemblies fail.
Pro Tip: Attic bypasses, including gaps around light fixtures, plumbing chases, and partition top plates, are the most common air-sealing failure points in existing homes. Sealing these before adding insulation is often the highest-value step you can take. The Attic Genius covers attic bypass air sealing in detail.
Pros and cons of air-permeable insulation for homeowners
The short version: permeable insulation costs less, installs more easily, and allows drying. The tradeoff is that it depends entirely on the air barrier doing its job.
Pros:
- Lower material and labor cost than spray foam
- Easier to retrofit into existing wall and attic cavities
- Vapor permeability supports drying, reducing long-term moisture risk when designed correctly
- Wide availability and familiar installation process for contractors
Cons:
- Requires a separate, continuous air barrier to perform as rated
- Susceptible to wind-washing at eaves and roof edges
- Effective R-value drops when air bypasses the insulation layer
- Performance degrades if batts are compressed, torn, or improperly fitted
| Factor | Air-Permeable | Air-Impermeable (Spray Foam) |
|---|---|---|
| Cost | Lower | Higher |
| Air barrier needed | Yes, separate | No (foam acts as barrier) |
| Drying potential | High | Low (closed-cell) to moderate (open-cell) |
| Retrofit ease | High | Moderate |
| Moisture risk | Manageable with design | Low if installed correctly |
How to decide between permeable and impermeable insulation
The assembly as a whole determines performance more than the material alone. Choose based on your climate, your ability to provide a reliable air barrier, and your assembly type.
Choose air-permeable insulation when:
- You’re topping up an existing attic with accessible framing
- Budget is a constraint and you can verify the air barrier is solid
- The assembly needs drying capability (most wall and attic assemblies do)
- You’re in a mixed or cold climate where vapor-open assemblies perform well
Lean toward air-impermeable insulation when:
- The assembly is complex (unvented cathedral ceiling, tight crawl space)
- You can’t reliably create a continuous air barrier with permeable material
- You’re in a hot-humid climate where exterior moisture drive is a concern
- Previous moisture or mold issues suggest the assembly needs a reset
Questions to ask any contractor before signing:
- “Where exactly is the air barrier in this assembly, and how will you verify it’s continuous?”
- “How will you handle penetrations through the air barrier plane?”
- “What’s your drying strategy for this assembly?”
- “Do you offer a written warranty and a post-install inspection?”
Call a pro immediately if you see visible moisture staining, active mold, signs of pest activity in the insulation, or if your home has a complex roof geometry with multiple valleys and dormers.
What good installation looks like and what it costs
Good installation is more than placing material. It combines correct depth and placement with verified air sealing and a post-install inspection, whether a blower-door test or a thorough visual check.
A standard attic insulation project follows this sequence:
- Site prep: clear the attic floor, identify and document bypasses, check for moisture or pest damage
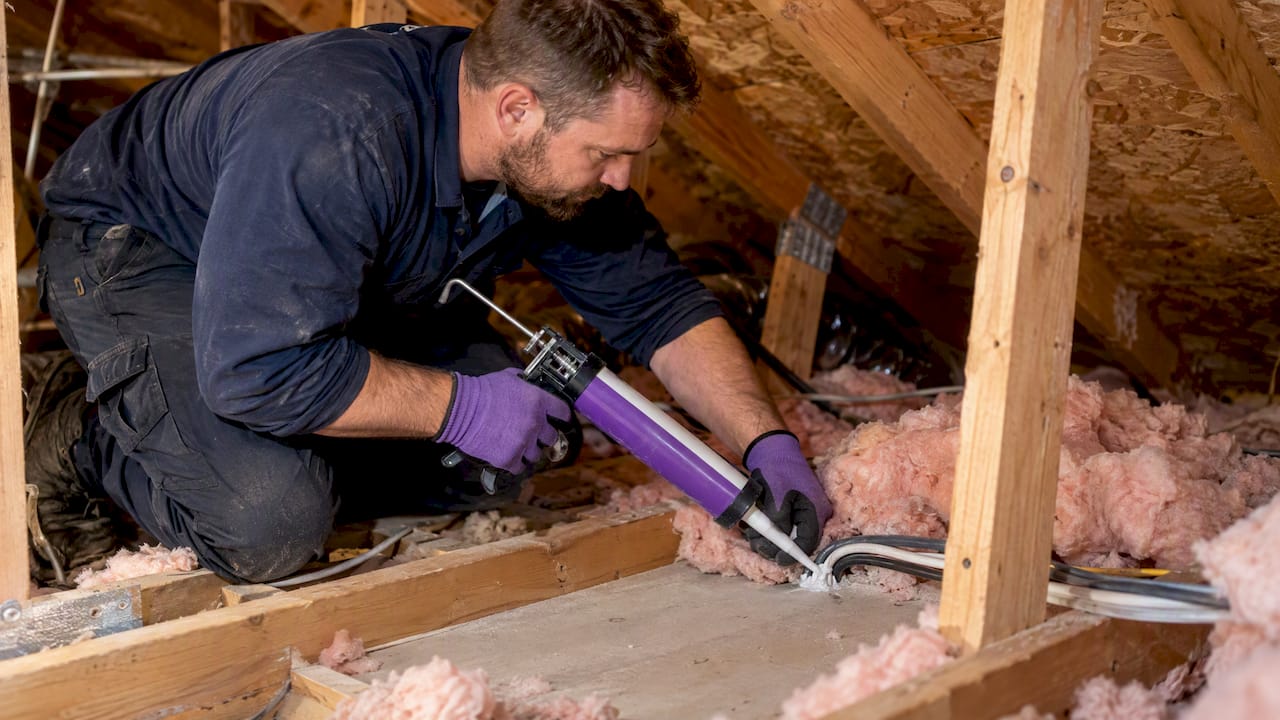
- Air sealing: foam or caulk all penetrations, top plates, and bypasses before any insulation goes in
- Insulation install: blow or batt to the specified depth, maintaining ventilation channels at eaves
- Ventilation check: confirm baffles are in place and soffit-to-ridge airflow is unobstructed
- Post-install inspection: verify depth with a depth gauge, check for gaps, confirm air-sealing completeness
Cost ranges qualitatively: a simple attic top-up in an accessible space runs lower; a full removal and replacement with air sealing runs higher. What drives cost up is removal of old or contaminated material, pest or mold remediation, difficult access, and the extent of air-sealing work needed. Always ask for upfront pricing before work begins.
For warranties, ask for them in writing. A reputable contractor should specify what’s covered, for how long, and what voids the warranty. Same-day inspections, where a contractor assesses and quotes in one visit, are a practical way to avoid drawn-out back-and-forth.
Signs your insulation or air sealing is failing
Drafts, uneven room temperatures, high energy bills, and visible condensation are the primary signs something is wrong with your insulation or air-sealing assembly.
A quick homeowner checklist:
- Cold spots on ceilings or walls in winter often point to missing or compressed insulation
- Frost or condensation on attic sheathing signals warm air bypassing the insulation plane
- HVAC running longer than usual without a weather explanation suggests thermal loss
- Moisture stains on drywall or framing near the attic hatch or exterior walls indicate air movement carrying moisture
Before calling a contractor, document what you’re seeing: photos of staining, a note of which rooms feel drafty, and your recent energy bills. A good diagnostic visit includes a blower-door test to measure overall air leakage and an infrared scan to locate where heat is escaping. Check signs your attic needs an upgrade for a fuller diagnostic checklist.
If you find visible mold, active moisture, or evidence of pests in the insulation, don’t add new material on top. That’s a situation that needs professional assessment before any insulation work proceeds.
Key Takeaways
Air-permeable insulation performs well when paired with a continuous air barrier and a clear moisture-drying strategy; without both, its rated R-value is unreliable.
| Point | Details |
|---|---|
| Definition | Fiberglass, mineral wool, and cellulose are permeable; spray foam and rigid foam boards are not. |
| Air barrier is mandatory | Permeable insulation must contact a continuous air barrier on all sides to prevent convective losses. |
| Moisture design matters | Avoid interior Class I vapor retarders in most below-grade and warm-humid assemblies; design to dry to at least one side. |
| Assembly beats material | The whole assembly design determines performance more than whether the insulation is permeable or impermeable. |
| The Attic Genius | Serves Chicagoland homeowners with air sealing, attic insulation, and moisture remediation, backed by written warranties and same-day inspections. |
What homeowners in Chicagoland usually get wrong about permeable insulation
Most homeowners focus on R-value and miss the air barrier entirely. That’s the gap between a well-performing assembly and one that costs you money every winter. In Chicago’s Climate Zone 5, where heating loads are significant and temperature swings are dramatic, an unsealed attic bypass can undermine an entire insulation upgrade. The assembly has to work as a system: air sealing first, correct insulation depth second, moisture drying path third. Getting one right and skipping the others doesn’t move the needle.
The other thing worth saying plainly: polyethylene sheeting is not a substitute for a real air-barrier system. It traps moisture, it doesn’t reliably stop air, and in below-grade assemblies it creates exactly the conditions that lead to mold. A tested, continuous air-barrier system with a designed drying path is what actually works.
The Attic Genius team brings 25+ years of combined experience and 400+ five-star reviews to this exact problem. Upfront pricing, written warranties, and same-day inspections mean you know what you’re getting before work starts. If you’re seeing the signs described in this article, that’s the right time to call.
The Attic Genius can handle your insulation and air-sealing needs
Poorly sealed attic assemblies are the most common reason Chicagoland homes lose conditioned air, and it’s a problem The Attic Genius solves every day across the Northwest Suburbs and greater Chicagoland area.

Services include attic insulation top-ups and full upgrades, air sealing services for bypasses and penetrations, moisture and mold remediation, pest waste cleanup, and basement and crawl space insulation for below-grade assemblies. Every job comes with upfront pricing and written warranties. Same-day inspections are available, so you get a clear picture of what your attic actually needs before committing to anything.
Schedule your inspection at theatticgenius.com or call to get a same-day quote.
Useful sources and further reading
- Building America Solution Center: No Vapor Retarders on Interior Side of Air-Permeable Foundation Insulation — primary reference for vapor-retarder rules and below-grade assembly guidance
- BuildingScience.com BSD-104: Understanding Air Barriers — defines air-barrier performance targets and placement tradeoffs by climate
- Lawrence Berkeley National Laboratory: Effects of Air Infiltration on Effective Insulation Performance — research basis for convective R-value loss in fibrous insulation
- GreenBuildingAdvisor: How to Choose Insulation — practical material comparison covering permeable and impermeable options
- Construction Specifier: New IBC Rules for Insulation in Unvented Enclosed Roof Framing Assemblies — code guidance for Climate Zones 5–8 roof assemblies using air-permeable cavity insulation
- U.S. Department of Energy Residential Energy Efficiency Appendices — supports the assembly-first framing and whole-enclosure approach