Eave vents, also known as soffit vents, control attic heat and moisture by serving as the primary intake for cool outdoor air at the roofline's lowest edge. This cool air displaces warm, moist air, pushing it up and out through exhaust vents at the attic's peak, preventing the attic from becoming a heat trap. This continuous low-to-high airflow, driven by convection and the stack effect, keeps attic temperatures closer to outdoor ambient temperatures in summer, reducing cooling loads. In winter, consistent ventilation prevents warm spots on the roof deck that lead to ice dam formation, a principle supported by guidance from ENERGY STAR and the Asphalt Roofing Manufacturers Association (ARMA).
Soffit vents, also called eave vents, are the primary intake vents for your attic. They pull cool outdoor air in at the roofline’s lowest edge, and that airflow pushes warm, moist air up and out through ridge or roof exhaust vents. Without them, your attic stagnates, and stagnant attic air is where moisture damage, mold, and ice dams begin.
The short version:
- Eave vents let cool air enter at the bottom of the attic; exhaust vents release warm, humid air at the top
- Proper intake keeps attic temperatures closer to outdoor temps in summer, reducing cooling loads
- In winter, consistent airflow prevents the warm spots on your roof deck that cause ice dams
- Blocked soffit vents are one of the most common and most overlooked attic problems
- First action: go into your attic and look toward the eaves. If you see insulation pressed against the soffit area, your intake is likely blocked
Trusted guidance from ENERGY STAR, the Asphalt Roofing Manufacturers Association (ARMA), and the 1:300 NFA rule all point to the same conclusion: balanced intake and exhaust, starting at the eaves, is the foundation of a healthy attic.
Table of Contents
- How eave vents create the airflow your attic depends on
- What properly working soffit vents actually do for your home
- What happens when soffit vents are blocked or missing
- Where to place soffit vents and how to size them correctly
- How to inspect and maintain your eave vents each season
- What good soffit vent installation actually looks like
- What the research and industry guidance actually say
- Key Takeaways
- The fix most homeowners keep putting off
- The Attic Genius can assess and fix your soffit ventilation
- Useful sources for further reading
How eave vents create the airflow your attic depends on
The physics here are simple. Warm air rises. As solar heat builds in your attic, that warm air naturally wants to escape upward. Eave vents give cool outdoor air a place to enter at the bottom, and that cool air displaces the warm air toward ridge or roof exhaust vents at the top. This low-to-high flow path, driven by convection and the stack effect, is what keeps your attic from becoming a heat trap.
The gold standard configuration is a continuous soffit vent running the full length of the eave, paired with a continuous ridge vent at the peak. This setup produces uniform airflow across every rafter bay without any moving parts. Intermittent spot vents, by contrast, tend to leave pockets of stagnant air between them.
Rafter baffles are what keep this flow path open. They’re foam or cardboard channels installed in each rafter bay that hold insulation back from the soffit opening and maintain a clear air channel from the vent to the open attic. Without baffles, even a correctly installed soffit vent gets choked off as insulation settles toward the eaves.
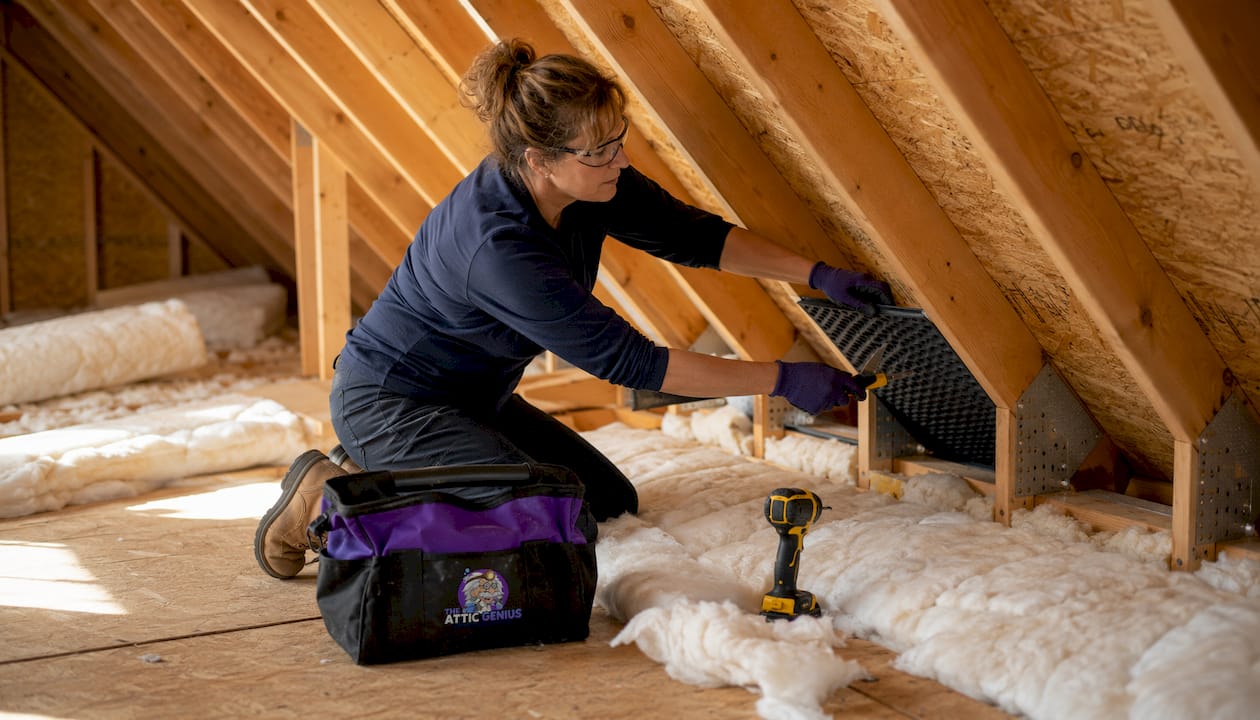
Pro Tip: If you’re adding or topping up attic insulation, install foam rafter baffles in every bay first. Skipping this step is one of the most common attic insulation mistakes homeowners make, and it silently disables your intake vents.
What properly working soffit vents actually do for your home
The benefits of eave vents aren’t abstract. They show up in your energy bills, your roof’s lifespan, and the air quality inside your home.
- Summer temperature control: A well-ventilated attic stays much closer to outdoor ambient temperature. Without intake, attic temps can spike dramatically on hot days, radiating heat down into living spaces and forcing your air conditioner to work harder
- Ice dam prevention: In winter, heat escaping from living spaces warms the roof deck unevenly. Consistent airflow from soffit to ridge keeps the deck temperature uniform, so snow melts evenly rather than refreezing at the cold eaves as an ice dam
- Moisture and mold control: Cooking, bathing, and breathing all push humid air upward. Attic ventilation flushes that moisture out before it condenses on the cold roof deck and framing
- Insulation performance: Wet insulation loses R-value fast. Keeping moisture out protects the insulation you’ve already paid for
- Roof longevity: Proper attic ventilation paired with good insulation and air sealing can extend shingle life by an estimated 20–30% in some cases.
What happens when soffit vents are blocked or missing
Blocked intake doesn’t just reduce airflow. It stops it. And the failure chain that follows is predictable.
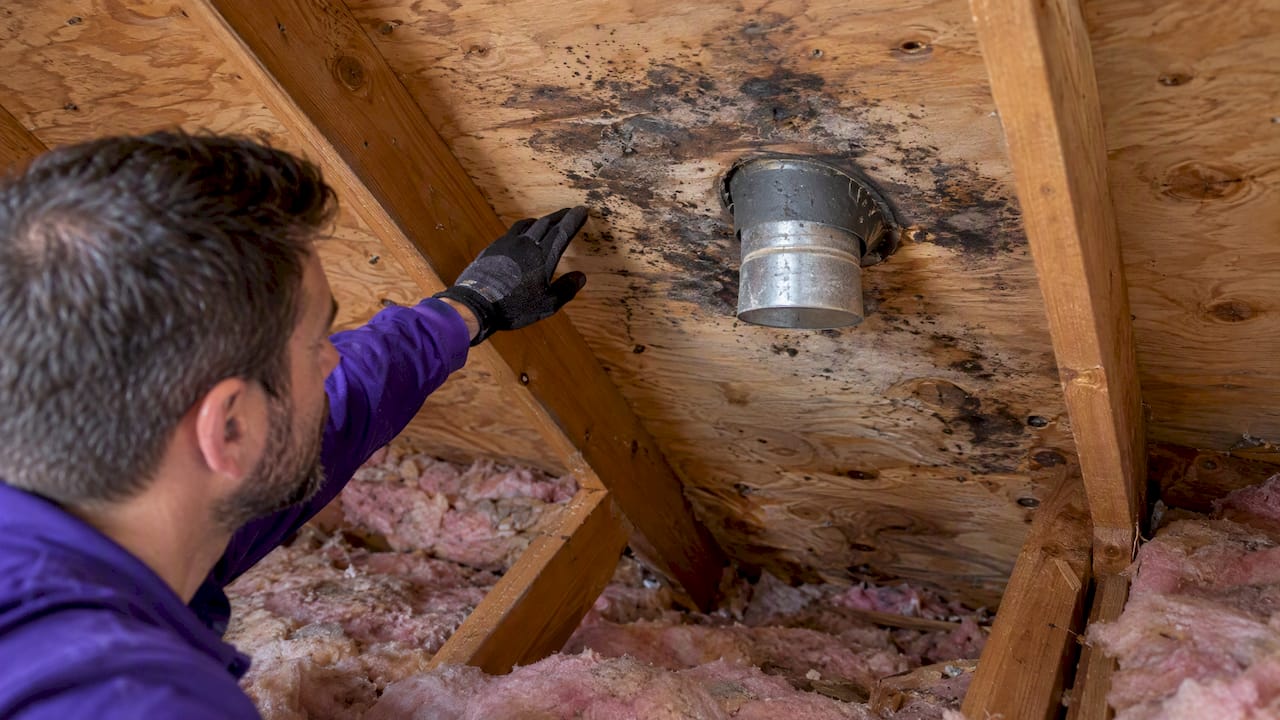
Insulation shifts toward the eaves over time, especially after a top-up job done without baffles. Once it covers the soffit opening, the attic has no fresh air supply. Warm, humid air from the living space rises into the attic and has nowhere to go. It condenses on the cold roof deck and rafters. Over months and years, that condensation feeds mold growth, softens wood framing, and degrades sheathing.
In winter, the same trapped heat creates warm patches on the roof deck. Snow melts, runs down to the cold eaves, and refreezes as an ice dam. Ice dams force water under shingles, into the attic, and eventually into ceilings and walls.
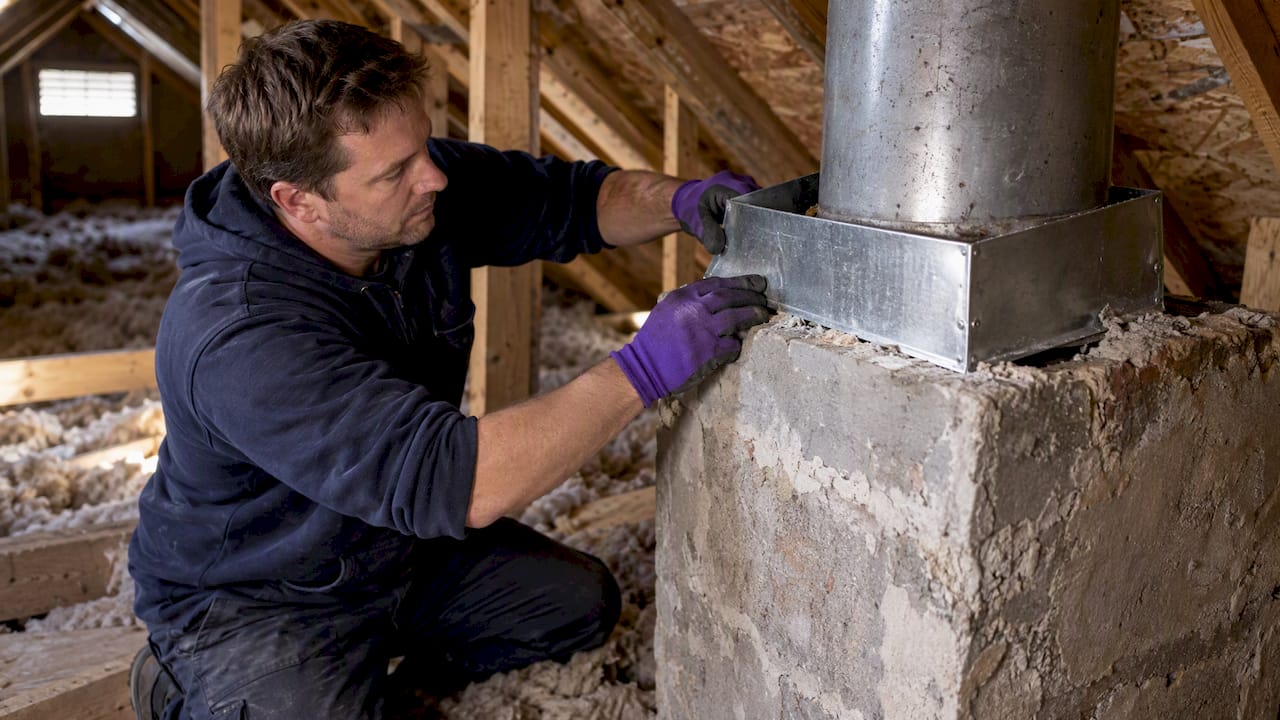
There’s a less obvious failure mode worth knowing: if your attic has a powered exhaust fan but the soffit vents are blocked, the fan pulls air from wherever it can find it, including through gaps in your ceiling from conditioned living space. You end up paying to cool or heat air that gets sucked straight out of your home.
ARMA’s technical bulletins also flag short-circuiting: when different exhaust vent types are mixed on the same roof, one can pull from the other instead of from the intake, leaving entire sections of the attic unventilated.
Where to place soffit vents and how to size them correctly
Sizing attic ventilation comes down to net free area (NFA), the actual unobstructed opening through which air passes. The widely used 1:300 rule calls for 1 square foot of NFA for every 300 square feet of attic floor area, split between intake and exhaust.
ARMA’s formula is direct: divide your attic’s square footage by 2 to get the square inches of NFA needed for exhaust, and the same amount for intake.

Example: A 1,500 sq ft attic needs 750 sq in of exhaust NFA and 750 sq in of intake NFA.
When perfect balance isn’t possible, err toward more intake than exhaust. Industry experience consistently shows that most attics are short on intake, not exhaust. A 60/40 intake-to-exhaust split is a common practitioner recommendation. Excess intake on the windward side simply pressurizes the attic slightly, and the leeward intake vents help exhaust the extra air. Excess exhaust, by contrast, can pull air from the wrong places.
| Configuration | NFA Guideline | Notes |
|---|---|---|
| Standard 1:300 rule | 1 sq ft NFA per 300 sq ft attic | Applies to roof pitches up to 6:12 |
| 7:12–10:12 pitch | Increase ventilation by 20% | Higher volume attic needs more NFA |
| 11:12+ pitch | Increase ventilation by 30% | Per ARMA pitch adjustment guidance |
| Intake/exhaust split | 60% intake / 40% exhaust (recommended) | Prevents attic depressurization |
| Continuous soffit | Preferred over spot vents | Ensures airflow in every rafter bay |
Continuous perforated soffit panels are preferred over individual round or rectangular spot vents because they deliver airflow across every rafter bay. Spot vents leave gaps, and those gaps become stagnant zones.
How to inspect and maintain your eave vents each season
The most important thing to understand about soffit vent inspection: vents that look fine from the ground can be completely blocked from the inside. The only reliable check is from inside the attic.
Inspection sequence:
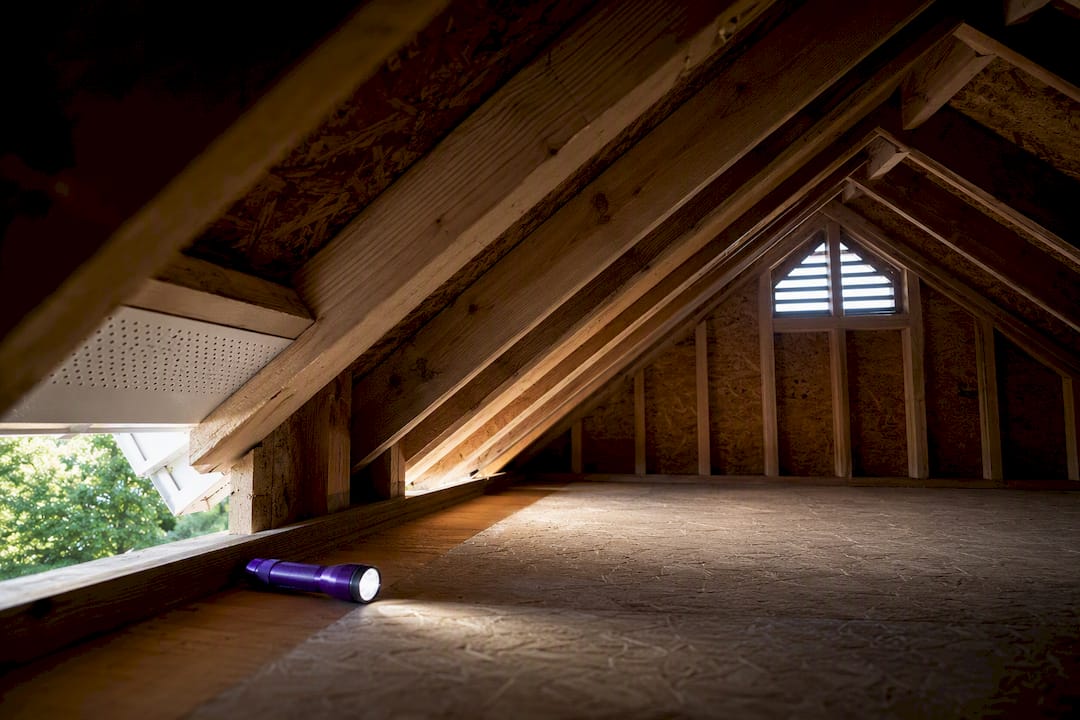
- Go into the attic during daylight. Look toward each eave. You should see light coming through the soffit vents.
- Check whether insulation is pressed against the soffit area. If it is, airflow is restricted or stopped.
- Look for rafter baffles in each bay. If they’re missing, insulation will eventually block the vent even if it’s clear today.
- Inspect vent screens from inside for dust buildup, pest nests, or debris.
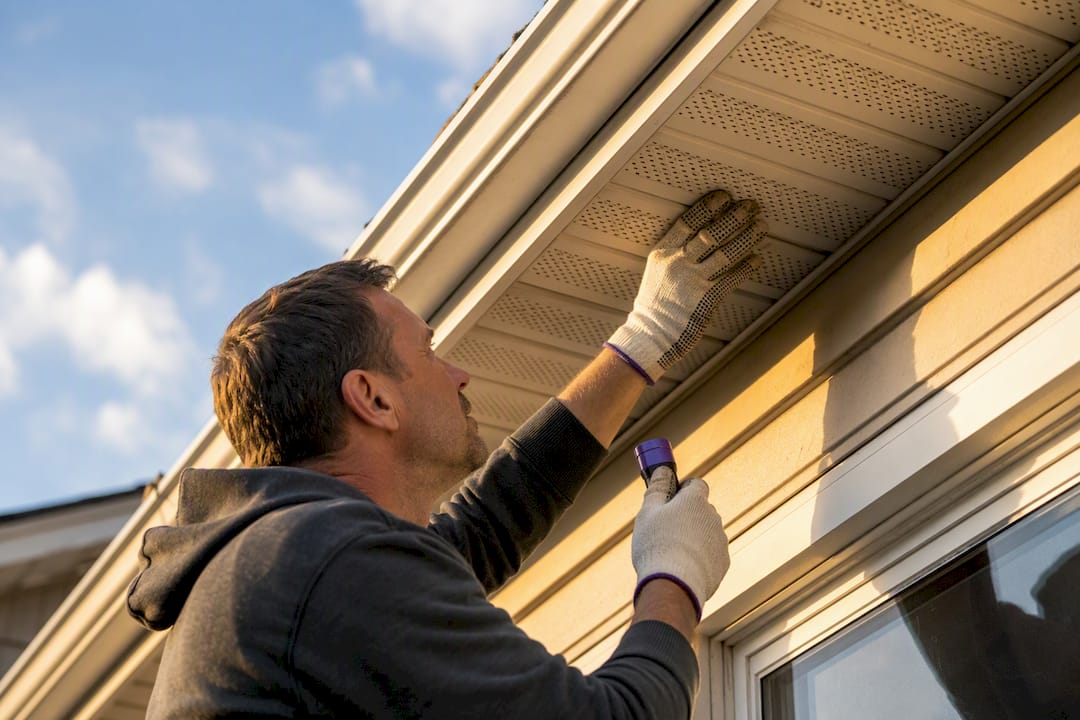
- From outside, check soffit panels for cracks, missing sections, or paint-sealed vent holes.
Pro Tip: Do this inspection in late fall before heating season and again in early spring. Catching a blocked vent before winter prevents ice dams; catching one before summer prevents months of excess heat and moisture.
ENERGY STAR recommends never covering soffit vents with insulation and installing rafter baffles so insulation can reach the eaves without blocking intake. If you find blocked vents, clearing them and adding baffles is a high-ROI fix you can often do yourself.
Call a pro when you find active mold, signs of water intrusion, or significant insulation displacement. These indicate the problem has been running long enough to cause structural concern.
What good soffit vent installation actually looks like
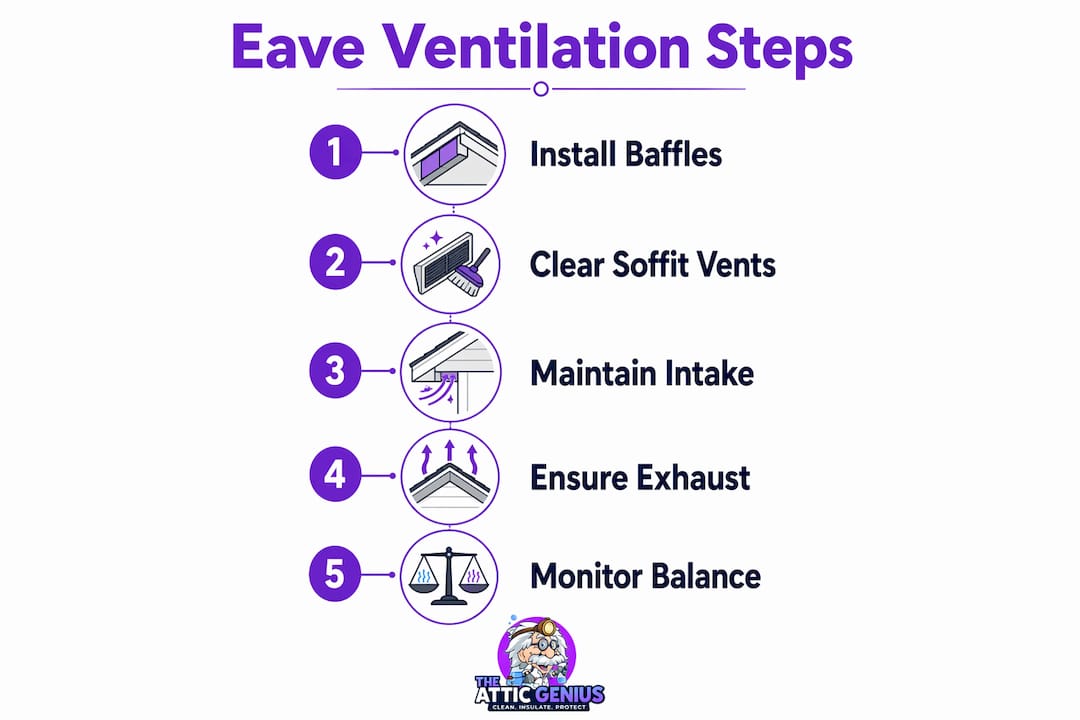
The gold standard is continuous soffit intake running the full eave length, paired with a continuous ridge exhaust, with foam rafter baffles installed in every bay. That combination produces uniform, passive airflow with no maintenance beyond annual inspection.
Installation checkpoints:
- Measure NFA first. Calculate required intake NFA before selecting vent products. Don’t choose a vent and then hope it’s enough.
- Select continuous perforated soffit panels over spot vents wherever the soffit design allows.
- Install rafter baffles in every bay before adding any insulation. Cardboard baffles work; foam baffles are more durable and hold their shape better over time.
- Match exhaust NFA to intake NFA. If you can’t match them exactly, favor slightly more intake.
- Install ridge vent or other exhaust as high as possible. The greater the vertical distance between intake and exhaust, the stronger the stack effect.
- Screen all openings with fine mesh to block insects and rodents. Pest nests are a common cause of blocked vents.
Common mistakes to avoid: burying soffit vents with blown-in insulation during a top-up job, mixing power exhaust fans with passive ridge vents on the same attic space (the fan will short-circuit the ridge vent), and installing spot vents only at the corners while leaving the middle of the eave unvented.
Pro Tip: When hiring a contractor for attic venting installation, ask specifically whether they’ll install baffles in every rafter bay and how they’ll verify the intake-to-exhaust NFA balance. A contractor who can’t answer those questions clearly is skipping steps.
What the research and industry guidance actually say
The case for proper soffit intake isn’t anecdotal. ENERGY STAR, ARMA, and BuildingScience all point to the same design principles, and the numbers behind them are worth knowing.
ARMA’s technical guidance identifies poor attic ventilation as the underlying cause of nearly 30% of diagnosed roof problems. That figure alone justifies annual vent inspection as a maintenance priority.
| Metric | Value | Source |
|---|---|---|
| Standard NFA rule | 1:300 (1 sq ft NFA per 300 sq ft attic) | IIBEC / industry standard |
| Recommended intake/exhaust split | 60% intake / 40% exhaust | BuildingScience practitioners |
| Roof problems tied to poor ventilation | ~30% of diagnosed cases | ARMA technical guidance |
| Shingle life improvement (estimated) | 20–30% improvement with proper ventilation and insulation | R&E Roofing / industry estimate |
The shingle life figure, an estimated improvement in shingle life with proper ventilation and insulation, is an industry estimate rather than a controlled study result. But it’s consistent with what ARMA documents about heat and moisture degrading asphalt shingles from the underside when ventilation fails.
Key Takeaways
Soffit vents are the intake foundation of every attic ventilation system, and keeping them clear is the single highest-ROI attic maintenance task most homeowners never do.
| Point | Details |
|---|---|
| Eave vents are intake, not exhaust | They pull cool air in at the eave; exhaust vents at the ridge push warm, moist air out. |
| Rafter baffles are non-negotiable | Install foam baffles in every rafter bay to keep insulation from blocking soffit openings. |
| Use the 1:300 NFA rule to size vents | One square foot of net free area per 300 sq ft of attic; favor 60% intake over exhaust. |
| Blocked vents cause cascading damage | Mold, ice dams, shingle degradation, and wood rot all trace back to failed intake airflow. |
| The Attic Genius handles the full fix | Baffle installation, soffit repair, air sealing, and ventilation rebalancing across Chicagoland. |
The fix most homeowners keep putting off
Here’s the honest priority order when attic ventilation is underperforming: clear the intake first, add baffles second, seal attic bypasses third, then verify exhaust is balanced. Most guides reverse this, leading homeowners to add ridge vents or power fans before fixing the intake that makes those exhaust vents work. Adding exhaust without adequate intake doesn’t improve ventilation. It creates depressurization.
The baffle step gets skipped most often because it requires going into the attic and working in tight rafter bays. It’s uncomfortable, not technically difficult. A few hours and a box of foam baffles from any home improvement store can restore intake to a vent that’s been functionally dead for years. Pair that with air sealing attic bypasses around light fixtures, plumbing penetrations, and top plates, and you’ve addressed the two biggest sources of attic moisture and energy loss simultaneously.
The Attic Genius has handled this combination across hundreds of Chicagoland homes. The pattern is consistent: homeowners who call about high energy bills or ice dams almost always have blocked soffit intake and unsealed bypasses. Fix both, and the attic starts behaving the way it was designed to.
The Attic Genius can assess and fix your soffit ventilation
A professional attic ventilation assessment measures your actual NFA, inspects every rafter bay for baffles, checks for insulation blockage at the soffits, and verifies that your intake and exhaust are balanced. That’s the starting point, not the whole job.

The Attic Genius offers baffle installation, soffit repair, air sealing services, and full ventilation rebalancing for homeowners across the Northwest Suburbs and greater Chicagoland. If you’re seeing signs of ice dams, high summer cooling bills, or musty attic odors, those are the indicators that warrant a professional look rather than a wait-and-see approach. Same-day inspections are available, with upfront pricing and written warranties. Request your attic ventilation assessment and get a clear picture of what your system actually needs.
Useful sources for further reading
- ENERGY STAR — About Attic Ventilation: Covers insulation placement rules, rafter baffle requirements, and the “never cover soffit vents” guidance
- ARMA — How Much Ventilation Does an Attic Need?: NFA calculation formula, pitch adjustments, and intake/exhaust balance guidance
- ARMA Technical Bulletin — Why Ventilation Is Important: Detailed breakdown of ventilation benefits, failure modes, and installation requirements
- BuildingScience.com: Practitioner-level guidance on rafter baffles, depressurization risks, and 60/40 intake/exhaust rationale
- IIBEC: Industry standards body that references the 1:300 NFA rule and related sizing guidance
- R&E Roofing — Attic Ventilation Guide: Practical overview of continuous soffit + ridge vent systems and shingle life estimates
- CDC — Mold Resources: Health context for attic mold resulting from moisture accumulation
- The Attic Genius — Attic Baffles and Their Role in Ventilation: Detailed guide on baffle types, installation, and how they protect soffit intake