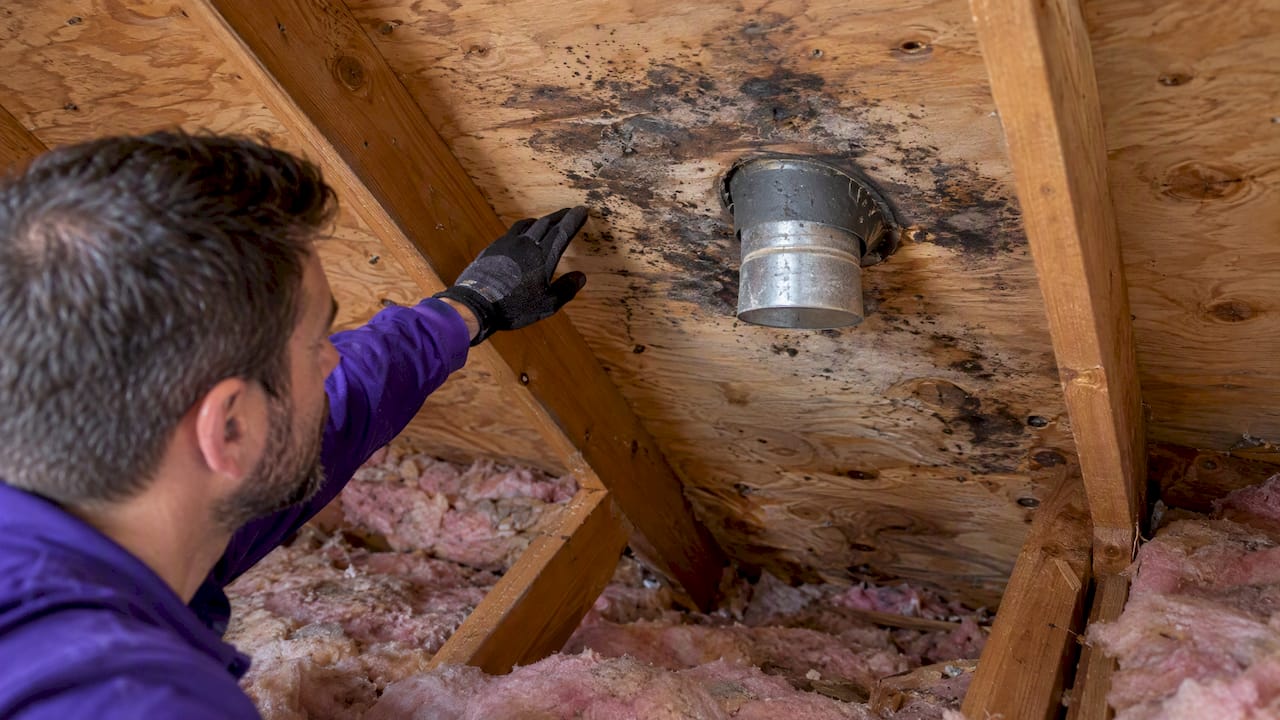
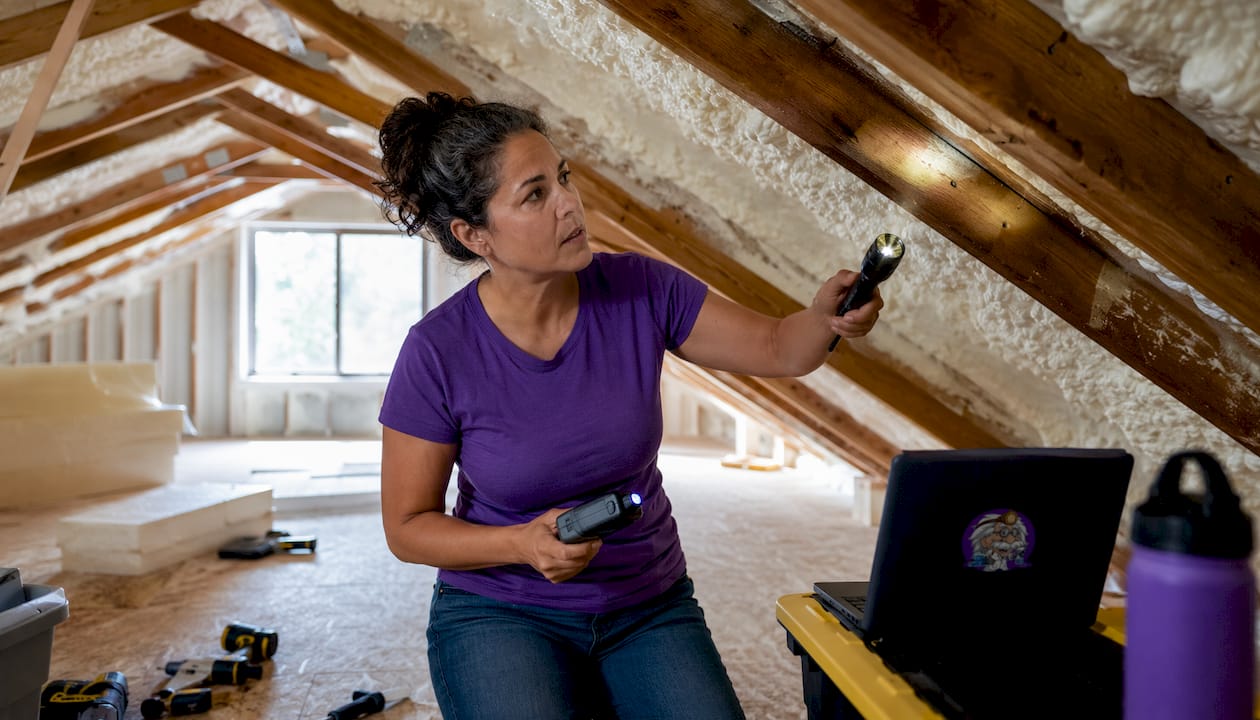
Attic moisture problems manifest as visible signs like frost on nail tips, coffee-colored ring stains on sheathing, wet or matted insulation, and mold patches on wood surfaces. These issues are primarily driven by two root causes: condensation from warm indoor air leaking into a cold attic, or direct water entry from a compromised roof. Distinguishing between these causes is critical for effective repair, especially since the EPA notes that mold can colonize in as little as 24–48 hours once temperatures climb above 40°F.
Attic moisture problems show up as visible stains, frost on nail tips, wet or matted insulation, mold patches, and a musty smell near your attic access. If you notice any of those signs, the immediate step is to grab a flashlight and check the attic during daylight. Active dripping, soft or spongy wood, or visible structural rot means you stop, close the hatch, and call a professional today.
The EPA notes that mold can colonize in as little as 24–48 hours once temperatures climb above 40°F — and a musty odor often appears before you can see a single mold patch. That window is shorter than most homeowners expect.
Two root causes drive nearly every attic moisture problem: condensation from warm indoor air leaking into a cold attic, and direct water entry from a compromised roof. Knowing which one you have changes everything about the fix. The examples below help you tell them apart in about five minutes.
Table of Contents
- 10 Real Attic Moisture Problems You Can Spot Yourself
- How Moisture Gets Into Your Attic
- How to Run a Safe Attic Inspection
- Condensation vs. Roof Leak: How to Tell Which You Have
- Immediate Fixes, Typical Costs, and When to Call a Pro
- Long-Term Prevention: Air Sealing, Insulation, and Ventilation
- 12-Point Expert Inspection Checklist and Two Case Snapshots
- Key Takeaways
- What Pros Actually See (and What Homeowners Miss)
- The Attic Genius Can Handle This for You
- Authoritative Sources and Further Reading
10 Real Attic Moisture Problems You Can Spot Yourself
These are the signs attic professionals actually find when they open a hatch. Each one points toward a likely cause so you can orient your diagnosis before calling anyone.
- Frost on nail tips. In winter, you may see white or silver frost coating the tips of roofing nails poking through the sheathing. This is a classic condensation pattern — warm, humid air from the living space is reaching cold metal and freezing. It is rarely a roof leak.
- Coffee-colored ring stains on sheathing. Broad, irregular rings with a dried tide-mark edge suggest repeated wetting and drying. Widespread rings across multiple bays point to condensation; a single ring near a pipe boot or valley points to a localized roof leak.
- Wet or matted insulation. Insulation that feels dense, heavy, or compressed has absorbed water and lost most of its insulating value. Check directly above bathrooms and kitchens first — bath fans venting into the attic instead of outdoors are a frequent culprit.
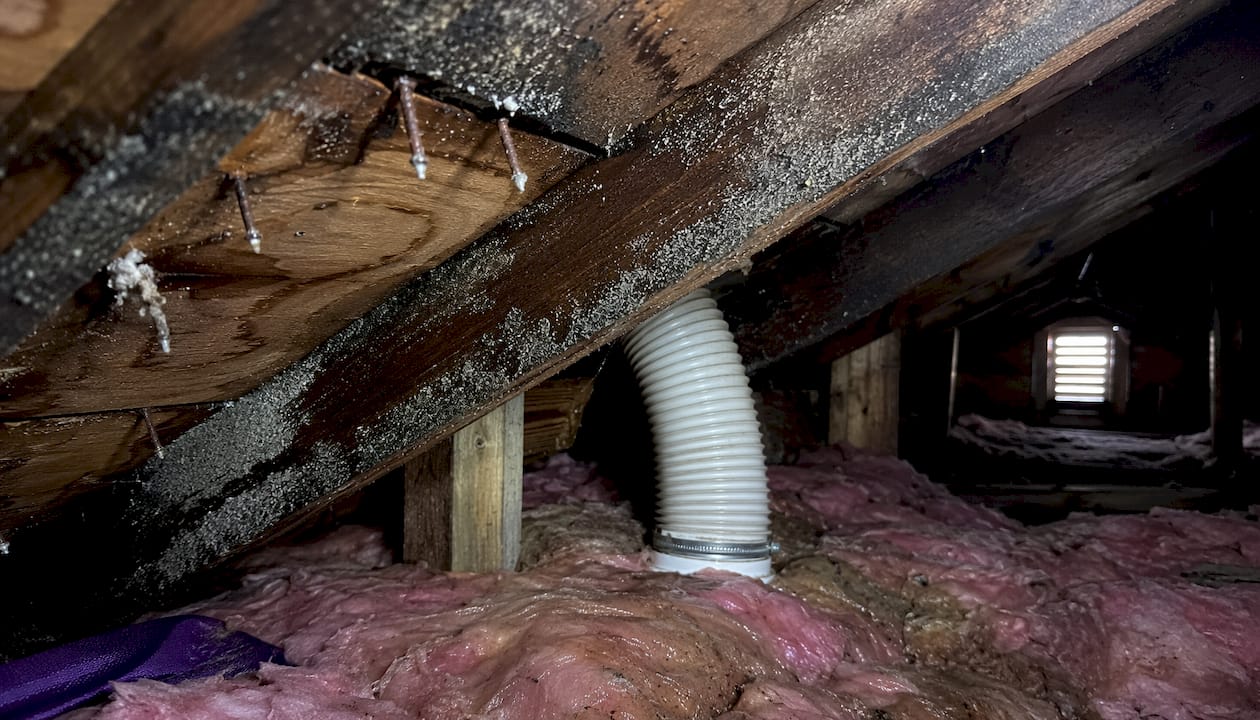
- Mold patches on rafters or sheathing. Black, green, or gray fuzzy growth on wood surfaces. Widespread mold across the whole roof deck usually signals a ventilation or air-sealing failure; a tight cluster near one penetration suggests a localized leak. Learn more about attic mold sources and when remediation is needed.
- Rusted metal connector plates or joist hangers. Orange rust streaks on metal hardware are a sign of chronic, repeated moisture exposure. Like frosted nails, widespread rust across the attic points strongly to condensation rather than a single leak.
- White, chalky deposits (efflorescence). Salt-like white powder on masonry, concrete, or wood near the chimney or exterior walls. Water has been moving through the material, carrying minerals to the surface as it evaporates.
- Dripping water or wet spots on the attic floor. Active dripping during or after rain is the clearest sign of a roof leak. Water rarely falls straight down from the entry point — it travels along rafters and sheathing, so the wet spot on the floor may be several feet from the actual breach.
- Sagging or discolored insulation near eaves. Insulation that droops, clumps, or shows dark staining near the eaves often means soffit vents are blocked, trapping moisture. Blocked soffits also choke off the intake airflow the whole ventilation system depends on.
- Damp attic floor decking or subfloor. A floor that feels soft underfoot or shows dark water staining is a late-stage warning. By the time the floor is damp, moisture has been present long enough to begin degrading structural wood.
- Musty odor at the attic hatch or ceiling registers. You may smell the problem before you see it. A persistent musty smell near the pull-down stairs or ceiling vents is an early warning sign that mold or mildew has already started, even if nothing is visible yet.
[Photo examples to add: frost on nail tips, ring stains on sheathing, wet insulation over bathroom, mold on rafters, rusted joist hanger, blocked soffit, active drip trail.]
How Moisture Gets Into Your Attic
Understanding the pathway matters because the fix for condensation is completely different from the fix for a roof leak.
Air leakage from the living space is the most common driver of attic humidity issues. Warm, humid air from your kitchen, bathrooms, and laundry room rises and finds gaps at recessed lights, top plates, attic hatches, and around plumbing stacks. Once that air hits the cold underside of the roof deck in winter, it deposits moisture. This is condensation, and it can happen even on a roof with no damaged shingles at all.
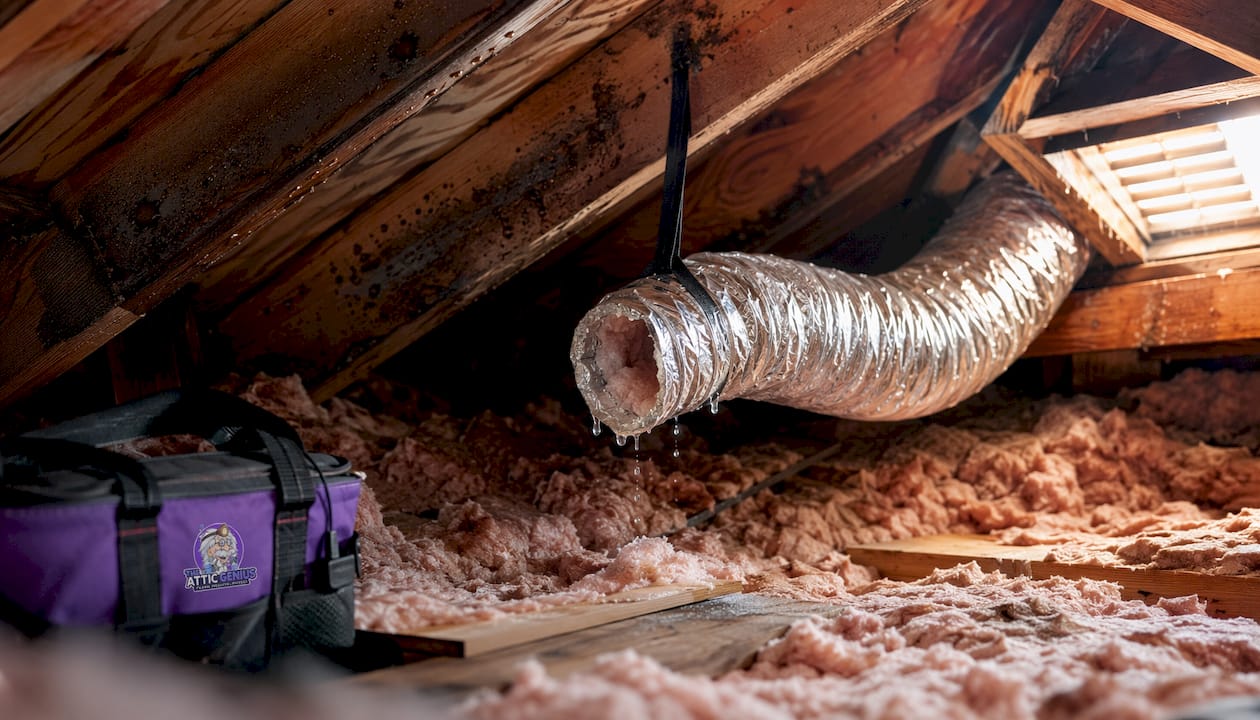
Exhaust fans that terminate inside the attic instead of outdoors are an outsized contributor. A single bathroom fan dumping warm, humid air directly into the attic space can saturate insulation and trigger mold growth within a single heating season. The U.S. Department of Energy’s Consumer Guide to Durable Attics flags this as a code violation in many jurisdictions and calls for immediate correction.
Direct water entry follows a different pattern. Roof leaks typically originate at flashing around chimneys, skylights, or pipe boots; at damaged or missing shingles; at valleys where two roof planes meet; or at wind-driven rain penetrating gaps at gable ends. Ice dams are a related mechanism: when heat escapes through a poorly insulated roof deck, it melts snow at the ridge, and that meltwater refreezes at the cold eaves, backing up under shingles and into the attic.
Seasonal and climate factors shift which problem dominates. Cold, dry weather with no recent rain and you find frost or widespread staining? Condensation. Wet spots appear only after a heavy rain or thaw? Exterior water entry. In hot, humid summers, even supply ducts running through an unconditioned attic can sweat, adding moisture from the outside in.
How to Run a Safe Attic Inspection
A methodical check takes about 20 minutes and gives you the evidence a contractor needs to quote the right fix.
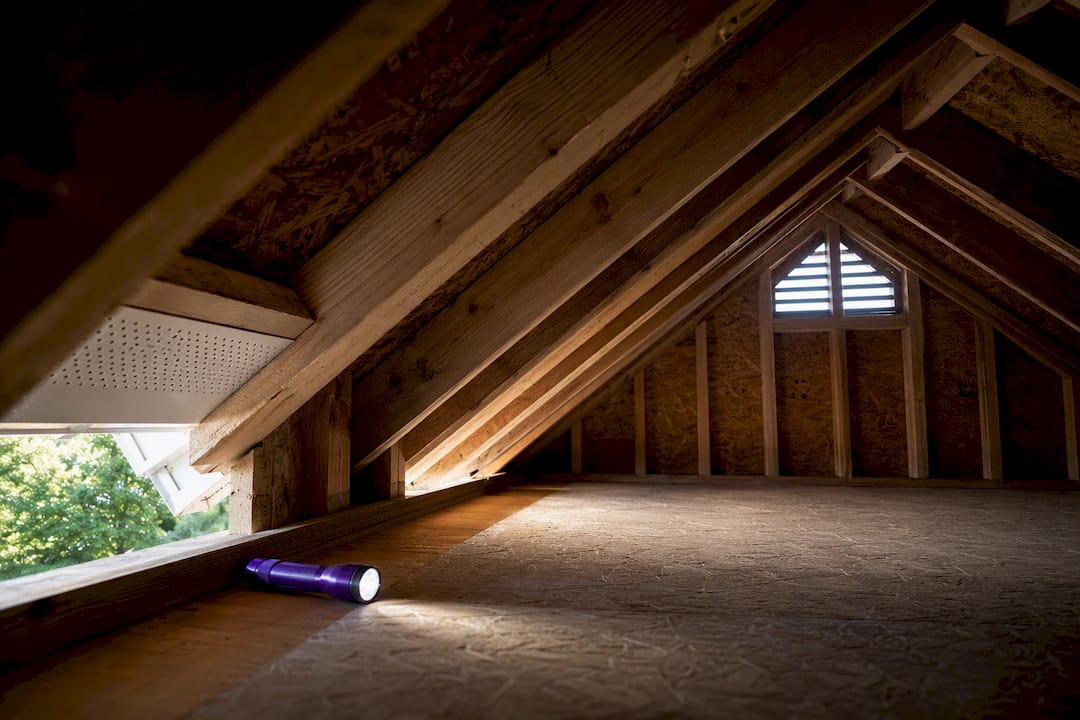
- Gather your tools. Bring a bright flashlight or headlamp, a hygrometer (a $15–$25 digital humidity meter), your smartphone for photos, gloves, and a dust mask. A hygrometer reading above 60% relative humidity in the attic, compared to 30–50% in the living space below, is a reliable flag for a moisture problem.
- Check the access point first. Before you climb in, look at the hatch frame and pull-down stairs for staining, soft wood, or mold. The hatch itself is a major air-leakage point — a gap here lets warm air pour into the attic every time it opens.
- Do a visual sweep from the entry. Scan the full roof deck with your flashlight before moving. Look for staining patterns, frost, mold, or sagging insulation. Note whether staining is widespread or isolated.
- Check directly above bathrooms and kitchens. Trace the path of any exhaust fan flex duct. Does it terminate at a roof cap or gable vent, or does it just end inside the attic? A disconnected or improperly routed duct is one of the highest-impact fixes available.
- Probe the insulation. Press down gently in several spots. Wet or matted insulation feels dense and heavy. Check near eaves, over bathrooms, and near any penetrations. Reviewing signs your attic needs an insulation upgrade can help you interpret what you find.
- Trace staining uphill. Water travels along rafters before it drips. Follow any stain toward the ridge to find the actual entry point, not just where the water landed.
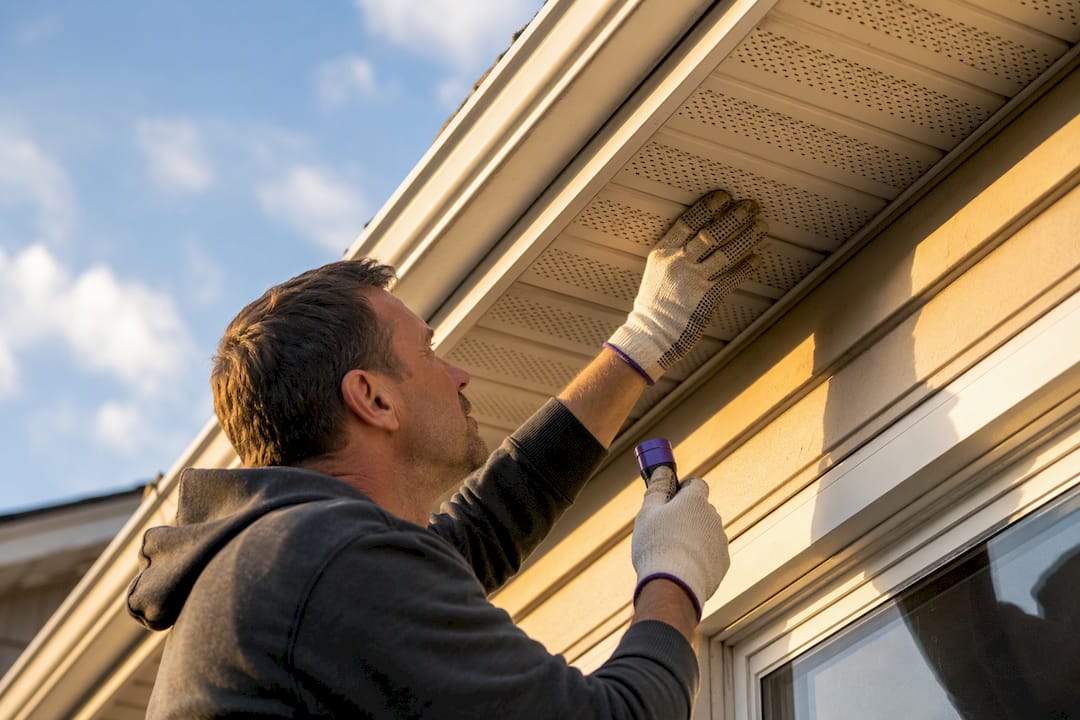
- Inspect baffles and soffit vents. Look toward the eaves. Are baffles in place keeping a clear channel between the insulation and the roof deck? Blocked soffits choke the intake side of your ventilation system.
- Record humidity and photograph everything. Take a hygrometer reading and photograph every stain, wet spot, and suspicious area. This documentation is what a contractor uses to scope the job accurately.
Pro Tip: Stop the inspection immediately if you find active dripping, wood that feels soft or spongy underfoot, or corroded electrical connections. Close the hatch and call a professional. In cold weather, limit your time in the attic to 10–15 minutes to avoid hypothermia risk.
Condensation vs. Roof Leak: How to Tell Which You Have
Getting the diagnosis right saves you from paying for a roof repair when air sealing is what you actually need, or vice versa.
Pattern clues do most of the work. Widespread staining across multiple bays, rusted nail tips throughout the attic, and frost that appears during cold dry weather all point to condensation. An isolated stain with a gravity trail near a pipe boot, skylight, or valley that appears after rain points to a localized roof leak. As Building Science research confirms, rusted nail tips across a wide area are a strong indicator of chronic interior condensation, not a localized breach.
Quick diagnostic tests:
- Check the attic after a cold, dry night with no recent rain. New frost or moisture with no precipitation? Condensation.
- Check after heavy rain. New wet spots that weren’t there before? Roof leak.
- Look for exhaust ducts terminating inside the attic. If found, condensation is almost certainly part of the problem regardless of what else you find.
| Symptom | Probable Cause | Immediate Next Step |
|---|---|---|
| Frost on nail tips, widespread | Condensation (air leakage) | Air seal attic floor; check exhaust fan routing |
| Broad ring stains, multiple bays | Condensation (chronic) | Hygrometer check; improve ventilation balance |
| Isolated stain near penetration, after rain | Roof leak | Inspect flashing, pipe boot, or shingles at that point |
| Wet insulation over bathroom | Bath fan venting to attic | Reroute exhaust fan to exterior immediately |
| Dripping during rain, single location | Active roof leak | Temporary tarp; call roofer |
| Rust on joist hangers, widespread | Chronic condensation | Air sealing + ventilation assessment |
Immediate Fixes, Typical Costs, and When to Call a Pro
Some attic moisture fixes are genuinely DIY-friendly. Others are not.
Short-term fixes you can do yourself:
- Reroute a bathroom or kitchen exhaust fan to terminate outdoors through a proper roof cap or gable vent. Flex duct and a new cap typically cost materials; a contractor charges a modest fee per fan depending on access.
- Install or replace vent caps that have lost their dampers, allowing outside air (and pests) back in.
- Add foam weatherstripping and a rigid insulated cover to a leaky attic hatch. A pre-made insulated hatch cover runs $40–$80 and cuts a major air-leakage point.
- Install baffles at the eaves to restore the 2-inch clearance between insulation and roof deck that soffit intake requires. Baffles are inexpensive and are stapled in place.
- Apply a temporary tarp over an active leak area while you schedule a roofer.
Typical cost ranges for professional work vary widely by region and job size:
| Repair Type | Typical Cost Range | Timeline |
|---|---|---|
| Air sealing (attic floor) | from low to high thousands of dollars | 1 day |
| Insulation top-up (blown-in) | from low to mid-thousands of dollars | Half to 1 day |
| Simple flashing repair | from low to several hundred dollars | 2–4 hours |
| Roof patching (shingles) | from low hundreds to over a thousand dollars | Half to 1 day |
| Mold remediation (attic) | from low to high thousands of dollars | 1–3 days |
Costs vary by region, attic size, and severity. These ranges reflect typical Midwest and national averages and are not guarantees.
Call a pro when you find active leaks, structural rot, widespread mold covering more than a small area, or exhaust ducts buried in insulation that you cannot safely access. Before the visit, prepare photos of every stain, your hygrometer readings, and a timeline of when you first noticed symptoms. That preparation cuts diagnostic time and helps the contractor give you an accurate quote. Reviewing attic mold remediation steps before the visit helps you ask the right questions.
Long-Term Prevention: Air Sealing, Insulation, and Ventilation
Fixing the symptom without fixing the air path means the moisture comes back. These are the three prevention priorities, in order of impact.
1. Air seal the attic floor first.
- Seal around recessed light fixtures (use airtight IC-rated covers or foam boxes).
- Seal top plates where interior walls meet the attic floor with canned spray foam or caulk.
- Seal around all plumbing stacks, wiring penetrations, and ductwork with appropriate materials.
- Install a rigid insulated cover on the attic hatch with weatherstripping on all four sides.
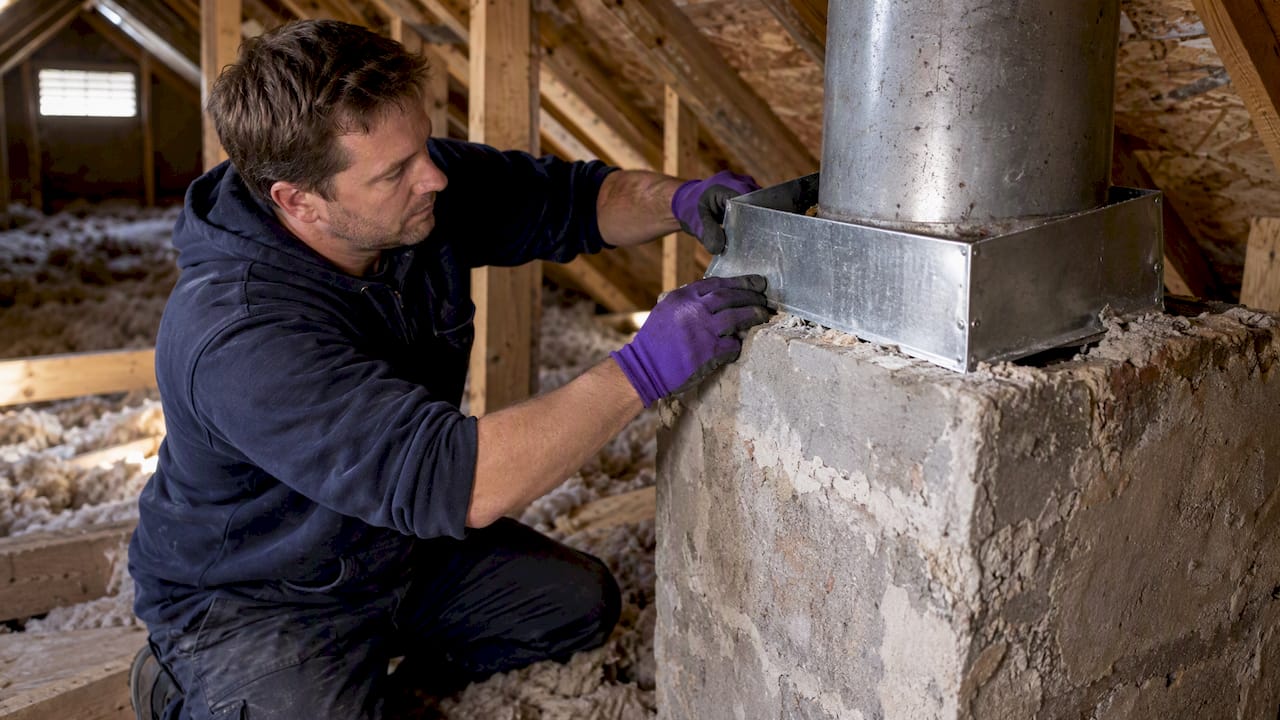
- Address the chimney chase with sheet metal and high-temperature caulk.
Air sealing attic bypasses is consistently the highest-return investment for moisture control, and it also cuts heating and cooling costs. Ventilation alone cannot compensate for a leaky attic floor.
2. Get insulation placement right.
Maintain a 2-inch baffle clearance at the soffits so intake air can flow freely. Never bury soffit vents under blown-in insulation — a common DIY mistake that chokes the ventilation system and traps moisture. When adding insulation, install baffles first, then fill. If your thermal boundary is at the attic floor, keep it there; moving it to the roof deck (creating a conditioned attic) is a significant retrofit that requires professional design to avoid new condensation problems.
3. Balance your ventilation.
The commonly referenced 1:300 free-vent-area ratio requires balanced intake at the soffits and exhaust at the ridge or roof vents. Exhaust without adequate intake creates negative pressure that can pull conditioned air into the attic. Ventilation only works when the attic floor is already airtight — adding more vents to a leaky attic just moves the problem around.
Pro Tip: Every bathroom and kitchen exhaust fan must terminate outdoors, not into the attic. Confirm this by tracing each flex duct to its endpoint. If it ends in the attic space, rerouting it is the single highest-impact fix you can make for under $350 in most homes.
12-Point Expert Inspection Checklist and Two Case Snapshots
Use this checklist when hiring an inspector or walking through the attic with a contractor.
- Attic hatch: weatherstripping condition, insulated cover present
- Air sealing: visible gaps at top plates, recessed lights, plumbing penetrations
- Insulation depth and condition: check for compression, saturation, or displacement
- Baffles: present at every rafter bay along the eaves, 2-inch clearance maintained
- Soffit intake: unobstructed, no insulation blocking the channel
- Ridge and roof exhaust: ridge vent or roof vents functional and unblocked
- Exhaust duct routing: every bath and kitchen fan terminates outdoors
- Plumbing vent flashings: no cracking or separation at roof penetrations
- Pipe boots: rubber collar intact, no cracking or pulling away from shingles
- Flashing at skylights and chimney: no rust, separation, or missing sections
- Nail rust pattern: widespread rust indicates condensation; isolated rust near penetrations indicates a localized leak
- Humidity reading: attic relative humidity compared to living space reading
Case A: Bathroom fan venting to attic (condensation)
A homeowner in a 1980s two-story found widespread mold on the north-facing roof sheathing and matted insulation over both bathrooms. Inspection revealed two bath fans terminating in the attic with disconnected flex duct. Fix: rerouted both fans to exterior roof caps, sealed the attic hatch, and air-sealed top plates. Cost band: $800–$1,400 for fan rerouting and air sealing. Outcome: humidity dropped to normal range within one heating season; mold remediation completed the following month.
Case B: Failing valley flashing (roof leak)
A property manager noticed a single water stain on the ceiling below the attic. Tracing the stain uphill in the attic revealed a gravity trail leading to a valley where two roof planes met. The step flashing had separated. Fix: roof repair at the valley with new step flashing and sealant. Cost band: $400–$900 depending on valley length and shingle condition. Outcome: no recurrence after the next three rain events.
Before/after: what to expect and questions to ask your contractor
- Before: photograph every stain, measure humidity, note the timeline.
- After: ask for photo documentation of sealed penetrations and any replaced materials.
- Ask: Does the quote include a written warranty? What is the warranty period for air sealing work? Will you provide before-and-after humidity readings?
Key Takeaways
Attic moisture problems almost always trace back to one of two causes: warm indoor air leaking into a cold attic (condensation) or exterior water entry through a compromised roof, and air sealing the attic floor is the highest-impact fix for the first and most common cause.
| Point | Details |
|---|---|
| Recognize the signs fast | Frost on nails, ring stains, wet insulation, mold, and musty odor are the top visual and sensory warnings. |
| Condensation vs. leak | Widespread staining and rusted nails point to condensation; isolated stains after rain point to a roof leak. |
| Air sealing comes first | Sealing attic floor bypasses stops the moisture source; ventilation alone cannot compensate for air leakage. |
| Fan routing is a quick win | Rerouting a bath fan from the attic to outdoors is one of the highest-impact fixes for under $350 in most homes. |
| The Attic Genius | Serves Chicagoland homeowners with air sealing, insulation, ventilation, and mold remediation, with same-day inspections available. |
What Pros Actually See (and What Homeowners Miss)
Most homeowners who call about attic moisture have already replaced shingles or added insulation once. The moisture came back because neither fix addressed the air path. Insulation does not stop air movement — it only slows heat transfer. If warm, humid air can still flow from the living space into the attic, it will keep depositing moisture on cold surfaces no matter how thick the insulation is.
The single biggest misdiagnosis is treating condensation as a roof leak. A roofer patches the flashing, finds nothing wrong, and the stains reappear the following winter. That pattern, moisture returning after a fix, is almost always a sign that the air path was never closed. The rule of thumb worth keeping: if moisture comes back after a repair, you fixed the symptom, not the source.
On warranties: any contractor doing air sealing or insulation work should provide written documentation of what was sealed and a warranty period. Photo evidence of sealed penetrations is not optional — it is the only way to verify the work was done.
The Attic Genius Can Handle This for You
Diagnosing and fixing attic moisture is straightforward when you know what to look for. But when the mold is widespread, the exhaust ducts are buried, or the structural wood feels soft, the job moves past DIY territory fast.

The Attic Genius serves homeowners and property managers throughout Chicagoland and the Northwest Suburbs with exactly this kind of work: air sealing, insulation top-ups and full replacements, attic ventilation assessment, and moisture and mold remediation. The team brings 25+ years of combined experience and 400+ five-star reviews. Pricing is upfront, work comes with written warranties, and same-day inspections are available. If your inspection turned up moisture-damaged insulation, check signs your attic needs an insulation upgrade before booking, so you arrive with a clear picture of what needs to happen. To get started, request a same-day inspection at theatticgenius.com and bring your photos and humidity readings.
Authoritative Sources and Further Reading
- Consumer Guide to Durable Attics (U.S. Department of Energy) — Covers moisture entry paths, exhaust fan routing, ventilation, and baffles; the foundational homeowner reference.
- Mold Cleanup in Your Home (EPA) — Mold growth timelines, health guidance, and when to call a professional remediator.
- PA-1101: A Crash Course in Roof Venting (Building Science Corporation) — Explains condensation vs. leak patterns, nail rust as a diagnostic tool, and the role of air sealing.
- BSD-102: Understanding Attic Ventilation (Building Science Corporation) — Ventilation ratios, intake/exhaust balance, and why ventilation fails without an airtight attic floor.
- Condensation Control in Attics and Roofs (BASC / PNNL) — Cold-climate condensation control, baffle requirements, and retrofit guidance.
- BSI-119: Conditioned vs. Unconditioned Attics (Building Science Corporation) — Design choices for vented vs. unvented attics and retrofit risks.
- Don’t Vent Bath Fans to the Attic (Energy Vanguard) — Why exhaust fan routing is one of the highest-impact moisture fixes available.
- What Causes Moisture Problems in Attics? (RIBA Roofing) — Practical overview of causes and timing clues for homeowners.