Attic mold remediation is defined as the safe removal of mold growth combined with moisture control to prevent it from coming back. The process follows the ANSI/IICRC S520-2024 standard, which is the recognized industry guide for professional mold remediation. The EPA sets a 10 square foot threshold as the dividing line between DIY cleanup and professional intervention. Untreated attic mold damages roof sheathing, degrades insulation, and releases spores that affect air quality throughout your home. Following the right attic mold remediation steps protects both your health and your home’s structure.
What tools and prerequisites do you need before starting?
Preparation determines whether your remediation works or fails. Skipping this stage is the single most common reason mold comes back within months.
Safety gear and equipment
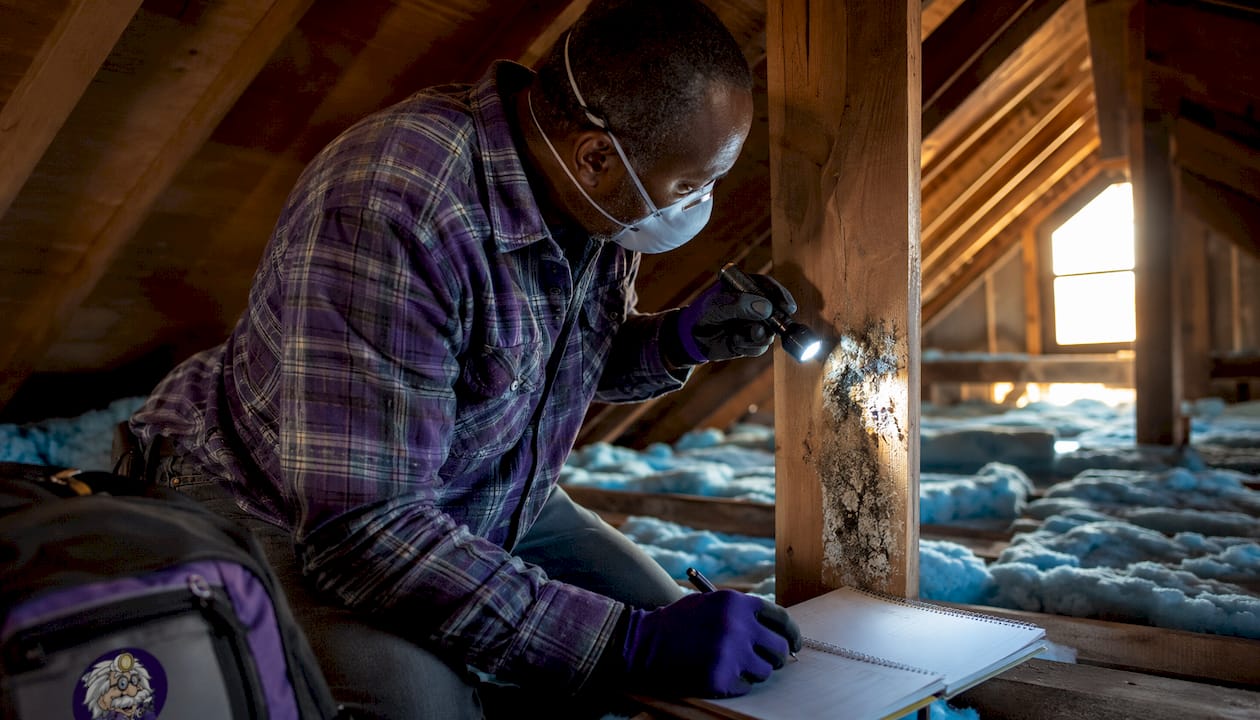
Before touching any mold, gather the right protective equipment. You need an N95 or P100 respirator, nitrile gloves, safety goggles, and disposable coveralls. A HEPA vacuum is non-negotiable for capturing spores without spreading them. You also need plastic sheeting, painter’s tape, a stiff brush or abrasive pad, liquid detergent, fans, and a dehumidifier.
| Item | Purpose |
|---|---|
| N95 or P100 respirator | Blocks mold spores from entering your lungs |
| HEPA vacuum | Captures spores without recirculating them |
| Plastic sheeting and tape | Seals off the work area to contain spores |
| Fans and dehumidifier | Dries surfaces within the critical 24–48 hour window |
| Stiff brush and detergent | Physically scrubs mold from non-porous surfaces |
Assessing the scope before you start
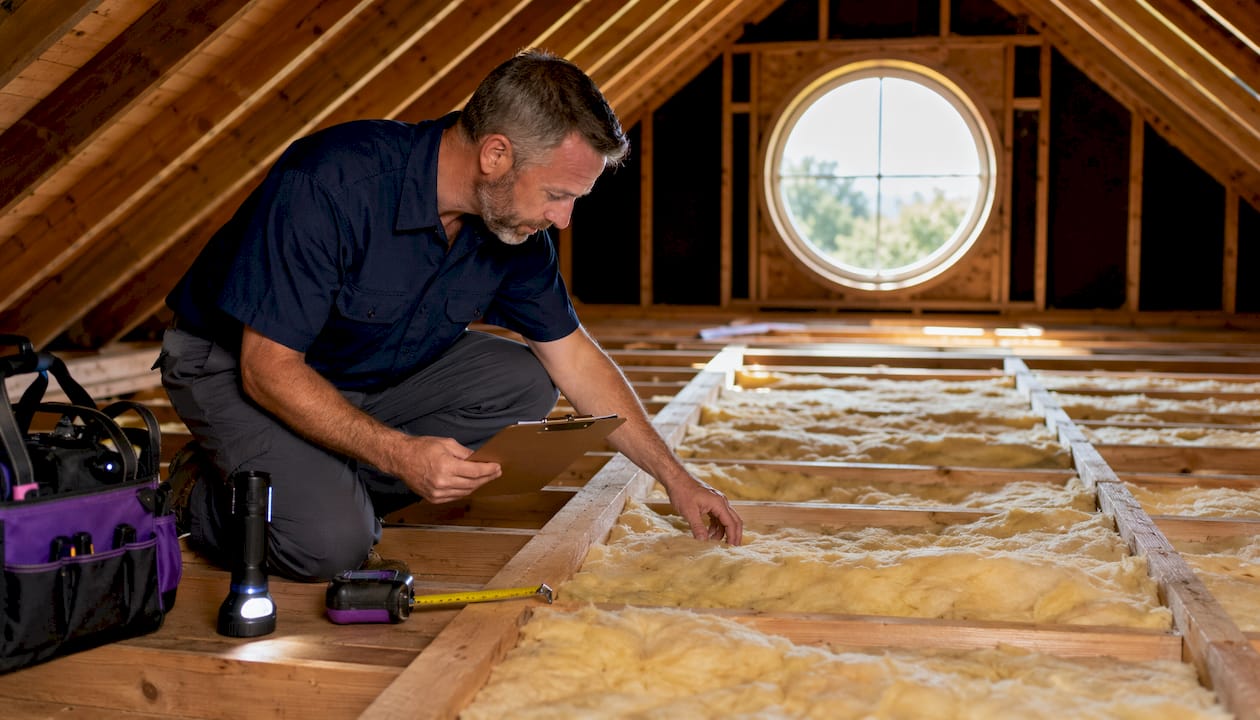
Measure the affected area before doing anything else. Areas under 10 square feet are generally safe for a prepared homeowner to handle. Anything larger, or any situation where your HVAC system is involved, requires a licensed professional. Check for attic health hazards like compromised roof sheathing or pest waste before you begin, since these change the scope of the job significantly.
Pro Tip: If anyone in your household has allergies, asthma, or a compromised immune system, consult a healthcare provider before starting cleanup. Disturbing mold sends spores airborne, and sensitive individuals should not be in the home during remediation.
What are the step-by-step attic mold remediation steps?
The mold removal process has a specific sequence. Doing steps out of order, especially fixing mold before fixing moisture, guarantees the mold returns.
Step 1: Document and contain the area
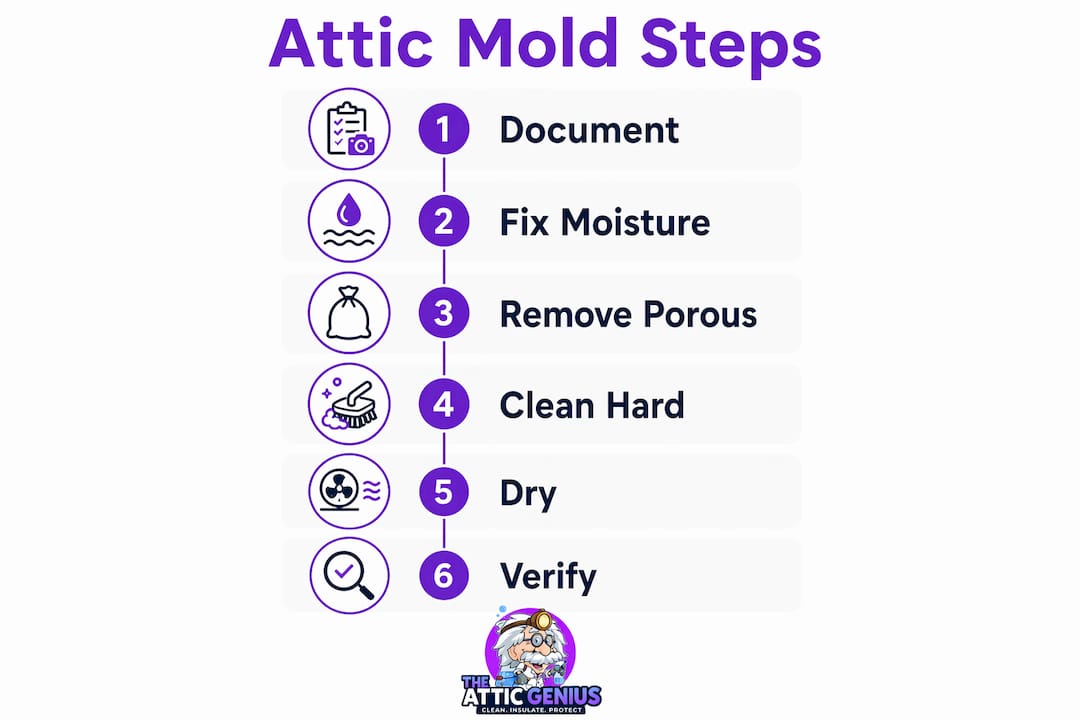
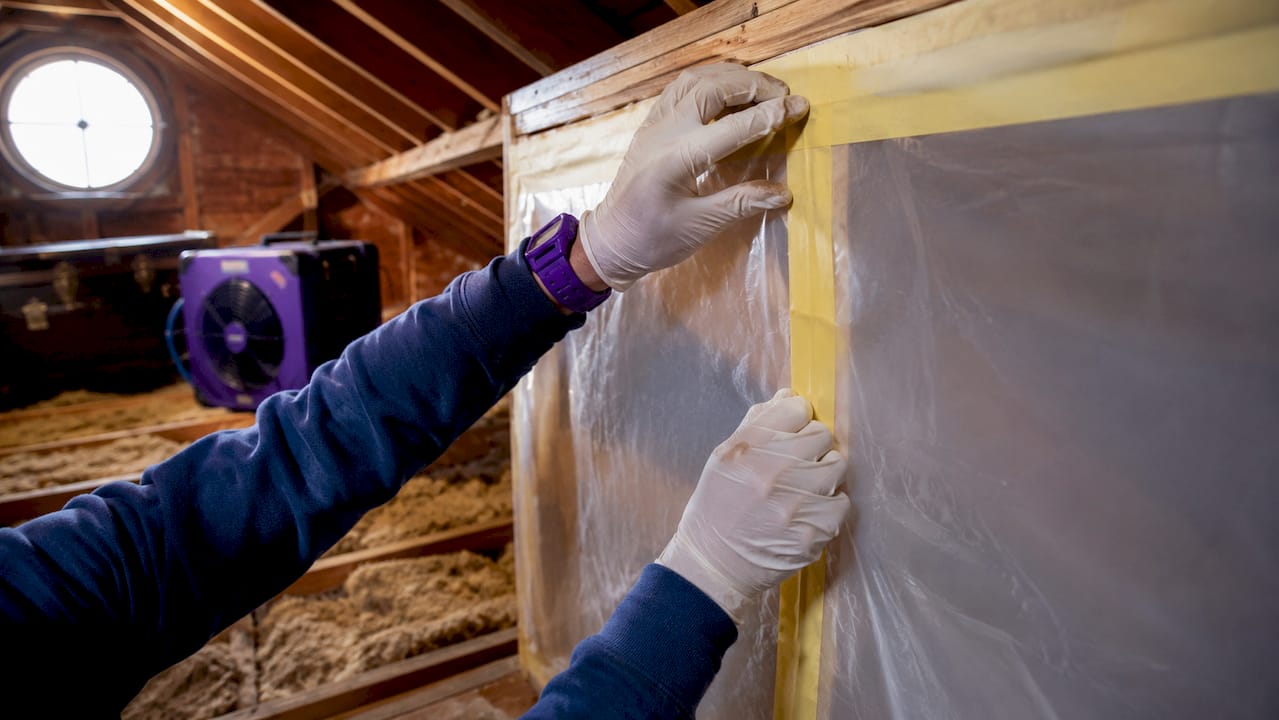
Photograph every affected surface before touching anything. This documentation helps you track progress and supports any insurance claims. Seal off the attic access hatch with plastic sheeting and tape. Close any HVAC vents in the attic to prevent spores from traveling into your living space. Containment is not optional. Without it, the cleanup itself spreads the problem.
Step 2: Identify and fix every moisture source
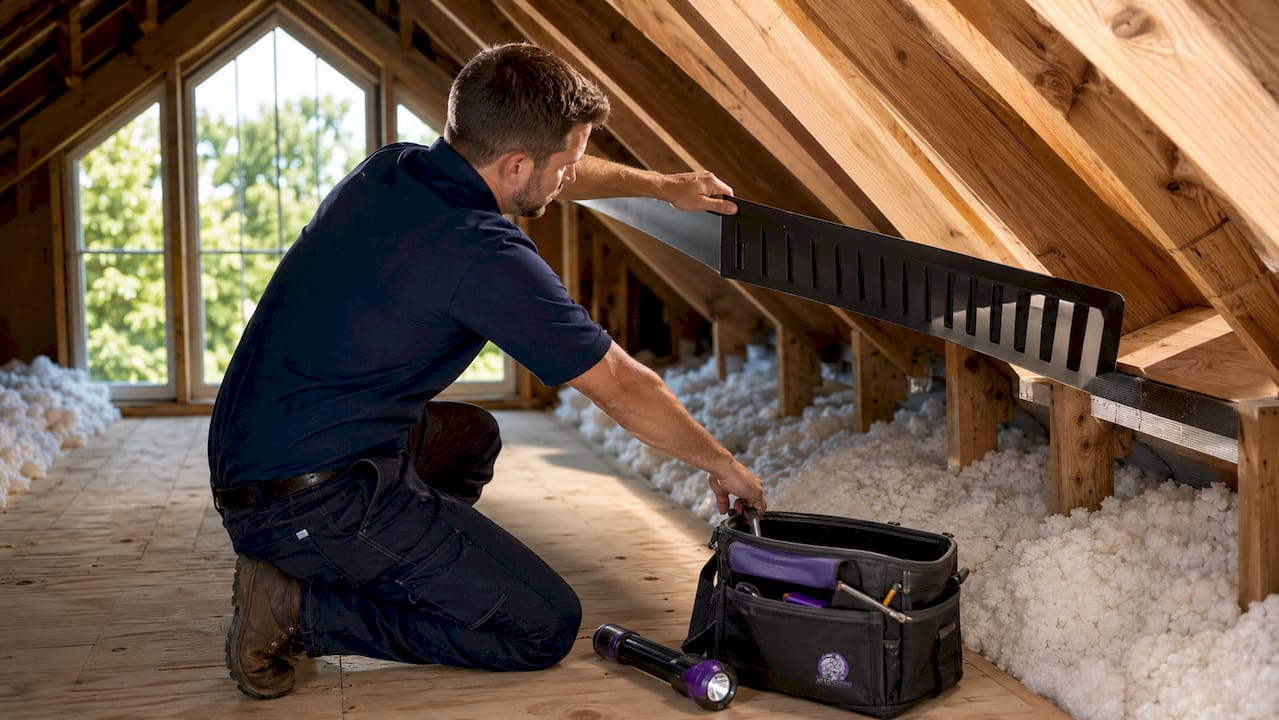
This step is the most important one in the entire process. Moisture drivers like roof leaks, blocked soffits, and HVAC leaks must be identified and corrected before any cleaning begins. If you clean mold without fixing the moisture source, you are wasting your time. Check your attic ventilation, inspect the roof for leaks, and look for any gaps where warm, humid air from the living space is entering the attic. Poor attic ventilation is one of the most overlooked causes of recurring attic mold.
Step 3: Remove contaminated porous materials
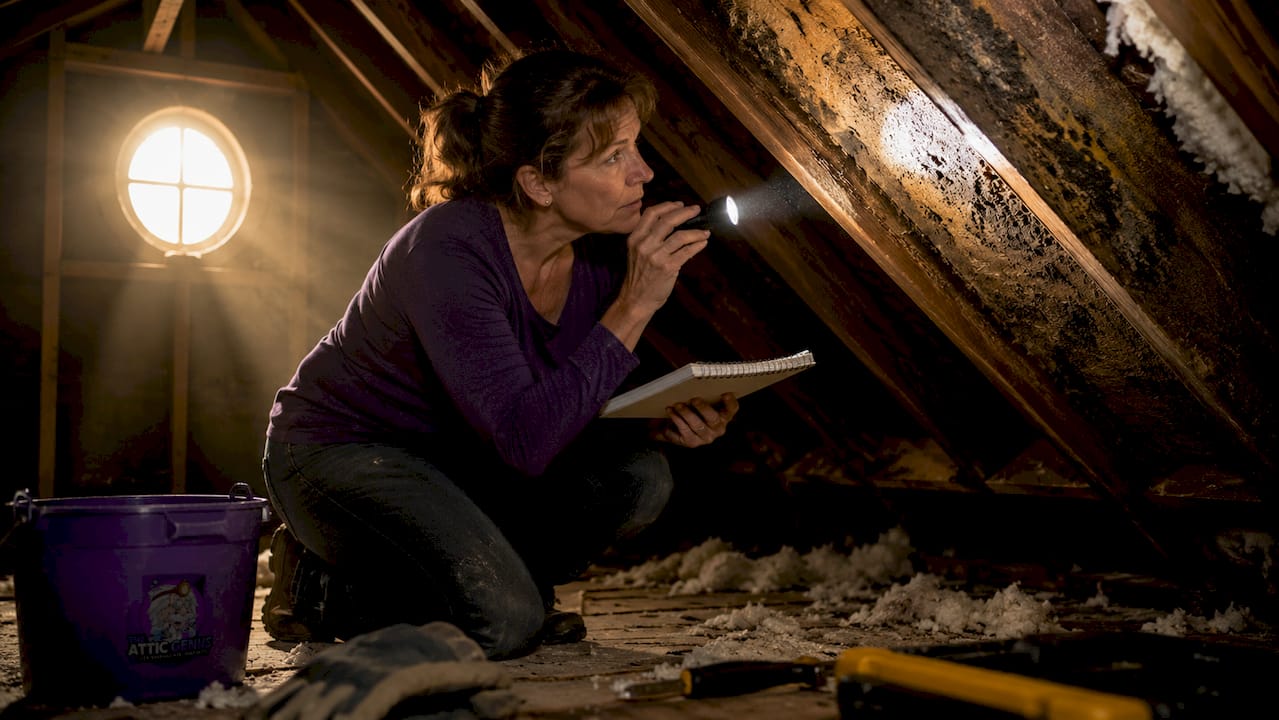
Insulation, drywall, and wood that is visibly moldy must come out. The rule for porous materials is to remove at least 12 inches beyond the visible mold boundary. Mold grows hyphae, which are root-like structures that penetrate deep into porous surfaces well past what you can see. Bagging and sealing all removed materials before carrying them through the house prevents cross-contamination. Double-bag everything in heavy plastic and label it as mold waste.
Step 4: Physically remove mold from hard surfaces
For non-porous surfaces like roof sheathing or metal, physical removal is required. Sanding, media blasting, and HEPA vacuuming are the accepted methods under ANSI/IICRC S520-2024. HEPA vacuum the surface first, then scrub with a stiff brush and detergent solution. Follow with a second HEPA vacuum pass to pick up any loosened spores. Work from the cleanest areas toward the most contaminated to avoid spreading spores backward through the space.
Step 5: Clean surfaces and dry within 24–48 hours
Wash all cleaned surfaces with a detergent solution, then rinse with clean water. Do not use bleach as your primary treatment. Wet or mold-contaminated materials must dry within 24–48 hours using fans and dehumidifiers to stop mold from reestablishing. That window is tight. Set up fans to push air across wet surfaces and run a dehumidifier continuously until moisture readings return to normal.
Step 6: Verify the work is complete
Walk the entire area and confirm no visible mold or residue remains. Use a moisture meter to verify that wood and other materials are at safe moisture levels, typically below 16% for wood. Check that your original moisture sources are fully resolved. If you still smell a musty odor, mold is still present somewhere.
Pro Tip: Biocides and foggers are supplementary tools only. They cannot replace physical removal. Spraying a chemical on mold without scrubbing it away leaves dead mold cells that still trigger allergic reactions and still indicate an unresolved moisture problem.
How do you troubleshoot common attic mold remediation challenges?
Even careful homeowners run into problems. Knowing what to watch for saves you from repeating the entire process.
Common mistakes that cause mold to return
- Skipping moisture investigation. Cleaning visible mold without finding the source is the top reason mold returns after DIY cleanup. Blocked soffit vents and air leaks from the living space are the two most frequent culprits.
- Inadequate containment. Leaving the attic hatch open or failing to seal HVAC vents spreads spores to the rest of the house during cleanup.
- Relying only on chemical sprays. Spraying biocides without physical scrubbing masks the problem. The EPA guidance on mold is clear: focus on moisture control and physical removal, not mold species identification or chemical treatments.
- Insufficient drying time. Rushing past the drying phase leaves residual moisture that feeds new mold growth within days.
- Ignoring adjacent materials. Stopping removal at the visible mold edge and not applying the 12-inch buffer rule leaves active hyphae behind.
“Homeowners should focus on moisture presence and control rather than mold color or species testing. Address the moisture source first, and the mold problem becomes manageable. Skip it, and no amount of cleaning will produce a lasting result.”
When to call a professional
Call a licensed remediation contractor when the affected area exceeds 10 square feet, when your HVAC system shows signs of contamination, or when mold has penetrated structural framing. Anyone with respiratory conditions, allergies, or a weakened immune system should not attempt DIY remediation regardless of area size. The Attic Genius handles moisture and mold remediation for exactly these situations, with 25+ years of combined experience across Chicagoland.
Pro Tip: Persistent musty odor after cleanup almost always means hidden mold behind a surface or inside insulation you did not remove. Do not paint over staining or apply encapsulants until you have confirmed the moisture source is fixed and surfaces are fully dry.
What are the best practices for post-remediation attic care?
Remediation solves the current problem. Post-remediation care prevents the next one.
Humidity and ventilation targets
Maintain attic relative humidity between 30% and 50%, with a hard ceiling of 60%. Above 60%, mold growth becomes likely within days. A digital hygrometer placed in the attic gives you a real-time reading without requiring a full inspection. Proper attic ventilation is the most reliable long-term tool for keeping humidity in range.
Insulation also plays a direct role. Compressed, wet, or missing insulation allows warm air from the living space to condense against cold roof sheathing, creating the exact conditions mold needs. If your insulation was removed during remediation, replacing it promptly is not optional.
Post-remediation maintenance checklist
- Inspect the attic after every heavy rain and after each winter season.
- Check soffit and ridge vents for blockages at least twice a year.
- Monitor attic humidity monthly with a hygrometer.
- Look for signs of new roof leaks, especially around flashing and penetrations.
- Confirm insulation remains dry and at proper depth after any weather event.
| Maintenance Task | Frequency |
|---|---|
| Humidity check with hygrometer | Monthly |
| Soffit and ridge vent inspection | Twice per year |
| Post-storm attic walkthrough | After every major rain or snowmelt |
| Full attic inspection | Annually |
| Insulation condition check | Annually or after any water event |
What I’ve learned after years of attic mold work
The homeowners who get lasting results from attic mold remediation share one habit: they fix the moisture first and treat the mold second. The ones who struggle do it in reverse. They scrub surfaces, apply a biocide, and call it done. Three months later, the mold is back because the blocked soffit vent or the bathroom exhaust fan dumping into the attic never got addressed.
The ANSI/IICRC S520-2024 standard exists for a reason. It puts source removal at the center of every remediation protocol, not chemical treatment. That reflects what actually works in practice. Physical removal combined with moisture correction produces durable results. Chemical-only approaches do not.
One thing I tell every homeowner: do not get distracted by mold color or species. Black mold, green mold, white mold. The color does not change your response. Fix the moisture, remove the material, dry the space. That sequence works regardless of species.
The other thing worth saying plainly: the 10 square foot threshold is a real boundary, not a suggestion. Larger infestations require professional containment, negative air pressure, and equipment that most homeowners do not own. Trying to DIY a large job without that setup puts your family’s air quality at risk during the cleanup itself.
— Jim
The Attic Genius can help with your attic mold and moisture needs
Attic mold remediation works best when it is paired with the right insulation and ventilation upgrades. Fixing mold without addressing the underlying attic conditions that caused it is a short-term solution.

The Attic Genius provides professional moisture and mold remediation for homeowners across Chicagoland and the Northwest Suburbs. The team also handles attic insulation upgrades and ventilation improvements that address the root causes of recurring mold. Same-day inspections are available, along with upfront pricing and written warranties. Request a free inspection to get a clear picture of what your attic actually needs.
FAQ
What is the 10 square foot rule for attic mold?
The EPA defines 10 square feet as the maximum area a homeowner can safely remediate without professional help. Anything larger requires a licensed contractor with proper containment equipment.
Do I need to test for mold species before starting remediation?
No. EPA guidance states that mold color and species do not change the remediation approach. Focus on finding and fixing the moisture source, then remove the mold physically.
How long does attic mold remediation take?
A small DIY job under 10 square feet typically takes one to two days, including drying time. Larger professional jobs vary based on the extent of contamination and structural repairs needed.
Can I use bleach to kill attic mold?
Bleach is not recommended as a primary treatment. It does not penetrate porous materials, and ANSI/IICRC S520-2024 classifies biocides as supplementary tools only. Physical removal with a HEPA vacuum and scrubbing is required.
How do I know if my attic mold remediation was successful?
Remediation is complete when no visible mold remains, surfaces are fully dry, moisture levels in wood are below 16%, and the original moisture source has been corrected. A persistent musty odor means the job is not finished.
Key takeaways
Effective attic mold remediation requires fixing the moisture source first, physically removing all contaminated material, and maintaining humidity below 60% to prevent recurrence.
| Point | Details |
|---|---|
| Fix moisture before cleaning | Correcting leaks, blocked vents, and air leaks prevents mold from returning after cleanup. |
| Use the 10 sq ft threshold | Areas under 10 square feet are safe for DIY; larger areas require a licensed professional. |
| Physical removal is required | HEPA vacuuming and scrubbing are mandatory; biocides and foggers alone do not work. |
| Apply the 12-inch buffer rule | Remove porous materials at least 12 inches beyond visible mold to capture hidden hyphae. |
| Maintain 30%–50% humidity | Post-remediation humidity control is the most reliable way to keep attic mold from returning. |