Attic hatch insulation is defined as the thermal and air barrier applied to the access panel connecting your living space to the attic. The role of attic hatch insulation goes far beyond a simple cover. An uninsulated hatch acts as a direct hole in your home’s thermal envelope, and most homeowners never realize it. The 2024 International Residential Code (IRC), under Section N1102.2.4, requires attic access openings to be insulated and air sealed to match the surrounding attic insulation level, with no exceptions for pull-down stairs. Proper sealing and insulation at this single point can cut monthly energy bills by up to 20%.
How does attic hatch insulation reduce heat loss and save energy?
Heat moves toward cold. In winter, your heated air rises and pushes directly through any gap or uninsulated surface at the top of your home. The attic hatch sits right in that path.
An uninsulated plywood hatch typically carries an R-value of about R-1.5. That is roughly the thermal resistance of a single pane of glass. Upgrading to a properly sealed cover rated at R-30 or higher reduces heat loss by 85–95% through that assembly. That single upgrade can save $30–$80 per year depending on your climate and energy rates.
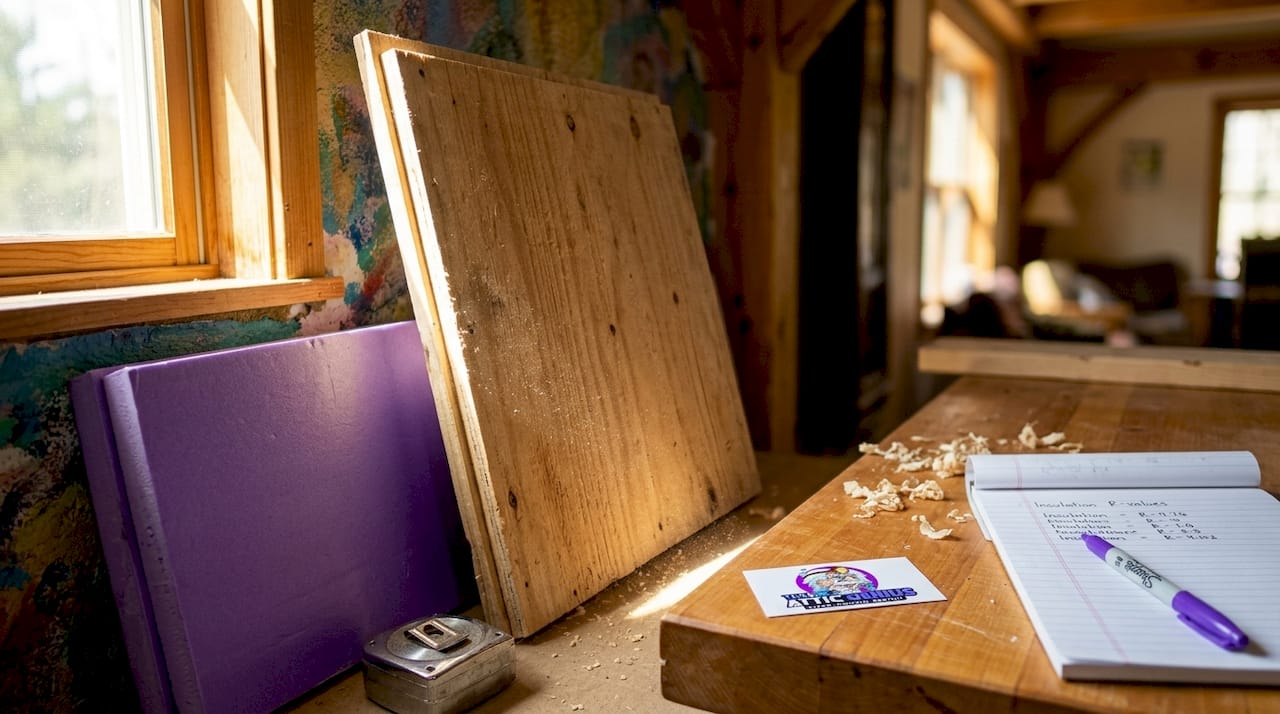
Air leakage compounds the problem significantly. A 1-inch gap around your hatch frame leaks as much air as leaving a window cracked open all season. That is not a minor inconvenience. It is a continuous drain on your heating and cooling system every hour of every day.
The stack effect makes this worse in cold climates. Warm indoor air rises and escapes through high points like the attic hatch, while cold attic air infiltrates lower in the home. In summer, the process reverses. Hot attic air pushes down through the same gaps, raising cooling loads. A properly insulated and sealed hatch breaks this cycle in both directions.
Key energy impacts of an uninsulated attic hatch:
- Thermal resistance as low as R-1.5, compared to a recommended R-30 or higher for surrounding attic insulation
- Heat loss reduction of 85–95% after upgrading to a sealed, insulated cover
- Monthly energy bill savings of up to 20% from combined insulation and air sealing
- Continuous air exchange driven by the stack effect in both heating and cooling seasons
What materials and methods work best for attic hatches?
The material you choose for insulating your attic hatch determines how long the improvement lasts and how well it performs under repeated use.
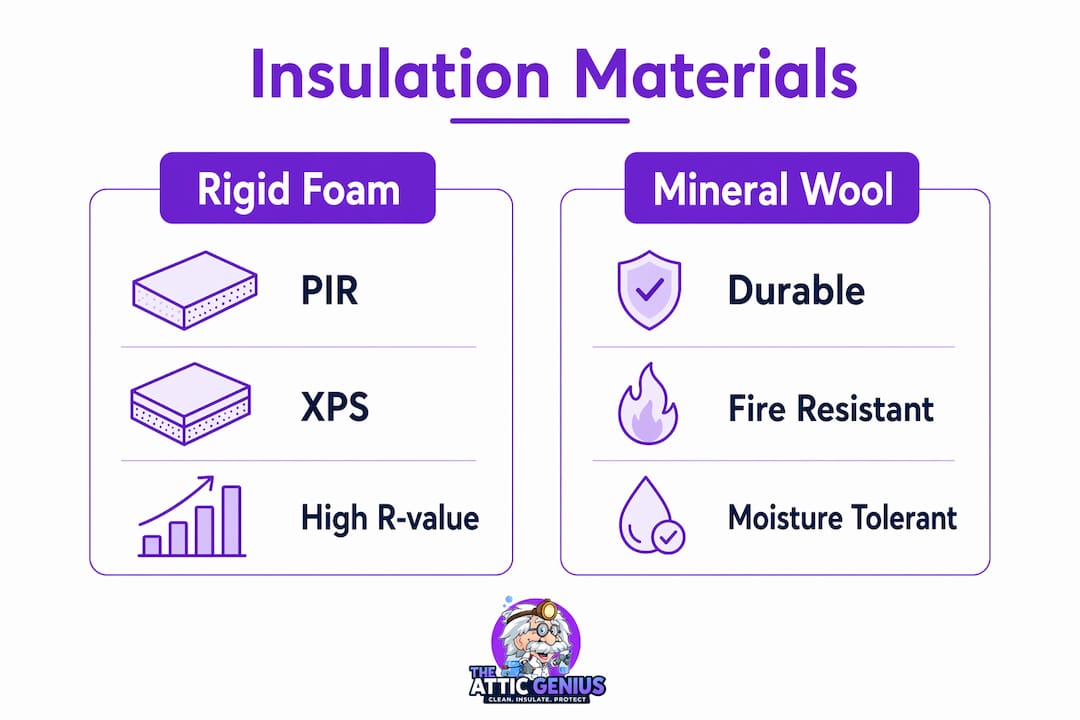
Rigid foam vs. mineral wool
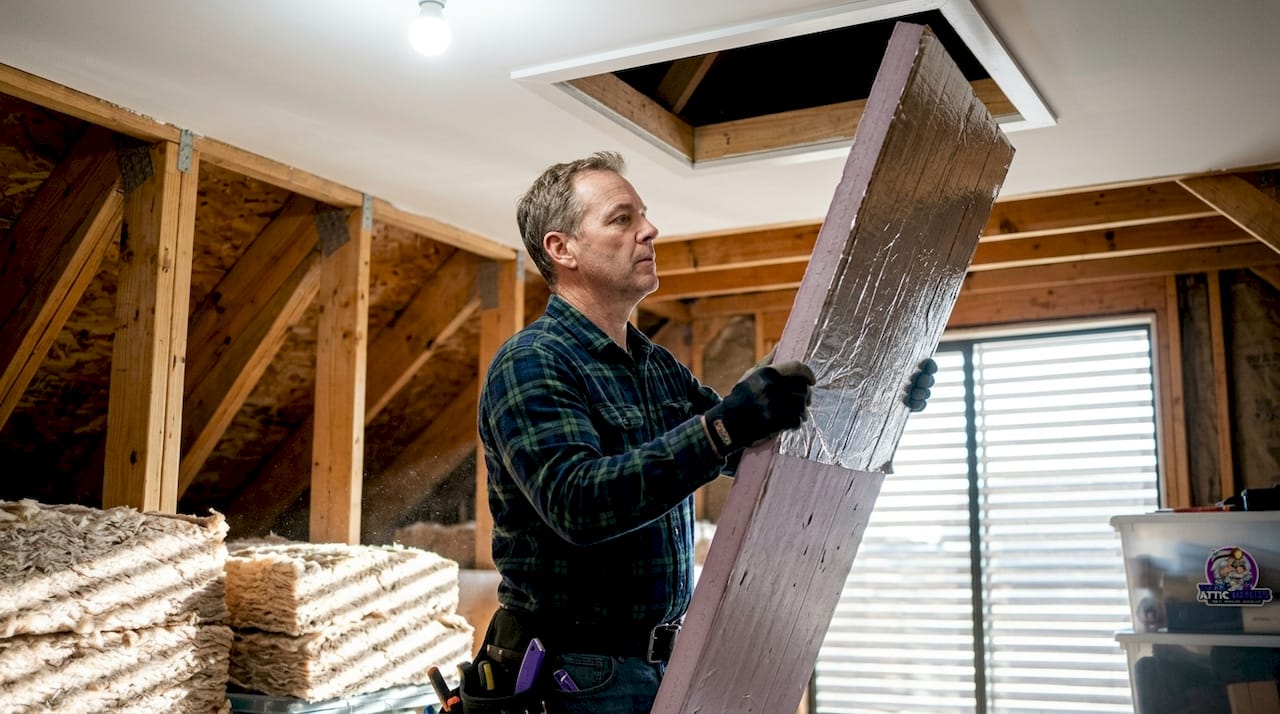
Rigid foam insulation, specifically polyisocyanurate (PIR) or extruded polystyrene (XPS), is the right choice for attic hatches. Mineral wool compresses and sags when the hatch is opened and closed repeatedly. Rigid foam holds its shape and maintains a consistent R-value over the life of the hatch. For a hatch that needs to reach R-30, you can stack multiple layers of rigid foam board and secure them with construction adhesive.
Thickness and fit
The insulation must cover the full surface of the hatch panel with no gaps at the edges. Measure the hatch dimensions carefully before cutting foam boards. The goal is a snug fit that does not bow or shift when the hatch closes. Matching the R-value of the surrounding attic insulation is the code standard and the performance target.
Weatherstripping for a continuous seal
Foam tape weatherstripping applied to the hatch frame creates the air seal that insulation alone cannot provide. Closed-cell foam tape or EPDM rubber gaskets hold up better than standard adhesive foam strips. Replace weatherstripping whenever it shows compression or gaps. The U.S. Department of Energy and Energy Star recommend treating attic hatches like exterior doors, meaning a full perimeter seal every time the hatch closes.
Common DIY pitfalls to avoid:
- Cutting foam boards too small, leaving exposed frame edges that leak air
- Using fiberglass batts, which compress under hatch weight and lose R-value
- Skipping weatherstripping and relying on insulation thickness alone
- Failing to latch or weight the hatch so it seats firmly against the gasket
Pro Tip: Before adding insulation, run your hand around the closed hatch frame on a cold day. Any draft you feel is air leakage that insulation alone will not fix. Seal those gaps with weatherstripping first, then add the insulation layer.
Why is air sealing critical alongside insulation for attic hatches?
Insulation slows heat transfer through a solid surface. Air sealing stops the movement of air through gaps. Both are necessary, but air sealing delivers the faster return on investment.
Air leakage accounts for 50–80% of total heat loss through attic hatch assemblies. That means even a perfectly insulated hatch panel loses most of its benefit if the frame is not sealed. Seasoned contractors know that perimeter air gaps undermine R-30 insulation, contributing the majority of heat loss through the assembly.
Gaps around the hatch frame also create thermal bypasses. Cold attic air moves through the gap, contacts the warm ceiling surface, and pulls heat out of the room without passing through the insulation at all. No amount of foam board on the hatch panel fixes that problem.
“A continuous, effective air barrier is the most critical step in attic retrofit upgrades. Insulating without air sealing significantly limits thermal improvements.”
— Insulation Institute
Air leakage through the attic hatch also pulls dust, allergens, and contaminants from the attic into your living space. Attic air carries insulation fibers, pest debris, and mold spores. A leaky hatch is not just an energy problem. It is an indoor air quality problem. The air sealing services that address the full attic envelope treat the hatch as a priority point, not an afterthought.
Signs your hatch air seal has failed:
- Visible dust trails or dark staining around the hatch frame on the ceiling
- Noticeable temperature difference near the hatch compared to the rest of the room
- Drafts felt when holding your hand near the closed hatch in winter
- Increased allergy symptoms or dustiness in rooms directly below the attic access
How does attic hatch insulation affect moisture and home durability?
A leaky attic hatch does more than waste energy. It moves moisture into a space where moisture causes serious structural damage.
In winter, warm indoor air carries humidity. When that air escapes through the hatch into a cold attic, it cools rapidly and deposits moisture on attic framing, sheathing, and insulation. Over time, this leads to condensation, mold growth, and wood rot. Leaky attic hatches are a documented cause of mold and structural damage through air-driven moisture transport.
In hot-humid climates, the problem runs in reverse. Moist attic air infiltrates the living space through the hatch, raising indoor humidity and stressing the HVAC system beyond its design load. A poorly sealed hatch in a humid climate forces your air conditioner to work harder just to maintain comfort, not just temperature.
Properly sealing and insulating the hatch breaks the moisture pathway in both directions. The steps below address the full moisture risk:
- Seal all perimeter gaps with closed-cell foam tape or caulk before adding insulation.
- Apply rigid foam insulation to the full hatch panel surface, covering all edges.
- Verify the hatch closes firmly and compresses the weatherstripping evenly on all four sides.
- Inspect the attic side of the hatch annually for signs of condensation or staining.
- Address any mold or moisture damage before re-sealing, since sealing over active mold traps the problem.
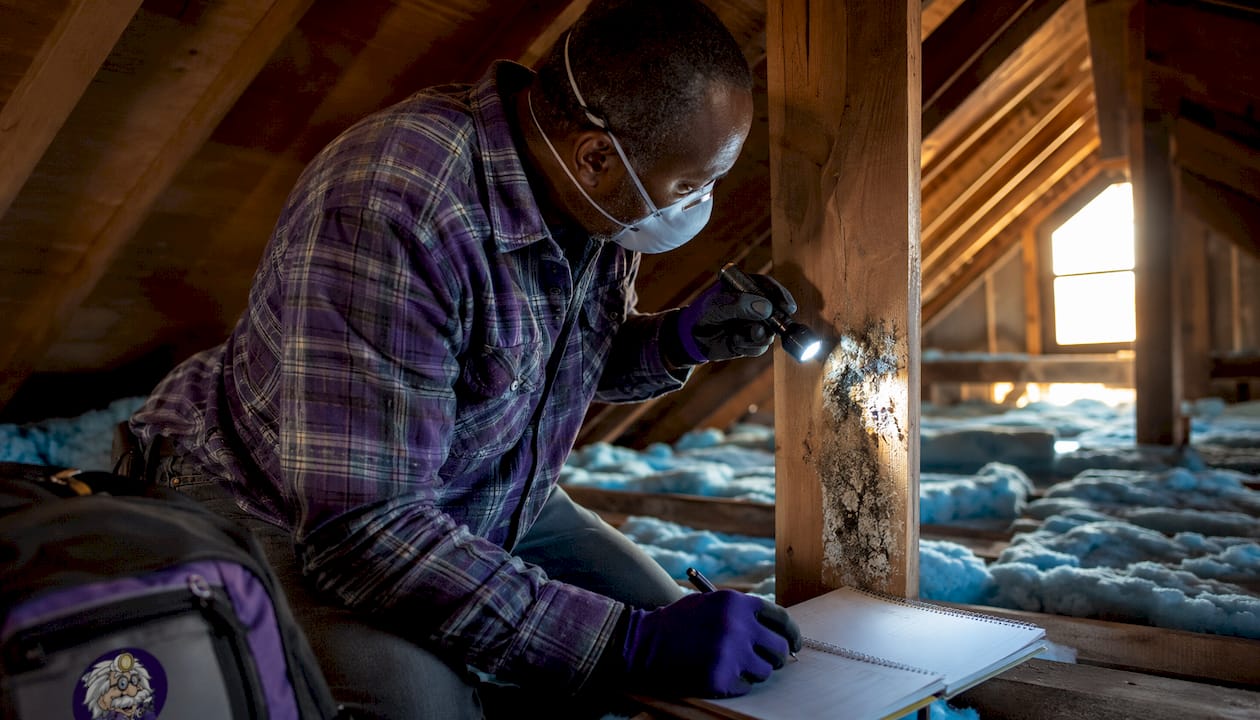
Pro Tip: If you notice dark staining or a musty smell near your attic hatch, do not just add more insulation. That staining often signals active moisture intrusion. Get the attic inspected for mold before sealing the hatch. The Attic Genius offers same-day attic inspections for exactly this situation.
How to maintain and inspect attic hatch insulation for long-term performance
Attic hatch insulation does not require constant attention, but it does require annual checks. Weatherstripping degrades from repeated compression, temperature swings, and age. A seal that worked well when installed may fail silently over several years.
Annual inspection of weatherstripping and air gaps keeps hatch insulation performing at its rated level. Hatch seals degrade from infrequent use as much as from heavy use, since foam tape can take a permanent set and lose its spring.
Annual maintenance checklist for attic hatch insulation:
- Press the weatherstripping around the full frame perimeter and check for compression or gaps
- Look for dust trails or dark rings on the ceiling around the hatch frame
- Open the hatch and inspect the foam insulation panel for cracks, delamination, or shifting
- Check that the hatch latch or closure mechanism holds the panel firmly against the frame
- Inspect the attic side of the hatch panel for moisture staining or frost in cold months
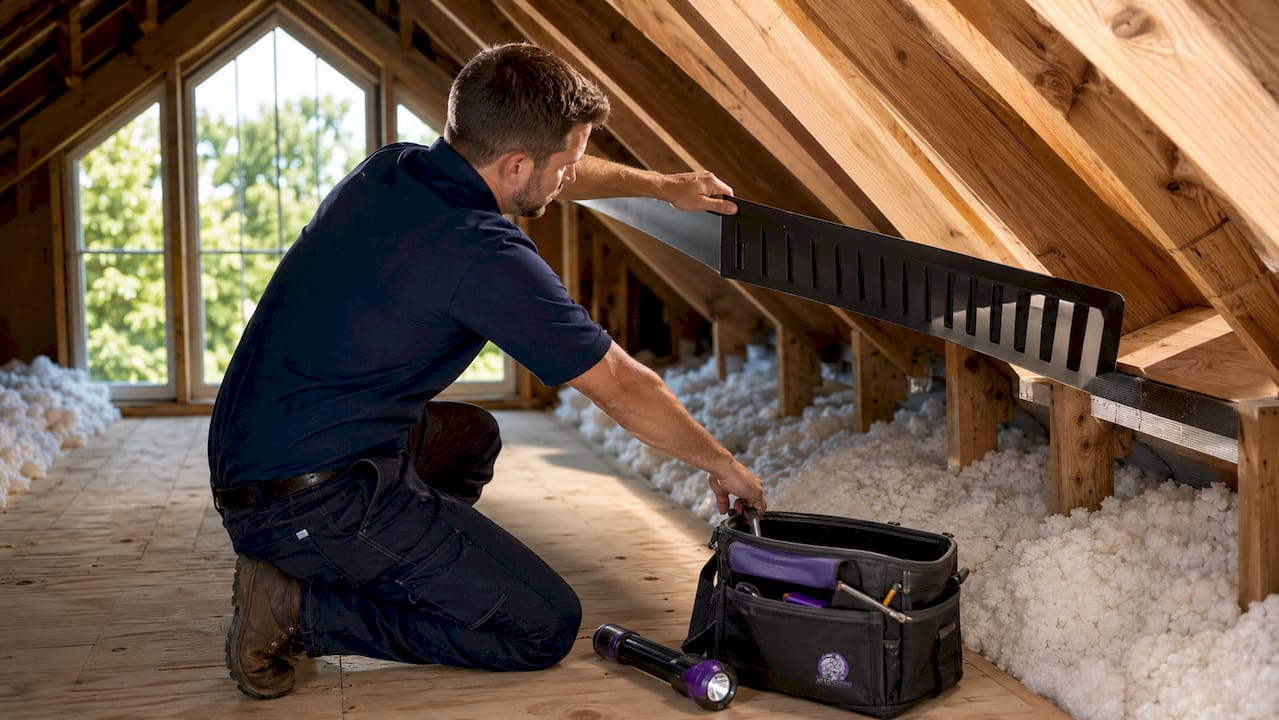
Retrofit options have improved significantly. Pre-built insulated hatch covers with integrated gaskets are available for standard hatch sizes and meet current IRC requirements out of the box. If your hatch is an older pull-down stair unit, a tent-style insulated cover installed on the attic side provides a cost-effective upgrade without replacing the stair assembly. Knowing the signs your attic needs an upgrade helps you decide whether a simple seal repair is enough or a full retrofit is warranted.
Key Takeaways
Attic hatch insulation combined with proper air sealing is the single most cost-effective thermal envelope upgrade most homeowners have not made yet.
| Point | Details |
|---|---|
| Air sealing comes first | Air leakage causes 50–80% of hatch heat loss; seal gaps before adding insulation. |
| Match surrounding R-value | Target R-30 or higher on the hatch panel to meet 2024 IRC requirements. |
| Choose rigid foam | PIR or XPS maintains shape and R-value under repeated hatch use; mineral wool does not. |
| Moisture risk is real | A leaky hatch drives mold and wood rot by moving humid air into the attic. |
| Inspect annually | Weatherstripping degrades silently; check compression and gaps every year. |
What I have learned from inspecting hundreds of attic hatches
Every week, I see the same pattern. A homeowner has spent thousands on new attic insulation, their energy bills are still high, and nobody told them the hatch was the problem. The insulation is perfect. The hatch is a sieve.
The conventional wisdom says to add more insulation. The real answer is almost always to seal the hatch first. I have seen R-38 attics with a completely uninsulated, unsealed pull-down stair that wiped out a significant portion of the insulation’s benefit. The math is brutal. Air moves fast. Insulation does not stop air.
What surprises most homeowners is how cheap the fix is relative to the loss. A DIY rigid foam cover with weatherstripping costs under $100 and takes an afternoon. A professional retrofit with a pre-built insulated cover costs a bit more but delivers a tighter, longer-lasting result. Either way, the payback period is measured in months, not years.
My honest advice: treat your attic hatch like an exterior door. You would not leave your front door hanging open all winter. Your attic hatch is doing exactly that if it is not sealed and insulated. Fix the hatch before you add another inch of blown-in insulation anywhere else in the attic.
— Jim
Attic hatch upgrades done right by The Attic Genius
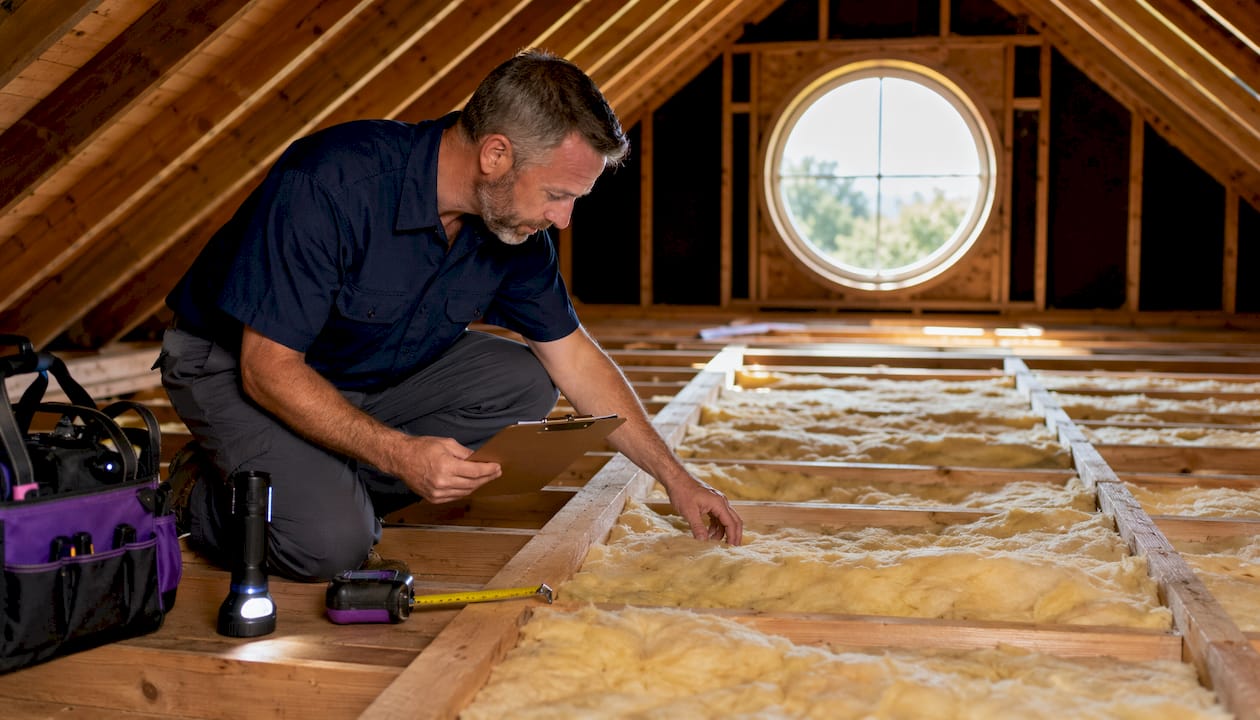
Most homeowners who call The Attic Genius about high energy bills are surprised to learn the attic hatch is a major part of the problem. The team assesses the full attic envelope, including the hatch, pull-down stairs, and surrounding air barrier, before recommending any insulation work.

The Attic Genius handles professional attic insulation and air sealing services across Chicagoland and the Northwest Suburbs, with same-day inspections available. Every job comes with upfront pricing and written warranties. If you are preparing to sell your home, the attic insulation guide for sellers covers exactly what buyers and inspectors look for. Call The Attic Genius or book a free inspection online to find out what your attic hatch is actually costing you.
FAQ
What is the role of attic hatch insulation?
Attic hatch insulation seals the thermal boundary between your living space and the attic, preventing heat loss, air leakage, and moisture transfer. Without it, even a well-insulated attic loses a significant portion of its effectiveness through this single opening.
How much heat does an uninsulated attic hatch lose?
An uninsulated plywood hatch carries roughly R-1.5 in thermal resistance. Upgrading to a sealed, insulated cover rated at R-30 or higher reduces heat loss through that assembly by 85–95%.
What is the best material to insulate an attic hatch?
Rigid foam insulation, specifically PIR or XPS board, is the best choice for attic hatches. It holds its shape under repeated use and maintains a consistent R-value, unlike mineral wool, which compresses and loses performance over time.
Does air sealing matter more than insulation for attic hatches?
Air leakage accounts for 50–80% of total heat loss through attic hatch assemblies, making air sealing the higher priority. Insulation without a proper perimeter seal delivers a fraction of its rated performance.
How often should I inspect my attic hatch insulation?
Annual inspection is the standard recommendation. Check weatherstripping compression, look for dust trails around the frame, and inspect the foam panel for cracks or shifting every year to maintain full performance.