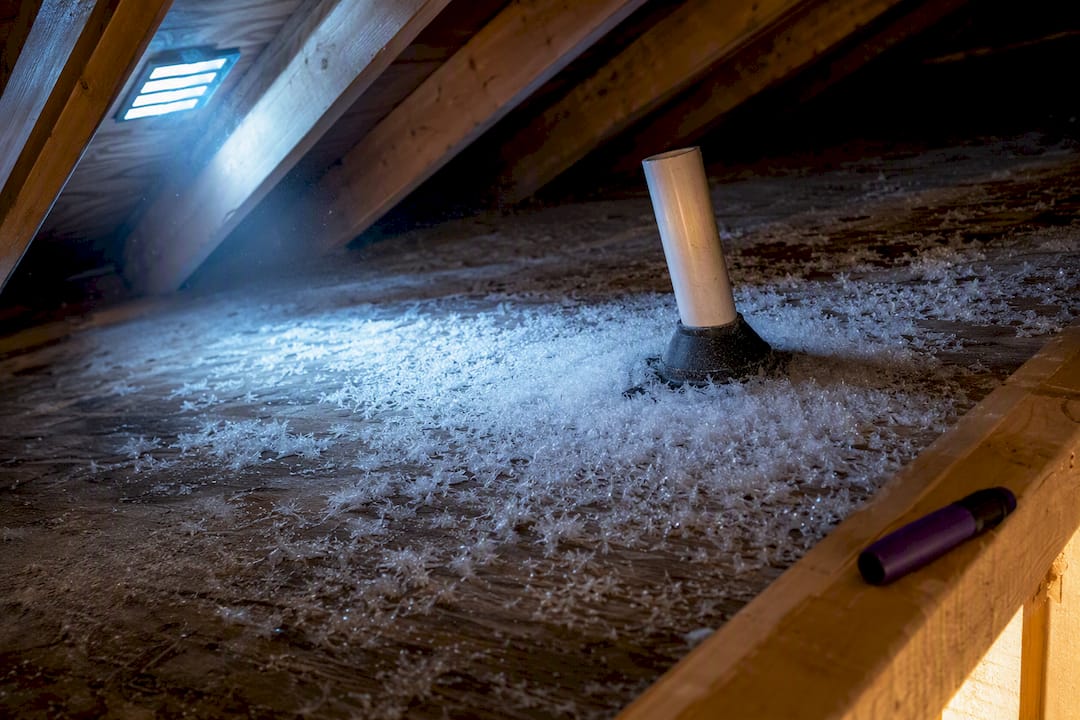
Frost in an attic forms when warm, moist indoor air escapes through ceiling gaps and freezes on cold roof sheathing, often at temperatures like 10 or 20 degrees Fahrenheit. The Attic Genius explains that the primary fix is to seal these air leaks first, as adding more insulation or ventilation without sealing can worsen the problem. Maintaining indoor relative humidity below 50 percent also helps prevent excess moisture from fueling frost formation. Sealing leaks is essential because unsealed penetrations can exacerbate moisture issues.
Frost in your attic almost always means warm, moist indoor air is escaping through ceiling gaps and freezing on cold roof sheathing. The fix isn’t more insulation or a bigger fan. It’s sealing the air leaks first. If you’re already seeing frost, photograph where it’s concentrated, cut off the moisture sources feeding it, and schedule an inspection right away if you notice dripping, staining, or musty odors.
TL;DR:
- Frost in your attic indicates ongoing air leaks that allow warm, moist indoor air to reach cold roof sheathing, especially through gaps around fixtures or hatches.
- Common leak points include attic hatches, recessed lights, plumbing stacks, HVAC vents, and dropped soffits, with frost patterns helping identify specific problem areas.
- Maintaining indoor relative humidity below 50 percent and venting humid air properly prevents excess moisture from fueling frost formation.
- Sealing leaks before adding insulation or ventilation upgrades is essential, as unsealed penetrations can worsen frost and moisture problems.
- Prompt professional evaluation is recommended when frost shows signs of active dripping, mold, or saturated insulation, to prevent structural damage and mold growth.
Table of Contents
- Why Frost Forms in Your Attic in the First Place
- Where Frost Typically Appears and How to Map Leak Paths
- Fixing Indoor Humidity Before You Touch the Attic
- How House Pressure and Ductwork Push Moisture Upward
- Why Insulation Alone Won’t Solve Attic Frost
- What Ventilation Can and Can’t Do for Frost
- If Frost Is Already There: What to Do (and Not Do) Right Now
- Attic Inspection Checklist: What to Check and When to Call a Pro
- What a Real Attic Inspection Looks Like in Practice
- How Attic Frost Affects Your Home’s Structure and Air Quality
- Long-Term Prevention: Vapor Control and Moisture Management That Lasts
- Ridge Vents, Soffit Vents, and What Actually Controls Frost
- Why Attic Frost Shows Up Mainly in Winter
- The Repair Sequence Nobody Skips If They Want It to Actually Work
- When It’s Time to Call in a Pro (and What to Expect)
- Where to Go for Technical Standards and Diagnostic Methods
- Sources
- FAQ
Why Frost Forms in Your Attic in the First Place
Your attic doesn’t make its own moisture. It borrows it from the rest of your house. Every shower, load of laundry, pot of boiling pasta, and breath you take indoors adds water vapor to the air, and that warm, humid air constantly looks for a way up and out. When it finds a gap around a ceiling fixture or a poorly sealed hatch, it rises into the attic through a phenomenon called the stack effect, driven by the simple fact that warm air is lighter than cold air.
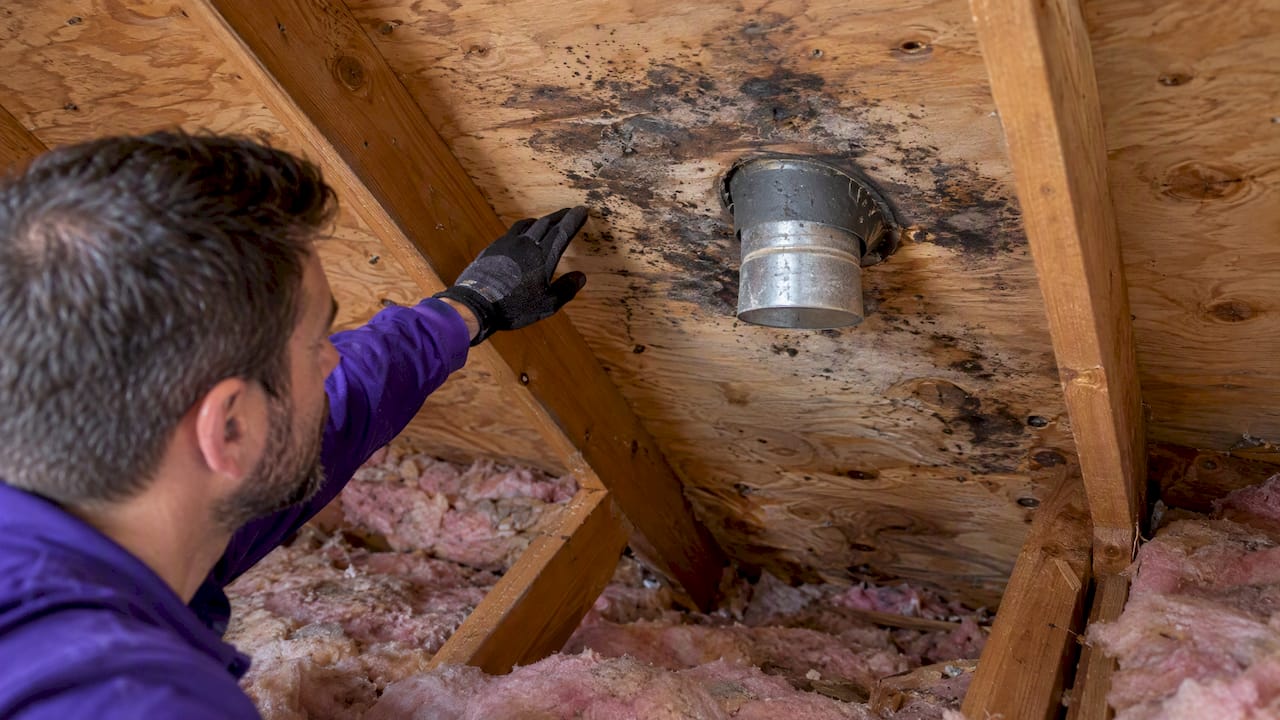
Once that moist air reaches the attic, it meets roof sheathing that might be sitting at 10 or 20 degrees Fahrenheit. The air cools rapidly, hits its dew point, and the water vapor turns straight into ice crystals on the wood. This is frost, and it’s essentially condensation that skipped the liquid step because the surface was cold enough to freeze it on contact.
The dangerous part is that frost is often invisible until a warm spell or a sunny afternoon melts it. That’s when homeowners suddenly see ceiling stains, dark spots on drywall, or drips that seem to appear out of nowhere. This same warm, moist air migration is also what fuels ice dams along the roof edge, since heat escaping through the attic melts snow on the upper roof, which then refreezes at the colder eaves.
A few everyday sources feed this cycle more than people expect:
- A single uncovered bathroom exhaust fan can push a surprising amount of humid air into the attic over a winter.
- An attic hatch without weatherstripping acts like an open window straight into the living space below.
- Recessed lighting fixtures, especially older non-airtight models, leak warm air continuously even when switched off.
Where Frost Typically Appears and How to Map Leak Paths
Frost rarely spreads evenly across an attic. It clusters near the exact spots where warm air is escaping, which makes it one of the best diagnostic tools a homeowner has. Concentrated frost patches point to specific penetrations, while broad, sheet-like frost across large areas often signals a more widespread air-sealing failure or an insulation layer that’s too thin to keep the deck consistently cold.
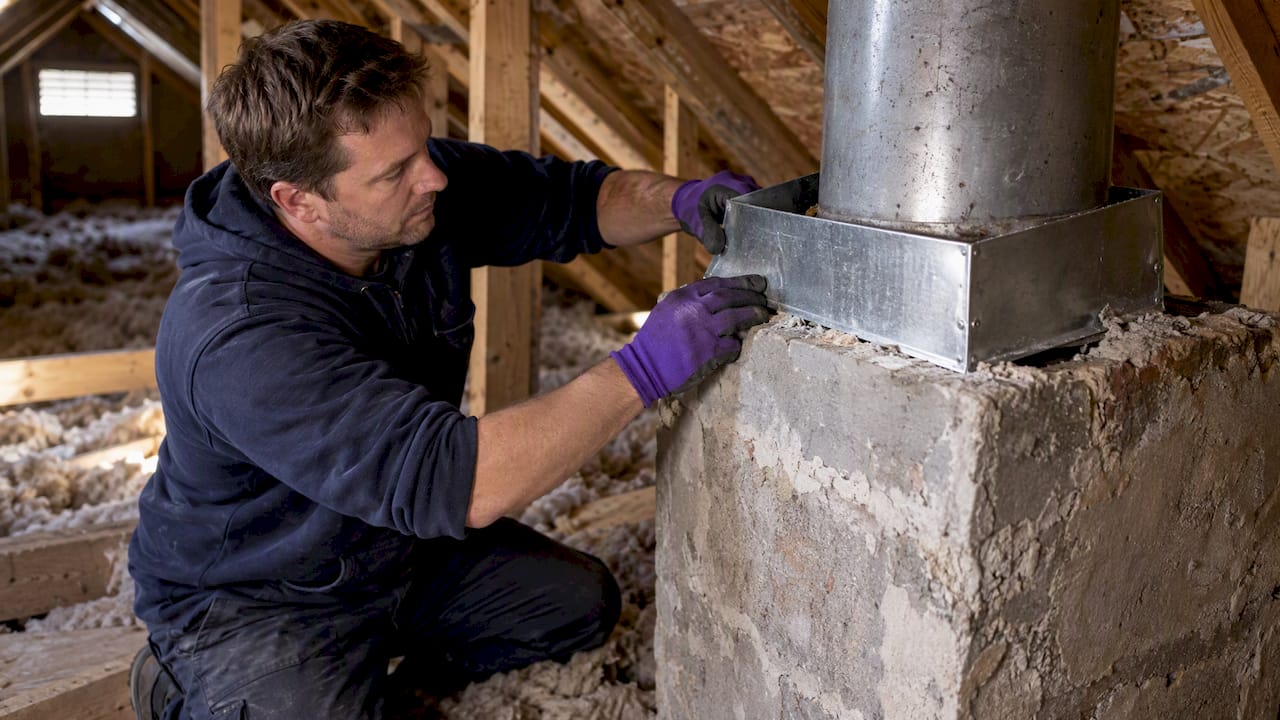
The most common trouble spots include the attic access hatch or pull-down stairs, recessed can lights, plumbing vent stacks, the tops of interior partition walls, HVAC duct boots, and dropped soffits over kitchen cabinets or tub surrounds. Any place where a penetration breaks the drywall plane is a candidate.
Here’s a simple way to build your own leak map before calling anyone out:
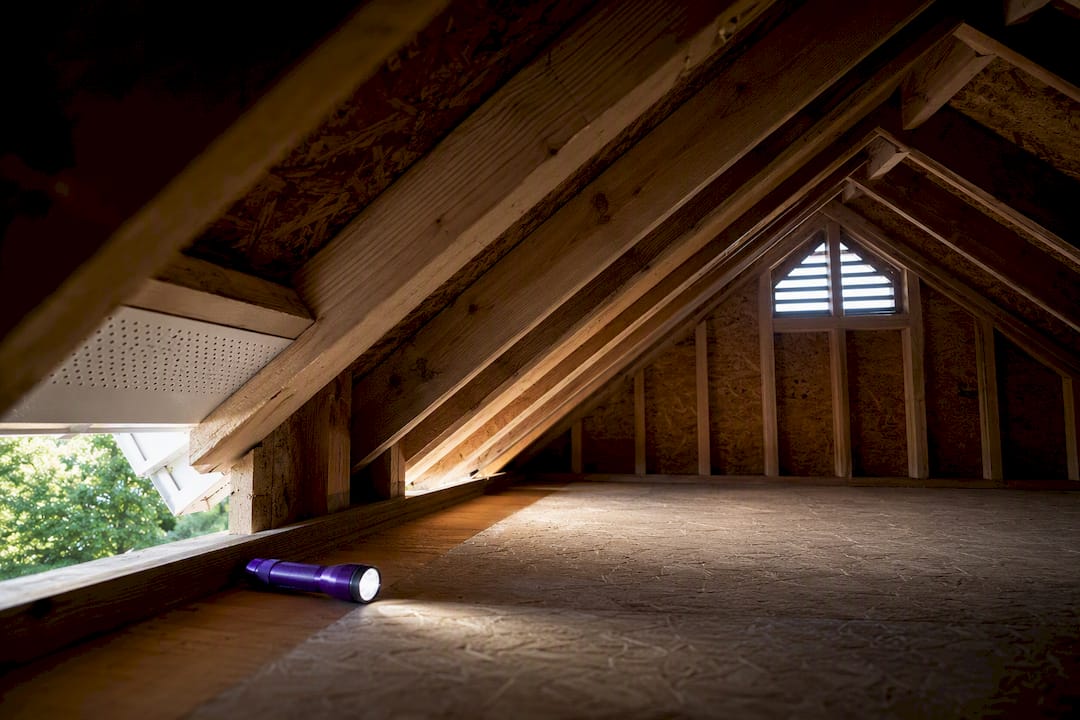
- Pick a cold morning, ideally after a stretch of single-digit or teens weather, and walk the attic with a flashlight and your phone camera.
- Photograph every frosty patch, noting its location relative to a fixture, wall, or duct below it.
- Wait for a thaw or warm afternoon, then go back and photograph the same areas for staining or dampness.
- Compare the two sets of photos and mark the spots that showed frost and later showed moisture. Those are your priority repair points.
This kind of location-specific mapping tends to point straight at the real leaks, which saves a contractor from guessing during the first visit.
Pro Tip: Frost clustered tightly around a single hatch, stack, or duct boot is usually an easy, cheap fix. Frost spread broadly across the deck is a bigger red flag and usually means several leaks are acting together, not just one.
Fixing Indoor Humidity Before You Touch the Attic
You can seal every gap in your ceiling and still get attic frost if your house is pumping out excess moisture. Bathroom fans, kitchen range hoods, and clothes dryers must vent to the outdoors through rigid or semi-rigid ducting, never into the attic space itself, which is a mistake ENERGY STAR specifically calls out as common and damaging.
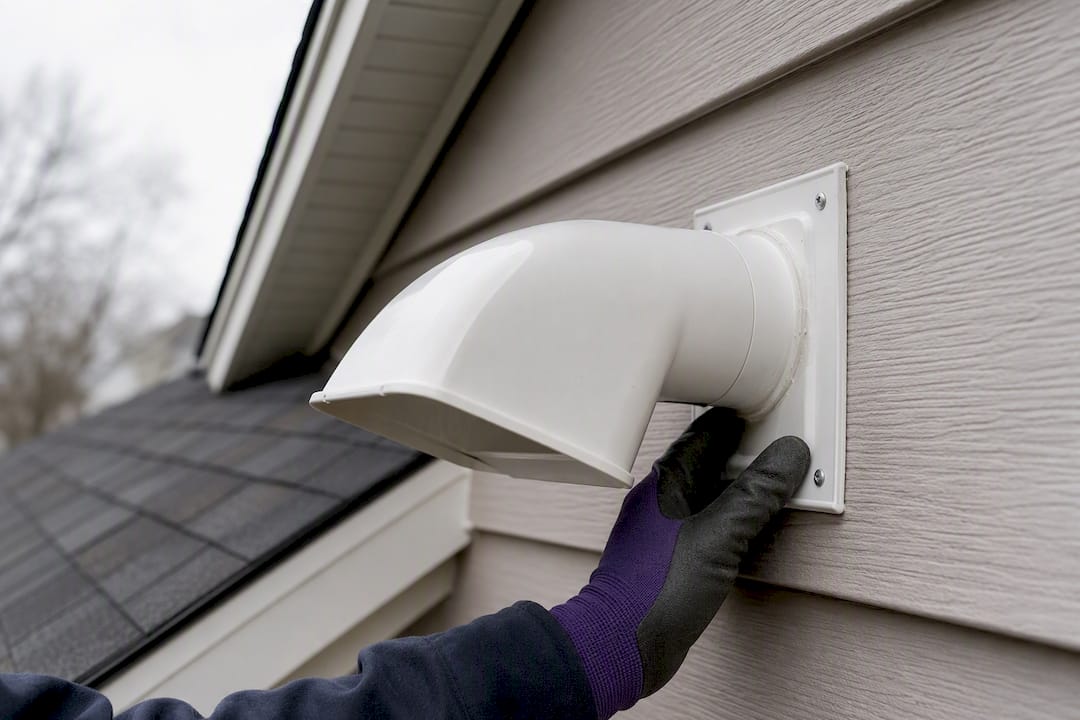
Indoor relative humidity is the number that actually matters here. The EPA recommends keeping indoor RH between 30% and 50%, and no higher than 60%, to limit both condensation risk and mold growth. A cheap hygrometer from a hardware store tells you where you stand in about five minutes.
A few practical adjustments go a long way:
- Run bathroom fans for 20 minutes after every shower, not just during it.
- Use lids on pots when cooking and run the range hood on high for greasy or steamy meals.
- Avoid drying firewood, hanging laundry to air dry, or storing large amounts of water indoors during winter.
- Consider a dehumidifier in basements or crawl spaces if your home consistently reads above 50% RH.
How House Pressure and Ductwork Push Moisture Upward
Your house behaves like a chimney in winter, and that pressure difference is what physically drives moist air into the attic rather than just letting it drift there. Warm air rises and escapes through the top of the house, which pulls replacement air in through gaps lower down. This constant upward pressure is what makes ceiling-level leaks so much more damaging than wall leaks at the same size.
Ductwork routed through the attic makes this worse. A supply or return duct with loose joints doesn’t just waste conditioned air. It also depressurizes parts of the house, pulling moisture-laden air toward the attic through whatever gaps it can find, an effect confirmed in Building America’s own attic air-sealing guidance.
Before you seal aggressively, a few safety checks matter:
- Confirm gas water heaters, furnaces, and other combustion appliances still draft properly after sealing, since tightening a house can affect how they exhaust.
- Have duct boots and joints in the attic sealed with mastic, not just wrapped in tape that degrades over time.
- Ask whether your home needs a dedicated fresh-air intake once major leaks are closed, since a very tight house sometimes needs mechanical ventilation to replace the air it used to leak.
Why Insulation Alone Won’t Solve Attic Frost
Insulation slows heat conduction. It does nothing to stop air movement, and air movement is what carries moisture into your attic in the first place. Piling more fiberglass or cellulose onto an attic floor riddled with unsealed penetrations is like adding blankets to a room with the window wide open. It might help a little with heat loss, but the moist air keeps pouring through.
The University of Minnesota Extension and Building America both describe the same accepted order of operations: seal the ceiling air barrier first, add or top up insulation second, then verify that ventilation is still functioning correctly. Skipping straight to insulation is one of the most common mistakes DIY homeowners make.
A few installation details matter more than most people realize:
- Rafter baffles need to stay in place at the eaves so insulation never blocks the soffit intake, a point ENERGY STAR flags directly.
- Don’t tear out insulation just because it looks dirty. Darkened insulation usually shows where air was filtering through a leak, and it’s often still usable once that leak is sealed.
- Wet, moldy, or compacted insulation is a different story. That needs to come out and get replaced after the moisture source is fixed.
Pro Tip: If your attic insulation has a dark, sooty streak running along the same line as a joist or partition wall below, that streak is basically a paper trail showing you exactly where air has been leaking for years.
What Ventilation Can and Can’t Do for Frost
Balanced attic ventilation, meaning soffit intake at the eaves paired with ridge or high exhaust vents, helps the roof deck stay closer to outdoor temperature and lets residual moisture escape. The old rule of thumb calls for 1 square foot of net free vent area for every 300 square feet of attic floor, split evenly between intake and exhaust, though your attic’s actual venting needs to be evaluated fixture by fixture rather than by formula alone.
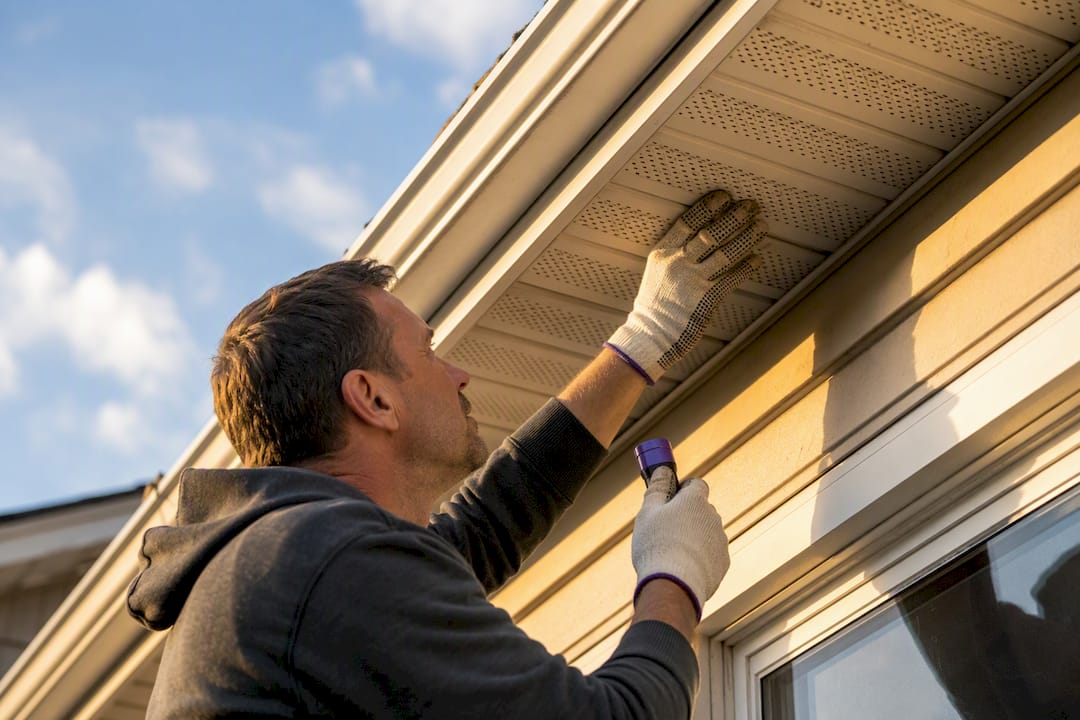
Ventilation only works if the intake path is actually clear. Rafter baffles, sometimes called insulation baffles, hold insulation back from the soffit vents so outside air can still flow up along the underside of the roof deck. Block that intake with blown insulation and you’ve effectively turned a ventilated attic into an unventilated one, no matter how many exhaust vents sit up top.
Here’s the part that trips people up: adding vents does not fix a major air-sealing problem. Ventilation manages moisture that’s already made it into the attic. It can’t stop the volume of warm, moist air pouring through an unsealed hatch or duct boot, an important distinction the Building Science Corporation’s ice dam research makes clear. A roof-vent upgrade installed on top of blocked soffits or an unbalanced exhaust setup can even make frost worse, not better.
- Confirm soffit vents are physically open and unobstructed before assuming your ventilation is adequate.
- Check that baffles are installed at every rafter bay along the eaves, not just a few.
- Treat added ridge or box vents as a supporting measure, never a substitute for sealing.
If Frost Is Already There: What to Do (and Not Do) Right Now
Seeing frost on your rafters or roof deck doesn’t mean the sky is falling, but it does call for a specific, careful response rather than a rushed one.
- Stop the moisture at its source first. Turn off humidifiers, run bathroom fans longer, and check that no dryer or exhaust vent is dumping air into the attic.
- Photograph every frost location with the date, so you have a record before it melts and disappears into stains.
- Keep attic access limited during the thaw. Foot traffic on frosty insulation can compress it and push moisture further into the material.
- If you see active dripping near any electrical fixture or wiring, cut power to that circuit at the breaker and call a licensed professional immediately.
Avoid ripping out insulation the moment you spot frost. It’s often still salvageable once the leak behind it is sealed. Also skip the instinct to run a powered attic fan to “dry things out.” These fans can pull conditioned air out of the house and depressurize the attic in ways that pull in even more moisture. If you spot visible mold, saturated insulation, or sheathing that feels soft or delaminated, that’s beyond a DIY fix and needs a same-day professional look.
Attic Inspection Checklist: What to Check and When to Call a Pro
A thorough inspection walks the same path the moisture takes, starting at the ceiling plane and working outward. Check the attic hatch or stair for weatherstripping and a tight seal, look at every duct boot and vent termination for gaps, confirm soffit and ridge vents are both clear, and note any areas of wet, compressed, or discolored insulation. A hygrometer reading of attic air on a cold day tells you whether humidity is running high even without visible frost.
A few conditions mean it’s time to bring in a contractor rather than keep troubleshooting solo:
- Active dripping anywhere near electrical wiring or fixtures.
- Insulation that’s saturated, compacted, or smells musty.
- Visible mold on sheathing, framing, or insulation paper facing.
- Roof decking that feels soft, spongy, or shows signs of delamination.
When you do bring someone in, ask pointed questions. Do they offer blower-door testing to actually measure air leakage rather than guessing? Will they check combustion safety on your furnace or water heater before and after sealing? Do you get a written scope of work, a documented before-and-after comparison, and a warranty on the finished job? A contractor who can’t answer those clearly is worth a second opinion.
What a Real Attic Inspection Looks Like in Practice
At The Attic Genius, a visit typically starts with photo mapping frost or moisture patterns the same way described above, followed by a combustion-safety check on any furnace or water heater in the attic path. From there it’s targeted diagnostics on the hatch, duct boots, and soffit intake, not a blanket insulation quote. The team documents findings and delivers a written proposal with a warranty before any work begins, which keeps homeowners from paying twice for the same problem.
How Attic Frost Affects Your Home’s Structure and Air Quality
Frost that melts and refreezes repeatedly puts wood roof sheathing through a moisture cycle it was never built to handle. Plywood and OSB absorb water, swell, and over multiple seasons can delaminate or lose structural stiffness, which is why sheathing that feels soft or spongy during an inspection is treated as a serious red flag rather than a cosmetic issue. Rafters and trusses exposed to chronic dampness are also at higher risk of wood rot, particularly at joints and connection points where moisture tends to pool.
The indoor air quality consequences matter just as much as the structural ones. Damp insulation and wood create ideal conditions for mold colonization, and attic mold doesn’t always stay contained in the attic. Air moving through the ceiling plane, whether through the same leaks that let moisture in or through return-duct leakage, can carry mold spores and musty odors down into living spaces. Homes with recurring attic moisture issues also tend to see nail heads corroding, metal duct straps rusting, and staples pulling loose from repeated freeze-thaw expansion and contraction.
None of this happens overnight. A single winter of light frost that gets caught and dried out rarely causes lasting harm. It’s the repeat cycle, year after year, of the same unsealed leak feeding the same cold sheathing that turns a manageable moisture problem into a costly structural and mold remediation project. That’s exactly why catching frost early and tracing it to its source matters more than treating each thaw as an isolated event.
Long-Term Prevention: Vapor Control and Moisture Management That Lasts
Air sealing solves the immediate leak paths, but a few additional layers of protection keep frost from coming back in future winters. A vapor retarder, typically installed on the warm side of the insulation in cold climates, slows the diffusion of water vapor through the ceiling assembly itself, working alongside air sealing rather than replacing it. Kraft-faced batts, certain vapor-retarder paints, and polyethylene sheeting are common options, though the right choice depends on your climate zone and existing wall or ceiling assembly.
Beyond vapor control, ongoing moisture management is really a matter of maintenance habits. Checking bathroom fan ducting annually to confirm it hasn’t come loose from the roof or wall termination catches a surprisingly common failure point. Keeping gutters and downspouts clear prevents ice dam backup that can force water under shingles and into the attic from above rather than below. Sealing new penetrations any time you add recessed lighting, a ceiling fan, or attic-mounted equipment stops new leak paths from forming after your original sealing work is done.
Homeowners planning bigger upgrades should also think about sequencing future work around moisture control. Adding attic insulation before selling a home is a common project, but skipping the air-sealing step first just locks a future moisture problem under fresh insulation for the next owner to discover. The same logic applies to garage insulation or basement projects: seal and manage moisture first, insulate second, every time.
Ridge Vents, Soffit Vents, and What Actually Controls Frost
Ridge vents and soffit vents work as a matched pair, not independent fixes, and understanding that relationship clears up most of the confusion homeowners have about ventilation and frost. Soffit vents pull in cold outside air at the eaves. That air travels up along the underside of the roof deck and exits through the ridge vent at the peak, continuously flushing out any moisture that made it into the attic and keeping the sheathing closer to outdoor temperature.
When that airflow path is broken, usually because insulation has been blown against the soffits without baffles holding it back, the ridge vent keeps exhausting air, but there’s little or no fresh air coming in to replace it. The result is a partial vacuum that can actually pull conditioned, moist air up out of the living space even faster, which sometimes makes frost worse right after a ventilation “upgrade.” This is why eave vents and baffles deserve as much attention as the ridge vent itself during any inspection.
Gable vents complicate the picture further. A home with both gable vents and a ridge vent can develop short-circuiting, where wind pushes air in one gable vent and straight out the other, bypassing the soffit-to-ridge path entirely and leaving parts of the roof deck poorly ventilated. A contractor evaluating frost patterns needs to look at the whole ventilation system together, not just count how many vents are present.
Why Attic Frost Shows Up Mainly in Winter
Frost needs two things at once: warm, moist air and a surface cold enough to freeze that moisture on contact. Winter is the only season that reliably delivers both. Indoor heating keeps living spaces warm and, thanks to cooking, showering, and breathing, humid, while outdoor temperatures push roof sheathing well below freezing for weeks at a stretch.
Colder regions and harsher winters see this more severely, and it tracks closely with outdoor temperature swings rather than any single calendar date. A stretch of single-digit nights after a period of milder weather is often when frost shows up most visibly, since the sudden temperature drop catches sheathing that hadn’t fully adjusted. Deep cold snaps, especially ones lasting several days, tend to produce the thickest frost buildup because the sheathing has time to reach a stable, very cold temperature while indoor humidity keeps feeding the cycle from below.
Weather swings matter just as much as the cold itself. A sunny afternoon or a brief warm spell in the middle of winter is often when homeowners first notice a problem, because that’s when accumulated frost finally melts and reveals itself as a stain, a drip, or a damp patch. This is also why late winter into early spring tends to be when the most attic moisture damage gets discovered, even though the frost itself formed weeks or months earlier during the coldest stretches of the season.
The Repair Sequence Nobody Skips If They Want It to Actually Work
The conventional advice most homeowners hear is “add more insulation” or “install a bigger attic fan.” Both miss the point. Every credible technical source on this topic, from Building America to the University of Minnesota Extension, agrees on the same order: seal the air leaks first, insulate second, then verify ventilation is doing its job. Skip step one and you’re just insulating a problem instead of fixing it.

What gets underestimated is how much value comes from the mapping step before any repair happens. Homeowners who photograph frost patterns during a cold snap and compare them after a thaw hand a contractor a real diagnostic trail instead of a vague complaint. That single habit turns a guessing game into a targeted repair.
Where I’d push back on common advice is the instinct to treat ventilation as a quick fix. It’s a supporting piece, not the headline. A powered attic fan or an extra roof vent installed on top of unsealed penetrations can genuinely make frost worse by pulling more conditioned air upward. If you take one thing from this article, let it be this: find the leaks, seal them, and only then think about whether your ventilation needs help too.
— Jim
When It’s Time to Call in a Pro (and What to Expect)
Some attic frost problems are a quick DIY fix, like caulking a gap around a plumbing stack. But once you’re looking at saturated insulation, visible mold, active dripping near wiring, or sheathing that feels soft to the touch, it’s time to bring in a professional rather than keep experimenting.
The Attic Genius is a direct option built specifically for this problem: a specialist team that maps frost and moisture issues before quoting a fix, rather than selling a blanket insulation job and hoping it solves things. A typical visit includes a free inspection with photo documentation of frost or moisture patterns, followed by air sealing at the leak points that mapping identifies. If ventilation needs correcting, that gets addressed through attic ventilation solutions that check soffit intake and baffle condition rather than just adding vents. Where moisture has already caused damage, moisture and mold remediation handles the cleanup safely. Every job comes with upfront pricing and a written warranty, so you know the scope before work starts.
If you’re seeing frost right now, start simple: take dated photos of every spot, note any recent dripping or odors, and schedule an inspection before the next thaw cycle turns those photos into a repair bill.
Where to Go for Technical Standards and Diagnostic Methods
For deeper technical detail, consult ENERGY STAR’s attic insulation guidance, the Building America attic air-sealing guide, University of Minnesota Extension on ice dams, and the EPA’s mold and moisture basics. Sharing these links with a contractor during an estimate is a fast way to confirm they’re following recognized standards.
FAQ
What Is the 7 and 7 Rule for Attics?
The “7 and 7 rule” isn’t a recognized building-science standard, and definitions of it vary widely depending on where you encounter the term. Rather than rely on an informal rule, ask a contractor to confirm your attic’s ventilation ratio and insulation R-value against ENERGY STAR’s attic guidance directly.
Do Icicles Mean Poor Insulation?
Icicles usually point to an ice dam, which forms when heat escaping through the attic melts snow on the upper roof and refreezes at the colder eaves. It’s more accurate to say icicles indicate air leaks and heat loss into the attic rather than insulation alone, since sealing the air path is the first fix the University of Minnesota Extension recommends.
What Is an Unsafe Attic Humidity Level?
Indoor relative humidity above 60% raises the risk of condensation and mold, and the EPA recommends keeping it between 30% and 50% for the healthiest indoor air. An attic reading consistently higher than the living space below it usually signals an active air leak or blocked ventilation.
Should My Attic Be Freezing in the Winter?
Yes, a properly sealed and ventilated attic should stay close to outdoor temperature in winter, since that’s what keeps the roof deck cold and prevents ice dams and frost. An attic that feels noticeably warm during a cold snap usually has significant air leakage from the living space below, which is worth having checked with a free inspection.
How Do I Know If Frost in My Attic Is Serious?
Small, isolated frost near a single penetration is usually an easy fix, but frost spread broadly across the roof deck, or any sign of dripping, staining, or mold, means the problem has been building for a while. A same-day inspection with photo mapping is the fastest way to find out how far it’s spread.