Stop attic-driven ice dams by sealing attic air leaks first, then upgrading insulation to recommended R-values, and ensuring balanced soffit-to-ridge ventilation. Skip straight to insulation or a box fan in the attic and you’re treating a symptom. If your attic is hard to access, cramped, or has ductwork running through it, bring in a contractor who runs blower-door or infrared diagnostics before quoting the job.
TL;DR:
- Properly sealing attic air leaks is essential, especially around the attic hatch, duct penetrations, and recessed lights, to prevent warm air from reaching the roof deck.
- Achieving at least R-30 insulation, with R-38 preferred in colder regions, combined with effective soffit-to-ridge ventilation, keeps the roof deck uniformly cold and reduces ice dam formation.
- Short-term measures like roof rakes, relief channels, and electric de-icing cables only address symptoms, not the root cause of attic heat loss.
- Diagnostic tools such as blower-door tests and infrared scans are recommended for identifying leaks and heat escapes before adding insulation or venting.
- Professional assessment with written scopes and diagnostics is advised for complex attics, especially those with ductwork or tight spaces, to ensure effective and lasting ice dam prevention.
Table of Contents
- What Causes Ice Dams to Form on Your Roof?
- Where Should You Air Seal Your Attic First?
- How Much Attic Insulation Do You Need to Stop Ice Dams?
- Why Balanced Ventilation Matters for Ice Dam Prevention
- What Can You Do About Ice Dams Right Now?
- How Do You Know If Your Attic Is Causing Ice Dams?
- When Should You Call a Professional for Ice Dam Prevention?
- Why an Attic-First Approach Prevents Repeat Ice Dam Damage
- Get Your Attic Assessed Before the Next Freeze
- Sources
- FAQ
What Causes Ice Dams to Form on Your Roof?
Ice dams start with heat, not snow. Warm air leaking from your living space rises into the attic, warms the roof sheathing, and melts the underside of the snowpack sitting on your roof. That meltwater runs down the roof slope until it hits the eaves, which sit above the unheated overhang and stay much colder. There, it refreezes into a ridge of ice that grows thicker with every freeze-thaw cycle.
Three things have to line up for this to happen:
- Snow sitting on the roof
- Outdoor temperatures cold enough to freeze runoff at the eaves
- A path for warm attic air to reach the roof deck
That third one is the piece homeowners control. It doesn’t take a blizzard to trigger the cycle, either. Under the right conditions, a small amount of roof snow is enough to start the melt-refreeze pattern if attic heat loss is bad enough. That’s the whole case for fixing the attic instead of just fighting the ice on the roof.
Where Should You Air Seal Your Attic First?
Air sealing comes before insulation because insulation slows heat transfer but does almost nothing to stop moving air. A gap the size of a quarter around a recessed light can leak more heat than several square feet of under-insulated ceiling. Building Science Corporation’s guidance on ice dams treats sealing the ceiling plane as the single most important step in the whole process, ahead of both insulation and ventilation.
Work through your attic in this order:
- Seal the attic hatch or pull-down stairs with weatherstripping and a gasket.
- Find and seal plumbing stack and duct penetrations where they pass through the ceiling.
- Caulk smaller gaps around wiring holes and top plates.
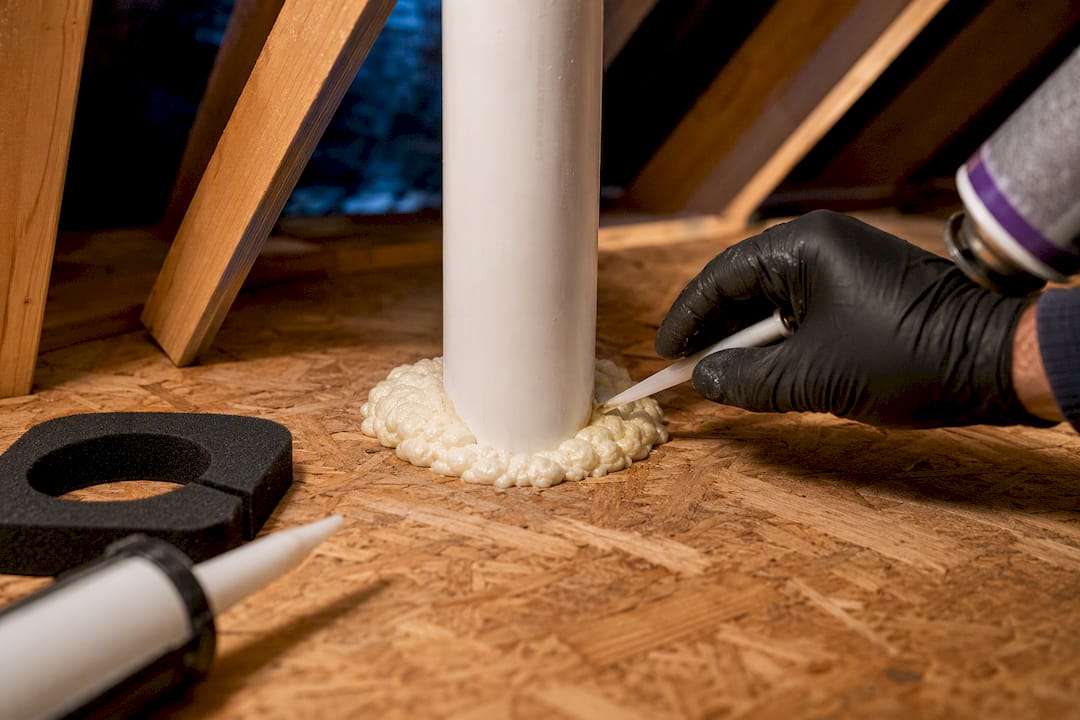
- Install fire-rated insulation dams and foam gasketing around recessed lighting and chimney chases.
- Address knee walls, which act like a sieve for conditioned air if left unsealed.
Diagnosing where to focus is often easier than it sounds. Dirty, compressed, or frost-covered insulation marks the exact spots where warm house air is escaping, since it filters dust out of the air as it leaks through. ENERGY STAR’s attic air sealing guidance walks through this same visual cue. For confirmation beyond eyeballing it, a blower-door test or infrared scan pinpoints leaks a flashlight will miss. Our guide on air sealing attic bypasses covers the most commonly missed spots in more detail.
Pro Tip: Caulk works fine for gaps under a quarter inch. Anything wider, especially around chimneys or plumbing stacks, calls for closed-cell spray foam or a rigid foam gasket, since caulk alone will crack or shrink over a season.
How Much Attic Insulation Do You Need to Stop Ice Dams?
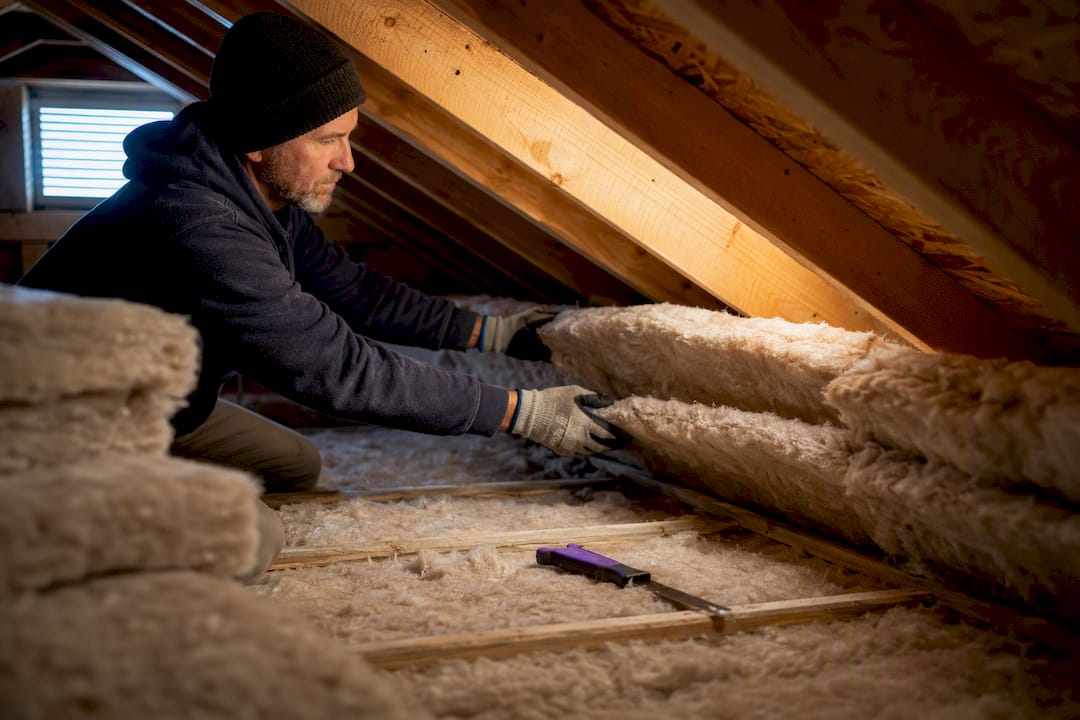
Air sealing without enough insulation on top of it still leaves your roof deck warmer than it should be. The standard guidance from Building America’s Solution Center sets R-30 as a floor, with higher R-values preferred in colder northern climates and heavy snow load regions rather than stopping at code minimums.
Material choice matters almost as much as R-value:
- Loose-fill fiberglass or cellulose is air-permeable, cost-effective, and works well over a properly air-sealed ceiling plane.
- Closed-cell spray foam is air-impermeable and doubles as an air barrier, which makes it the better call for tight, irregular spaces like knee walls and dormers where sealing with caulk alone is nearly impossible.
Insulation alone rarely fixes an ice dam problem because warm air simply bypasses it through the gaps you haven’t sealed yet. Cathedral ceilings and buried ductwork deserve extra attention here. Ducts running through unconditioned attic space leak heat directly into the roof deck, and insulation piled over them doesn’t stop that. Our attic insulation service page breaks down what a proper upgrade looks like once air sealing is handled.
Why Balanced Ventilation Matters for Ice Dam Prevention
Ventilation is the third leg of the stool, not the first. The goal is keeping the whole roof deck at a uniform, cold temperature so there’s no warm spot to melt snow unevenly, a problem often called uneven roof melt.
Get the balance right:
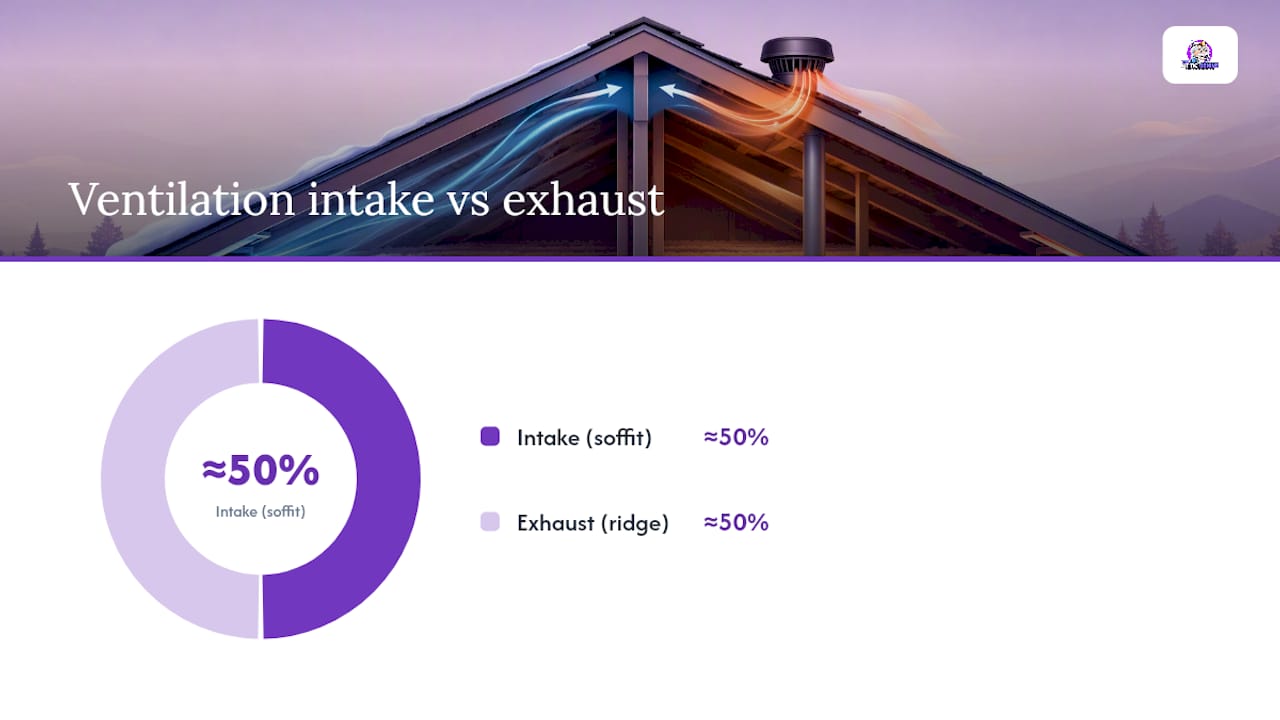
- Intake air enters low, through soffit vents; exhaust air leaves high, through a ridge vent.
- Total net free vent area should land around 1/300 of the attic floor area, split roughly equally between intake and exhaust.
- Baffles at the eaves keep insulation from blocking the soffit intake path.
- Leave a 1 to 2 inch air gap between insulation and the roof sheathing at the eaves so air can actually move.
Powered attic ventilators seem like an obvious fix, but they usually aren’t. University of Minnesota Extension warns against mechanical attic ventilation as a primary ice-dam solution, since it can pull conditioned air out of the living space and create negative pressure that draws in moisture from other parts of the house. Passive, balanced soffit-to-ridge airflow does the job without those side effects. Our attic ventilation page covers baffle installation specifics if your intake vents are currently blocked.
What Can You Do About Ice Dams Right Now?
Permanent fixes take planning, but you don’t have to wait for spring to reduce risk this week.
- Use a roof rake from the ground to pull snow off the lower few feet of roof. Never climb onto a snow-covered or icy roof to do this.
- Cut narrow channels through an existing dam only as a stopgap. This reliefs pooled water temporarily, but the channel refreezes fast and needs repeating.
- Consider electric de-icing cables along the eaves and valleys for chronic trouble spots. They help locally but do nothing for the heat loss causing the problem, so treat them as a patch, not a fix.
- Clear gutters and downspouts of debris before winter so meltwater has somewhere to go once it does drain.
None of these steps address why the dam formed. They buy time until the attic work gets done.
How Do You Know If Your Attic Is Causing Ice Dams?
A walk-through with a flashlight tells you more than most homeowners expect. Look for insulation that’s dirty, matted, or noticeably thinner near the eaves than the rest of the attic floor. Frost on the underside of the roof deck on a cold morning, or water stains on the sheathing, both point to warm, moist air escaping from below. Ductwork or exposed can lights sitting uninsulated in the attic are almost always heat sources contributing to the problem.
- Dirty or compressed insulation near penetrations
- Frost or dark staining on roof sheathing
- Visible gaps around the attic hatch or chimney chase
- Ducts or HVAC equipment sitting exposed in attic space
When visual clues aren’t conclusive, a blower-door test quantifies total air leakage, an infrared scan maps exactly where heat is escaping through the roof, and a duct leakage test matters if your HVAC system lives in the attic. Costs vary a lot by region and attic size, but air sealing alone often runs a few hundred to just over a thousand dollars, while a full insulation top-up or ventilation retrofit typically lands in the low thousands. Get a written, itemized quote before assuming which category your job falls into.
When Should You Call a Professional for Ice Dam Prevention?
DIY air sealing works fine for accessible attics with simple rooflines. Complex geometry, cramped access, or HVAC equipment buried in the attic changes that math fast. If ductwork runs through your attic, a technical resource like Encode Corporation’s HVAC blog is worth a look for understanding duct leakage risks before you hire anyone.
Before signing anything, require:
- A blower-door or infrared diagnostic, not just a visual walkthrough
- A written scope naming exact air-sealing locations and target R-values
- Listed materials, a timeline, and a written warranty
Be wary of any quote centered on heat cables or a roof replacement with no mention of air sealing or insulation. That’s a roof-surface fix for an attic problem, and the dam tends to come back the following winter.
Why an Attic-First Approach Prevents Repeat Ice Dam Damage
Roof-surface fixes like heat cables and shingle replacements treat where the ice shows up, not why it forms. Attic-first repairs, sealing bypasses, hitting the right R-value, and balancing ventilation, tend to hold up winter after winter instead of generating the same callback every January. That’s the pattern worth paying attention to before booking any repair.
— Jim
Get Your Attic Assessed Before the Next Freeze
We fix the cause, not just the ice, with same-day inspections and upfront pricing in the service area, so you’re not left guessing what a quote actually covers.

Diagnosing an ice dam problem by eye only gets you so far, so diagnostic assessments like blower-door and infrared scans can find exactly where your attic is leaking heat before recommending a fix. The full sequence discussed above can include air sealing bypasses, bringing insulation up to recommended R-values depending on your climate, and correcting soffit-to-ridge ventilation, ideally backed by a written scope and warranty so you know what you’re paying for. Additional issues like ductwork, pest debris, or moisture layered on top of the ice-dam problem also need to be addressed. Start with our guide on why attic floors need insulation or go straight to requesting a free inspection to get a real scope for your roof.
Sources
- Attic air sealing, insulating, and ventilating for ice dam prevention — Building America Solution Center (PNNL)
- Dealing with and preventing ice dams — University of Minnesota Extension
- BSD-135: Ice dams — Building Science Corporation
- Attic air sealing project — ENERGY STAR
FAQ
How Do You Insulate an Attic to Prevent Ice Dams?
Seal ceiling-plane air leaks first (recessed lights, plumbing stacks, hatches, knee walls), then add insulation to at least R-30, with R-38 preferred in colder climates, and confirm soffit-to-ridge ventilation stays clear.
What Can You Put on a Roof to Stop Ice Dams?
Roof rakes, temporary drain channels, and electric de-icing cables reduce immediate risk, but none of them fix the attic heat loss actually causing the dam, so treat them as short-term measures only.
Does Homeowners Insurance Cover Ice Dam Damage?
Many policies cover sudden interior water damage caused by an ice dam, but coverage details vary by insurer and policy, so check your specific policy language and talk to your agent before assuming it’s covered.
How Can You Prevent Ice Dams From Forming on Your Roof?
Air seal attic bypasses first, bring insulation up to recommended R-values for your climate, and balance soffit and ridge ventilation so the whole roof deck stays uniformly cold.
Are Mechanical Attic Fans a Good Fix for Ice Dams?
No. Powered attic ventilators can create negative pressure and pull moisture into the attic, so passive soffit-to-ridge airflow combined with air sealing is the recommended approach instead.