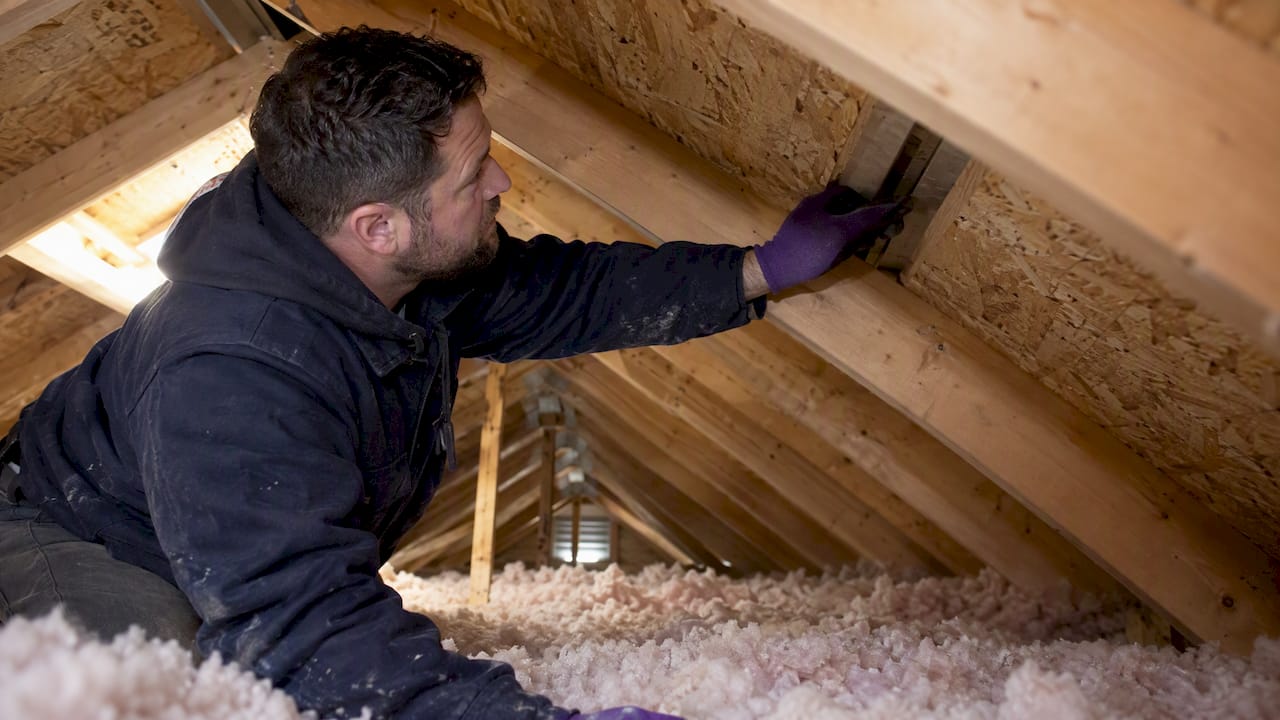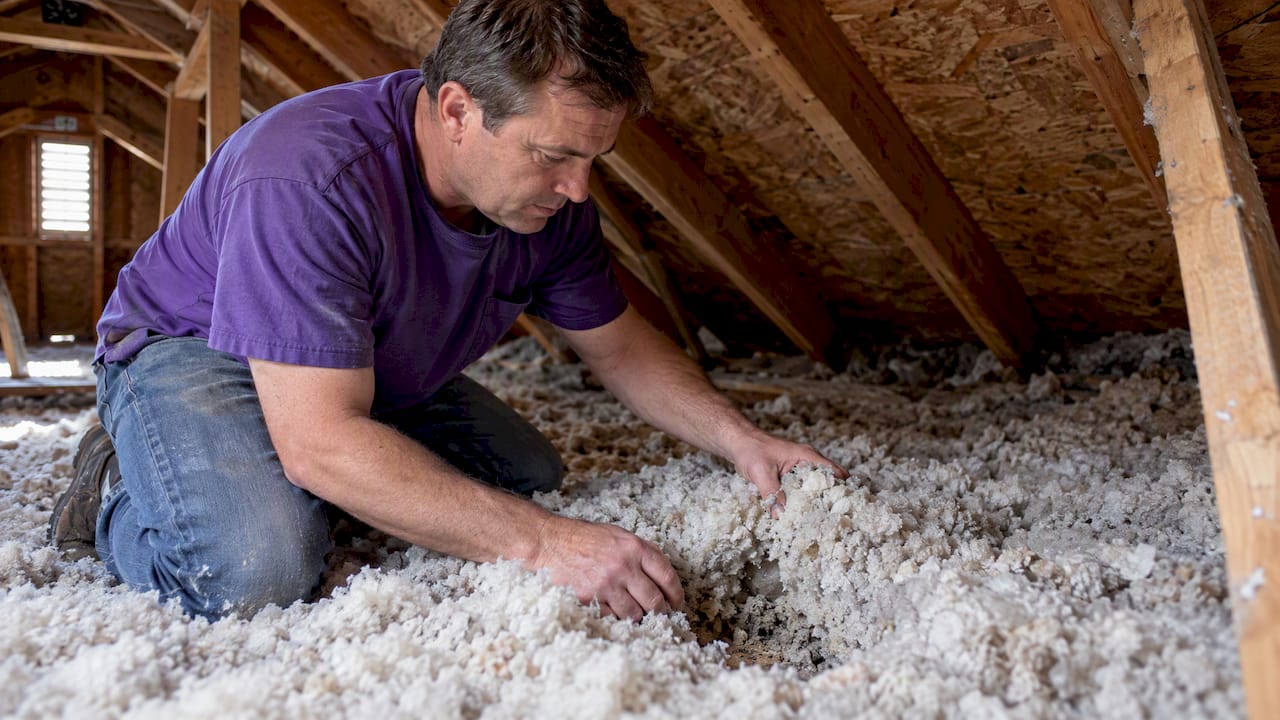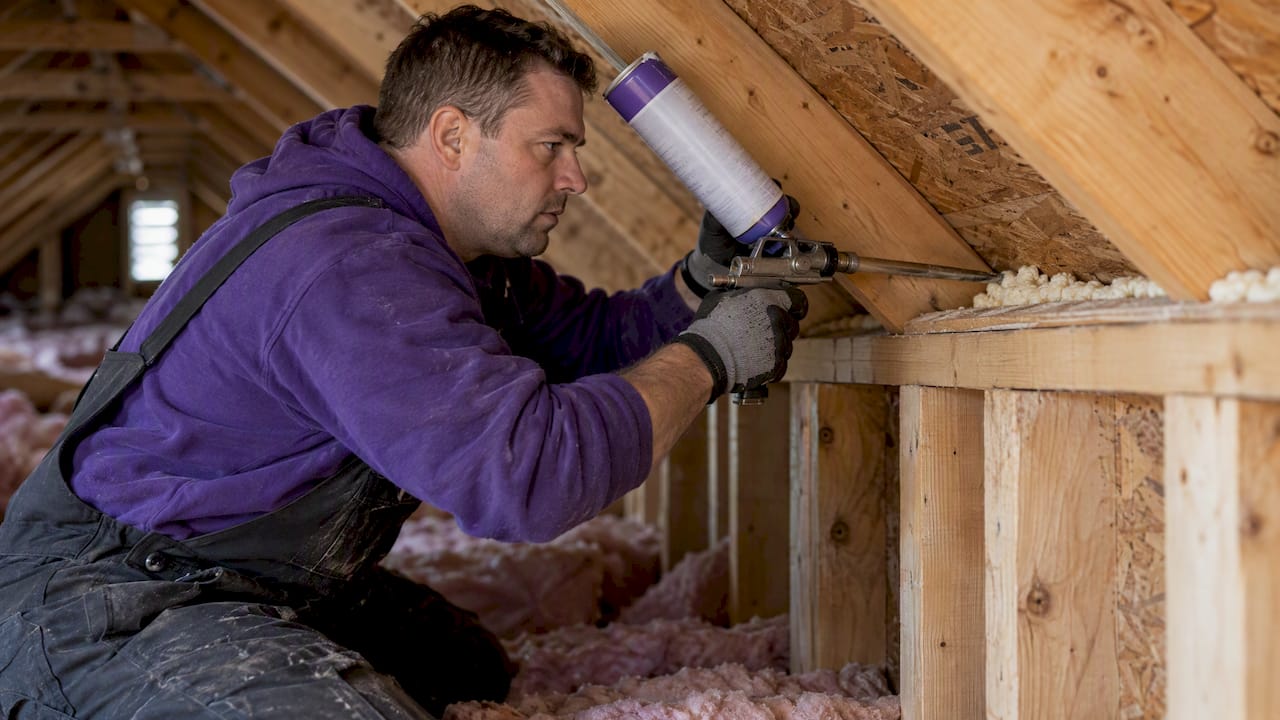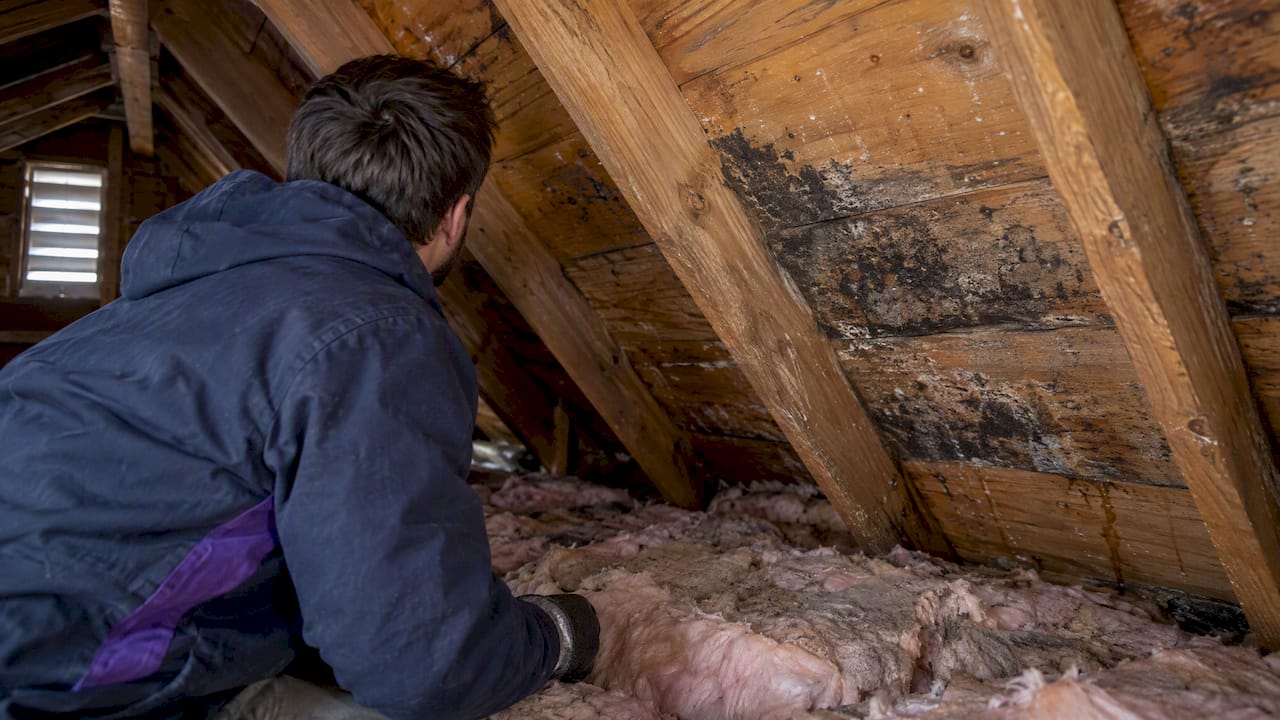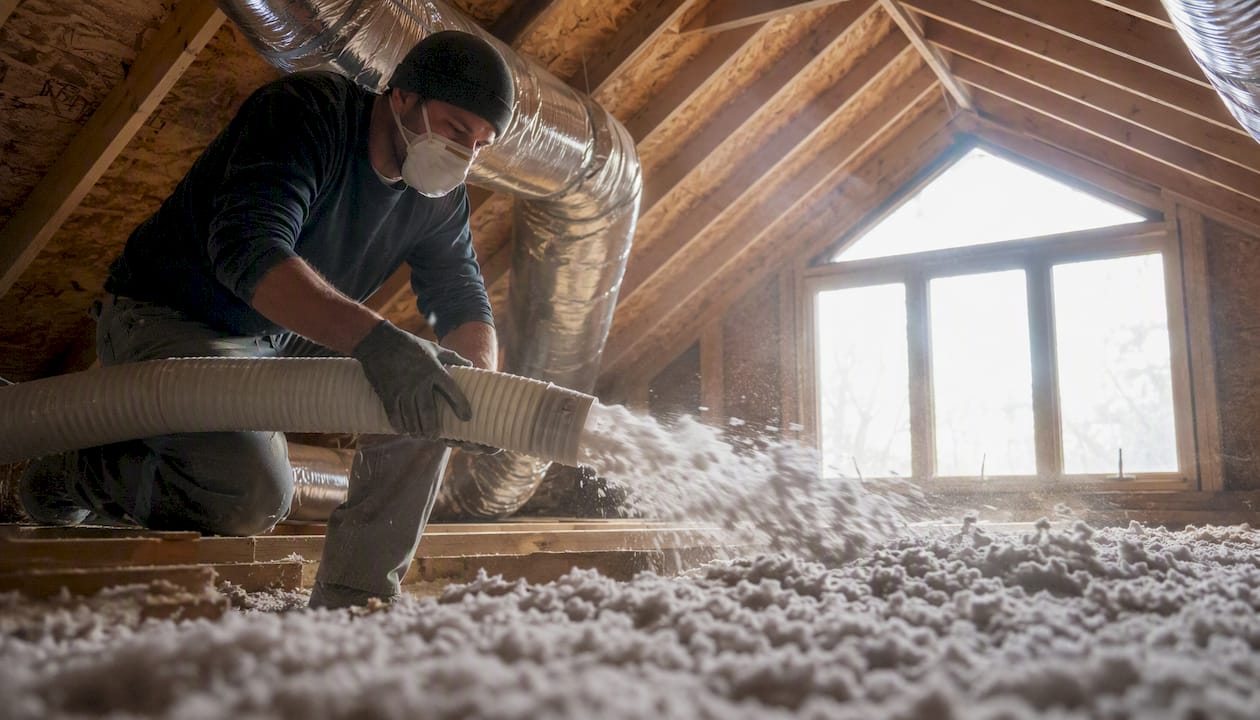
DIY insulation saves real money on simple attic top-ups. Hire a professional when your attic has contamination, active moisture, knob-and-tube wiring, or when the job calls for spray foam, dense-pack walls, or meaningful air sealing. According to Energy.gov, combining proper air sealing with insulation cuts annual heating and cooling bills by a significant percentage, and that result almost always requires professional execution to achieve in practice.
Quick decision checklist:
- DIY is reasonable if: Your attic is clean and dry, accessible without crawling through tight spaces, free of old vermiculite or visible mold, already has adequate ventilation, and you’re adding batts or blown-in over existing clean insulation.
- Call a pro if: You find moisture stains, suspect asbestos or vermiculite, see knob-and-tube wiring, notice bathroom or kitchen exhaust venting into the attic, have rodent contamination, or need spray foam or dense-pack wall insulation. ENERGY STAR’s DIY guide flags every one of these as a contractor-required scenario.
- Hybrid approach: Handle the prep yourself (clearing stored items, measuring, buying materials) but hire a pro for air sealing and final installation if your attic has any of the above flags.
The Attic Genius handles these scenarios for homeowners across Chicagoland and the Northwest Suburbs, including inspection, removal, air sealing, and full installation with written warranties.
Table of Contents
- How professional and DIY insulation compare across what actually matters
- How costs actually add up for professional vs. DIY insulation
- Which insulation methods are actually DIY-friendly?
- DIY insulation risks and the hidden costs most homeowners don’t see coming
- What professionals actually add beyond laying insulation
- A checklist to decide right now: DIY or hire a pro?
- How to prepare and what to expect for timing and disruption
- When you need to call a pro immediately, no exceptions
- Key Takeaways
- The part most homeowners get wrong
- The Attic Genius makes the professional choice straightforward
- Useful sources and further reading
How professional and DIY insulation compare across what actually matters
The table below cuts through the noise on the six dimensions homeowners actually care about when weighing home insulation installation options.
| Dimension | DIY | Professional |
|---|---|---|
| Upfront cost | Lower material cost; equipment rental adds around $150 for blown-in; no labor markup | Higher total invoice; labor typically $1.50–$3.00/sq ft on top of materials |
| Time and disruption | Weekend project for simple top-ups; longer if prep issues arise | One day for a typical attic including air sealing; multi-day for removal or remediation |
| Thermal performance | Nominal R-value possible; real savings depend on air sealing most DIYers skip | Consistent density, full air sealing, and diagnostics deliver real-world savings |
| Risk of mistakes | Compressed batts, blocked soffits, buried hazards, uneven blown-in density | Low when contractor is licensed and provides written scope; risk shifts to contractor |
| Warranty and accountability | None; mistakes are your cost | Written warranty on labor and materials; documentation for rebates and permits |
| Suitable insulation types | Batts/rolls, blown-in loose-fill (with rental), rigid foam on rim joists | All of the above plus spray foam, dense-pack walls, and contaminated-attic removals |
The honest summary: DIY wins on upfront cost for straightforward jobs. Professionals win on everything else, especially when the attic has any complexity at all.
How costs actually add up for professional vs. DIY insulation
Sticker shock is the main reason homeowners lean toward DIY. But a fair cost comparison insulation methods requires looking at the full line-item list, not just the bag price at the hardware store.
What a typical 1,200–1,500 sq ft attic actually costs
For a DIY blown-in project on a clean, accessible attic:
| Line item | Typical DIY cost |
|---|---|
| Blown-in insulation (bags) | around $400 |
| Blower rental | around $150 |
| Air sealing materials (caulk, foam, baffles) | around $75 |
| PPE (respirator, goggles, gloves) | around $40 |
| DIY total | around $665 |
For a professional installation on the same attic:
| Line item | Typical pro cost |
|---|---|
| Insulation materials + labor | $1,200 |
| Air sealing (included or add-on) | around $300 |
| Old insulation removal (if needed) | $500–$1,500 |
| Ventilation/baffle work | $100–$400 |
| Pro total (no removal) | around $1,500 |
| Pro total (with removal) | around $2,000 |
The gap looks large until you factor in what low quotes routinely omit. A quoted per-square-foot price that skips air sealing and removal can understate the true installed cost by 50–150%. That means a $900 quote and a $2,200 quote are sometimes describing completely different scopes of work.
Payback reality: Properly installed attic insulation with air sealing reduces annual energy bills by 10–20%, with a typical payback period of roughly 3–8 years depending on climate and project size. Skip the air sealing and that payback window stretches considerably, because the insulation is covering leaks rather than stopping them.
The Building America measure guideline on attic air sealing also notes that the Federal Trade Commission requires accurate R-value disclosure on insulation products, so contractors must document what they install. That documentation protects you at resale and for rebate applications.
Which insulation methods are actually DIY-friendly?
Not all insulation types carry the same risk profile. Sorting your project into the right lane before pricing anything saves time and avoids expensive restarts.
DIY-friendly with reasonable care:
- Batts and rolls (fiberglass or mineral wool): Straightforward in open attic floors with standard joist spacing. The main failure modes are compression (which kills R-value) and gaps at edges. Cut carefully, fit snugly, and don’t stack batts tightly against soffit baffles.
- Blown-in loose-fill (fiberglass or cellulose): DIY is possible with rental equipment, but you need a helper to load the hopper and you need to hit the right depth consistently. Consumer blowers deliver less consistent density than commercial rigs, which is the main reason DIY blown-in sometimes underperforms on paper.
- Rigid foam on rim joists: One of the highest-return DIY tasks in the house. Cut 2-inch polyiso or XPS to fit each bay, press it in, and seal the perimeter with canned spray foam. This is accessible, low-risk, and noticeably improves comfort in rooms above a crawl space or basement.
Professional-only for most homeowners:
- Spray polyurethane foam (SPF): Requires professional equipment, precise mixing ratios, and proper ventilation. EPA guidance on re-entry after SPF installation requires occupants to stay out of the home for a specified period after application. An improperly mixed or applied SPF job off-gasses chemicals that can cause respiratory issues. This is not a rental-equipment scenario.
- Dense-pack wall retrofits: Requires a specialized blower and nozzle to reach the correct density (typically 3.5 lb/cu ft for cellulose). Under-dense fill settles and leaves voids; over-dense fill can bow drywall. The Insulation Institute confirms that dense-pack wall retrofits are typically professional-only.
- Conditioned attic conversions: Converting a vented attic to a conditioned space with spray foam on the roof deck involves building science decisions, code compliance, and HVAC recalculation. Not a DIY scope.
Pro Tip: The single best DIY win for most homeowners is rim joist insulation. Cut rigid foam to fit each bay, seal the perimeter with canned foam, and you’ve addressed one of the most common heat-loss paths in the house. It takes a Saturday, costs under $200 for most homes, and delivers a comfort improvement you’ll feel immediately.
DIY insulation risks and the hidden costs most homeowners don’t see coming
The financial case for DIY looks different once you account for the failure modes that actually happen. These aren’t edge cases.
The most common DIY mistakes:
- Insulating over air leaks — Adding R-38 blown-in over a top plate full of gaps doesn’t stop air movement. The insulation slows conduction but does nothing for convection through those gaps. The house stays drafty and the energy bill barely moves.
Health and safety risks that catch DIYers off guard:
Attic work in summer can hit 130–150°F. OSHA’s guidance on heat stress and PPE applies directly to attic work, and heat-related illness is a real risk for homeowners who push through a hot attic without breaks and proper hydration. Falls through joists are another underappreciated hazard. Insulation covers the joists, and one misstep puts a foot through the ceiling below.
Hidden hazards that require professional assessment before any insulation work: Knob-and-tube wiring must not be covered with insulation without an electrician’s sign-off. Vermiculite insulation may contain asbestos and must be tested before disturbance. Active mold or wet framing requires remediation before new insulation goes in. Bathroom or kitchen exhaust venting into the attic creates ongoing moisture problems that new insulation will trap, not fix.
Long-term financial exposure:
Moisture damage from blocked ventilation or buried leaks can cost $5,000–$15,000 to remediate once it reaches the roof sheathing. Failed rebate paperwork because the installation doesn’t meet the utility’s documentation requirements means leaving $500–$1,500 on the table. And some insurers complicate claims on homes with improperly installed spray foam. These aren’t hypothetical. They’re the calls that come in after a DIY project that looked fine at the time.
For a deeper look at the attic insulation mistakes that cost homeowners the most, that guide covers the specific errors and how to avoid them.
What professionals actually add beyond laying insulation
The difference between a professional installation and a DIY job isn’t just labor. It’s a different scope of work.
Diagnostic inspection first. A good contractor doesn’t start by opening bags. They check existing R-value and coverage, identify air bypass locations (top plates, chases, recessed lights, plumbing penetrations), look for moisture staining, and flag any hazards before a single piece of insulation moves. That inspection changes the project scope and often changes the cost estimate.
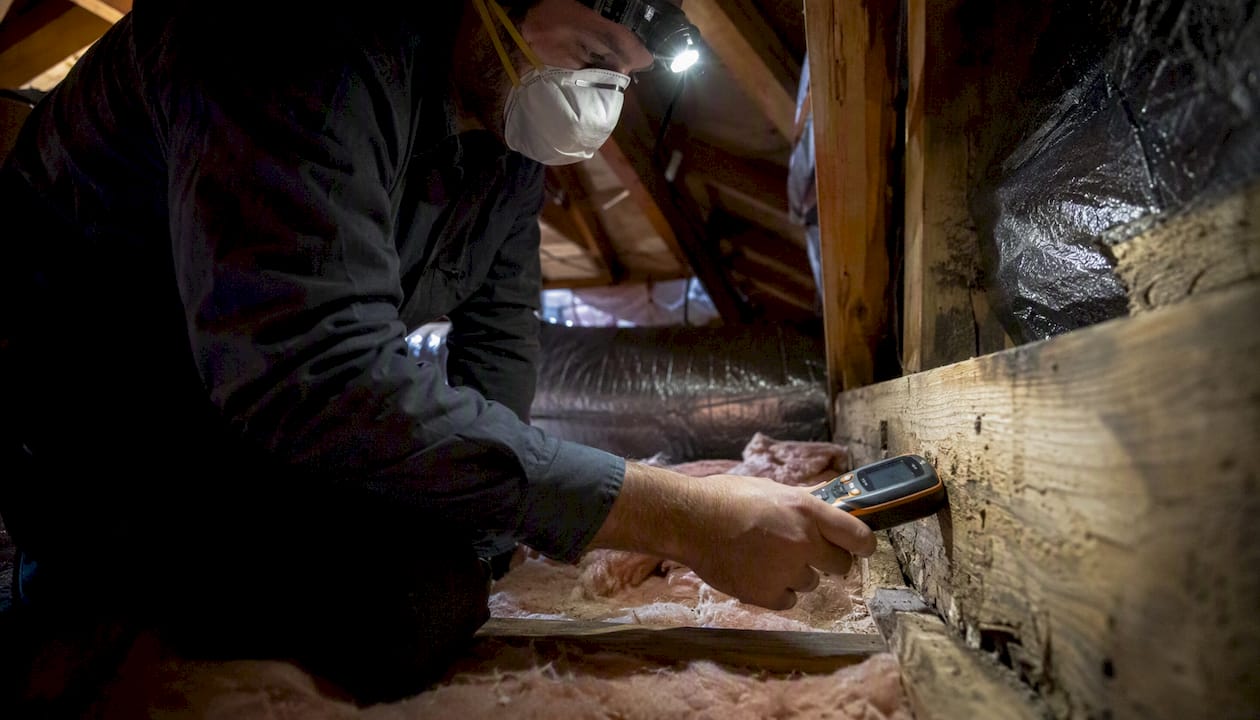
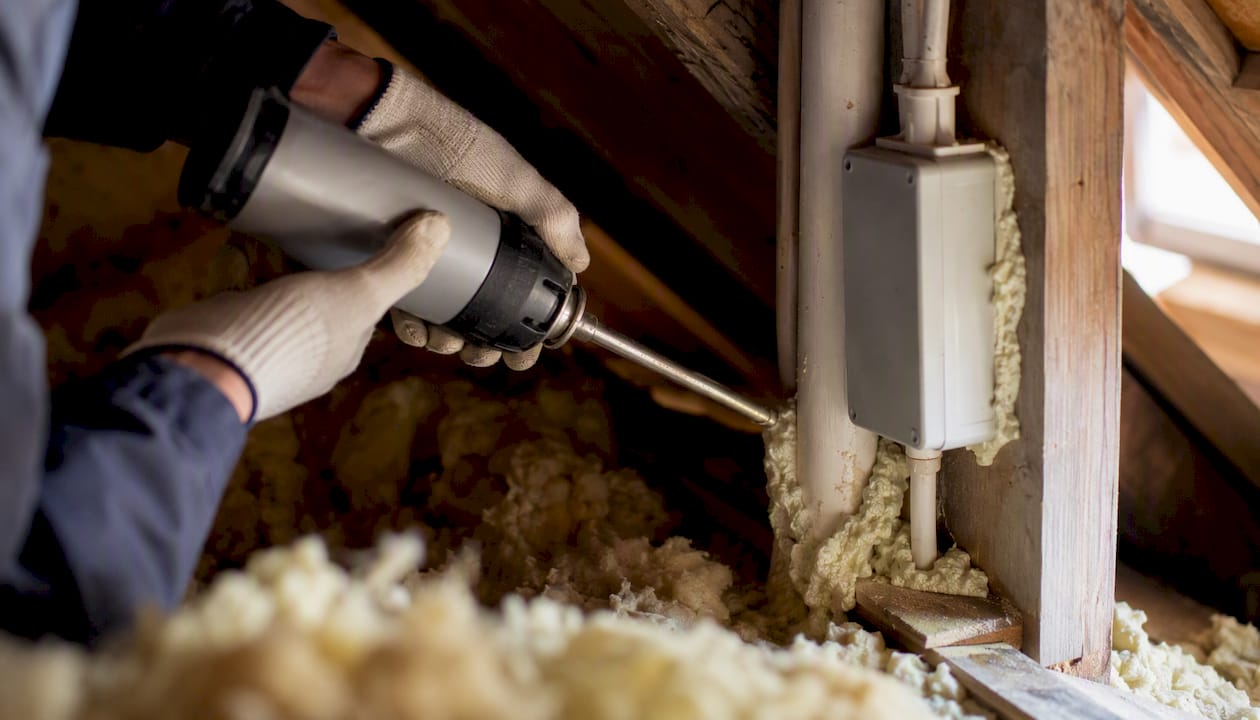
Air sealing as a separate line item. Professionals treat air sealing as a distinct task, not an afterthought. They use two-part foam for large openings, caulk for small gaps, and rigid blocking for chases. This is what separates nominal R-value from real energy savings.
Equipment and density control. Commercial blower rigs maintain consistent pressure and density that consumer rentals don’t match. For blown-in jobs, this means the installed product actually performs at its rated R-value rather than settling to something lower.
Documentation for rebates and permits. Utilities and state programs require specific documentation: bag counts, installed depth, R-value achieved, and sometimes before/after photos. Professionals provide this as standard. DIYers frequently miss rebates because the paperwork doesn’t meet the program’s requirements.
Written warranties. A professional installation should come with a written warranty covering both materials and labor. This matters at resale, for insurance purposes, and as accountability if the installation underperforms.
What a written warranty actually protects: If blown-in settles below the specified depth within the warranty period, the contractor returns and tops it up at no charge. If air sealing fails and moisture issues develop, the written scope establishes who is responsible. Without documentation, you own the problem regardless of who installed it.
Pro Tip: Ask every contractor for before-and-after photos and a bag count report. Reputable contractors provide these as standard. If a contractor resists, that’s a red flag about their installation quality, not just their paperwork.
A professional attic assessment often uncovers issues that change the entire project scope, and catching them before installation is always cheaper than remediating them after.
A checklist to decide right now: DIY or hire a pro?
Work through this in order. The first “no” or “yes” that applies to your attic determines your lane.
Step 1: Check attic access and condition
- Can you stand or comfortably crouch in the attic without crawling through tight spaces?
- Is the attic floor dry, with no staining on rafters or sheathing?
- Is existing insulation free of visible mold, rodent droppings, or wet clumps?
- Do you see any gray, pebble-like material that could be vermiculite? (If yes, stop and call a pro.)
- Is all wiring modern Romex, not cloth-wrapped knob-and-tube?
Step 2: Confirm insulation type and scope
- Are you adding batts or blown-in over existing clean insulation (top-up only)?
- Does the project require spray foam or dense-pack walls? (If yes, hire a pro.)
- Is there existing insulation that needs removal? (If yes, hire a pro unless it’s a small, clean area.)
Step 3: Consider rebates, permits, and long-term value
- Does your utility offer rebates that require contractor documentation?
- Are you planning to sell the home within 5 years? (Written warranty and documentation add value.)
If you answered yes to 1–6 and no to 7–10, DIY is a reasonable option. Any other combination points toward a professional.
Questions to ask every contractor before signing:
- What R-value will you achieve, and how will you verify it?
- What is your air-sealing scope, and is it included in this quote?
- How many bags will you install, and will you provide a bag count report?
- Does this quote include removal of existing insulation? What’s the disposal plan?
- Will you address ventilation baffles and soffit protection?
- What certifications do you hold (BPI, state contractor license)?
- Do you provide a written warranty and before/after photos?
Walk away from any quote that:
- Doesn’t mention air sealing at all
- Gives a bag count that seems low for the square footage
- Provides no written scope or warranty
- Can’t explain how they’ll verify installed depth or density
Similar decision frameworks apply in other home improvement categories. The challenges of DIY door replacement illustrate the same pattern: the upfront savings look real until a hidden complication turns a weekend project into a contractor call anyway.
How to prepare and what to expect for timing and disruption
Whether you’re doing it yourself or hiring a crew, preparation determines how smoothly the job goes.
Before any insulation work, homeowner prep checklist:
- Clear stored items from the attic floor and the area below the access hatch
- Confirm attic access is wide enough for equipment (most blown-in hoses need a 22-inch opening)
- Cover HVAC air intakes and returns near the attic to prevent insulation particles from entering the system
- For DIY: gather PPE before you start (N100 respirator, safety glasses, gloves, long sleeves, knee pads)
- Pre-check for hazards: look at the wiring, check for moisture stains, and look for vermiculite before disturbing anything
The attic insulation prep guide walks through each of these steps in detail if you want a room-by-room checklist.
Realistic timelines:
DIY weekend top-up (clean attic, blown-in): 4–8 hours including setup, installation, and cleanup. Add a full day if you’re also doing rim joist foam. Professional full attic (air sealing + blown-in, no removal): typically 6–10 hours for a 1,200–1,500 sq ft attic. You can usually stay in the home. Professional with removal and remediation: 1–3 days depending on contamination level. Spray foam jobs require occupants to vacate per EPA re-entry guidance.
Seasonal timing matters. The worst time to DIY an attic is July or August in Chicagoland, when attic temperatures can exceed 130°F. OSHA heat stress guidelines recommend limiting exposure and taking frequent breaks, but the honest advice is to schedule attic work for spring or fall when temperatures are manageable. For professional work, fall is the busiest season as homeowners prepare for heating season, so booking early avoids scheduling delays and sometimes gets better pricing.
When you need to call a pro immediately, no exceptions
Some attic conditions make DIY work not just inadvisable but genuinely dangerous or legally problematic. These are the stop-everything scenarios.
Vermiculite insulation. Vermiculite mined before 1990 may contain asbestos. If you see gray, pebble-like insulation in your attic, don’t touch it. ENERGY STAR’s guidance is explicit: call a contractor. Testing and professional abatement are required before any other work proceeds.
Knob-and-tube wiring. Covering active knob-and-tube wiring with insulation is a fire hazard and violates most building codes. An electrician must assess and sign off before insulation work begins. This is non-negotiable.
Active mold or wet framing. New insulation over wet or moldy framing traps moisture and accelerates structural damage. Mold remediation comes first, always. The attic health hazards guide explains what to look for and what professional remediation involves.
Exhaust venting into the attic. Bathroom fans or kitchen exhaust that terminate in the attic rather than outside create a continuous moisture source. No amount of insulation fixes this. The venting must be corrected before insulation work.
Rodent contamination. Rodent droppings and nesting material carry hantavirus and other pathogens. Disturbing contaminated insulation without proper containment and PPE is a health risk. Professional cleanup and removal are required before new insulation goes in.
Spray foam on the roof deck. Converting to a conditioned attic with spray foam involves EPA re-entry protocols, HVAC recalculation, and building code compliance. The Building America guideline sequence (combustion safety, then ventilation, then air sealing, then insulation) must be followed in order, and professionals trained in building science are the right people for this scope.
The core principle from DOE and ENERGY STAR: Air sealing must precede insulation, and any combustion or ventilation issue must be resolved before either step. A professional inspection catches these sequencing problems before they become expensive mistakes.
ASHRAE Standard 90.1 sets the envelope performance benchmarks that professionals use for code compliance. When a project involves permits or utility rebates, meeting those standards requires documentation that only a licensed contractor can provide.
Key Takeaways
Professional insulation with air sealing is the most reliable path to the 10–20% energy bill reduction that DOE cites, because real-world savings depend on execution quality, not just material R-value.
| Point | Details |
|---|---|
| Attic condition determines the lane | A clean, dry, hazard-free attic is DIY-eligible; any contamination, moisture, or wiring issue requires a pro. |
| Air sealing before insulating | Skipping air sealing is the single most common reason insulation underperforms; it must come first. |
| DIY works for simple top-ups only | Batts and blown-in over clean existing insulation are DIY-friendly; spray foam and dense-pack walls are not. |
| Get written scope and verification | Require bag counts, installed depth, air-sealing scope, and before/after photos from any contractor. |
| The Attic Genius for Chicagoland | The Attic Genius provides inspection, air sealing, removal, and installation with written warranties across the Northwest Suburbs and greater Chicagoland. |
The part most homeowners get wrong
The debate over professional vs. DIY insulation almost always focuses on the wrong question. Homeowners ask “Can I do this myself?” when the real question is “Is my attic simple enough that adding insulation without a diagnostic won’t bury a bigger problem?”
Those are different questions, and the second one is harder to answer honestly. Most attics in older Chicagoland homes have at least one complicating factor: inadequate air sealing, a soffit vent that’s already partially blocked, wiring that predates modern standards, or moisture staining that’s easy to miss with a flashlight. None of these make DIY impossible, but all of them change the risk profile.
The other thing worth saying plainly: the 10–20% energy bill reduction that DOE cites for air sealing plus insulation is a real number, but it assumes the job is done correctly. A DIY project that adds R-value without addressing air leaks delivers a fraction of that savings. The insulation looks right from the hatch, the homeowner feels good about the project, and the heating bill barely moves. That’s the most common outcome of a well-intentioned but incomplete DIY job.
Professionals who separate “material installation” from “envelope performance” are providing a different service than someone laying bags. The diagnostic piece, the air sealing, the density verification, the documentation: these are what convert a nominal R-value into an actual energy bill reduction. Whether that’s worth the price difference depends on your attic’s condition, your risk tolerance, and how long you plan to stay in the house.
The Attic Genius makes the professional choice straightforward
If your attic has any of the conditions covered in this article, or if you simply want the job done right the first time, The Attic Genius handles the full scope: inspection, air sealing, insulation removal, installation, ventilation corrections, mold remediation, and pest waste cleanup. The team brings 25+ years of combined experience across Chicagoland and the Northwest Suburbs, with 400+ five-star reviews and upfront pricing on every job.
Every quote includes a written scope, bag count documentation, and before/after verification photos. Written warranties cover both materials and labor. Same-day inspections are available for homeowners who want a professional assessment before deciding whether to DIY or hire out.
Whether you need a straightforward attic floor insulation upgrade or a full removal and reinstall with air sealing, the process starts with an honest assessment of what your attic actually needs. Schedule your inspection at theatticgenius.com or call to request a written estimate.
Useful sources and further reading
The claims in this article draw on guidance from federal agencies, industry standards bodies, and independent research. These are the primary sources worth bookmarking.
- Energy.gov — Insulation
- ENERGY STAR — DIY guide (May 2008)
- Building America measure guideline: Attic air sealing
- Insulation Institute — DIY insulation vs hiring a pro
- EPA — When is it safe to re-enter after SPF installation?
- OSHA
- Home Energy Decisions — Attic insulation cost (2026)
- ASHRAE — Standard 90.1
A note on using these sources: DOE and ENERGY STAR pages are updated periodically. Always check the current version for R-value recommendations specific to your climate zone, as the numbers vary significantly between Chicago (Zone 5) and warmer regions.
This article provides general information for homeowners and is not a substitute for a professional inspection or licensed contractor assessment. Consult a qualified professional and verify current local codes and utility rebate requirements before beginning any insulation project.