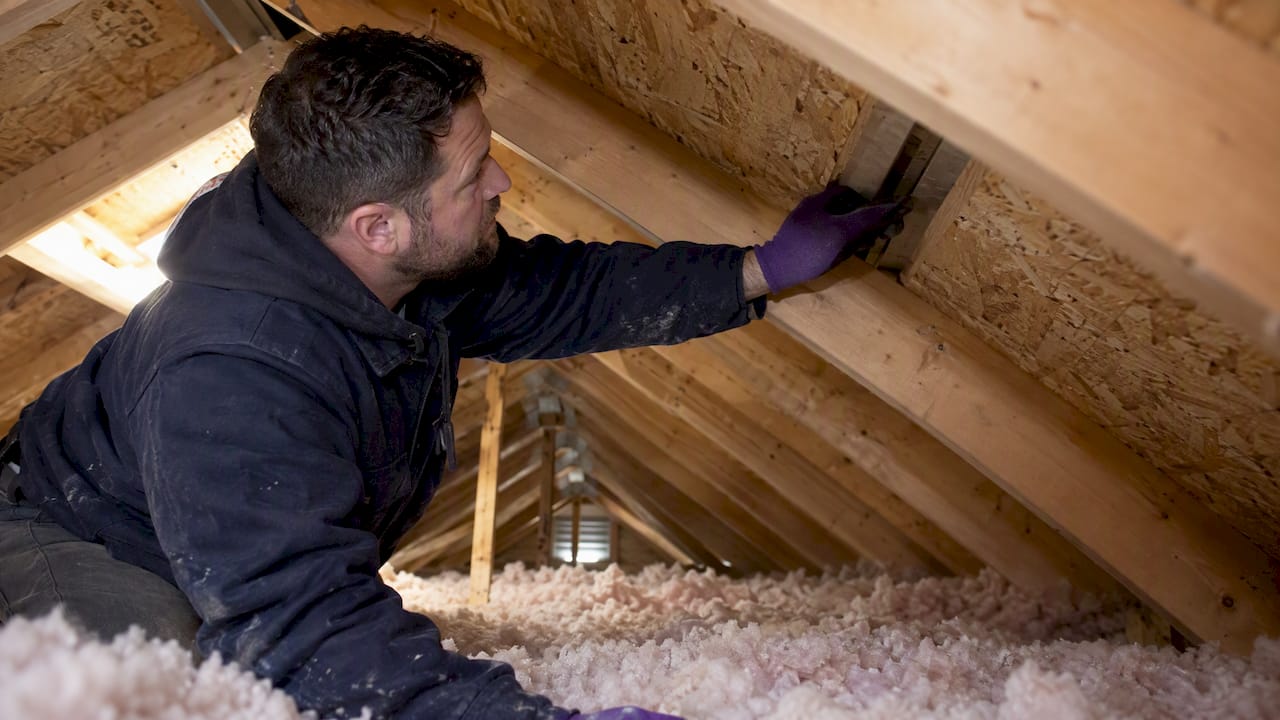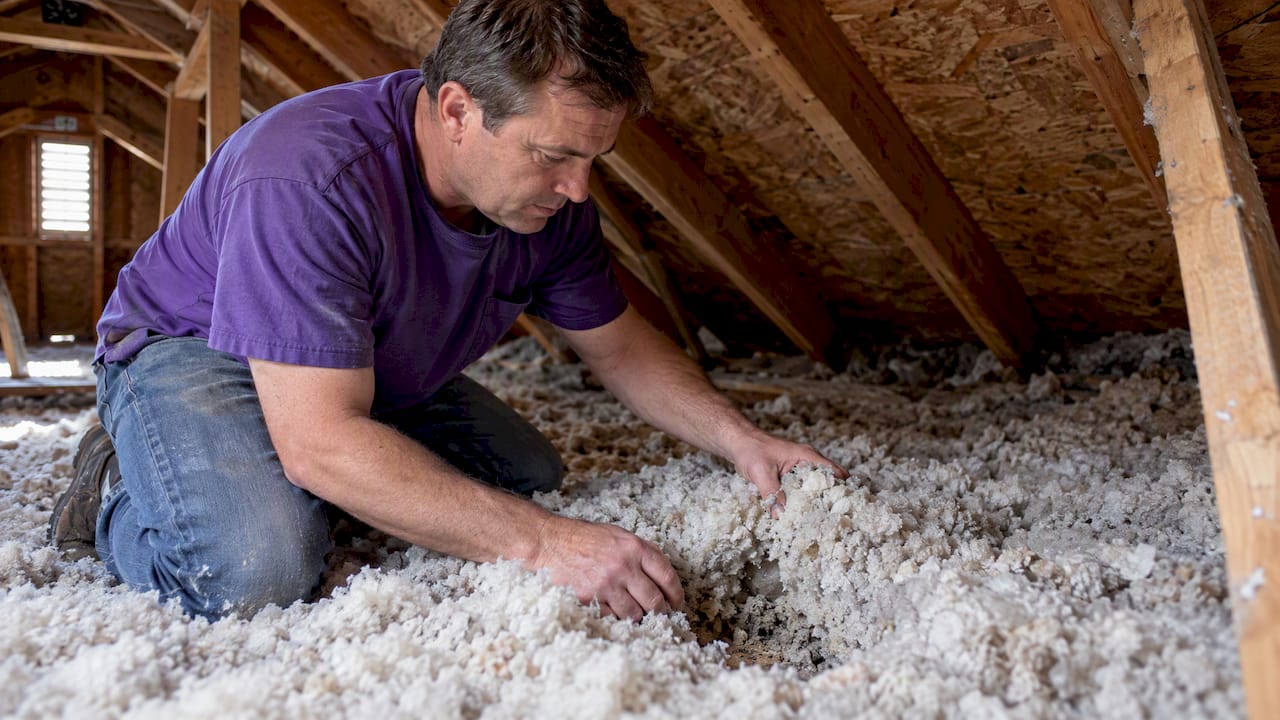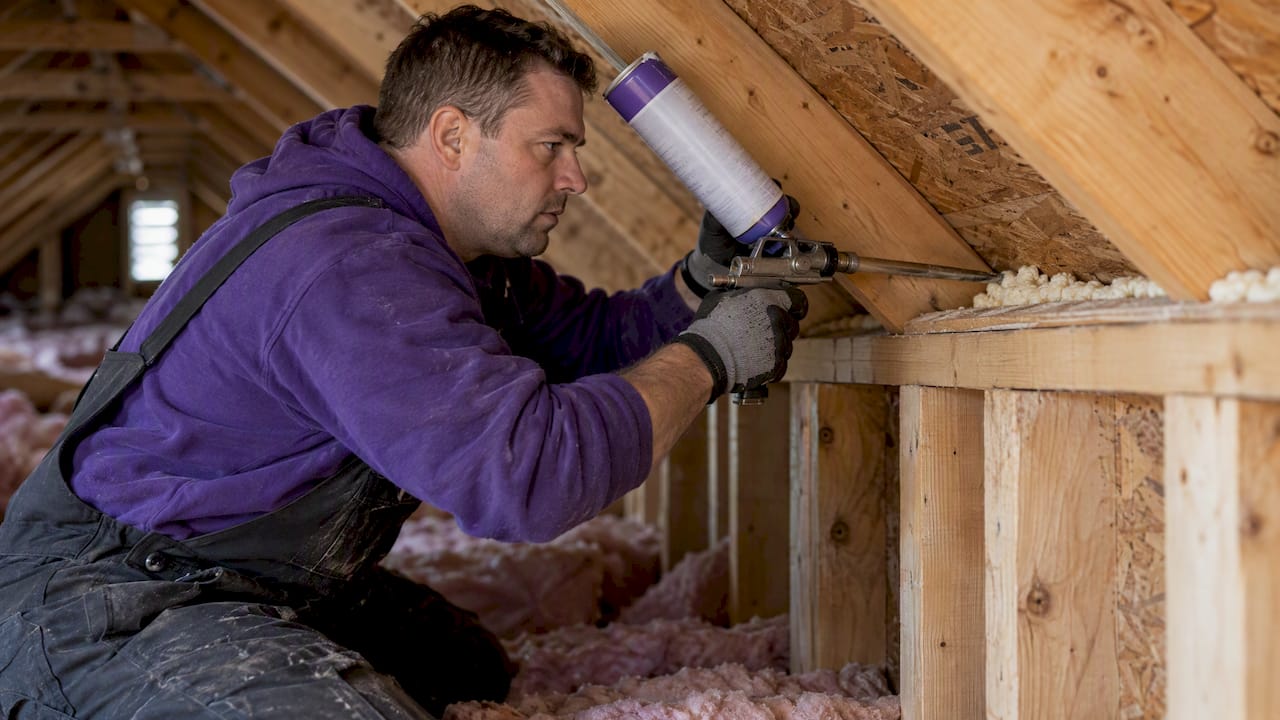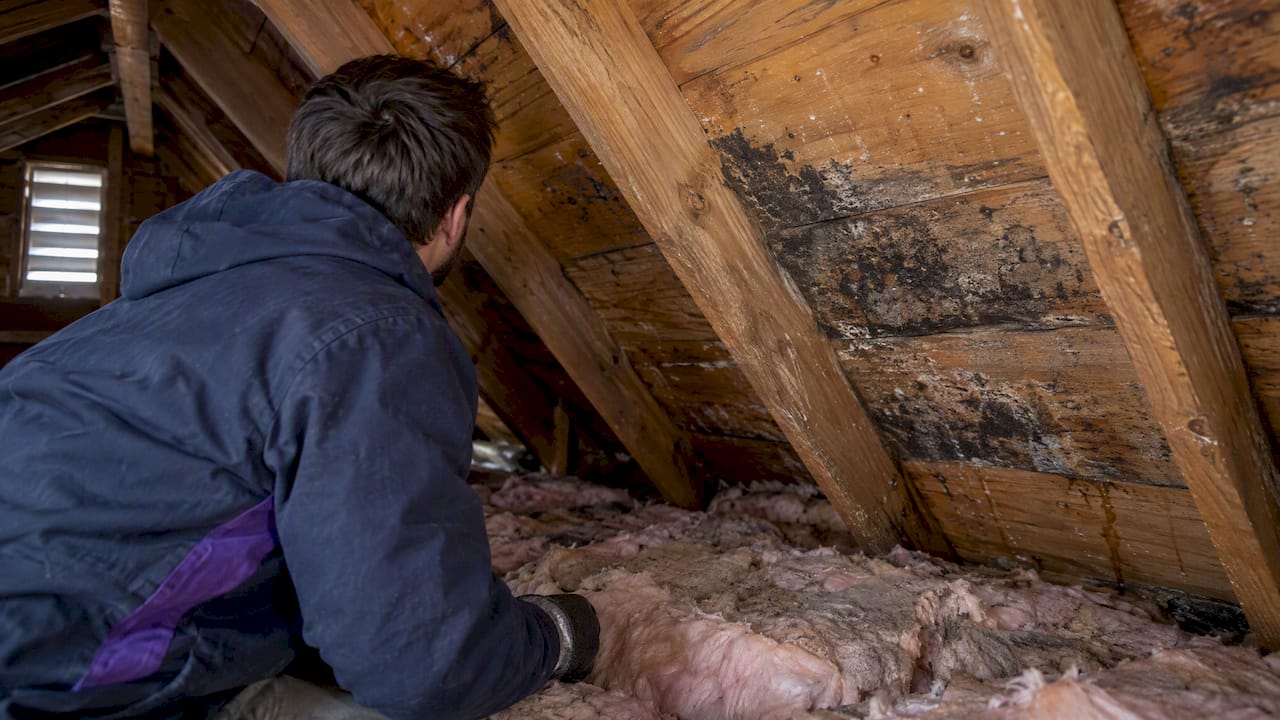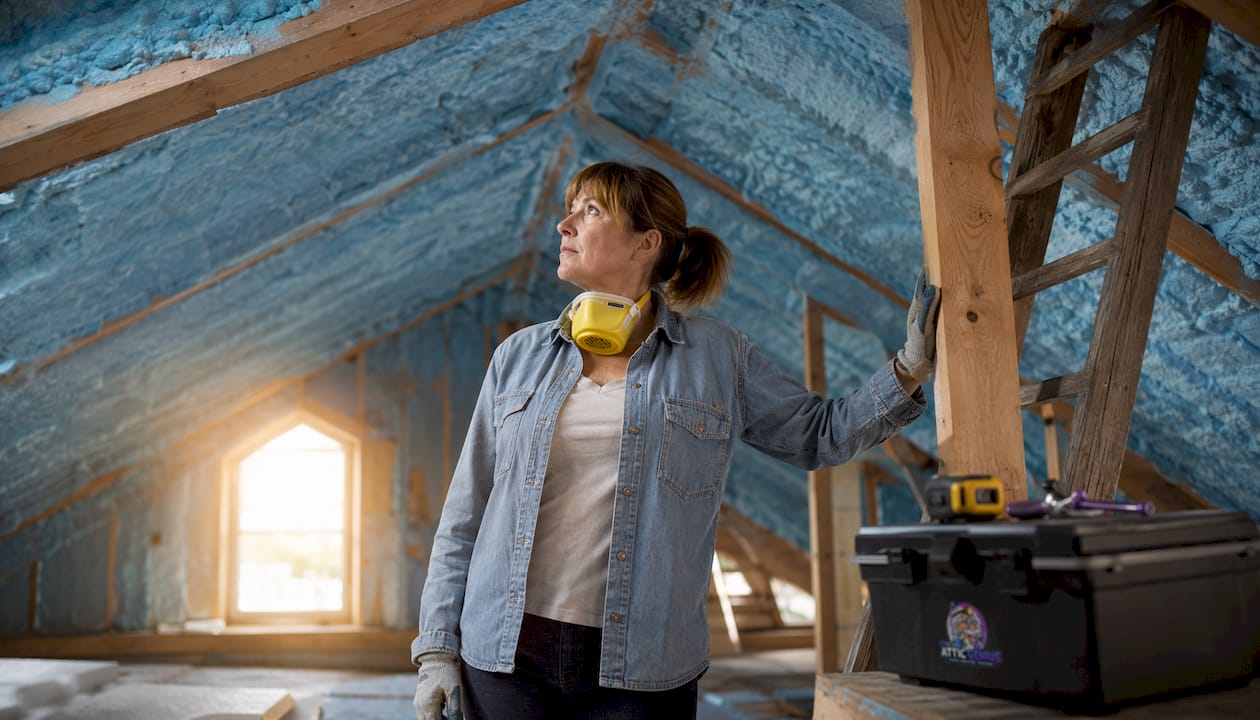
A full attic insulation replacement means removing every bit of old material and starting fresh, not just layering new insulation on top of whatever is already there. Done right, it covers five interconnected tasks: a thorough attic assessment, safe removal of existing insulation, air sealing, proper material selection, and new installation to the correct depth. Skip any one of those steps and you undermine the rest.
Here is what the process actually involves:
- Attic assessment: Check for moisture damage, mold, pest contamination, and current R-value before touching anything.
- Removal: Strip out all old material, including contaminated or compressed insulation that no longer performs.
- Air sealing: Close every penetration, recessed light, and plumbing stack before new insulation goes in.
- Material selection: Choose the right insulation type for your climate zone, budget, and attic geometry.
- New installation: Install to the correct depth and coverage without compressing the material.
- Disposal: Follow local regulations for bagging and disposing of old insulation, especially if contaminated.
- Safety: Use a P100 respirator, full protective suit, and eye protection throughout removal and installation.
Most homes lose up to 40% of their heated or cooled air through a poorly insulated attic. A full replacement fixes that at the source, not just at the surface.
Table of Contents
- What materials should you use for a full attic replacement?
- How to assess and prepare your attic before starting
- Step-by-step process for removing old insulation and installing new
- Critical installation details: air sealing, ventilation, and moisture control
- Energy savings, benefits, and mistakes to avoid
- How much does a full attic insulation replacement cost?
- The Attic Genius handles the full replacement for you
- Key Takeaways
What materials should you use for a full attic replacement?
Choosing the wrong insulation material is one of the most expensive mistakes a homeowner can make, because fixing it means pulling everything out again. Each material has a different R-value per inch, installation method, and price point.
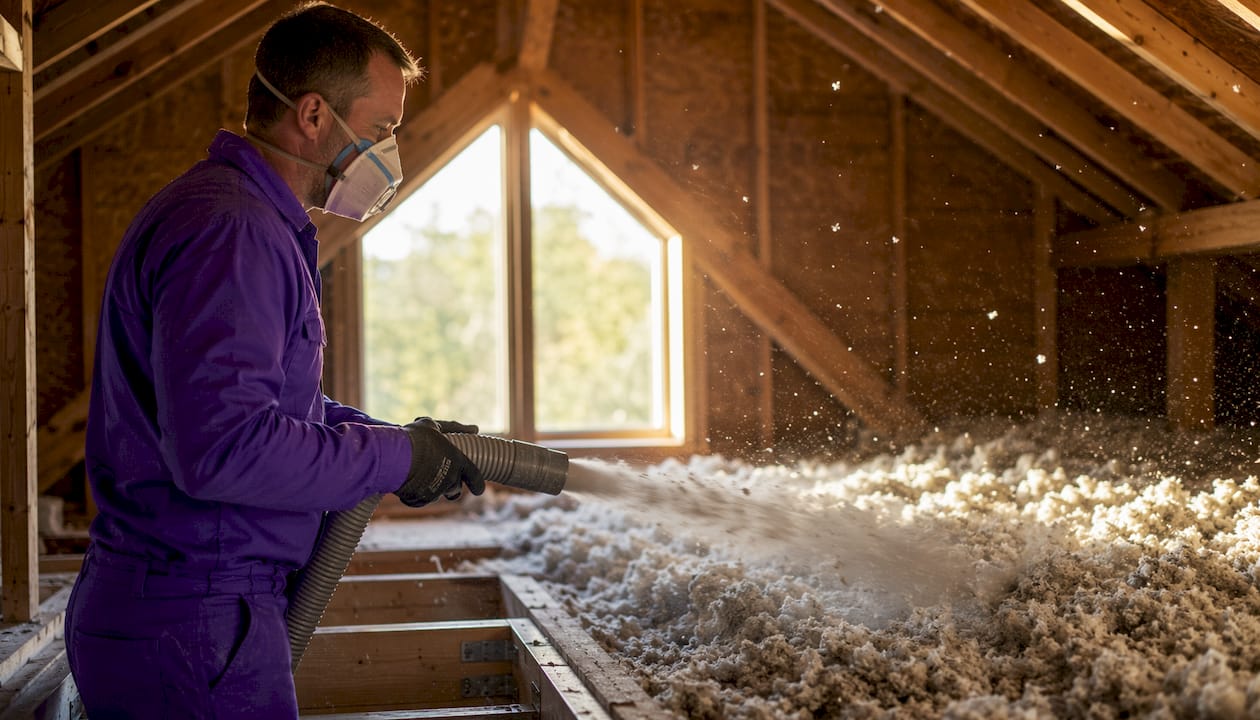
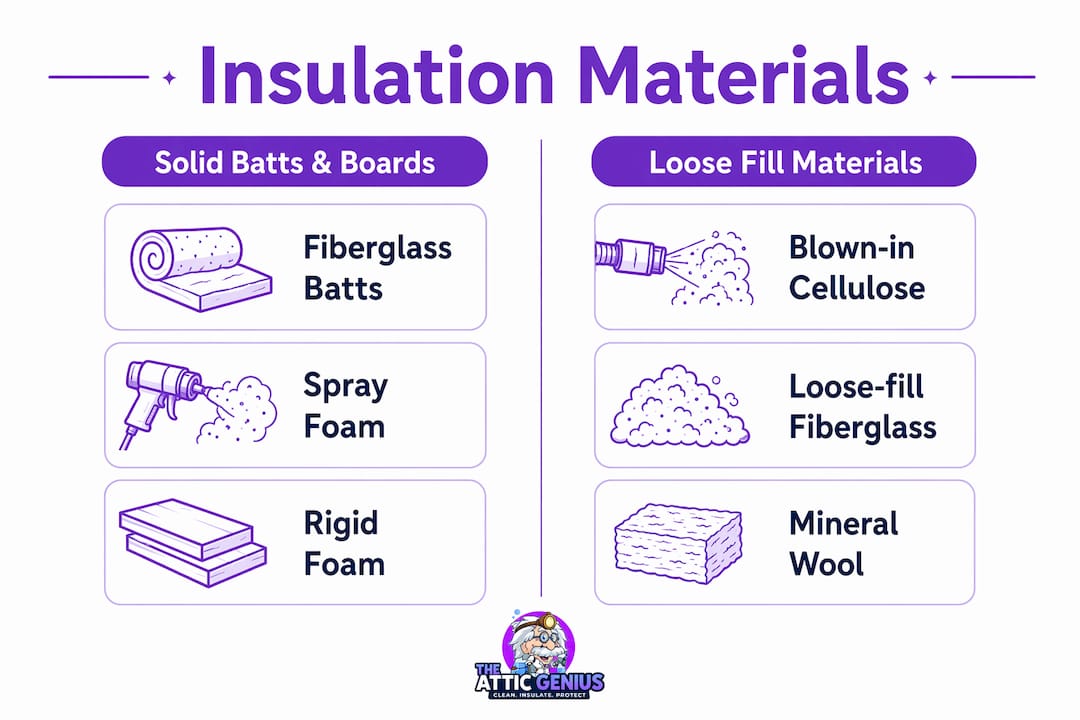
Fiberglass batts are the most familiar option. They come in pre-cut widths sized for standard joist spacing, making them easy to install without special equipment. The tradeoff is that batts leave gaps around irregular framing, and any compression drops the R-value significantly. They work well in clean, accessible attics with standard joist spacing.
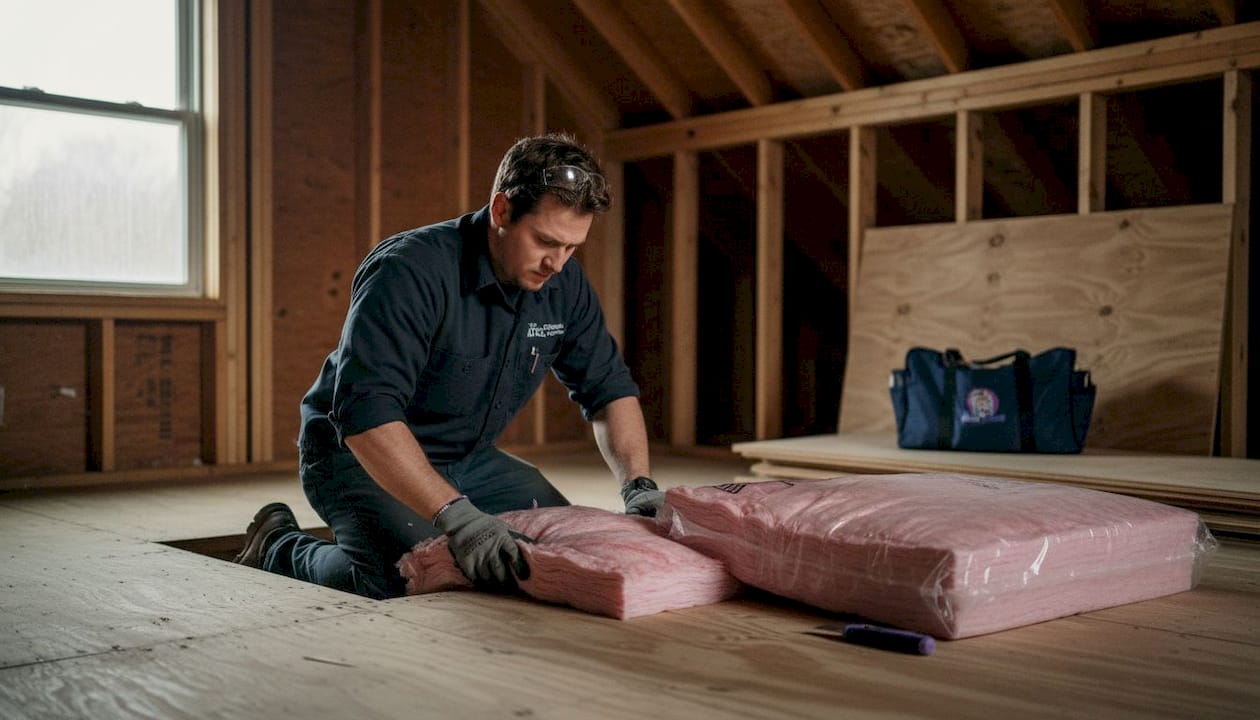
Blown-in cellulose is made from recycled paper treated with borate for fire and pest resistance. It conforms to irregular spaces better than batts and carries a higher R-value per inch than loose-fill fiberglass. For a full replacement in an older home with uneven framing, cellulose is often the better call. Rental blowing machines are available at most home improvement stores, which keeps the DIY cost manageable.
Loose-fill fiberglass behaves similarly to cellulose but is lighter and does not settle as much over time. It is a solid choice for attics where weight on the ceiling drywall is a concern.
Spray foam (either open-cell or closed-cell) is the only material that air seals and insulates simultaneously. Closed-cell spray foam also acts as a vapor barrier. The catch: there is no DIY spray foam option for re-insulating a full attic, and professional installation can require you to vacate your home for up to 24 hours due to compounds released during curing. It is the highest-cost option but delivers the best air-sealing performance.
| Material | R-value per inch | DIY-friendly | Best use case | Relative cost |
|---|---|---|---|---|
| Fiberglass batts | — | Yes | Standard joist spacing, clean attics | Low |
| Blown-in cellulose | — | Yes (with rental blower) | Irregular framing, eco-conscious buyers | Low–medium |
| Loose-fill fiberglass | — | Yes (with rental blower) | Weight-sensitive ceilings | Low–medium |
| Spray foam (closed-cell) | — | No | Full air seal + insulation in one pass | High |
A note on R-value targets: The ENERGY STAR recommended R-values for attics vary by climate zone. Most of the Midwest, including Chicagoland, falls in zones where R-49 to R-60 is the target for attic floors. Check your zone before buying material.
Pro Tip: Blown-in cellulose and loose-fill fiberglass both require depth markers (small plastic rulers stapled to the joists) so you can confirm coverage as you go. Install them before you start blowing.
How to assess and prepare your attic before starting
You cannot safely remove old insulation without knowing what you are dealing with. A proper attic inspection takes 30–60 minutes and can save you from a serious health hazard or a failed project.
What to look for during inspection:
- Moisture and mold: Stained or clumped insulation, dark spots on rafters, and a musty smell all point to moisture intrusion. Adding new insulation over wet or damaged material only covers up the problem; full removal is the only lasting fix.
- Pest contamination: Rodent droppings, nesting material, or chewed insulation require careful handling. Disturbing rodent droppings can transmit Hantavirus, which carries a mortality rate over 35%. This is not a situation to rush through without proper gear.
- Vermiculite: If your home was built before 1990 and you see a grayish, pebble-like material, stop. Vermiculite insulation from that era may contain asbestos. Discovery of vermiculite requires professional asbestos testing before any disturbance. Do not touch it.
- Structural issues: Check rafters and joists for rot, cracks, or sagging. Insulation work should not proceed over compromised framing.
- Ventilation: Confirm that soffit vents are not already blocked by existing insulation. Blocked soffits cause moisture buildup and ice dams.
For signs that your attic may already be past the point of a simple top-up, the signs of insulation failure are worth reviewing before you commit to a full replacement.
Tools and equipment checklist:
- P100 respirator (not a paper dust mask)
- Full Tyvek suit or disposable coveralls
- Safety goggles
- Heavy-duty work gloves
- Knee pads
- Headlamp
- Utility knife and pry bar
- Heavy-duty contractor bags (6-mil poly)
- Wet/dry shop vacuum with HEPA filter
- Tape measure and depth gauge
Pro Tip: Attics can reach 120–160°F in summer. Schedule removal work for early morning and take a break every 30–45 minutes. Heat exhaustion in a confined attic space is a genuine emergency.
Step-by-step process for removing old insulation and installing new
This is where the actual work happens. Follow the sequence carefully; skipping steps creates problems that are expensive to fix later.
-
Seal off living areas. Before anything comes out, tape plastic sheeting over the attic hatch and any HVAC registers that connect to the attic space. Insulation dust and debris will spread through the house if you skip this.
-
Set up your work zone. Position a shop vacuum with a HEPA filter near the attic access. Have contractor bags ready to fill and seal immediately. If you are renting an insulation vacuum (the right tool for blown-in removal), stage the hose before you start.
-
Remove batt insulation. Roll up fiberglass batts carefully, working from the far end of the attic toward the hatch. Bag each roll immediately. Do not shake or tear batts; that releases fiberglass particles into the air.
-
Remove blown-in insulation. A commercial insulation vacuum is the right tool here. These are available for rent and can remove a full attic of blown-in material in a few hours. A standard shop vac will clog and overheat. Vacuum in rows, working toward the hatch.
-
Bag and stage for disposal. Double-bag contaminated material (rodent waste, mold, vermiculite if cleared by a professional). Check with your local waste management authority for disposal rules; some municipalities require special handling for contaminated insulation. If you suspect pest contamination, treat the area before proceeding.
-
Clean the attic floor. After removal, vacuum the joist bays and attic floor thoroughly. Wipe down surfaces with a damp cloth if rodent contamination was present. Let the space dry completely before air sealing.
-
Air seal every penetration. This step is the most labor-intensive part of the whole project, and it is also the most important. Use canned spray foam or acoustical caulk to seal around recessed lights, plumbing stacks, wiring penetrations, and the top plates of interior walls. Air sealing around fixtures and penetrations often accounts for more than half of the performance gain from a full replacement, despite being only a fraction of the total labor.
-
Install baffles. Staple ventilation baffles (also called rafter baffles or wind baffles) between every rafter pair at the eaves before adding insulation. These maintain an airflow channel from the soffit to the ridge and prevent insulation from blocking the vents.
-
Install new insulation. For batts, lay the first layer perpendicular to the joists, then add a second layer perpendicular to the first to cover the joists themselves. For blown-in, use depth markers and blow in even passes until you reach the target depth. Never compress blown-in insulation; compression destroys R-value.
-
Seal the attic hatch. The hatch is one of the biggest thermal weak points in the attic. Add weatherstripping around the frame and attach rigid foam board to the back of the hatch cover, sized to match the target R-value.
A full replacement is not just a material swap. It requires identifying moisture and air leaks, fixing those problems first, and then installing new insulation to the appropriate R-values. Treating it as anything less leaves the root causes in place and the new insulation underperforming from day one.
Critical installation details: air sealing, ventilation, and moisture control
Air sealing deserves its own section because most homeowners underestimate how much it matters. The insulation itself is the easy part. Getting the air barrier right is where most DIY projects fall short.
Common air leakage points to seal:
- Top plates of all interior walls (the biggest single source of air leakage in most homes)
- Recessed light fixtures (use fire-rated foam or an airtight cover box)
- Plumbing vent stacks (use fire-rated caulk or sheet metal flashing plus foam)
- Electrical wiring penetrations
- Chimney chases (use sheet metal and high-temperature caulk, not standard foam)
- Attic hatch frame
Ventilation principles: A properly ventilated attic moves air from the soffits at the eaves up and out through a ridge vent or gable vents. This airflow keeps the attic close to outdoor temperature in winter, which prevents ice dams, and removes moisture-laden air year-round. Baffles protect that airflow channel even after insulation is installed to full depth. Proper attic ventilation combined with baffle installation and thorough air sealing can reduce heating and cooling loss by up to 30%.
Moisture control: A vapor retarder (often called a vapor barrier) belongs on the warm side of the insulation, which in most U.S. climates means facing down toward the living space. Do not install two vapor barriers; trapping moisture between them causes mold. If you are using kraft-faced batts, the kraft paper is the vapor retarder. Do not add a separate poly sheet on top.
Pro Tip: Before you close up the attic, use a smoke pencil or incense stick on a calm day to find remaining air leaks. Hold it near suspected gaps; any movement in the smoke reveals airflow that needs sealing.
Common mistakes that undercut the whole project:
- Blocking soffit vents with insulation (baffles prevent this, but only if installed correctly)
- Using standard foam around chimneys instead of fire-rated materials
- Installing a second vapor barrier over the first
- Leaving the attic hatch unsealed after doing everything else right
Energy savings, benefits, and mistakes to avoid
A full attic insulation replacement delivers real, measurable results. Homes that lose up to 40% of conditioned air through the attic see the biggest gains, and those are the homes where old, compressed, or contaminated insulation has been in place for decades. Beyond lower energy bills, removing aged or contaminated insulation eliminates health risks that accumulate quietly over time, including mold spores, rodent waste particulates, and degraded fiberglass.
Benefits of a full replacement:
- Lower heating and cooling costs, especially in climate zones with extreme winters or summers
- Improved indoor air quality after removing contaminated material
- Reduced risk of ice dams in cold climates
- Better moisture control, which protects roof structure and ceiling drywall
- Documented improvement that supports home insurance claims and may simplify the process if damage occurs later
Common DIY mistakes to avoid:
- Skipping air sealing entirely. New insulation over unsealed gaps still lets conditioned air escape. The insulation slows conduction; air sealing stops convection. You need both.
- Compressing blown-in or batt insulation. Compression reduces R-value. A 6-inch batt rated R-19 compressed to 3.5 inches performs closer to R-13.
- Improper disposal of contaminated material. Bagging rodent-contaminated insulation in standard trash bags and leaving it curbside is both a health hazard and, in many jurisdictions, a code violation.
- Ignoring moisture before installing new material. Wet framing or active leaks will destroy new insulation within a season. Fix the source first.
- Underestimating the health risks. Fiberglass dust requires a P100 respirator, not a standard paper mask. Many homeowners underestimate the hazards of insulation removal; professional contractors use specialized equipment to reduce exposure risks that DIYers often cannot replicate at home.
For a deeper look at the pitfalls that trip up DIY projects, the common attic insulation mistakes homeowners make are worth reading before you start.
How much does a full attic insulation replacement cost?
Budget planning for a full replacement depends on three variables: attic size, the insulation material you choose, and whether removal is included. Typical attic insulation replacement for a 1,500 sq. ft. home costs between $1,500 and $5,000 depending on removal needs and material choices.
DIY vs. professional cost breakdown:
Professional installation typically runs two to three times the cost of materials alone for fiberglass or mineral wool. For spray foam, the gap is even larger, and there is no practical DIY option for a full attic re-insulation with spray foam. On the other hand, a weekend DIY project using blown-in cellulose and a rental blower can bring the cost down to roughly the price of materials plus equipment rental.
What drives cost up:
- Contaminated insulation (rodent waste, mold) requiring special disposal or remediation
- Vermiculite or asbestos-containing material requiring licensed abatement
- Poor attic access that slows removal and installation
- Spray foam as the chosen material
- Large attic footprint or complex geometry
What keeps cost down:
- Clean, dry attic with no contamination
- Standard joist spacing compatible with batt or blown-in installation
- Good attic access (full-size hatch, pull-down stairs)
- DIY removal and installation with rented equipment
Timeline: A full replacement in a typical home is a weekend project for a capable DIYer, with inspection and material purchase on day one and removal plus installation on day two. Professional crews can often complete the same job in a single day. If remediation (mold, pests) is needed first, add one to several days depending on the scope.
Improper insulation work that leads to mold or structural damage can result in insurance claims being denied, while documented professional work can simplify the claims process. That is an important financial consideration when weighing DIY against hiring a contractor.
The Attic Genius handles the full replacement for you

If you have read through this guide and realized the project is bigger than a weekend DIY job, that is a reasonable conclusion. Contaminated insulation, vermiculite concerns, poor attic access, and complex air sealing are all situations where professional work pays for itself in safety and performance.
The Attic Genius handles every part of the process for homeowners across Chicagoland and the Northwest Suburbs: assessment, removal, air sealing, mold remediation, pest waste cleanup, and new insulation installation. The team brings 25+ years of combined experience and has earned 400+ five-star reviews. Same-day inspections are available, pricing is upfront, and all work comes with written warranties.
If you are not sure whether your attic needs a full replacement or just a top-up, start with the signs your attic needs an upgrade and go from there. For homeowners ready to move forward, contact The Attic Genius directly to schedule a same-day inspection.
Key Takeaways
A full attic insulation replacement requires removal of all old material, thorough air sealing, and new installation to the correct R-value before the project delivers lasting energy savings.
| Point | Details |
|---|---|
| Full removal is often necessary | Adding new insulation over wet, contaminated, or damaged material only covers up the problem. |
| Air sealing drives performance | Sealing penetrations and fixtures accounts for more than half the performance gain from a full replacement. |
| Material choice shapes cost and results | Blown-in cellulose suits irregular attics; spray foam delivers the best air seal but requires professional installation. |
| Budget range for a 1,500 sq. ft. home | A full replacement typically costs between $1,500 and $5,000 depending on removal needs and material choices. |
| The Attic Genius | Offers same-day inspections, upfront pricing, and full replacement services across Chicagoland with written warranties. |