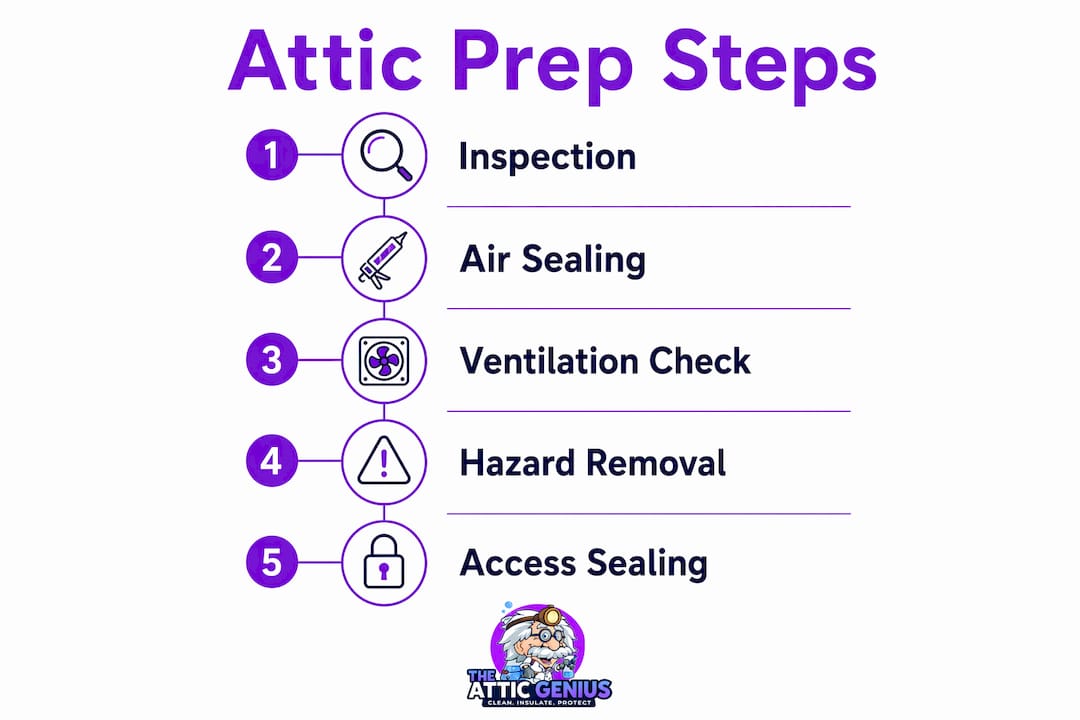
Properly preparing your attic for an insulation upgrade means completing six tasks before a single bag of insulation opens: clean out debris and pests, inspect for water damage and hazardous materials, seal every air leak, verify ventilation, address electrical and structural issues, and confirm your target R-value. Skip any one of these and the insulation underperforms from day one. The EPA and Department of Energy both recommend completing air sealing before adding insulation, because fibrous insulation is not an air barrier and does nothing to stop conditioned air from escaping through gaps. Done right, the full preparation process sets up an upgrade that can cut energy bills by 10%–30%.
Here is a quick summary of every preparation task you need to complete:
- Clear the attic of stored items, old debris, and any contaminated insulation before work begins.
- Inspect for water damage, active roof leaks, mold, pest waste, and structural problems.
- Check for hazardous materials: knob-and-tube wiring, vermiculite insulation, and exhaust fans venting into the attic all require professional remediation before you proceed.
- Seal all air leaks at plumbing penetrations, electrical holes, recessed lights, the attic hatch, and chimney chases using caulk, spray foam, or rigid blocking.
- Verify ventilation: balanced soffit-to-ridge airflow and installed baffles at every eave vent are required before insulation goes in.
- Build safe walkways across joists so you and any contractor can move without falling through the ceiling.
- Confirm your R-value target based on your climate zone and local building code before choosing insulation type or thickness.
- Pull any required permits and review local code requirements before starting work.
1. How to clean and inspect your attic before insulation installation
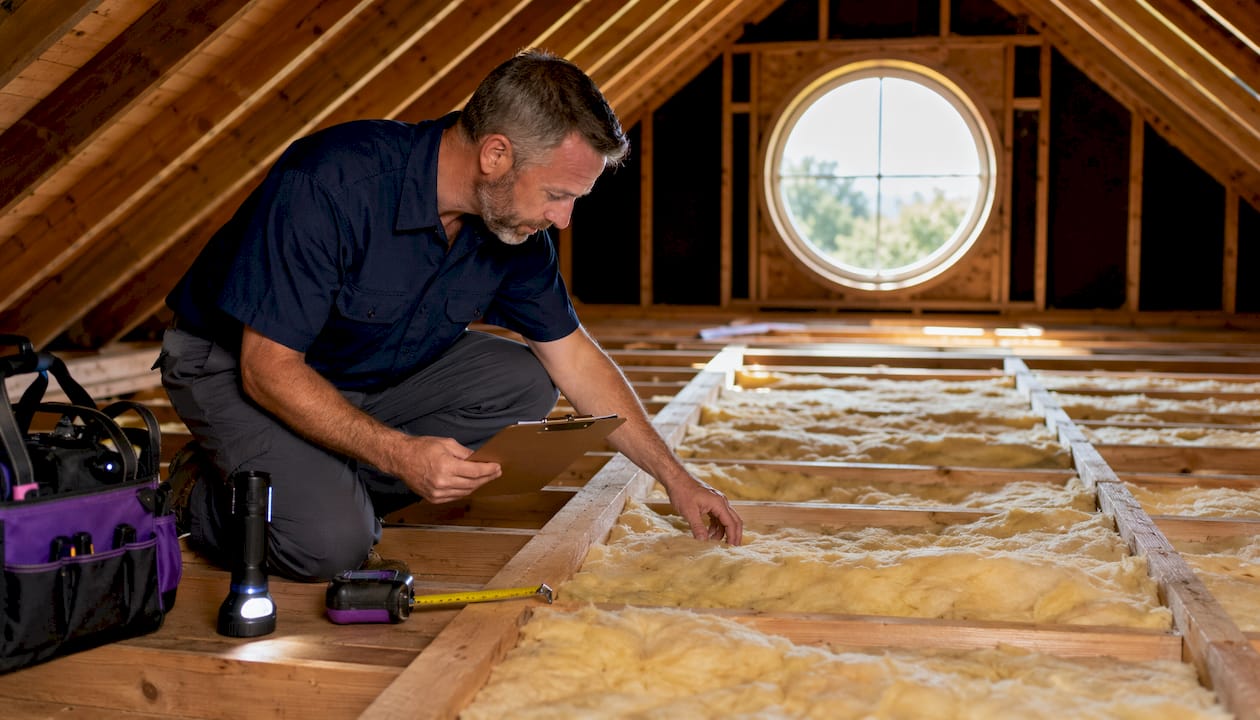
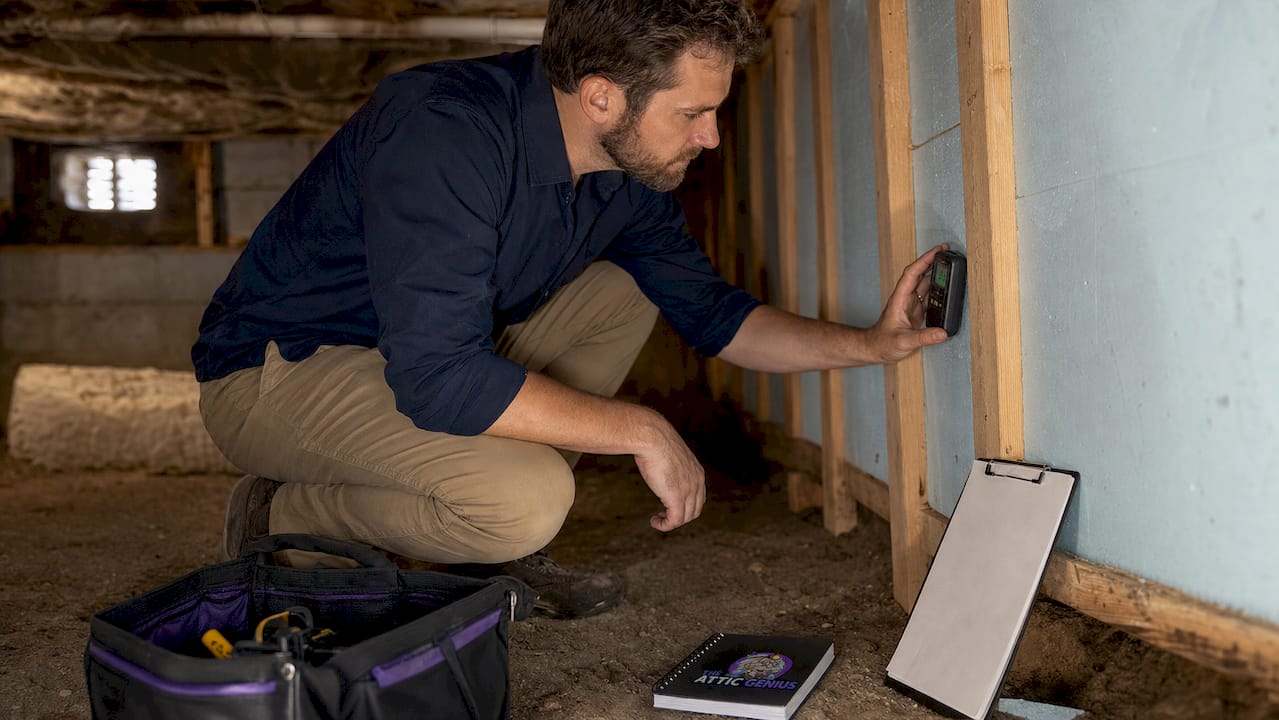
A thorough attic inspection is the first real task, and it often reveals problems that would have been buried under new insulation if skipped. The DOE’s preparation checklist requires that the attic be inspected for water leaks, moisture damage, structural problems, and pest damage before any attic work begins, with a written list of needed repairs provided to the homeowner.
What to look for during your inspection:
- Water stains and active leaks: Dark staining on rafters or sheathing, soft wood, or daylight visible through the roof deck all point to leaks that must be repaired before insulation is installed.
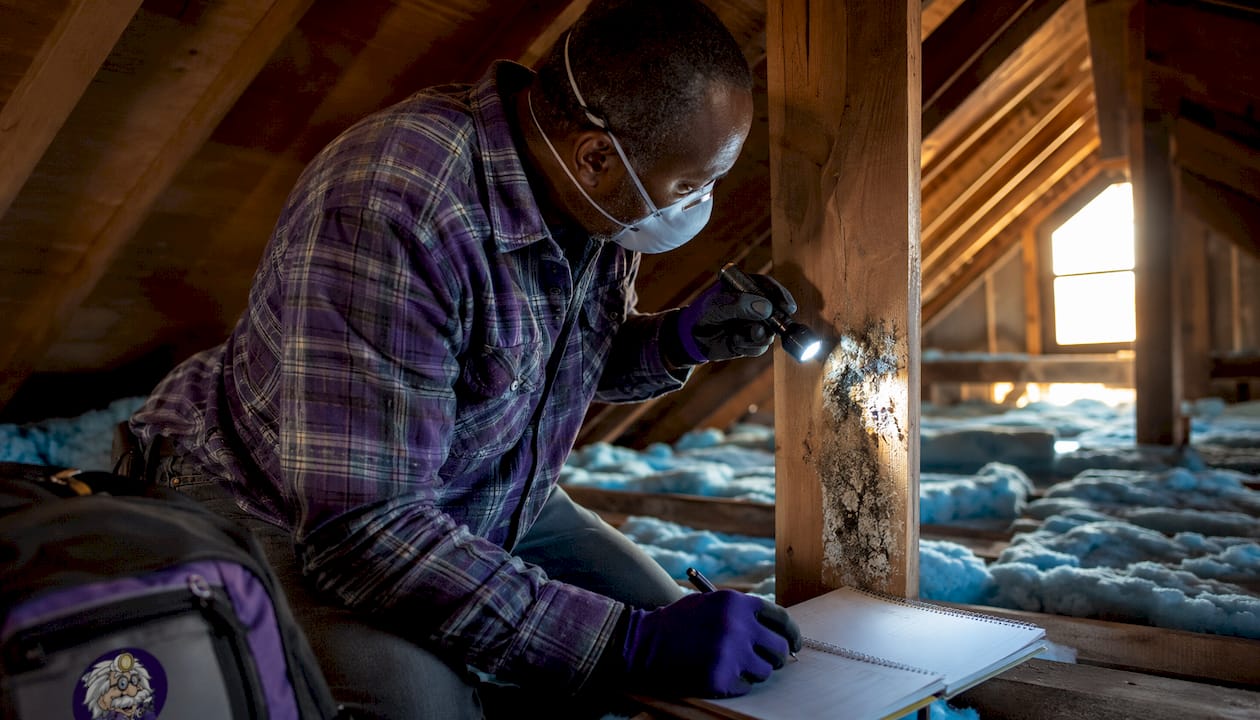
- Mold and rot: Moldy or rotted rafters and floor joists indicate a moisture problem. New insulation will not fix it and may accelerate the damage by trapping humidity.
- Pest waste and contamination: Rodent droppings, nesting material, and insect debris need professional pest waste cleanup before any insulation work proceeds.
- Vermiculite insulation: Vermiculite is a lightweight, pea-sized, flaky gray mineral that may contain asbestos. Do not disturb it. Contact your local health department for an approved testing lab, and do not proceed with any attic work until testing is complete.
- Knob-and-tube wiring: This older wiring style, common in homes built before 1930, is a fire hazard when covered by insulation. Work cannot proceed until the wiring is replaced or properly boxed by a licensed electrician.
- Exhaust fans venting into the attic: Kitchen, bathroom, and dryer vents that terminate inside the attic pump moisture directly into the space. Each one must be rerouted to vent outdoors before insulation is added.
- Structural integrity: Walk the joists carefully and check for soft spots, cracked framing, or undersized members that may not support added insulation weight or foot traffic during installation.
- Stored items: Boxes, holiday decorations, and anything else stored in the attic must come out. Items left in place compress insulation and create gaps that reduce R-value.
Document every issue with photos before you start repairs. A written record protects you if contractor disputes arise later and helps you track what was fixed before the insulation crew arrives.
Pro Tip: Schedule your inspection after a heavy rain or the first freeze of the season. Active leaks and condensation problems show up most clearly under those conditions, and you will catch issues that a dry-weather inspection would miss entirely.
2. Air sealing your attic: how to block leaks before you insulate
Air sealing is the most critical step before adding attic insulation. Insulation slows heat transfer, but it does not stop air movement. Warm conditioned air escaping through gaps carries far more energy than conduction through solid materials, so adding insulation on top of unsealed gaps produces a fraction of the expected savings.
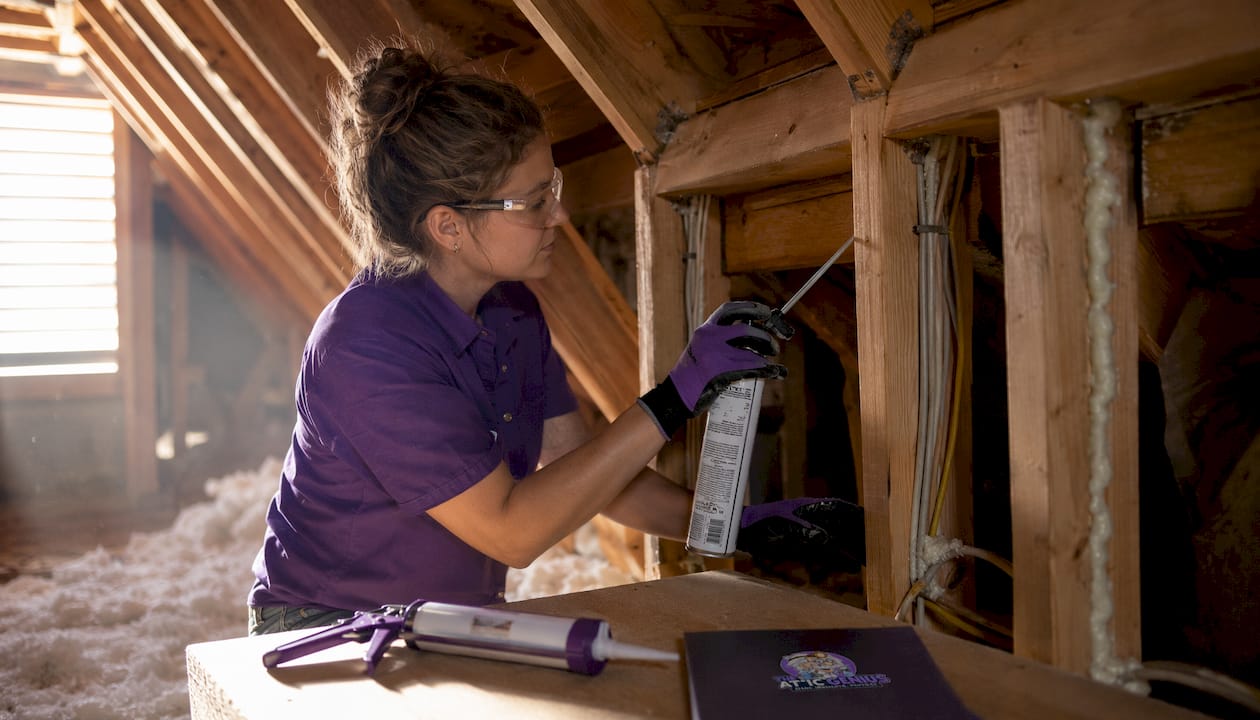
The most common leak locations in a typical attic are plumbing vent stacks, electrical wire penetrations, recessed light fixtures, the attic hatch frame, chimney chases, and the seam where drywall meets the top plate of interior and exterior walls. Understanding what to use at each location matters as much as finding the leaks.
Sealing materials and where each one applies:
- Caulk: Best for narrow gaps and seams, including where drywall meets top plates and around small electrical penetrations. Apply from the attic side along every interior and exterior wall.
- Spray foam: Use expanding foam for gaps around plumbing pipes, electrical conduit, and other penetrations that are too large for caulk but too small for blocking. Standard expanding foam is not fire-rated and must never be used near chimneys, metal flues, or recessed lights.
- Fire-resistant sealants: Gaps around chimneys and gas appliance vents require high-temperature caulk or foam that meets ASTM E-84 or ASTM E-136 standards. Ordinary foam will burn. Use a fire block or smoke seal caulk rated ASTM E-136 for metal flues from water heaters or furnaces.
- Rigid blocking: Large openings such as dropped soffits, open tops of balloon-framed walls, and gaps under knee walls need a solid material, either rigid foam board or OSB, cut to fit and sealed at all edges with caulk or mastic. Fibrous insulation cannot substitute here; the DOE checklist is explicit that fibrous insulation is not an air barrier.
- Recessed light boxes: All non-ICAT (non-insulation-contact-rated) recessed fixtures must be boxed with drywall or rigid foam sealed at every seam. Check the fixture label for the IC designation before deciding whether boxing is required.
- Attic hatch: The access panel or drop-down stair assembly needs at least R-10 rigid foam insulation and a continuous caulked air seal around the frame when closed. An unsealed hatch is one of the largest single leak points in most homes. Learn more about attic hatch insulation and why it matters for energy savings.
One practical approach is to work in two passes: first seal all the narrow gaps with caulk and foam, then come back and address the large openings with rigid blocking. Trying to do both at once leads to missed spots.
Pro Tip: A blower door test combined with an infrared camera inspection is the most reliable way to find hidden air leaks before you seal. The blower door depressurizes the house, and the infrared camera shows exactly where cold air is infiltrating. Many energy auditors offer this service, and the results take the guesswork out of where to focus your sealing effort.
3. How to check and maintain attic ventilation before insulating
Ventilation and insulation work together, and getting the balance wrong causes moisture problems that no amount of insulation can fix. A vented attic system relies on continuous airflow from soffit intake vents to ridge or gable exhaust vents to carry moisture out of the attic space. The standard ventilation ratio is 1 square foot of net free vent area per 150 square feet of attic floor, with balanced intake and exhaust.
Before insulation goes in, walk the attic and check every component of that ventilation path.
Ventilation checklist:
- Soffit vents: Confirm they are open and unobstructed. Existing insulation, debris, or pest nesting material frequently blocks soffit vents in older homes.
- Ridge and gable vents: Check that exhaust vents are intact, screened against pests, and not blocked by roofing materials or debris.
- Exhaust fan terminations: Every powered kitchen and bathroom exhaust fan must vent to the outside, not into the attic. Wet air dumped into the attic is a direct cause of mold and sheathing rot.
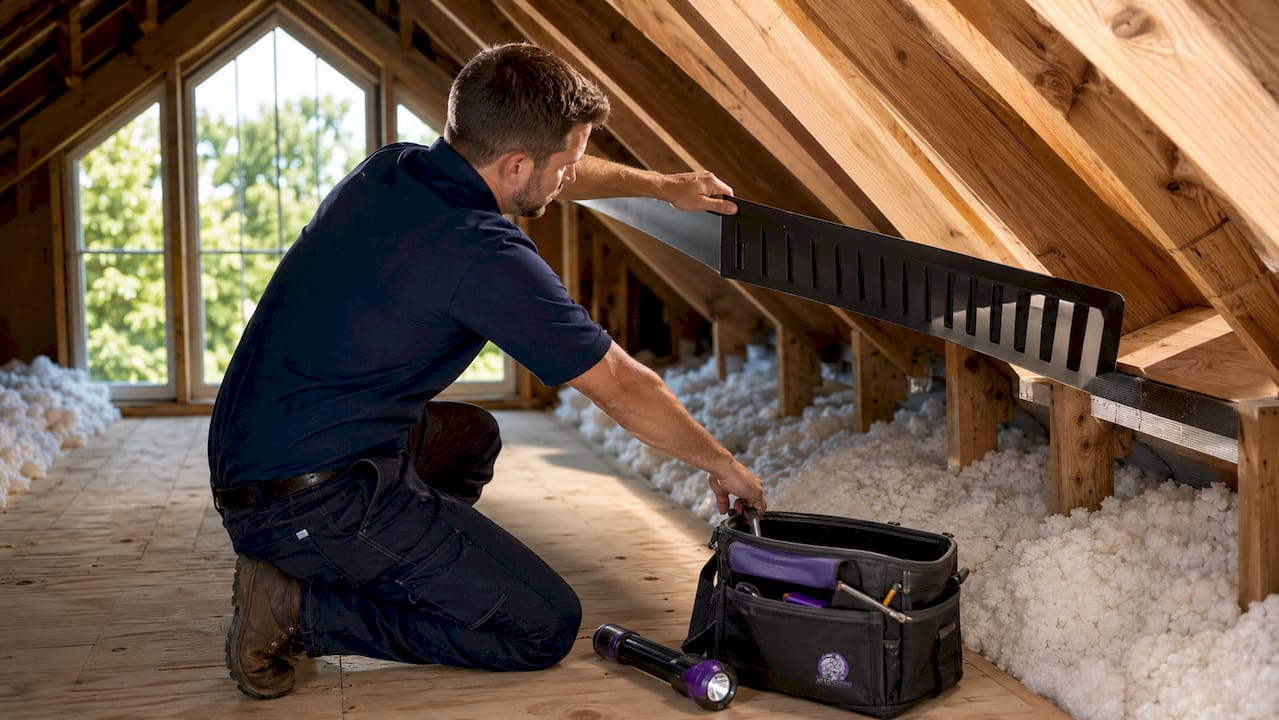
- Baffles at eave vents: Baffles, sometimes called rafter baffles or vent chutes, must be installed at every soffit vent location before insulation is blown or laid in. The DOE checklist requires that baffles extend at least 6 inches above the final insulation height to maintain a clear airflow channel from soffit to ridge. Without baffles, blown-in insulation migrates into the eaves and blocks the intake vents entirely.
- Ventilation path continuity: Trace the airflow path from soffit to ridge and confirm there are no obstructions. In some attics, interior partition walls or HVAC equipment block the cross-ventilation path.
One important distinction: a conditioned (sealed) attic works differently. In a sealed attic, insulation moves to the roof deck rather than the attic floor, and the ventilation strategy changes completely. Spray foam applied to the underside of the roof deck creates an unvented assembly, and the standard soffit-to-ridge ventilation rules no longer apply. If you are considering a conditioned attic, that decision needs to be made before any preparation work begins, because it changes nearly every other step. The attic ventilation approach you choose affects insulation placement, material selection, and moisture management throughout the assembly.
Pro Tip: If your attic has HVAC ducts running through it, a conditioned attic assembly often makes more sense than a vented one. Ducts in an unconditioned attic lose a significant portion of their output to the surrounding air. Sealing the roof deck and bringing the attic into the conditioned envelope eliminates that loss.
4. How to prepare your attic for safe insulation installation
Safety preparation covers two separate concerns: protecting the people doing the work and protecting the home itself from damage during installation. Both matter, and both require attention before anyone carries insulation into the attic.
Structural and physical safety:
- Build temporary walkways: Lay boards or plywood panels across the joists to create a stable walking surface. Never step on exposed ceiling drywall or existing insulation. The ceiling below will not support your weight, and a fall through the ceiling is a real risk in any attic without continuous flooring.
- Lighting: Bring a drop light and a backup flashlight. Attics are dark, and poor visibility leads to missed hazards and missteps.
- Personal protective equipment: Wear safety glasses, gloves, a dust mask or respirator rated for particulates, a hard hat or cap to protect against roofing nails, and a long-sleeve shirt. Insulation fibers are irritating to skin, eyes, and lungs.
- Work with a partner: Attic work is safer with two people, especially when operating a blower machine or moving heavy materials.
Hazard remediation before work begins:
The DOE preparation checklist identifies several conditions that require professional remediation before any insulation work proceeds:
- Combustion safety testing: If your home has any natural-draft combustion appliances, such as a gas furnace, water heater, or boiler that vents through a flue rather than a sealed PVC pipe, a qualified professional must perform a combustion safety test before you seal the attic. Tightening the building envelope can cause backdrafting, which pulls combustion gases including carbon monoxide back into the living space instead of exhausting them outdoors.
- Knob-and-tube wiring: As noted in the inspection section, this wiring must be replaced or properly boxed before insulation covers it. This is not a DIY task.
- Vermiculite insulation: If testing confirms asbestos content, professional abatement is required. Do not disturb it.
- Mold remediation: Active mold growth on rafters or sheathing requires treatment before new insulation is installed. Covering mold with insulation traps moisture and allows the problem to continue unseen.
Permits and building codes:
Pull any required permits before work starts. Most jurisdictions require a permit for insulation upgrades that change the thermal envelope of the home, and some require an inspection after installation. Check with your local building department. Code requirements for R-value minimums, vapor retarder placement, and ventilation ratios vary by climate zone and municipality, so local code always takes precedence over general guidelines.
Attic insulation upgrades paired with proper air sealing can reduce heating and cooling costs by 10%–30%, according to building energy research. That range depends on your starting point, climate, and how thoroughly the air sealing is done.
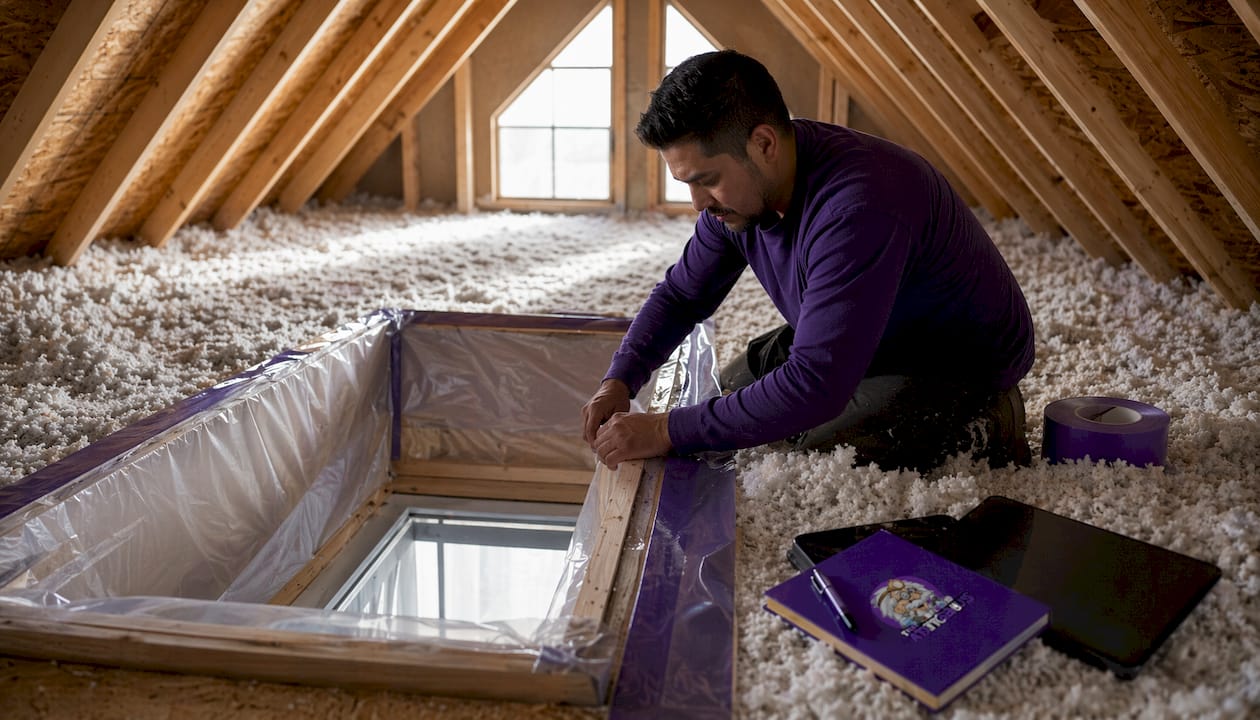
Temporarily sealing the attic access point during blown-in insulation installation prevents insulation dust and fibers from migrating into the living space. Hang a plastic sheet over the hatch opening and tape the edges before the blower starts.
5. Understanding insulation types, R-values, and layering for your upgrade
Choosing the right insulation type and hitting the correct R-value for your climate zone are decisions that need to be made before installation day, not during it. R-value measures thermal resistance per inch of material. The higher the R-value, the better the insulation resists heat flow. But R-value alone does not tell the whole story: air permeability, moisture resistance, and compatibility with your ventilation strategy all factor into which material performs best in your specific attic.
Common attic insulation types include options like blown-in insulation such as cellulose and fiberglass, which are popular for vented attic floors.
- Blown-in cellulose: Made from recycled paper treated with fire retardant, cellulose is a strong performer for vented attic floors. It settles slightly over time, so installers typically overshoot the target depth to account for settling. Dense-pack cellulose also works well in irregular spaces.
- Blown-in fiberglass: Loose-fill fiberglass has a slightly lower R-value per inch than cellulose but does not settle as much. It is widely available and can be rented as a blower at most home improvement stores. For reference, loose-fill fiberglass runs approximately R-2.5 per inch, so reaching R-38 requires a finished depth of roughly 15–16 inches.
- Fiberglass batts: Batts are the easiest DIY option for accessible attics with standard joist spacing. When adding a second layer over existing insulation, the new batts must be unfaced (no paper or foil backing) and laid perpendicular to the first layer to cover the joist tops and reduce thermal bridging.
- Spray foam: Closed-cell spray foam is the standard choice for conditioned (unvented) attic assemblies where insulation goes on the roof deck rather than the attic floor. It provides both air sealing and insulation in one application and has the highest R-value per inch of any common attic material. It is not a DIY product. For more detail on how these materials compare, the attic insulation types guide covers each option in depth.
R-value targets by climate zone:
Climate-dependent R-value recommendations range from R-30 to R-60 for attic floors. Warmer climate zones (Zones 1–2) typically target R-30 to R-49, while colder zones (Zones 6–8) often require R-49 to R-60 or higher. Chicago and the surrounding Chicagoland area fall in Climate Zone 5, where the DOE recommends R-49 to R-60 for uninsulated attics and R-38 to R-60 for attics with existing insulation. Check the current edition of the International Energy Conservation Code and your local amendment for the precise requirement in your jurisdiction.
Layering strategies:
When topping up existing insulation rather than replacing it, you do not need to match the existing material. Blown-in cellulose or fiberglass can go directly over existing fiberglass batts. If you add a second layer of batts, run them perpendicular to the first layer. Never compress insulation to fit a space; compression reduces R-value proportionally. Use attic rulers (depth markers) placed every few feet to verify uniform coverage as you work.
Vapor retarders and moisture control:
In cold climates, a vapor retarder on the warm side of the insulation (the ceiling side) slows moisture-laden air from diffusing into the insulation assembly. Whether a vapor retarder is required, and what class of retarder to use, depends on your climate zone and the insulation assembly. In Climate Zone 5 and colder, a Class II vapor retarder (such as kraft-faced batts) is typically required on the ceiling side of attic floor insulation. Spray foam at the roof deck in a conditioned attic handles both air and vapor control in one layer. Confirm the requirement with your local building department before specifying materials.
Pro Tip: Before you buy insulation, get a home energy audit that includes blower door testing. The audit tells you your current air leakage rate and existing insulation depth, so you can calculate exactly how much material you need and verify that air sealing alone might deliver a meaningful portion of your expected savings before you spend anything on insulation.
Ready to stop guessing and get it done right?

Preparing an attic correctly takes time, and the inspection alone often turns up issues that change the scope of the project. The Attic Genius handles every step of the process for homeowners across Chicagoland and the Northwest Suburbs: same-day inspections, written assessments, air sealing, ventilation corrections, mold and pest remediation, and full insulation installation. With 25+ years of combined experience and 400+ five-star reviews, the team brings the expertise to catch what a DIY inspection misses.
If you are not sure where your attic stands, start with a free attic inspection and get a written report before committing to any scope of work. For homeowners who want to understand the full picture first, the guide to signs your attic needs an upgrade is a good place to start. The Attic Genius also offers professional air sealing services for homeowners who want the most critical preparation step handled by a certified crew.
Key Takeaways
Properly preparing your attic for an insulation upgrade requires completing air sealing, ventilation checks, hazard remediation, and structural safety steps before any insulation material is installed.
| Point | Details |
|---|---|
| Air seal before insulating | Fibrous insulation is not an air barrier; seal all gaps with caulk, foam, or rigid blocking first. |
| Remediate hazards first | Knob-and-tube wiring, vermiculite, and mold require professional remediation before work proceeds. |
| Install baffles at every eave | Baffles must extend at least 6 inches above final insulation height to keep soffit vents clear. |
| Match R-value to climate zone | Chicagoland (Zone 5) targets R-49 to R-60; confirm the exact requirement with local building code. |
| Pair sealing with insulation | Upgrades combining air sealing and insulation can reduce heating and cooling costs by 10%–30%. |