Attic insulation is defined as the thermal barrier installed between your living space and the roof, controlling heat flow in both directions. Understanding attic insulation types explained in plain terms means knowing the difference between fiberglass batts, blown-in cellulose, blown-in fiberglass, and spray foam. Each material carries a different R-value per inch, installation method, and price point. The U.S. Department of Energy recommends attic R-values between R-30 and R-60 depending on your climate zone, and 90% of U.S. homes fall short of that target. Choosing the right type is the fastest way to cut energy waste and improve year-round comfort.
What are the main attic insulation types explained?
The four materials that cover the vast majority of residential attic projects are fiberglass batts, blown-in cellulose, blown-in fiberglass, and spray foam. Each one handles heat differently, installs differently, and costs differently. Knowing those distinctions is the foundation of any smart insulation decision.
Fiberglass batts
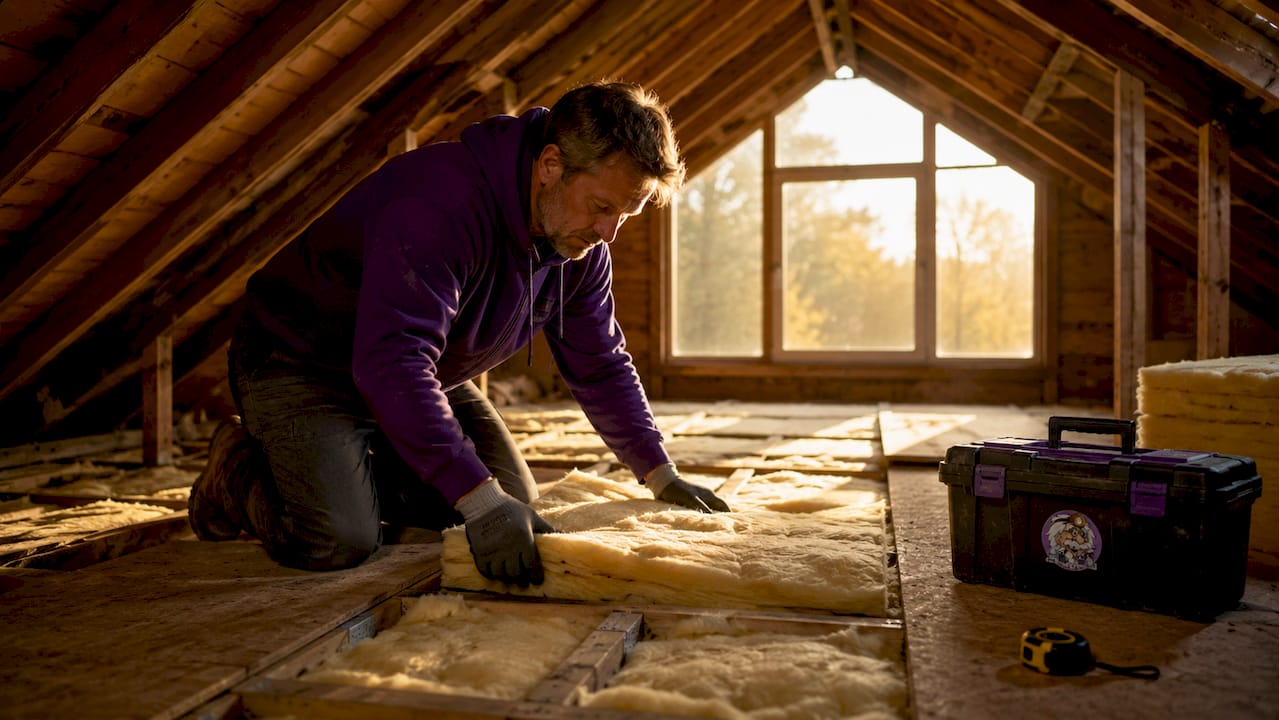
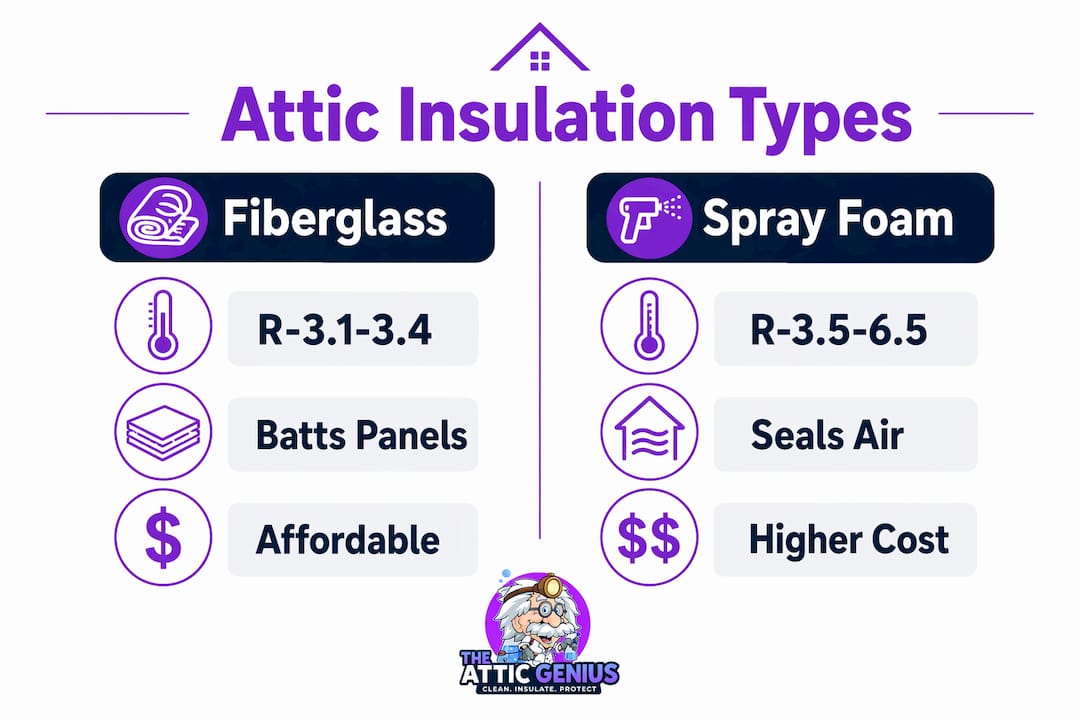
Fiberglass batts deliver R-3.1 to R-3.4 per inch and come in pre-cut panels sized to fit standard joist spacing. They are the most DIY-friendly option because no special equipment is required. The trade-off is fit: any gap, compression, or misaligned edge drops the effective R-value fast.
Blown-in cellulose
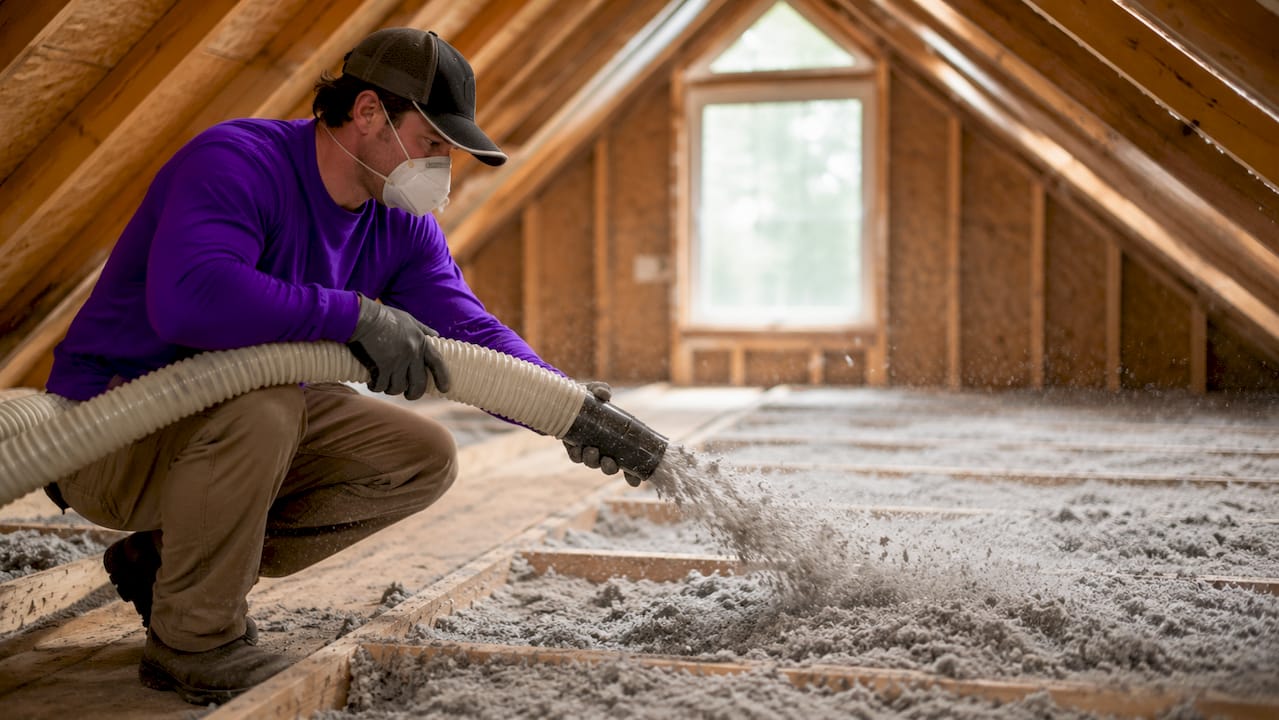
Blown-in cellulose provides R-3.2 to R-3.7 per inch and is made from recycled paper treated with borate for fire and pest resistance. It fills irregular spaces and around obstructions far better than batts. The downside is settling: cellulose can compress by up to 20% over time, which reduces its effective depth and R-value.
Blown-in fiberglass
Blown-in fiberglass sits in the same R-value range as batts but conforms to attic geometry the way cellulose does. It resists moisture better than cellulose and does not settle as much. A blower machine is required, which typically means hiring a professional or renting equipment.
Spray foam
Spray foam insulation reaches R-3.5 to R-6.5 per inch depending on whether it is open-cell or closed-cell. It also acts as an air barrier, which no other material does on its own. The upfront cost is the highest of any option, and installation always requires a licensed professional.
| Material | R-value per inch | Best use case | Key advantage | Key limitation |
|---|---|---|---|---|
| Fiberglass batts | R-3.1–R-3.4 | Standard joist bays | Low cost, DIY friendly | Gaps reduce performance |
| Blown-in cellulose | R-3.2–R-3.7 | Irregular or cluttered attics | Fills gaps well | Settles up to 20% |
| Blown-in fiberglass | R-2.2–R-4.0 | Open attic floors | Moisture resistant | Requires blower equipment |
| Spray foam | R-3.5–R-6.5 | Conditioned/unvented attics | Air barrier built in | High cost, pro only |
Pro Tip: Never compress fiberglass batts to fit a shallower space. Compression destroys the air pockets that create thermal resistance. Cut a thinner batt instead.
How do different insulation types perform in different climates?
Climate zone is the single biggest factor in choosing between insulation materials. A material that performs well in Minnesota winters may be the wrong call for a humid Gulf Coast attic.
In cold climates like Chicagoland, the priority is stopping heat from escaping through the attic floor. That means high total R-value and thorough air sealing before any insulation goes in. Blown-in cellulose and blown-in fiberglass both excel here because they fill every corner and eliminate the gaps that batts leave behind.
In hot climates, the problem runs in the opposite direction. Attics can reach extreme temperatures in summer, and radiant barriers paired with ventilation reduce heat load more effectively than adding thickness alone. Reflective insulation systems work alongside traditional materials, not as a replacement for them.
Humid and coastal regions add a third variable: moisture. Closed-cell spray foam is the strongest performer here because it blocks both air and vapor. Proper ventilation and moisture management matter as much as the insulation material itself in these conditions. Blown-in cellulose absorbs moisture more readily, which can accelerate settling and create mold risk if ventilation is inadequate.
Spray foam also stands apart in unvented or conditioned attic designs, where the insulation goes on the roof deck rather than the attic floor. In that configuration, only a material that seals air and resists vapor makes sense. For a vented attic in a mixed climate, blown-in fiberglass or cellulose over a well-sealed floor is the most cost-effective path.
Pro Tip: Check your attic ventilation before choosing a material. Adding thick insulation over a poorly ventilated attic traps moisture and can cause structural damage within a few years.
How do you measure existing attic insulation depth and effectiveness?
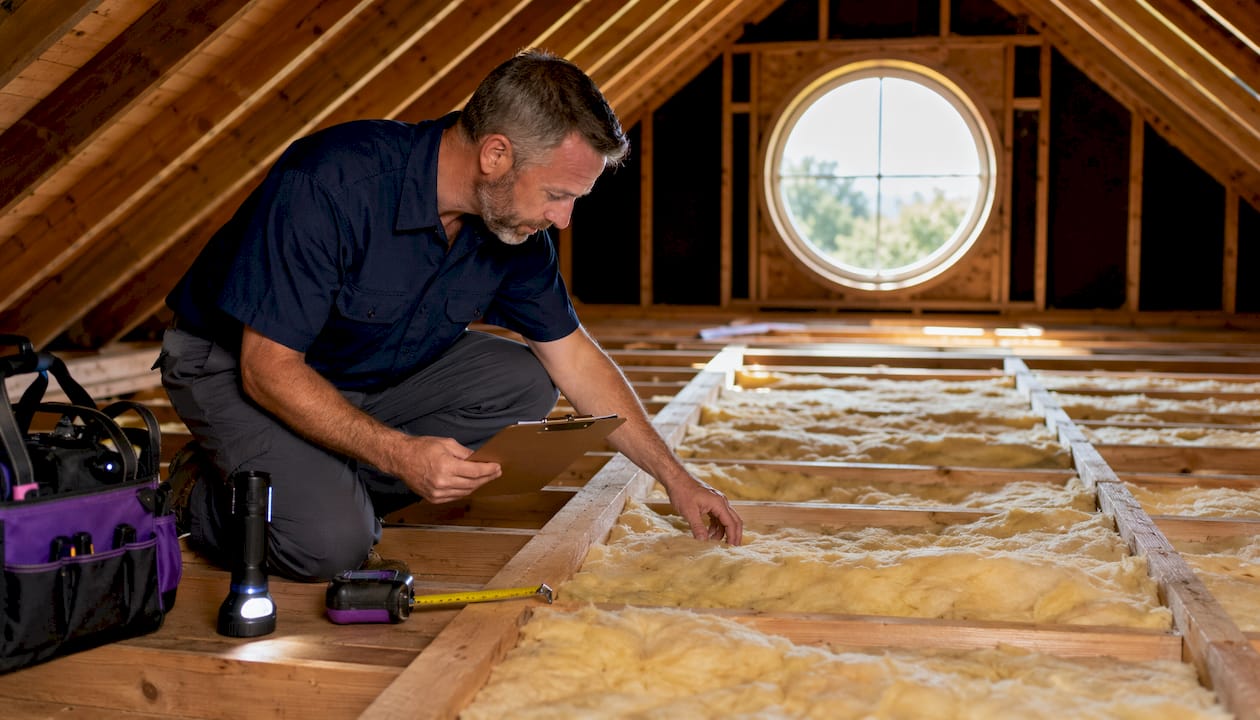
Measuring your current insulation is a 20-minute job that tells you exactly where you stand. Grab a ruler or tape measure, a flashlight, and a dust mask before climbing up.
- Identify the material. Look at color and texture. Pink or yellow fluffy material is fiberglass. Gray or off-white material that looks like shredded paper is cellulose. A rigid foam layer on the roof deck is spray foam.
- Measure the depth. Push a ruler straight down to the attic floor. Record the depth in inches at three or four spots across the attic, since coverage is rarely uniform.
- Calculate your R-value. Multiply depth by the R-value per inch for your material. Six inches of cellulose at R-3.5 per inch equals roughly R-21, which falls well below the DOE recommendation of R-30 to R-60.
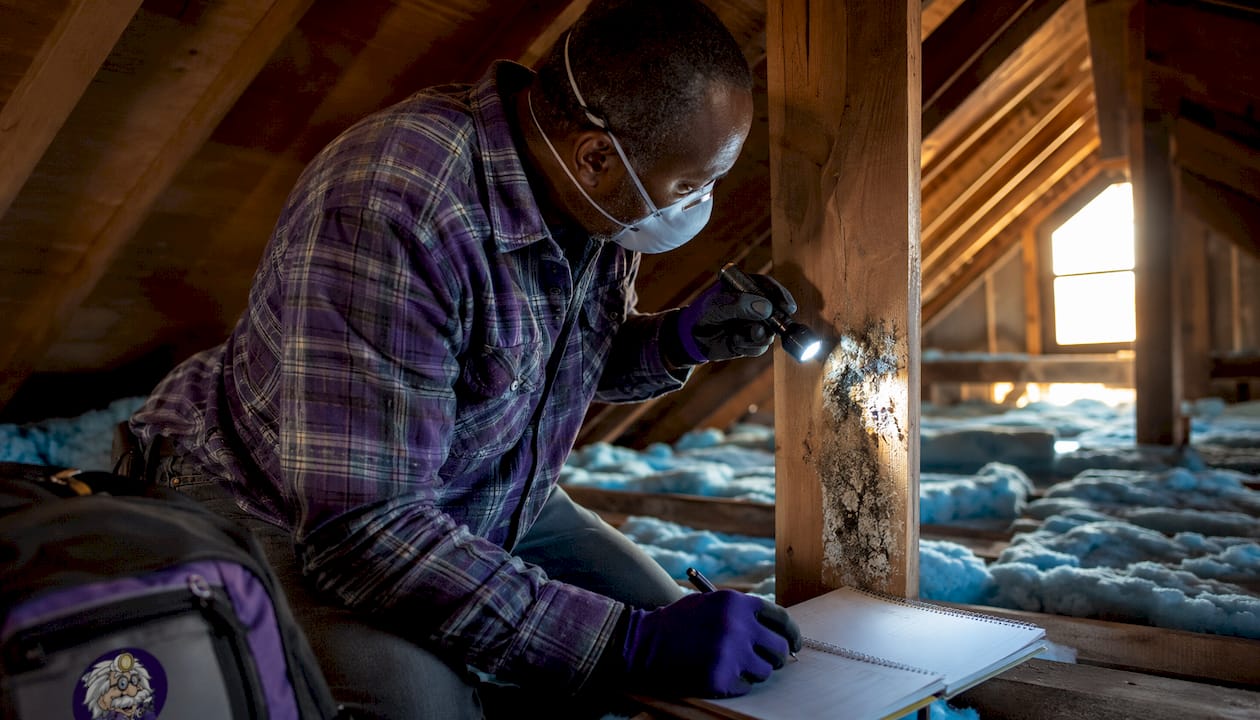
- Check for red flags. Mold, pest droppings, or gray granular material that looks like small pebbles (a sign of vermiculite, which may contain asbestos) all require professional evaluation before any new insulation goes in. Learn more about attic health hazards before you proceed.
- Decide on the next step. If old insulation is dry, mold-free, and pest-free, adding new material on top is safe and effective. If any of those conditions fail, removal comes first.
Pro Tip: Look for signs your attic needs an upgrade beyond just depth. Uneven temperatures between rooms, ice dams in winter, and high utility bills all point to insulation that is underperforming regardless of what the ruler says.
What are the best practices and common mistakes in attic insulation?
The most expensive insulation mistake homeowners make is skipping air sealing. Adding more material over leaky bypasses is like insulating a house with the windows open.
Air sealing around electrical wires, plumbing, and attic access can improve HVAC efficiency by 10–20% before a single inch of insulation is added. That number reflects how much conditioned air escapes through gaps that are invisible from below. Foam sealant and fire-rated caulk handle most of these bypasses in an afternoon.
“A 5% uninsulated gap in an otherwise well-insulated attic can reduce the effective R-value of that section by 50%. Gaps are not a minor issue. They are the issue.”
Common mistakes that cost homeowners real money include:
- Compressing batts to fit a shallow joist bay, which collapses the air pockets that provide thermal resistance
- Leaving gaps around attic hatches, knee walls, or HVAC ducts
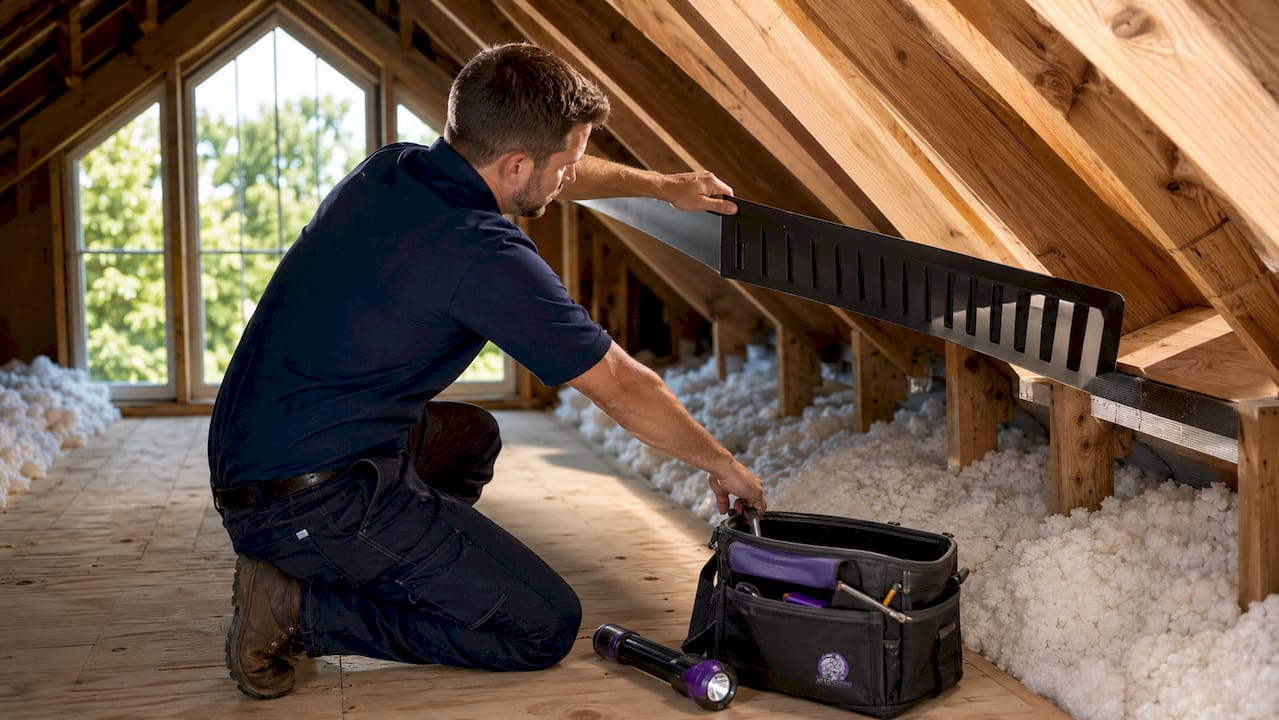
- Skipping ventilation baffles at the eaves, which blocks airflow and causes moisture buildup under the new insulation
- Ignoring mold or vermiculite and simply covering it with new material, which traps a hazard and voids most warranties
- Installing blown-in material without a depth gauge, leading to uneven coverage that shows up as cold spots in winter
For a full breakdown of what goes wrong on DIY projects, the common DIY insulation mistakes guide covers the most costly errors with specific fixes.
What does attic insulation cost, and how fast does it pay back?
Professional attic insulation installation costs range from $1.50 to $3.50 per square foot, covering both materials and labor. A 1,000-square-foot attic project typically falls between $1,500 and $3,500 depending on material choice, existing conditions, and whether air sealing is included.
The federal government currently offers tax credits of up to 30% on qualifying insulation upgrades, capped at $1,200 annually. That credit applies to both materials and installation costs for projects that meet energy efficiency standards. Homeowners who combine air sealing with insulation upgrades capture the largest savings.
Proper air sealing and insulation reduce HVAC energy use by 15–30%, with most projects paying for themselves within 2–5 years. That payback timeline assumes average energy costs and a home that was previously under-insulated, which describes the majority of U.S. homes. Spray foam carries the highest upfront cost but also the highest R-value per inch, making it the strongest long-term performer in conditioned attic designs.
DIY installation with fiberglass batts cuts labor costs but introduces the risk of gaps and compression errors that reduce real-world performance. A project that looks complete but has 5% uninsulated gaps delivers significantly lower effective R-value than the material rating suggests. For most homeowners, professional installation on blown-in materials offers the best balance of cost, coverage, and long-term performance.
Key Takeaways
Choosing the right attic insulation type requires matching material R-value, installation method, and climate needs before spending a dollar on materials or labor.
| Point | Details |
|---|---|
| Material R-value varies widely | Spray foam reaches R-6.5 per inch; fiberglass batts top out near R-3.4 per inch. |
| Air sealing comes first | Sealing bypasses before insulating improves HVAC efficiency by 10–20%. |
| DOE targets guide depth | Most attics need R-30 to R-60; measure existing depth before adding material. |
| Gaps destroy performance | A 5% uninsulated gap cuts effective R-value in that section by 50%. |
| Payback is real and fast | Proper insulation and air sealing can pay for themselves within 2–5 years. |
What I’ve learned after hundreds of attic insulation projects
The homeowners who get the best results are not always the ones who spend the most. They are the ones who seal the attic envelope first and then choose the right material for their specific conditions.
I have walked into attics with six inches of cellulose and utility bills that made no sense. Every time, the culprit was the same: air bypasses around recessed lights, plumbing chases, and attic hatches that nobody had touched in decades. Sealing those gaps cost less than a new layer of insulation and delivered more measurable savings.
The other pattern I see constantly is homeowners choosing spray foam because it has the highest R-value per inch, without accounting for whether their attic is vented or conditioned. Spray foam on the attic floor of a vented attic is not wrong, but it is often overkill. Blown-in fiberglass or cellulose over a well-sealed floor delivers comparable results at a fraction of the cost in most Chicagoland homes.
Climate matters more than most homeowners realize. The Northwest Suburbs see brutal winters and humid summers. That combination rewards high total R-value, thorough air sealing, and good ventilation in equal measure. No single material checks every box. The right answer is always a system, not just a product.
— Jim
How The Attic Genius approaches attic insulation
The Attic Genius has spent 25+ years helping Chicagoland homeowners cut energy waste and improve home comfort through professional attic insulation, air sealing, and ventilation services. Every project starts with a same-day inspection that identifies your current insulation depth, material condition, and air sealing gaps before any work begins.

Whether your attic needs a top-up, a full replacement, or mold remediation before new insulation goes in, The Attic Genius delivers upfront pricing and written warranties on every job. If you are weighing your options, the attic insulation services page covers the full range of materials and methods available. Homeowners thinking about a sale can also review the insulation guide for home sellers to understand how an upgrade affects market value. Request a free inspection and get a clear picture of exactly what your attic needs.
FAQ
What is the best type of attic insulation for cold climates?
Blown-in cellulose or blown-in fiberglass paired with thorough air sealing delivers the best results in cold climates. Both materials fill irregular spaces completely and support the high R-values the U.S. Department of Energy recommends for northern climate zones.
How do I know if my attic insulation is deep enough?
Measure the depth with a ruler and multiply by the R-value per inch for your material. If the result falls below R-30, your attic is under-insulated by DOE standards, and an upgrade will reduce heating and cooling costs.
Can I add new insulation over old insulation?
Adding new insulation over existing material is safe when the old insulation is dry, mold-free, and free of pest contamination. If any of those conditions are not met, the old material must be removed first.
How long does attic insulation take to pay for itself?
Proper attic insulation combined with air sealing typically pays for itself within 2–5 years through reduced heating and cooling costs. Federal tax credits of up to 30%, capped at $1,200 annually, can shorten that payback period further.
Is spray foam always worth the higher cost?
Spray foam is worth the cost in conditioned or unvented attic designs where it functions as both insulation and air barrier. In standard vented attics, blown-in materials over a sealed floor usually deliver comparable performance at a lower total project cost.