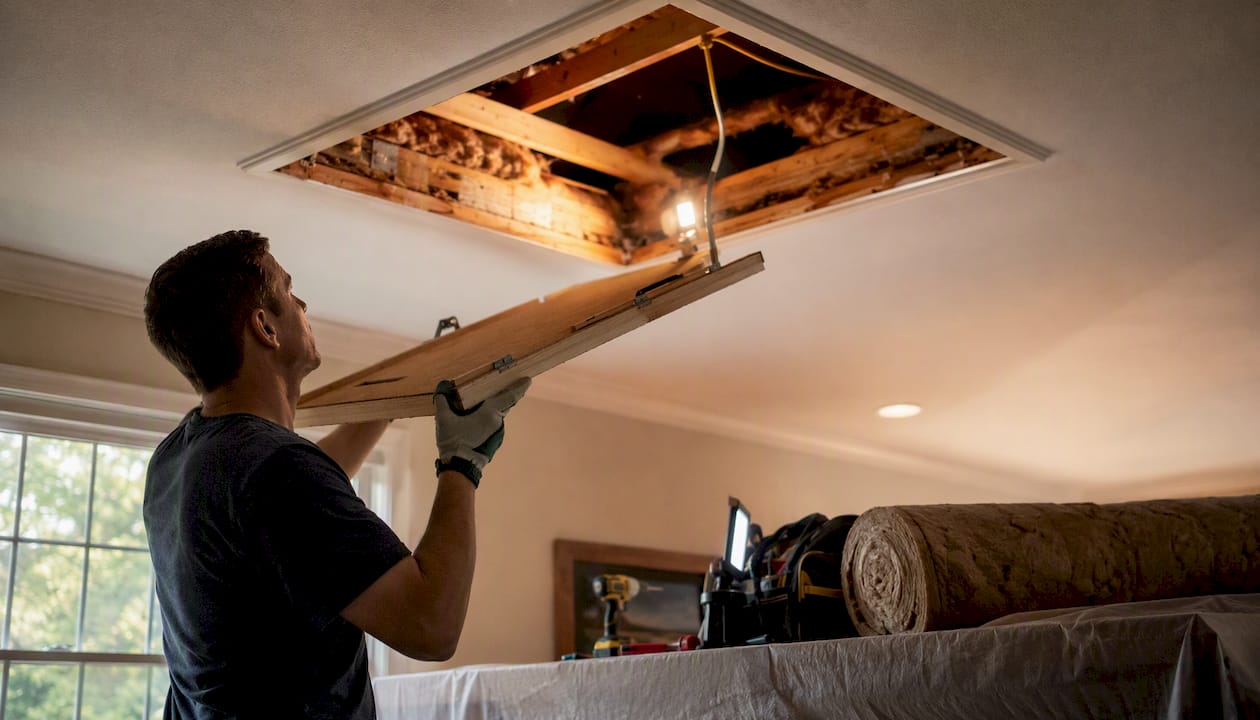
Most ceiling drafts trace back to one root cause: the stack effect pulling cold air through attic bypasses. To act right now, hold a lit incense stick near a ceiling fixture and watch for smoke movement. As a temporary fix, weatherstrip your attic hatch or press a pot-light gasket into a recessed can. If you find frost in the attic, smell combustion gases, or can’t locate the source, call a pro before doing anything else.
- Quick check: Hold an incense stick near recessed lights, ceiling fan mounts, or the attic hatch edge. Smoke that bends sideways confirms airflow.
- Temporary fix: Stick foam weatherstripping around the attic hatch frame, or press a pre-cut pot-light gasket into a leaking recessed can from below.
- Escalation rule: Call a professional if you find frost on attic framing, suspect combustion backdrafting, or have more than a handful of non-IC-rated recessed lights to seal.
Key Takeaways
Ceiling drafts are almost always a stack-effect and attic-bypass problem, and air sealing those bypasses before adding insulation is the fix that delivers lasting comfort and measurable energy savings.
| Point | Details |
|---|---|
| Stack effect is the root cause | Warm air escaping through attic bypasses pulls cold air in, creating ceiling drafts in winter. |
| Air sealing beats insulation alone | Sealing attic bypasses can reduce whole-house air leakage by 30–50% and cut heating costs by roughly 15–25%. |
| Seal before you insulate | Adding insulation over unsealed bypasses traps the problem; air sealing must come first. |
| Call a pro for electrical or combustion risks | Non-IC recessed lights, combustion appliances, and widespread bypasses require professional diagnosis and sealing. |
| The Attic Genius | Offers air sealing, bypass sealing, and insulation upgrades across Chicagoland with same-day inspections and written warranties. |
Table of Contents
- Why do drafts come from the ceiling in winter?
- Room-by-room: where ceiling drafts actually come from
- How do you find exactly where a ceiling draft is coming from?
- DIY fixes that actually stop ceiling drafts
- What does a professional ceiling draft fix look like?
- How to keep ceiling drafts from coming back
- Sources
Why do drafts come from the ceiling in winter?
The short answer: warm air rises, escapes through gaps at the top of your house, and cold outdoor air rushes in to replace it. That cycle is called the stack effect, and it runs hardest in winter when the temperature difference between inside and outside is greatest.

Here’s how it works in plain terms. Your house has a neutral pressure plane somewhere in the middle. Above that plane, interior air pressure is slightly higher than outside, so warm air pushes outward through any gap it can find: open top plates, recessed light housings, attic hatches, plumbing chases. Below the plane, pressure flips negative, so cold air gets sucked in through rim joists, basement sill plates, and lower-level gaps. The ceiling drafts you feel are the cold replacement air completing that loop, often after traveling through wall cavities and ceiling assemblies before it reaches you.
The critical thing most homeowners miss: insulation alone doesn’t stop this. Fiberglass batts and blown cellulose slow heat transfer by conduction, but air moves right through them. A well-insulated attic with open top plates still leaks like a sieve. Sealing attic bypasses first, then adding insulation on top, is the sequence that actually works.
The bypasses doing the most damage are often invisible from the living space. Open stud cavities at the top of interior walls connect directly to the attic. Recessed lights without airtight housings are essentially holes punched through your ceiling. An uninsulated attic hatch is a single gap the size of a door. Hidden bypasses inside walls and ceilings — open top plates, chases, recessed lights, and attic hatches — are frequently the largest contributors to comfort problems and energy loss, far more than windows and doors.
Room-by-room: where ceiling drafts actually come from
Cold floors downstairs, warm air pooling upstairs, and drafts at ceiling level when a door is closed are classic signs of attic bypasses and rim-joist leaks driving stack-effect infiltration. The specific leak pathways vary by room.
| Room | Likely ceiling bypasses | Attic-side signs |
|---|---|---|
| Living room | Recessed lights, ceiling fan mount, top plates | Dirty insulation rings around fixtures, dust streaks |
| Kitchen | Range hood chase, recessed lights, soffit above cabinets | Frost on framing near exterior wall, open chase top |
| Bathrooms | Exhaust fan housing, recessed lights, plumbing vent stack | Frost or moisture on sheathing, gap around vent pipe |
| Stairwell/landing | Open stud cavity at top plate, attic hatch | Visible gap at wall-ceiling junction, missing blocking |
| Bedrooms | Recessed lights, ceiling fan, top plates at exterior walls | Dirty insulation trails, compressed batts near eaves |
What to look for from the living space:
- A candle or incense stick flame that bends toward the ceiling near a recessed light or fan mount
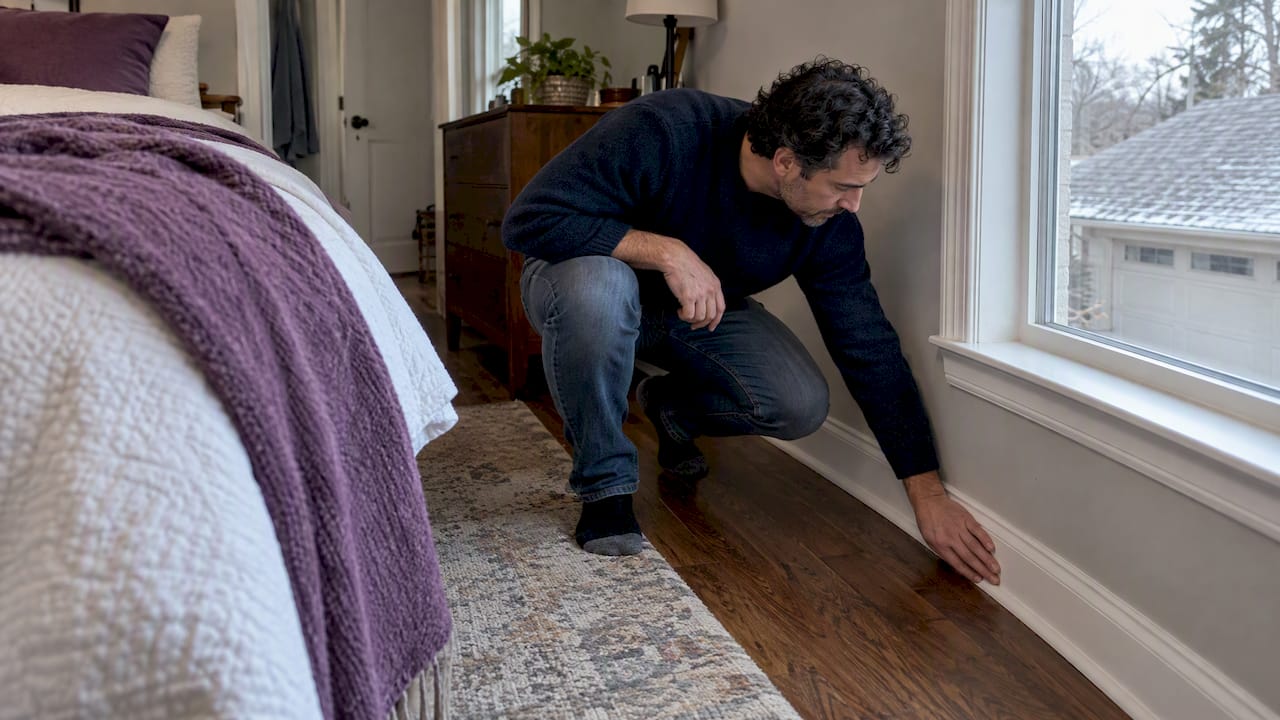
- Cold spots you can feel with your hand along ceiling edges, especially at exterior walls
- Drafts that persist even with all doors and windows closed
What to look for from the attic:
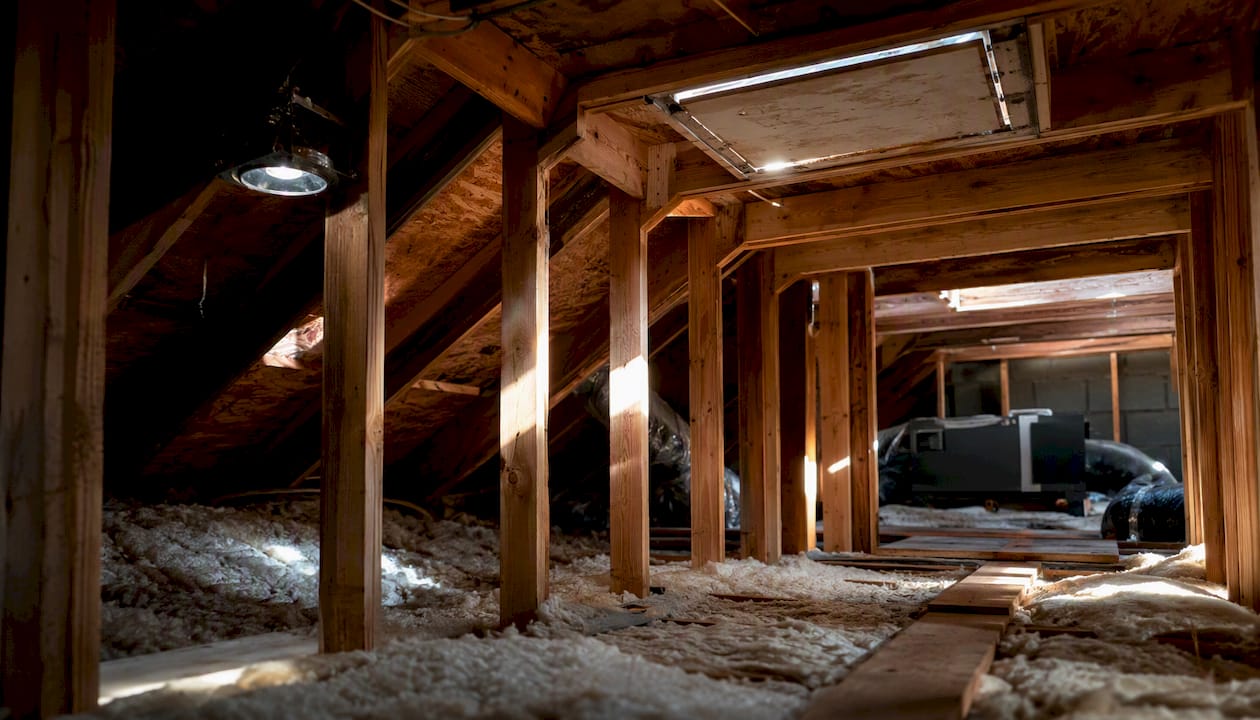
- Dirty or discolored insulation around a fixture (air carrying dust has been moving through that spot for years)
- Frost on attic framing or sheathing near an exterior wall, which points to warm moist air escaping and condensing
- Visible daylight or gaps around plumbing stacks, electrical boxes, or the attic hatch frame
- Soffit baffles that are missing, crushed, or buried under insulation, which blocks ventilation and traps moisture
Rim-joist and basement leaks feed the same stack-effect cycle from the bottom. Check the band joist where the floor framing meets the foundation wall. Gaps there let cold air enter at the base, which accelerates the upward pull at the ceiling.
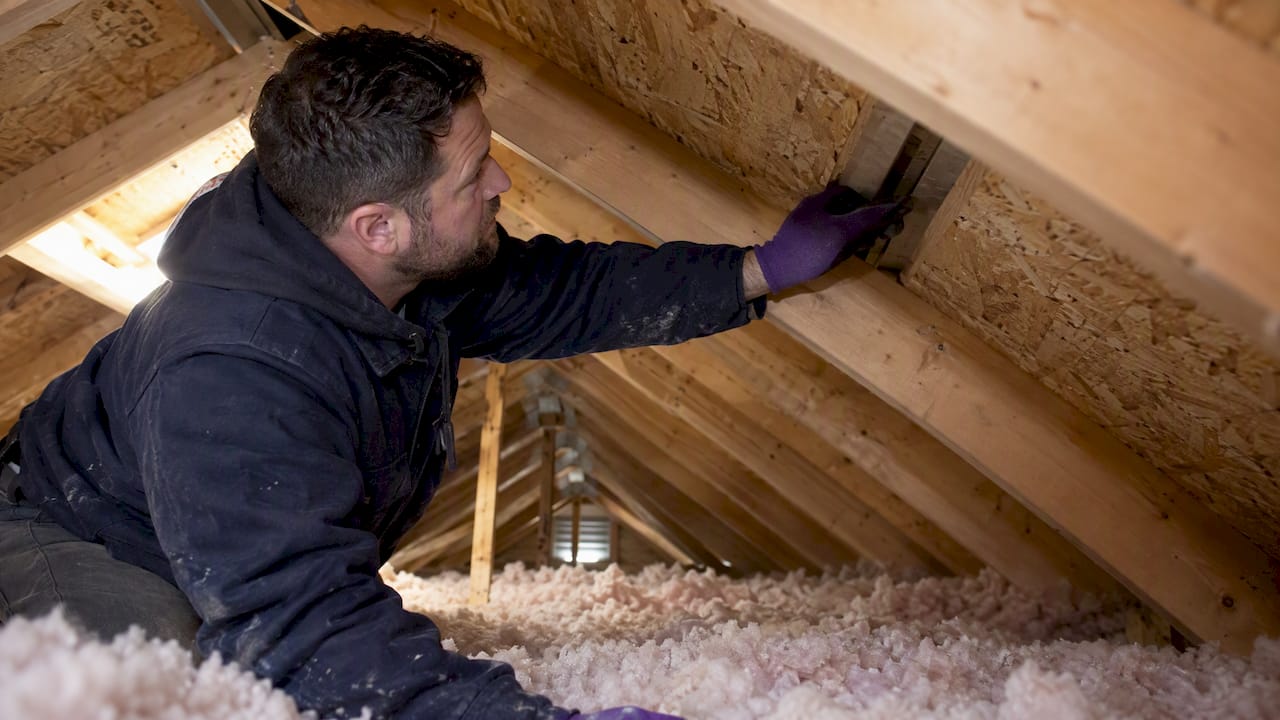
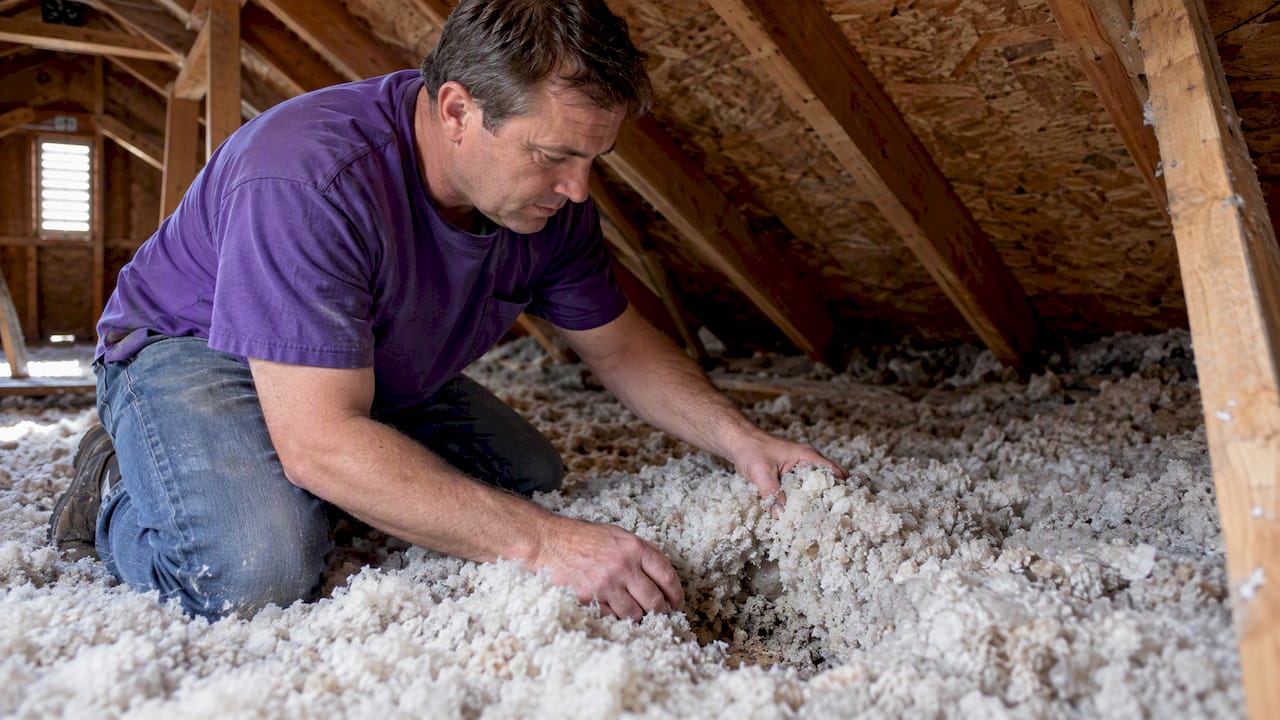
Pro Tip: Push back attic insulation near the eaves and around any ceiling penetration before concluding there’s no gap. The most significant bypasses are usually buried under insulation, not visible from the hatch.
How do you find exactly where a ceiling draft is coming from?
Incense and tissue tests combined with an attic inspection find most common leaks. Thermal cameras locate temperature differences but can’t confirm airflow on their own. A blower-door test, run by a pro, quantifies total leakage and maps the worst bypasses.
| Tool | What it detects | Practical limit |
|---|---|---|
| Incense stick / smoke pencil | Airflow direction at a specific point | Only works near the suspected spot; misses buried bypasses |
| Tissue paper | Gross airflow at ceiling fixtures | Can’t detect slow or diffuse leakage |
| IR / thermal camera | Surface temperature differences | Proves a cold spot exists, not that air is moving |
| Flashlight (attic inspection) | Visible gaps, dirty insulation, frost | Requires attic access; misses gaps under insulation |
| Blower-door test (pro) | Whole-house leakage rate, pressure map | Requires professional equipment and interpretation |
DIY diagnostic sequence:
- Close all exterior doors and windows. Turn off exhaust fans, range hoods, and the HVAC blower.
- Light an incense stick and hold it 2–3 inches below each suspect ceiling fixture. Watch for 10–15 seconds.
- Move to the attic hatch. Run the incense along all four edges of the frame.
- Enter the attic (safely, on boards across joists) and use a flashlight to look for dirty insulation rings, frost, or visible gaps around every penetration.
- If you find nothing conclusive, rent or borrow an IR camera attachment for your phone and repeat the ceiling scan on a cold day when the temperature difference is at least 15°F.
When DIY methods don’t find the source, or when you have recessed lights throughout the house or a combustion appliance in the attic, a blower-door test is the right next step. It pressurizes the house to amplify leaks and gives a precise leakage number so a contractor can prioritize work and verify results after sealing.
Interior door gaps also affect room pressure and how drafts move through the house. Poorly fitted doors can create pressure imbalances that pull attic air into living spaces faster. How interior doors affect room pressure and energy efficiency is worth understanding if you notice drafts that shift when you open or close interior doors.
DIY fixes that actually stop ceiling drafts
The highest-impact actions, in order: seal the attic hatch, gasket recessed lights, caulk small cracks, spray foam larger gaps, and add baffles at soffits before topping up insulation.
Materials guide:
- Caulk for gaps up to 1/4 inch: paintable latex for interior trim, silicone for areas with moisture
- Low-expansion spray foam for gaps 1/4 to 3 inches: use “window and door” formula near framing to avoid warping
- Rigid foam board (cut-and-fit) for larger framed openings like dropped soffits or open chases
- Pot-light gaskets (pre-cut foam rings) for recessed cans sealed from below
- Foam weatherstripping for the attic hatch perimeter
- Rigid foam + spray foam edge seal for the attic hatch lid itself (add 2–3 inches of rigid foam to the top)
- Rafter baffles to maintain soffit airflow before adding blown insulation
Repair sequence:
- Weatherstrip the attic hatch (30 minutes, beginner level). Peel-and-stick foam tape around the frame stops the single largest bypass in many homes.
- Install pot-light gaskets (15 minutes per fixture, beginner level). Press the foam ring into the recessed can trim from below. For non-IC-rated fixtures, the permanent fix is an attic-side sealed box — but only after turning off the circuit.
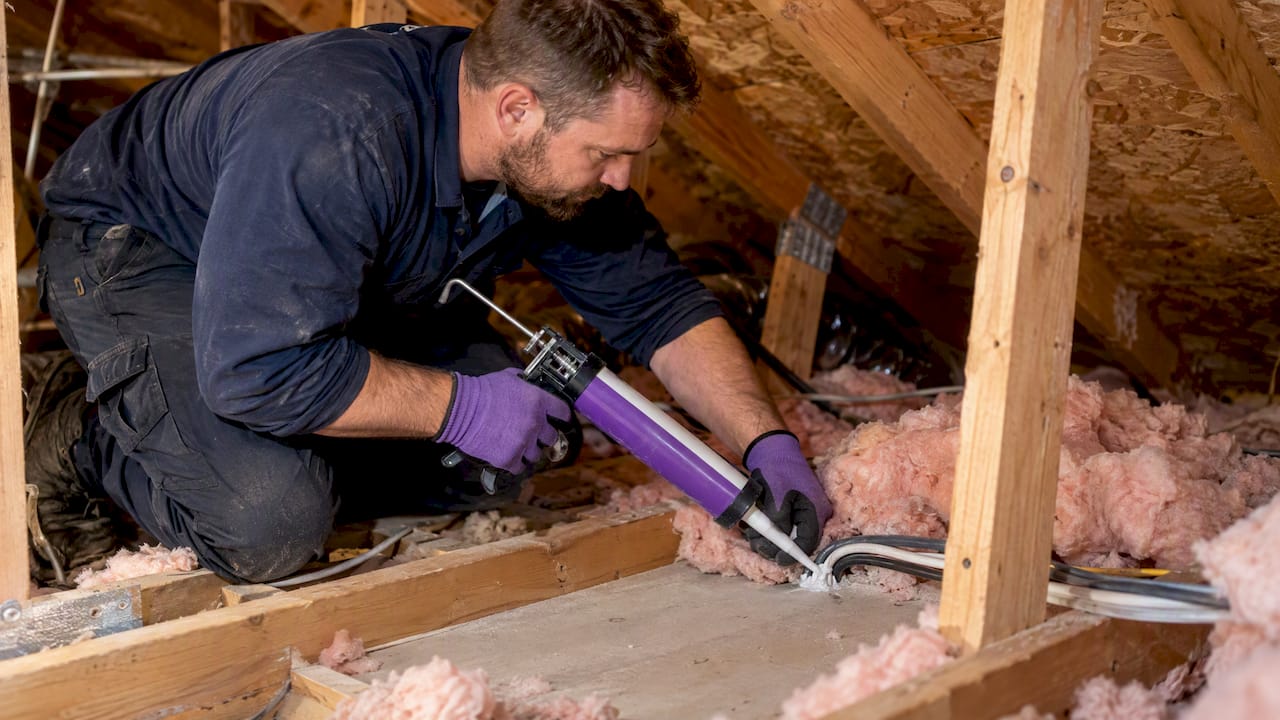
- Seal top plates and open stud cavities (2–4 hours, intermediate). From the attic, run a bead of caulk or low-expansion foam along every wall-ceiling junction where framing meets the top plate. Push insulation aside, seal, then replace.
- Seal plumbing and electrical chases (1–2 hours, intermediate). Use rigid foam cut to fit, sealed at the edges with spray foam.
- Insulate the rim joist (half day, intermediate). Cut rigid foam to fit each joist bay, press in place, and seal the perimeter with spray foam.
- Install baffles and add insulation (half day to full day, intermediate). Baffles keep soffit vents clear; blown cellulose or fiberglass on top of sealed bypasses restores R-value. See guidance on preparing your attic for an insulation upgrade before adding material.
Safety cautions:
- Turn off the circuit before working around any ceiling fixture. Non-IC-rated recessed lights cannot be covered with insulation without a sealed box.
- If you smell gas, oil, or exhaust near the attic hatch or furnace flue, stop and call a pro. Sealing a house with a backdrafting combustion appliance can make carbon monoxide problems worse.
- Wear an N95 respirator and eye protection in the attic. Use boards or plywood sheets across joists to avoid falling through the ceiling.
Pro Tip: Air sealing must come before adding insulation. Blown insulation on top of unsealed bypasses traps the problem and makes future access harder. Seal first, then insulate.
What does a professional ceiling draft fix look like?
When the problem is widespread, involves many recessed lights, or includes any combustion risk, hire an energy auditor or a specialized attic contractor. The professional workflow typically runs in this order:
- Visual attic inspection to locate obvious bypasses, assess insulation depth, and check for moisture or frost
- Blower-door / pressure testing to quantify whole-house leakage and identify the largest bypasses
- Targeted air sealing of top plates, chases, recessed light housings, and the attic hatch
- Insulation work to restore or upgrade R-value after sealing is complete
- Final verification with a second blower-door test to confirm leakage reduction
Cost ranges vary widely by region and scope. Targeted air sealing alone on a modest attic typically runs a few hundred dollars. A full attic air-seal combined with an insulation upgrade on a larger home can reach several thousand dollars. These are approximate ranges; get at least two written quotes with itemized scopes.
Questions to ask any contractor before signing:
- Are you licensed and insured in Illinois (or your state)?
- Do you perform a blower-door test before and after the work?
- Which specific bypasses will you seal, and what materials do you use?
- Do you offer a written warranty on labor and materials?
- Can you provide references or show recent reviews?
The Attic Genius brings 25+ years of combined experience to attic air sealing and insulation work across Chicagoland, with 400+ five-star reviews, written warranties, and same-day inspections available. Contractors who offer pre- and post-work blower-door testing provide the highest accountability for air-sealing claims, because the numbers don’t lie.
How to keep ceiling drafts from coming back
Regular maintenance breaks the stack-effect cycle before it restarts. The most important checks happen before heating season, ideally in September or October.
- Check attic hatch seals every fall. Foam weatherstripping compresses over time; replace it when you can feel airflow at the frame edge.
- Inspect recessed lights from the attic side after any remodel or new fixture installation. Any new penetration is a new bypass.
- Verify soffit baffles are clear and not buried under settled insulation. Blocked soffits trap moisture and create ice dams. Review how attic baffles affect ventilation if you’re unsure what to look for.
- Look for insulation settlement or moisture staining each fall. Compressed or wet insulation loses R-value fast and signals an air or moisture problem underneath.
- Inspect the rim joist area in the basement or crawl space each spring. Frost or moisture staining on the band joist means cold air entered there all winter.
Schedule a follow-up inspection after any major remodel, after a contractor installs new recessed lights or HVAC equipment, or if ice dams return after a previous fix. Persistent ice dams almost always mean warm air is still escaping through the attic floor, which points back to unsealed bypasses.
What The Attic Genius has learned from 25+ years of attic work
Most homeowners who call about ceiling drafts have already tried adding insulation. It rarely solves the problem on its own, because the air is moving through bypasses that insulation doesn’t block. The pattern repeats across hundreds of homes: the bypasses are there, they’re just buried. Once you seal them, the comfort improvement is immediate and the energy savings follow.
The Attic Genius has 25+ years of combined experience diagnosing exactly this problem across Chicagoland, with 400+ five-star reviews from homeowners who felt the difference after a proper air-seal-first approach. Written warranties and same-day inspections mean you get a clear scope and a firm commitment before any work begins.
Ready to stop ceiling drafts for good?
If your DIY inspection found bypasses you can’t safely reach, or if you have recessed lights throughout the house and want them sealed correctly, The Attic Genius handles the full scope: air sealing services, attic bypass sealing, and insulation upgrades across Chicagoland and the Northwest Suburbs.

The team performs a thorough attic inspection, identifies every major bypass, and seals them before any insulation work begins. If your attic shows signs of a bigger problem, check the signs your attic needs an insulation upgrade to know what to expect. Same-day inspections and written estimates are available. Request yours and get a clear answer on what’s driving those drafts.
Sources
- Stack Effect & Air Leakage Pathways | Shipshape Help Center
- Finding and Fixing hidden air leaks (AIVC weatherization guidance)
- A Complete Guide to Understanding the Stack Effect | Groundworks