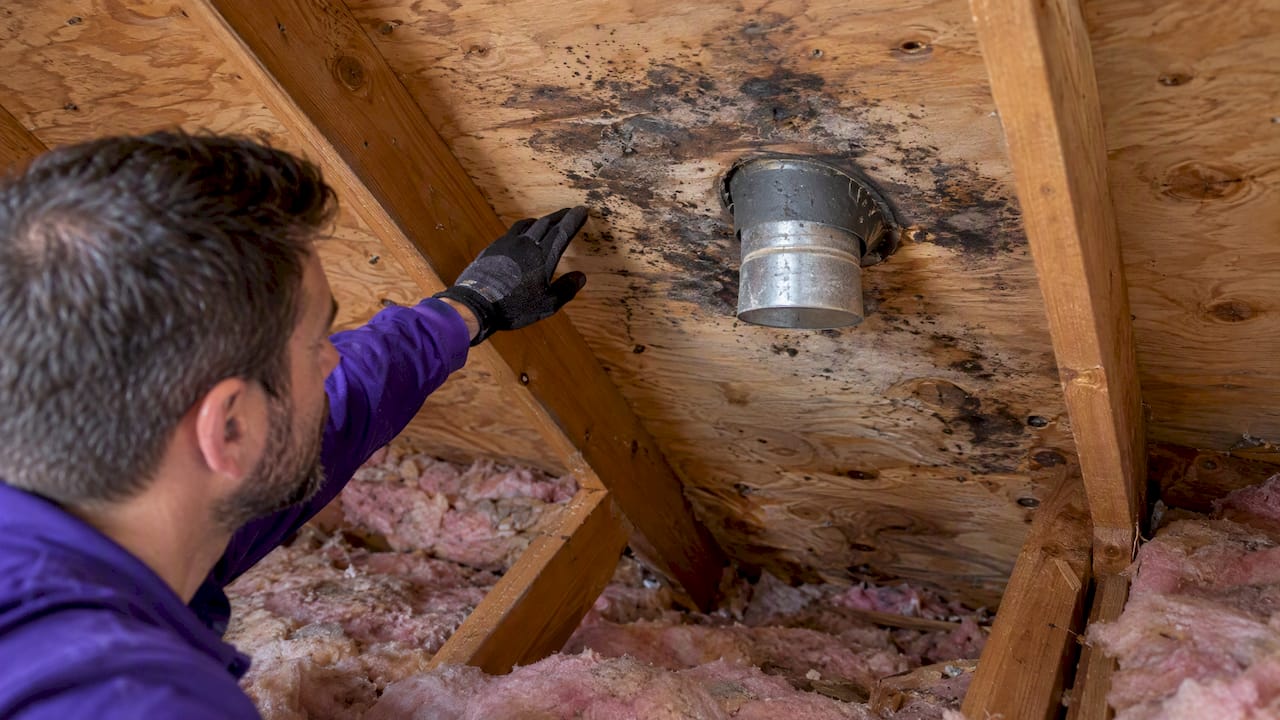
Black spots on attic plywood most often indicate moisture-driven mold or staining, rather than a defect in the wood itself, commonly caused by roof leaks, air leaks, or inadequate ventilation. While small, dry, and firm spotted areas can typically be cleaned by homeowners following EPA and CDC guidance, professional assessment is recommended if the affected area exceeds approximately 10 square feet, the wood is wet or soft, or the spots are recurring. Addressing the underlying moisture source, such as ventilation problems or leaks, is critical, as cleaning without fixing the cause often leads to recurrent staining.
Black spots on attic plywood most often point to moisture-driven mold or staining, not a defect in the wood itself. If the spotted area is small and the plywood underneath feels dry and firm, EPA and CDC guidance supports a careful DIY cleanup. If the area is larger than about 10 square feet, the wood is wet or soft, the spots keep coming back, or they sit near ductwork, call a professional before you touch anything.
TL;DR:
- Black spots on attic plywood are caused by moisture issues such as roof leaks, air leaks, or defective ventilation, not the wood itself.
- Small, dry, and firm spots can typically be cleaned DIY with proper safety gear, but larger, wet, or recurring problems require professional assessment and repair.
- Color and appearance alone do not confirm mold; much of the staining results from non-mold sources like soot, rust, or manufacturing marks.
- Addressing moisture sources first, such as venting problems or leaks, is critical; cleaning without fixing the underlying cause often leads to recurrent staining.
- Professionals are recommended if the affected area exceeds 10 square feet, the sheathing is damaged, or detailed documentation is necessary for insurance or sale.
Table of Contents
- Is It Mold, Stain, or Something Else?
- What Causes Black Spots on Attic Plywood
- When Black Spots Signal a Bigger Problem
- How to Inspect and Size the Problem
- Safe DIY Cleanup for Small, Sound Plywood
- When to Call a Remediation Professional
- Preventing Black Spots From Coming Back
- How Professionals Handle Attic Plywood Mold
- A Builder’s-Eye Take on Black Spots
- Get Attic Moisture and Mold Fixed the Right Way
- FAQ
- Sources
Is It Mold, Stain, or Something Else?
Color alone cannot tell you what you are looking at. Mold tends to look fuzzy, speckled, or irregular in shape and often spreads outward from a damp spot in a pattern that follows moisture, not the grain of the wood. Plain staining, by contrast, usually looks flat, uniform, and tied to the manufacturing process or an old leak that already dried out.
Several non-mold culprits get mistaken for mold every year:
- Tar or adhesive marks from roofing manufacture, which look shiny and don’t spread over time.
- Sooty deposits from a furnace flue or fireplace that drift upward and settle on sheathing.
- Mill or kiln stains baked into the plywood before installation, common near knots and seams.
- Rust streaks from fastener heads that bleed down the wood in thin, straight lines.
CDC guidance confirms that mold can appear in many colors and that appearance alone does not identify the species, so homeowners do not need to identify a specific type before deciding how to respond to visible or musty-smelling growth. Lab testing is rarely necessary for cleanup decisions. It mainly matters for legal disputes, insurance claims, or health investigations where a documented species identification is required.
What Causes Black Spots on Attic Plywood
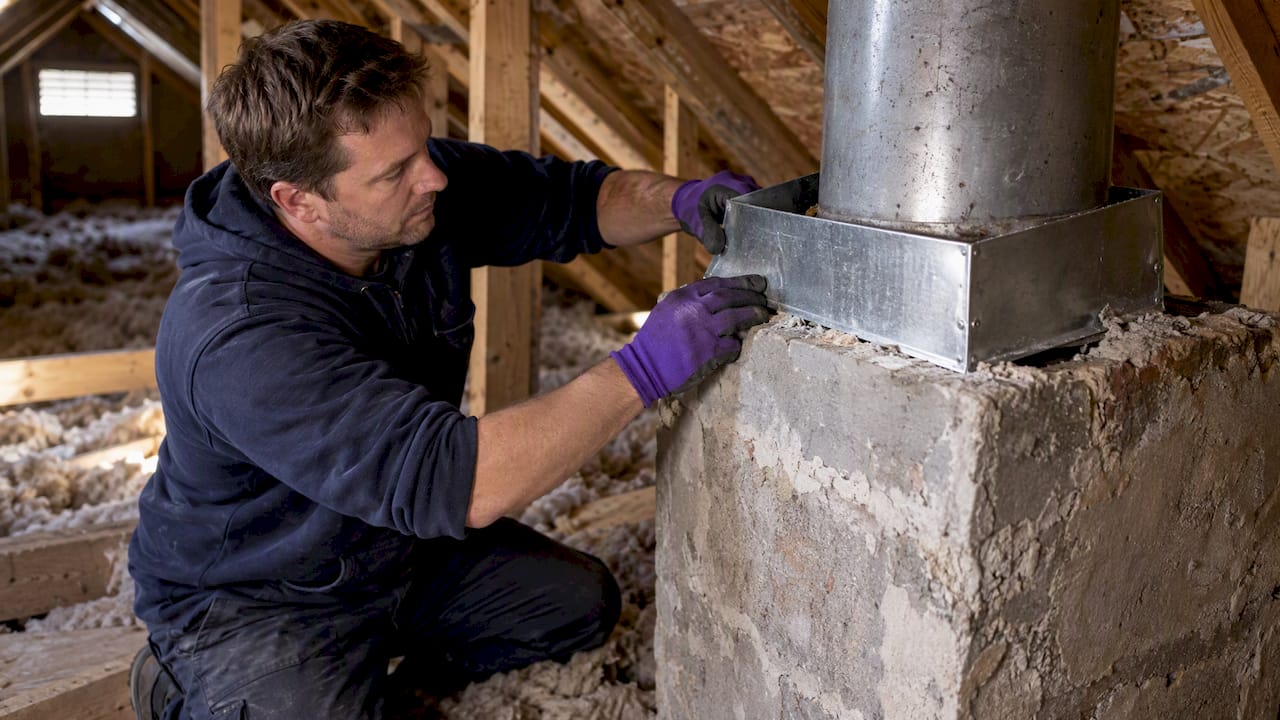
Every black spot traces back to moisture finding a way into the attic, and the pathway determines the fix. Roof leaks and flashing failures are the most visible culprit: look for staining that radiates from a penetration point like a vent pipe, chimney, or skylight, along with rust on nearby nail heads.
Ceiling-plane air leaks are sneakier. Warm, moist indoor air escapes through recessed lights, attic hatches, and kneewalls, then condenses on the cold underside of the roof deck overnight. Building America research identifies this as a common source of sheathing moisture that has nothing to do with the roof itself.
Other frequent causes include:
- Bathroom, kitchen, or dryer exhausts terminated inside the attic instead of outdoors, which dump warm humid air directly onto the sheathing.
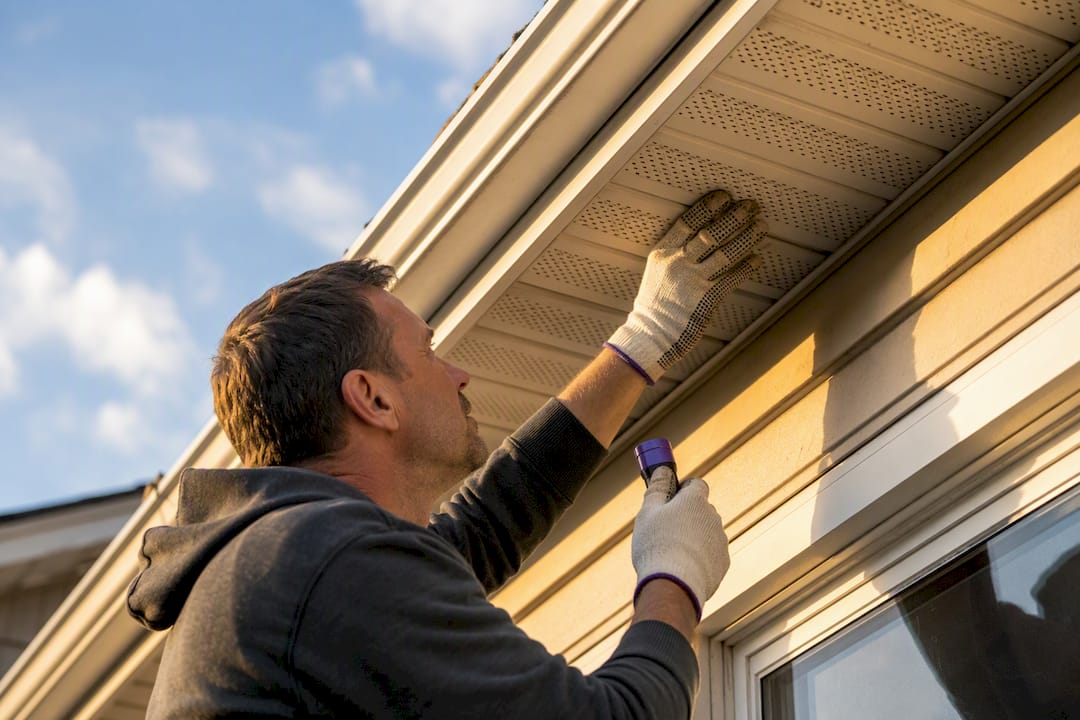
- Blocked soffit vents or missing baffles that cut off airflow and trap humidity near the roof deck.
- Ice dams in cold climates, which force meltwater back under shingles and onto the plywood below.
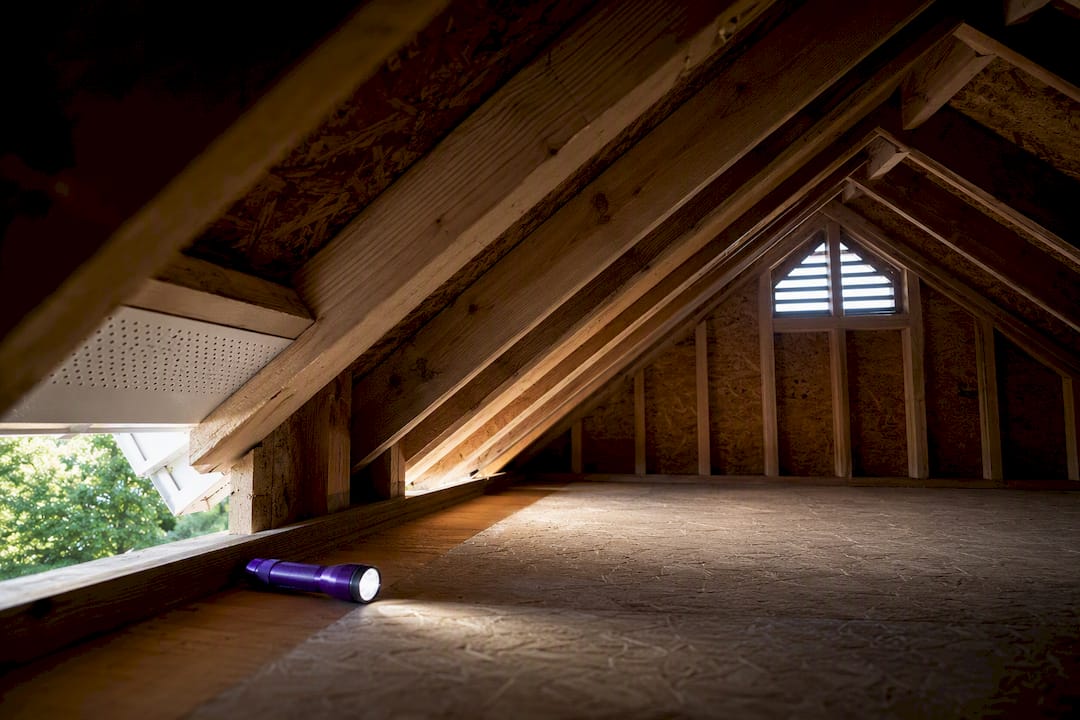
Pro Tip: Follow exhaust ducts with a flashlight from the attic hatch to the roof or wall cap; a duct that ends mid-attic is an easy, often-overlooked fix.
When Black Spots Signal a Bigger Problem
Most black spotting is a moisture-management issue you can address, but certain signs mean the damage has moved past cosmetic. Treat these as red flags that call for immediate attention:
- Wet, soft, or delaminating plywood that flexes or crumbles under light pressure.
- Rusty fasteners or visible sagging in the roof sheathing between rafters.
- Recurring spots after a cleanup, which usually means the moisture source was never fixed.
- Musty odors or mold visible inside ductwork or HVAC components.
Health context matters too. Occupants with asthma, allergies, or compromised immune systems face higher risk from ongoing exposure, and CDC cleanup guidance recommends that people with respiratory conditions avoid doing the cleanup themselves. Contaminated water, such as from a sewage backup reaching the attic, also changes the calculus and calls for professional handling regardless of the area size.
How to Inspect and Size the Problem
Before deciding whether to clean it yourself or call a pro, size up the scope the same way a building inspector would.
- Measure the visibly affected area and compare it to the EPA’s roughly 10 square foot screening guideline for deciding between DIY and professional cleanup.
- Photograph every angle of the stain, including nearby fasteners, insulation, and any daylight gaps that suggest a leak path.
- Check adjacent materials: insulation, ductwork, and framing near the spot for softness, discoloration, or a lingering musty smell.
- Lift insulation carefully where safe to check whether growth extends beneath it, since surface spots sometimes hide a larger problem.
- Gather documentation if you’re buying or selling, including a prior inspection report, roof age and repair history, and proof that the original moisture source was corrected, not just painted over.
A spot that looks small from below the hatch can mask a much bigger wet zone once you lift insulation or check the far side of a rafter bay.
Safe DIY Cleanup for Small, Sound Plywood
When the spotted area is small, the plywood is structurally sound, and no one in the household has a respiratory condition, EPA and CDC guidance supports a homeowner cleanup. Here is the sequence to follow.
Gear up first. CDC recommends at minimum a NIOSH-approved N95 respirator, gloves, and sealed goggles for anyone doing the cleaning. Skip the project entirely if you have asthma, COPD, or a compromised immune system, and have someone else handle it instead.
- Stop the moisture source first. Cleaning before fixing the leak, exhaust, or ventilation problem guarantees the spots return.
- Ventilate and dry the space using fans or open vents to drop humidity before you start scrubbing.
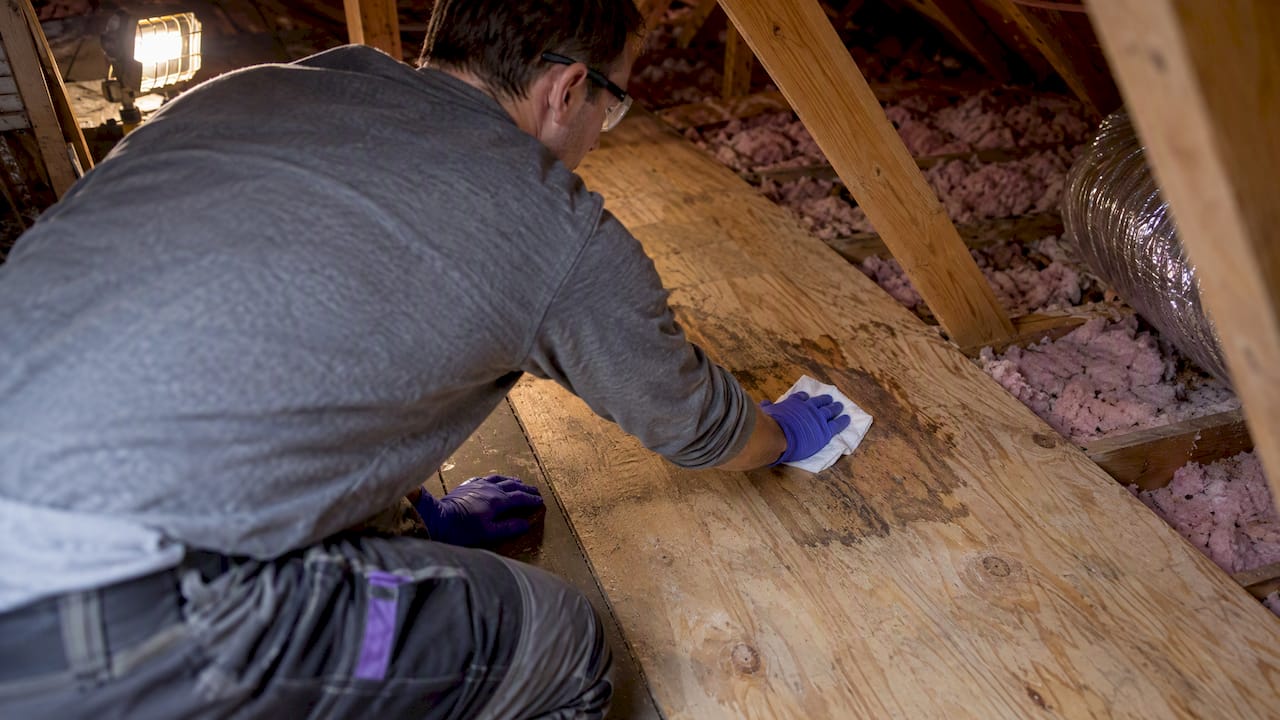
- Clean with detergent and water, scrubbing the surface with a stiff brush rather than relying on a spray-and-wipe approach.
- Dry the wood thoroughly, since any residual dampness left behind defeats the cleaning.
- Monitor the area over the following weeks to confirm the discoloration doesn’t return.
Statistic Callout: EPA guidance recommends drying wet materials within 24 to 48 hours to prevent mold from establishing in the first place, which is the single biggest factor in whether a spot stays a one-time cleanup or becomes a recurring problem.
A few cautions matter here. If you use bleach, dilute it according to label instructions and never mix it with ammonia-based cleaners. Never paint or caulk over mold or staining before the wood is completely dry and clean. Sealing in trapped moisture just moves the problem under a fresh coat of paint, and EPA guidance is explicit that painting over mold is not an acceptable substitute for cleaning it. Plywood is porous, so even a successful cleaning sometimes leaves a faint shadow where the wood absorbed moisture. That residual discoloration alone is not a reason to replace sound sheathing.
When to Call a Remediation Professional
Certain situations call for a professional rather than a weekend project. Bring in a pro when the affected area exceeds roughly 10 square feet, the plywood is wet or visibly damaged, water contamination is involved, ductwork or HVAC components show growth, or anyone in the home has health concerns tied to mold exposure. EPA’s remediation guide for larger or complex sites outlines escalating containment and PPE requirements once a job moves past the small-scale DIY range.
Before hiring anyone, ask a few direct questions:
- How will you identify the moisture source, not just treat the visible spots?
- What containment and PPE do you use during the work itself?
- Can you provide references and proof of insurance for the specific type of work involved?
- What warranty backs the repair once the job is finished?
Request documentation before and after the job: photos of the affected area, any moisture readings taken during the work, and a written scope describing exactly what was done. A reputable contractor treats this paperwork as standard, not an inconvenience.
Preventing Black Spots From Coming Back
Cleaning the surface without fixing the underlying airflow and moisture balance is the most common reason homeowners deal with the same stains year after year. Durable prevention rests on a few building-science fundamentals.
- Air seal the attic floor around recessed lights, hatches, plumbing stacks, and kneewalls, since Building America research treats air sealing as a separate task from insulating, not a substitute for it.
- Verify exhaust fans terminate outdoors, not into the attic itself, for every bathroom, kitchen, and dryer vent in the house.
- Pair low intake with high exhaust, meaning functional soffit vents working with a ridge vent, so air actually moves through the space instead of stagnating.
- Install or check baffles at the eaves to keep insulation from blocking soffit intake, a detail our guide to eave vents covers in more depth.
Pro Tip: Walk your attic twice a year with a flashlight and check that insulation hasn’t crept over the soffit baffles; that one blockage can undo an otherwise well-ventilated attic.
Insulation alone will not solve a moisture problem. It slows heat transfer, but moist indoor air still finds its way to cold sheathing if the air leaks aren’t sealed first, a relationship explained further in our breakdown of insulation and moisture control.
How Professionals Handle Attic Plywood Mold
A reliable remediation workflow follows a consistent order: inspect and document the affected area, correct the moisture pathway causing it, clean or remove the compromised material under proper controls, then verify the fix held. Skipping straight to cleaning without the diagnosis step is the most common reason homeowners pay twice for the same problem.
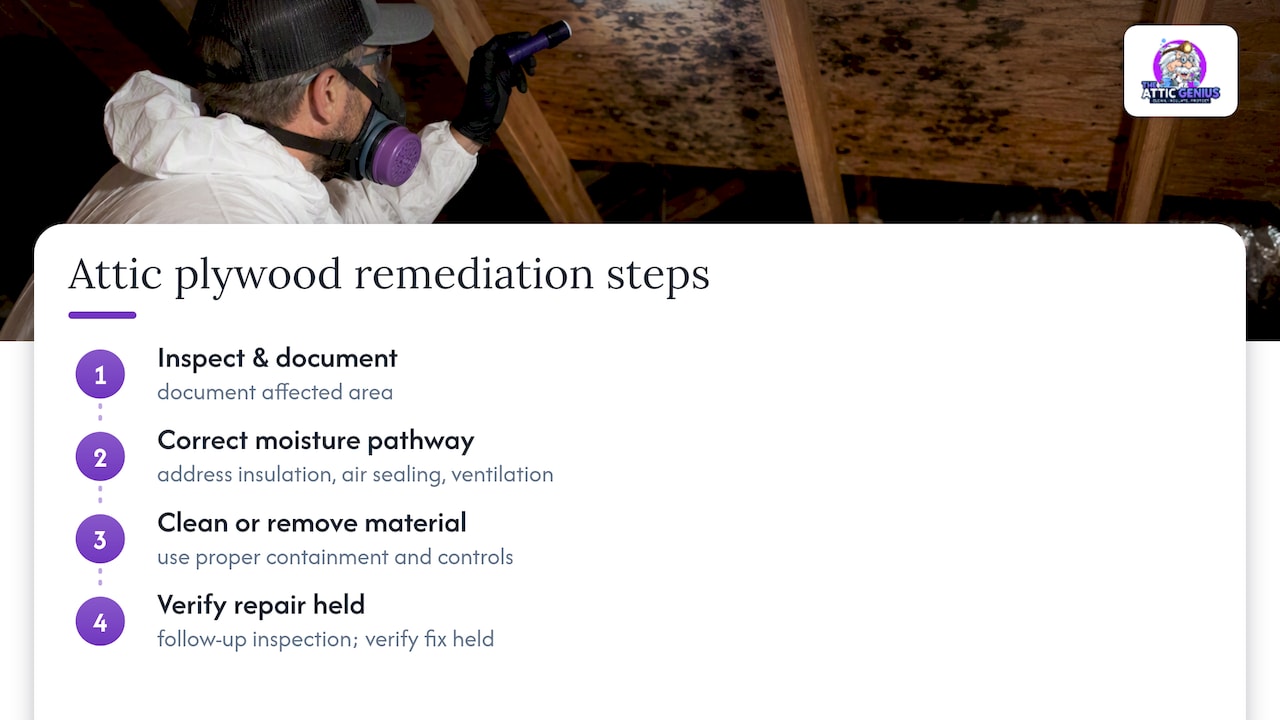
A solid estimate should spell out each of those steps separately, not bundle them into a single line item. Same-day inspection scheduling, written warranties on completed work, and upfront pricing before any job begins are available, backed by extensive industry experience. For attic-specific moisture problems, a specialist who handles insulation, air sealing, and ventilation together tends to catch root causes that a general contractor focused only on drywall or painting might miss.
A Builder’s-Eye Take on Black Spots
Most homeowners treat black spots as a cleaning problem. They’re a moisture problem wearing a cleaning problem’s disguise. The actual order of priorities is moisture correction first, documentation second, cleaning or replacement last, and reversing that order is the single most common mistake I see.
The second mistake is assuming a clean-looking attic after a quick wipe-down means the issue is resolved. If you’re not confident the source was fixed, or an inspector gives you a hedge, get a second opinion before you close on a house or sign off on a repair.
— Jim
Get Attic Moisture and Mold Fixed the Right Way
If you’d rather not diagnose the moisture pathway yourself, we handle the full range of attic issues that cause black spots in the first place. Services often cover inspection, moisture and mold remediation, air sealing, and attic ventilation fixes, along with insulation work that often needs to happen alongside them.

Reaching out gets you a same-day inspection option in many cases, upfront pricing before work starts, and a written warranty on completed jobs. We handle:
- Moisture and mold remediation to correct the source and clean affected sheathing properly.
- Air sealing to stop warm, moist air from reaching cold roof decking.
- Attic ventilation solutions, including baffle installation to keep soffit intake clear.
- Insulation assessment and upgrades once the moisture issue is resolved.
Schedule a free inspection and get a straight answer on what’s causing the spots in your attic.
FAQ
What causes plywood to turn black in an attic?
Black discoloration on attic plywood is usually caused by mold growth or staining tied to a moisture source, such as a roof leak, condensation from air leaks, or exhaust fans venting into the attic instead of outdoors. Non-mold causes like tar residue, soot, or mill stains can look similar but don’t spread over time.
How do you get rid of black mold on plywood?
Stop the moisture source first, then ventilate and dry the area before cleaning the wood with detergent and water, scrubbing rather than just wiping. EPA guidance treats about 10 square feet as the rough line for DIY cleanup; larger or persistent areas call for a professional.
Is black mold in the attic a serious problem?
It depends on the extent and the plywood’s condition rather than the color alone. Small, surface-level spots on dry, sound wood are manageable, but wet or soft sheathing, recurring growth, or mold near ductwork point to a more serious issue that needs professional attention.
What does attic mold look like on wood?
Attic mold typically appears fuzzy, speckled, or irregular in shape and spreads outward from a damp area, while plain staining tends to look flat and uniform. CDC guidance notes that mold can appear in many colors, so color alone cannot confirm whether a spot is mold or something else.
When should I hire a professional instead of cleaning it myself?
Call a professional when the affected area exceeds roughly 10 square feet, the plywood is wet or damaged, water contamination is involved, or the growth has reached ductwork or HVAC components. Anyone with asthma, allergies, or a compromised immune system should also avoid doing the cleanup themselves.
Sources
- Mold: Basic Facts | CDC
- Mold cleanup in your home | US EPA
- Measure Guideline: Guide to Attic Air Sealing | Building America / DOE