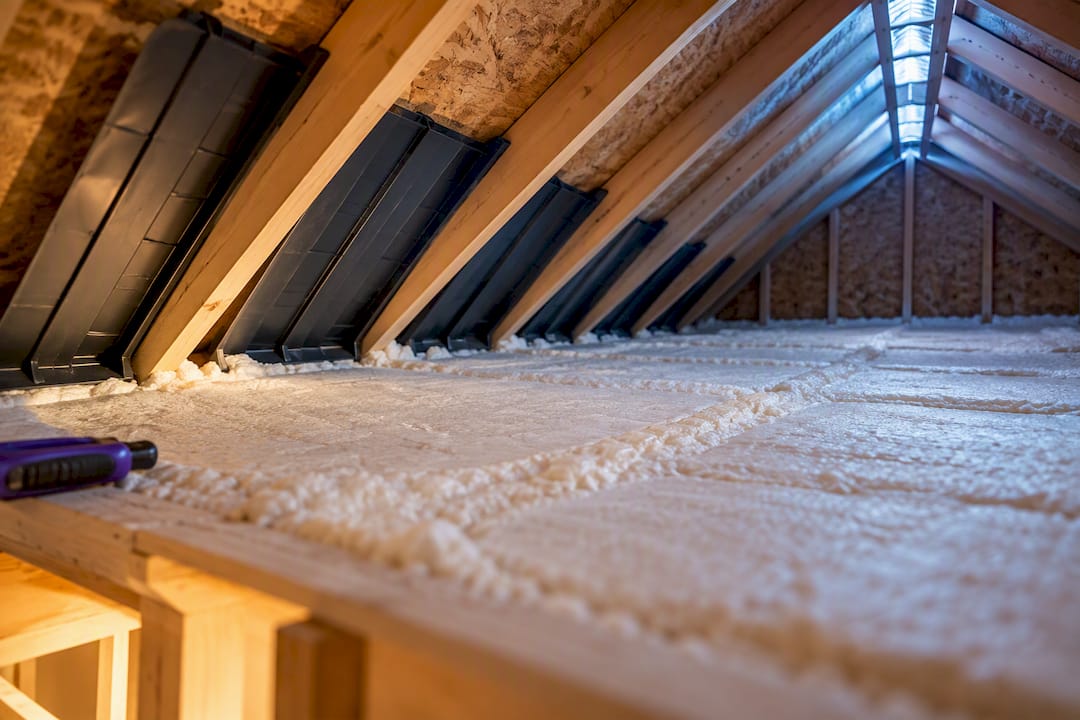
Homeowners can effectively control attic humidity by first sealing air leaks around attic penetrations and access points, then addressing ventilation. Sealing is essential because warm, moisture-loaded air from living spaces leaks upward and condenses on cold roof sheathing, causing widespread dampness and potential damage. The Attic Genius recommends maintaining attic dew points below 60°F and relative humidity under 50 to 55% to prevent long-term moisture damage to roof sheathing and building materials.
Control attic humidity by sealing humid indoor air out of the attic first, then matching ventilation or a conditioned-attic setup to your climate. Start today with a five-minute check: pop the attic hatch and look for damp, matted insulation or condensation beading on nails and rafters.
TL;DR:
- Sealing air leaks around attic penetrations and access points is essential before installing or upgrading ventilation systems to effectively control humidity.
- Maintaining attic dew points below 60°F and relative humidity under 50 to 55% prevents long-term moisture damage to roof sheathing and building materials.
- Proper attic venting relies on a system where low soffit vents draw in air and high ridge or soffit vents exhaust it; gable or powered vents can disrupt airflow if not correctly balanced.
- Installing a dehumidifier often indicates existing air-sealing or ventilation issues and should not replace proper moisture management measures.
- An attic inspection using simple tools like a hygrometer and visual checks is crucial to diagnosing moisture problems before considering costly repairs or professional intervention.
Table of Contents
- What Causes High Attic Humidity, and What Are the Warning Signs?
- Why Sealing First, Then Ventilating, Beats Ventilation Alone
- Which Attic Ventilation Setup Actually Fits Your Roof?
- Air-Sealing Checklist: What to Seal Before You Touch a Vent
- Do You Need a Dehumidifier, or Is That Just Masking the Real Problem?
- How Insulation and Ductwork Choices Affect Moisture Risk
- How to Measure Attic Humidity Like a Pro
- When Should You Call a Professional for Attic Humidity?
- What Twenty-Five Years of Attic Calls Teaches You About Moisture
- Get Your Attic Assessed Before Small Leaks Become Big Repairs
- Sources
- FAQ
What Causes High Attic Humidity, and What Are the Warning Signs?
Most attic humidity problems start below the attic, not in it. Warm, moisture-loaded air from your living space leaks upward through gaps you can’t see from the kitchen table, and once it hits cold roof sheathing in winter, it condenses.
The single biggest offender is misdirected exhaust. Bathroom fans, dryer vents, and kitchen range hoods that dump directly into the attic instead of terminating outside are a documented driver of mold and moisture problems in attics. Recessed lighting fixtures, plumbing stacks, and gaps around the attic hatch leak just as much air, just more slowly.
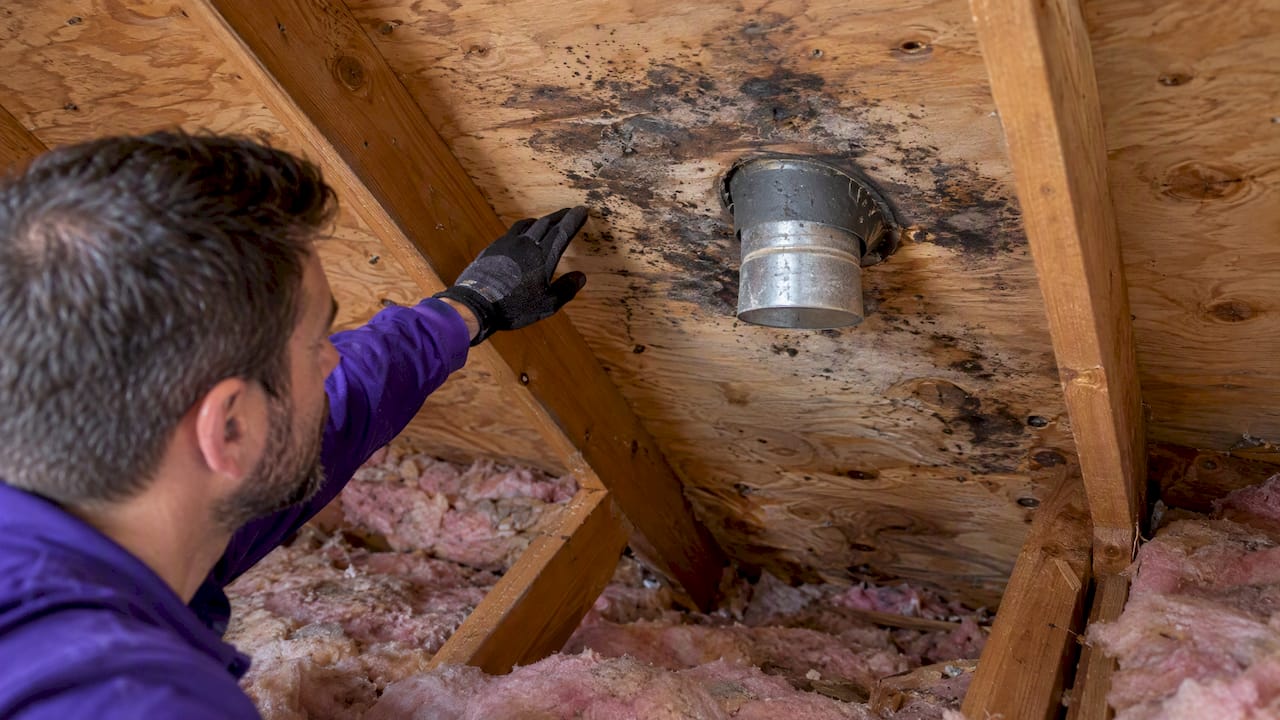
Roof leaks are a separate animal entirely, and telling them apart from condensation matters because the fix is completely different. A roof leak usually leaves a localized wet spot tied to a flashing failure, a cracked pipe boot, or missing shingles, often worse after a rainstorm. Condensation shows up as widespread dampness or frost across broad areas of sheathing, especially near the ridge, and it tracks with cold snaps rather than storms.
Outdoor humidity plays a role too, particularly during humid summer stretches when poorly balanced ventilation pulls moist outside air straight into the attic.
Run through this quick homeowner check before you diagnose further:
- Open the attic hatch and look at the insulation directly underneath it. Damp, compressed, or discolored insulation there usually means the hatch itself is leaking air.
- Check where bath and dryer vents terminate. If you can’t see daylight or a roof cap outside, they may be dumping into the attic.
- Look for rust on nails or metal connectors. Rust forms when metal stays damp longer than it should.
- Trace any staining. A single dark ring points to a leak; broad, even discoloration points to condensation.
If you’re seeing more than one of these signs, common attic moisture problems tend to compound fast once cold weather sets in.
Why Sealing First, Then Ventilating, Beats Ventilation Alone
Sealing the attic floor plane before you touch a single vent is the step almost everyone skips, and it’s the one that actually solves the problem. Air sealing keeps warm, humid indoor air from ever reaching the cold surfaces where it would condense. Add ventilation to a leaky attic and you’re often just blowing more conditioned air out through the roof while the humidity problem underneath continues untouched.
This sequencing isn’t a personal preference. It reflects how building-science guidance frames the strategy: seal the pathway, then size the ventilation or conditioning to the space that’s left.
ASHRAE’s benchmark is dew point, not just percentage humidity. Keeping indoor dew point near or below 60°F helps prevent building materials from reaching moisture levels that support mold and rot. Relative humidity swings with temperature throughout the day, but the dew point is a more stable, honest signal of how much moisture is actually in the air.
Ventilation ratios also come from code, not guesswork:
- The standard net free vent area ratio is 1:300, meaning one square foot of vent opening for every 300 square feet of attic floor.
- Some configurations without a vapor barrier require 1:150 instead.
- Low intake vents at the soffit matter more than extra exhaust vents up high, because ventilation only works when air enters low and exits high in a continuous loop.
Here’s where conventional wisdom trips people up: in hot, humid regions, adding more ventilation can pull in outside air that’s more humid than the attic already is. That’s when a conditioned attic design, not a bigger vent, becomes the right answer.
Which Attic Ventilation Setup Actually Fits Your Roof?
Ventilation only works as a system, not as a collection of individual vents. Air has to enter low and exit high, moving in one continuous direction, or it just stalls and does nothing.
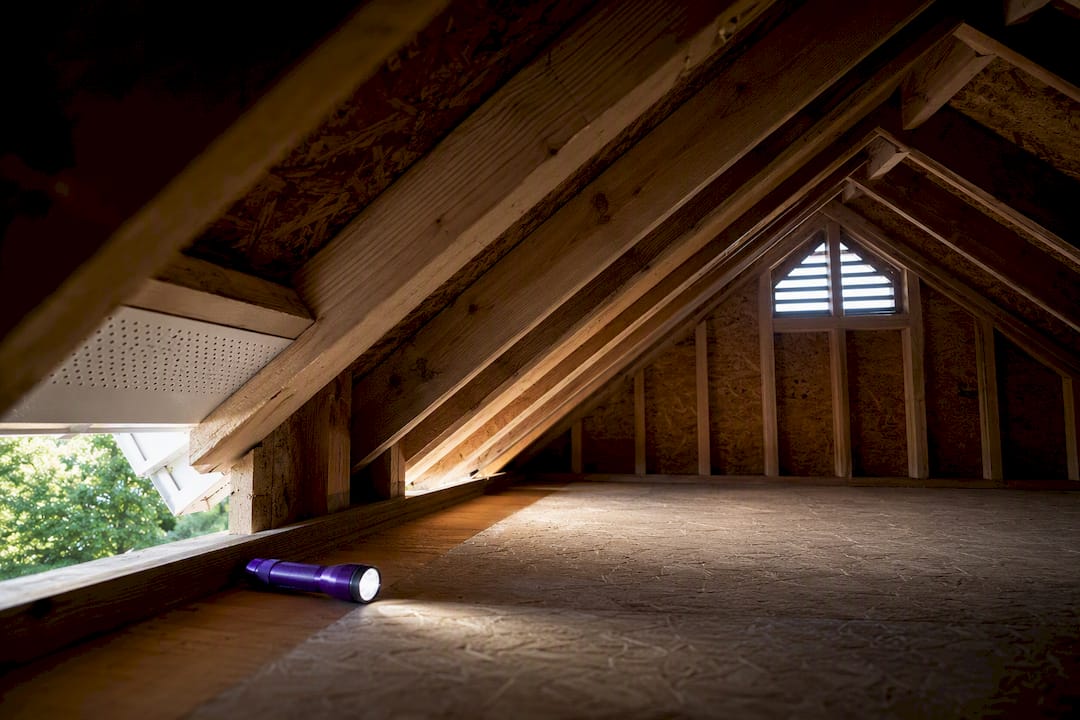
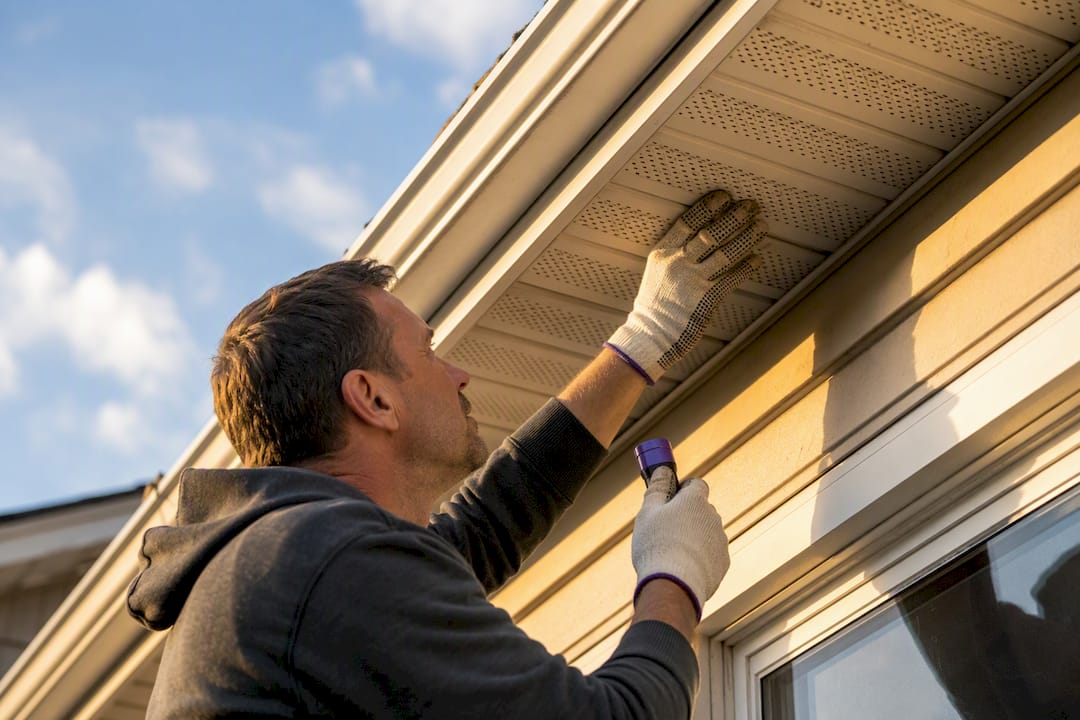
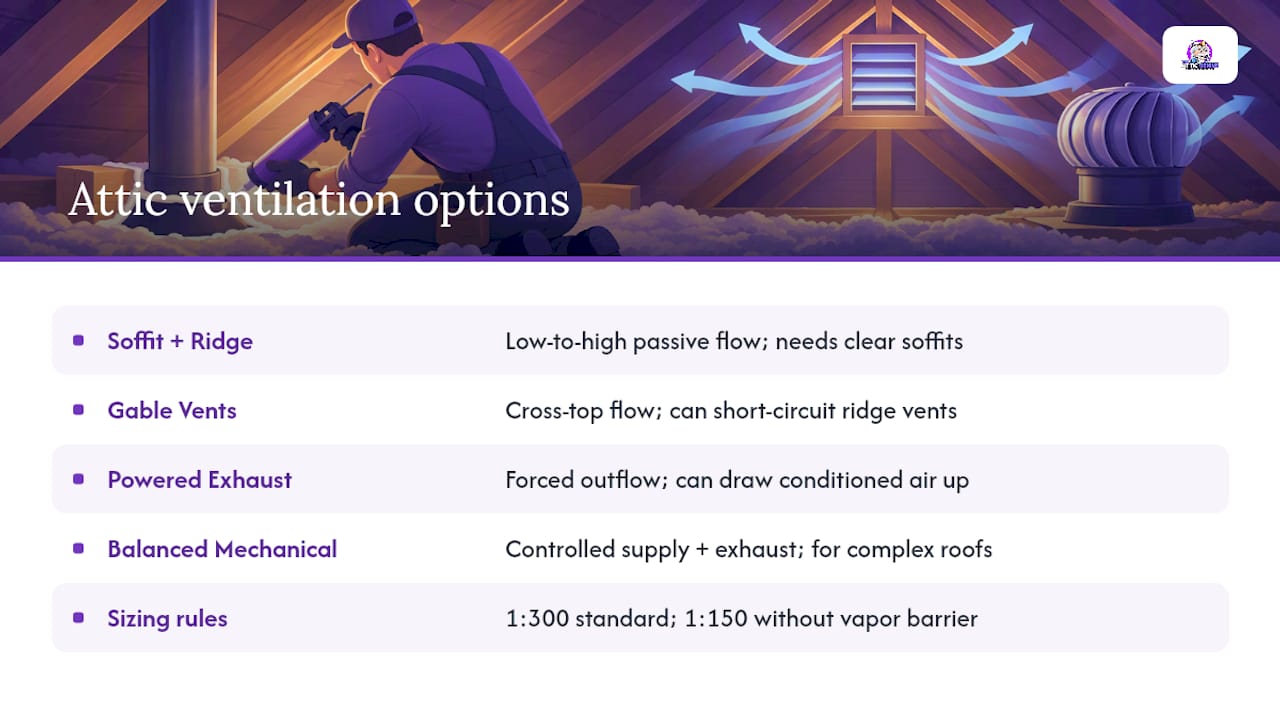
Soffit-plus-ridge ventilation is the standard for most sloped roofs. Continuous soffit vents pull air in at the eaves, and a ridge vent lets it exit at the peak. This passive setup needs no power and, when it’s sized correctly, self-regulates with the seasons.
Gable vents work on hip-free roof shapes, but they can short-circuit a ridge vent system by pulling air across the top of the attic instead of up from the soffits. Mixing gable vents with ridge vents often does more harm than good.
Powered exhaust fans move more air, but they can depressurize the attic enough to pull conditioned indoor air upward through every gap you haven’t sealed yet, which is exactly the wrong direction. They’re rarely worth installing before the air-sealing work is done.
Balanced mechanical systems supply and exhaust air at controlled rates, and they’re the right call for architecturally complex roofs where passive intake and exhaust can’t be balanced through soffits and a ridge alone.
Sizing rules matter more than most homeowners assume. The 1:300 net free vent area rule (or 1:150 without a vapor barrier) is a legal minimum, not a target to exceed. A common mistake is adding oversized ridge vents while soffit intake stays blocked by insulation, which leaves the whole system starved for makeup air. Low intake vents matter more than high exhaust vents, because a ridge vent with no soffit airflow behind it barely functions at all.
Pro Tip: Before you add a single vent, go into the attic on a windy day and hold a smoking incense stick or a strip of tissue near the soffit vents. If it doesn’t move, your intake is blocked, and no amount of ridge venting will fix that.
In hot-humid climates, outside air itself can raise attic moisture rather than lower it, which is why some homes do better with a conditioned, unvented attic and vapor diffusion ports instead of traditional passive ventilation. That’s a design decision worth running past a professional, since getting it wrong traps moisture rather than releasing it. A roofing contractor can also help diagnose ventilation imbalance from the outside if you’re not sure whether your current setup is even functioning as designed.
Air-Sealing Checklist: What to Seal Before You Touch a Vent
Every gap between your living space and the attic is a potential moisture highway. Work through these penetrations methodically, because missing even one undermines the rest:
- Attic hatch or pull-down stairs. Weatherstrip the frame and add a rigid, insulated cover box if one isn’t already there.
- Recessed light fixtures. Use IC-rated, airtight covers, or seal around the housing if the fixture itself isn’t airtight-rated.
- Plumbing stacks and wiring penetrations. Small gaps under a quarter inch take caulk; anything wider needs foam.
- Dropped soffits and chases. These often connect straight down into wall cavities and leak far more air than homeowners expect.
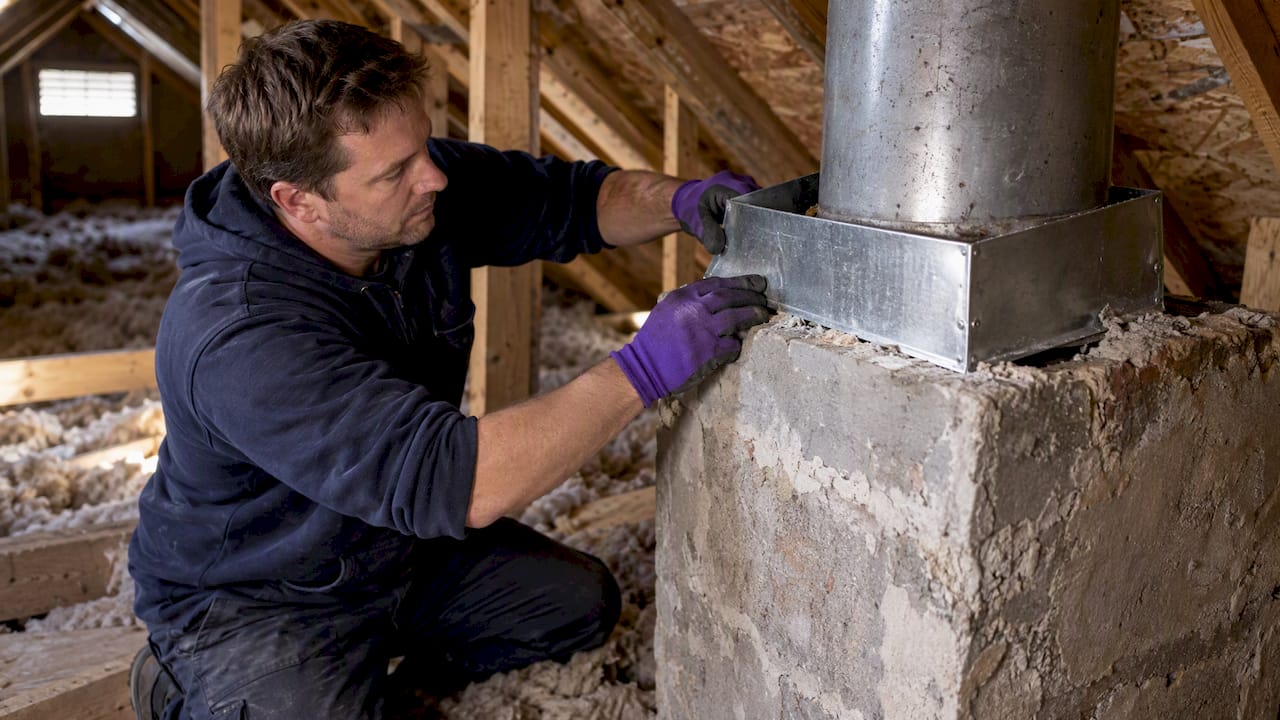
- Duct and flue collars. Seal around the collar with fire-rated materials where a flue is involved, since standard foam isn’t rated for that heat.
Match the sealing material to the size of the gap. Small gaps under a quarter inch take standard caulk. Gaps between a quarter inch and two inches call for one-part expanding spray foam. Anything larger than two inches needs rigid foam board or two-component spray foam with blocking behind it, since one-part foam alone won’t hold its shape across a big opening.
Pro Tip: Take photos of every penetration before you seal it, and again after. If you ever sell the house or call in a professional for a follow-up job, that record saves an inspector from redoing work you already finished.
A word on safety: never seal directly against a hot flue or an uninsulated wire, and skip any job that involves knob-and-tube wiring buried in insulation. Floored attics complicate things further, since reaching penetrations under existing flooring sometimes means pulling up sections of board. That’s a reasonable point to call a professional air sealing crew rather than push through it solo.
Do You Need a Dehumidifier, or Is That Just Masking the Real Problem?
A dehumidifier in the attic almost always means air sealing failed somewhere upstream. That’s not a knock on the homeowner who bought one. It’s a diagnosis worth taking seriously, because a dehumidifier treats the symptom while the leak keeps feeding it.
Building-science analysts frame it plainly: dehumidifiers are common homeowner responses, but they often signal that air sealing or ventilation design needs attention first. Run one before you’ve sealed the attic floor and you’re paying to remove moisture that a $20 tube of caulk could have kept out in the first place.
That said, dehumidifiers have a legitimate role in specific setups:
- In a conditioned, unvented attic, a dehumidifier can be part of the permanent design rather than a stopgap, since these attics don’t rely on outside air exchange at all.
- Continuous condensate drainage matters. A unit without a dedicated drain line means someone has to empty a bucket, and that someone eventually forgets.
- Placement should target the center of the attic, away from the roof deck, so the unit reads representative air rather than one localized damp corner.
For homes with ducts running through the attic, supply air is often the better fix than a standalone dehumidifier. Conditioned unvented attic designs frequently call for roughly 50 cfm of HVAC supply air per 1,000 square feet of attic floor to keep the space within a safe humidity range without a separate appliance running around the clock. That’s a call for a mechanical contractor who can calculate your specific duct and floor area, not a DIY estimate.
How Insulation and Ductwork Choices Affect Moisture Risk
Where your insulation sits changes which humidity rules apply. A traditional vented attic keeps insulation on the attic floor and relies on airflow above it to carry moisture out through soffit and ridge vents. A conditioned or unvented attic puts insulation against the underside of the roof deck instead, sealing the whole space into the home’s conditioned envelope. Mixing strategies, like insulating the roof deck but still venting the soffits, creates dead air pockets that trap moisture rather than releasing it.
Ductwork run through a vented attic needs its own moisture defense. Cold ducts in humid air sweat exactly the way a cold glass does on a summer porch, and that condensation drips onto insulation below it over months without anyone noticing until a ceiling stain shows up. Insulate ducts to at least R-8, and confirm the duct surface is fully dry before burying it under loose-fill insulation, since trapping moisture against the duct jacket defeats the purpose entirely.
If insulation is already wet or moldy, don’t just cover it up:
- Remove and discard wet fiberglass or cellulose. Neither dries out cleanly once compressed.
- Let the framing underneath dry fully, ideally with a fan running for at least 24 to 48 hours, before replacing insulation.
- If mold covers more than a small patch, professional remediation is worth the call rather than a DIY bleach spray, which rarely reaches spores embedded in porous wood.
How to Measure Attic Humidity Like a Pro
Guessing at attic humidity wastes money on fixes aimed at the wrong problem. A few tools turn a guess into a diagnosis:
- Buy a digital hygrometer. Basic models run under $20 and give instant relative humidity and temperature readings.
- Leave a datalogging sensor in place for three to five days. A snapshot reading on one dry afternoon tells you almost nothing; a multi-day log shows how humidity swings with weather and HVAC cycles.
- Take three separate readings, one near the roof sheathing, one in the middle of the attic, and one just above the ceiling insulation, to spot whether moisture is coming from outside air or rising from the living space below.
- Run the bathroom fan for ten minutes and watch the attic sensor. A fast RH spike right above that bathroom confirms the fan is venting into the attic instead of outside.
The numbers that matter: keep dew point below roughly 60°F to protect roof sheathing, and treat attic relative humidity that sits consistently above 50 to 55% as a signal something needs attention. The EPA sets a related benchmark for indoor spaces generally, recommending relative humidity stay below 60%, ideally between 30 and 50%, which lines up closely with the attic threshold once you account for the attic running a bit warmer and drier than living space in summer.
An infrared camera helps confirm cold spots tied to air leaks, but it’s optional. A hygrometer and a few days of patience get you most of the way to an accurate diagnosis without spending on gear you’ll use once.
When Should You Call a Professional for Attic Humidity?
Some situations aren’t DIY territory. Call a contractor if you see structural rot on rafters or sheathing, mold that keeps returning after cleaning, insulation that’s wet across large sections, or duct sweating that persists even after you’ve insulated and sealed.
A proper professional visit typically includes moisture mapping across the attic, a full air-sealing scope with photos, a ventilation redesign or supply-air plan if needed, and insulation removal and replacement where damage has already set in. Ask for a written, itemized estimate before work starts, and confirm how they’ll verify results, since a contractor who can’t explain their before-and-after testing method probably isn’t testing at all.
- Ask what warranty covers the sealing work, not just the insulation material.
- Ask whether they measure attic RH and dew point before and after the job.
- Get the scope in writing, penetration by penetration, before signing anything.
What Twenty-Five Years of Attic Calls Teaches You About Moisture
Air sealing gets skipped more than any other step, and it’s the one that would have prevented most of the calls we see. Homeowners buy a dehumidifier, add a second roof vent, or blame the shingles, when the actual leak is a bathroom fan someone forgot terminates six inches short of the roof deck instead of going all the way through.
Document the attic before you touch anything. A phone photo of the insulation, the vent terminations, and any staining gives you a baseline to compare against once the work is done, and it gives a contractor a head start if you bring one in later. The fix that actually works is rarely the dramatic one. It’s the quarter-inch gap around a plumbing stack that nobody thought to check.
— Jim
Get Your Attic Assessed Before Small Leaks Become Big Repairs
Most of what this guide covers, from sealing penetrations to sizing ventilation correctly, is exactly the scope The Attic Genius handles for homeowners across Chicagoland and southern Wisconsin every week. You don’t have to buy a hygrometer and diagnose this alone if you’d rather have a specialist confirm what’s actually happening in your attic.

The team offers a free inspection that covers exactly the checks this article walks through: air-sealing gaps, vent balance, insulation condition, and any signs of moisture or mold already forming. From there, air sealing, attic ventilation upgrades, and moisture and mold remediation are handled by a team that specializes exclusively in attic work, with upfront pricing and written warranties on the job, not vague estimates that shift once work starts.
Before your visit, take a few hygrometer readings if you have one, and snap photos of anything that looks damp or discolored. Inspection scheduling may be prompt, so you can move from noticing a problem to getting a written scope in a timely manner. Request your free inspection and find out exactly what your attic needs, not what a generic checklist assumes it needs.
Sources
- Measure Guideline: Guide to Attic Air Sealing
- BuildingScience guidance on attic ventilation and moisture
- ASHRAE guidance on humidity control
- Air sealing existing attics — Building Science Education / Energy.gov
- EPA: Mold, Moisture, and Your Home
FAQ
What should attic humidity be set at?
Attic relative humidity is healthiest when it stays below 50 to 55% consistently, with dew point held near or below 60°F to protect roof sheathing from long-term moisture damage. Attics naturally run warmer and drier than living spaces, so a brief spike after a humid afternoon isn’t automatically a problem. A multi-day trend above that range is what warrants action.
What is the 7 and 7 rule for attics?
This isn’t a recognized building-science or code standard, and definitions of it vary widely across contractor blogs. Rather than rely on an informal rule, use the sourced benchmarks in this guide: a 1:300 net free vent area ratio for sizing, and a dew point target near 60°F for moisture safety.
How hot should an attic be on a 100-degree day?
Attic temperature isn’t code-regulated the way vent sizing and humidity are, and it varies with roof color, insulation, and ventilation quality. A well-ventilated attic typically runs warmer than outdoor air but shouldn’t trap heat so badly that it drives up cooling costs or stresses shingles; persistent extreme heat alongside poor airflow is a sign your intake and exhaust balance needs a look.
Why is my attic humidity so high?
The most common cause is humid indoor air leaking upward through gaps like recessed lights, the attic hatch, and bath or dryer fans that vent into the attic instead of outside, a documented issue in Department of Energy attic guidance. Roof leaks, blocked soffit intake, and seasonal outdoor humidity can all contribute as well. Checking vent terminations and insulation dampness usually points to which cause applies to your home.