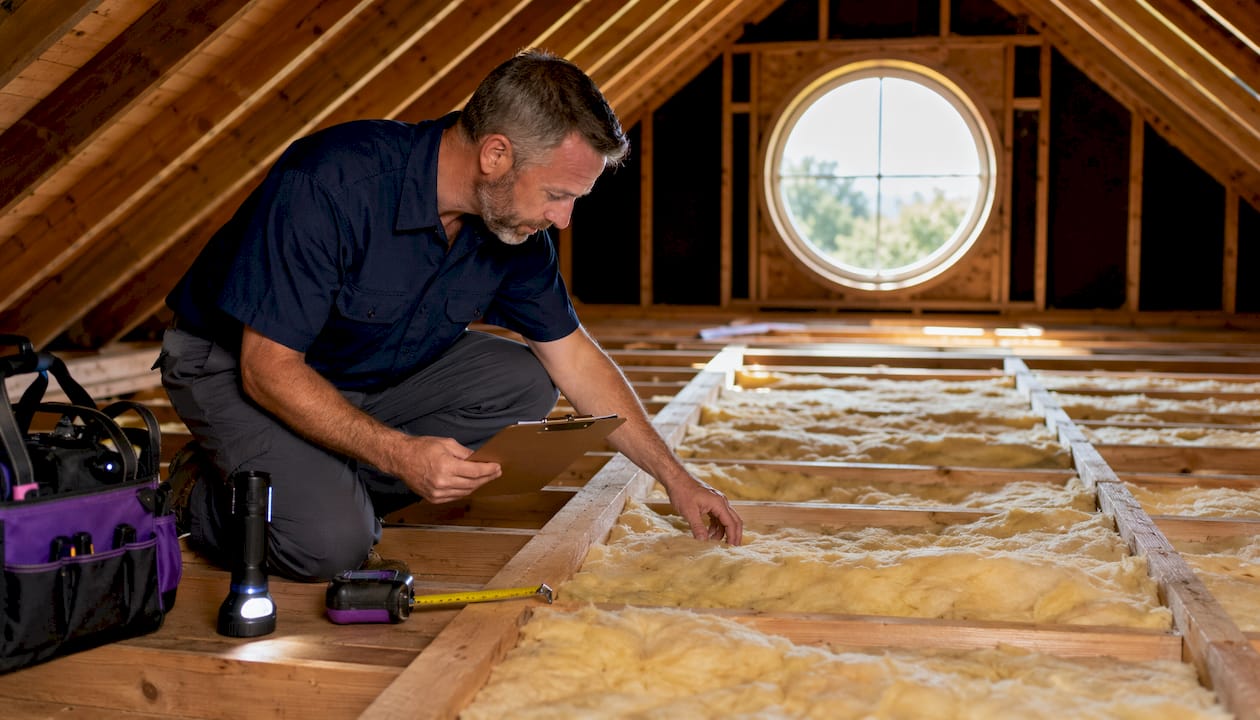
Insulation is defined as a thermal barrier that prevents condensation from forming inside walls, ceilings, and floors by keeping structural surfaces above the dew point. The role of insulation moisture control goes beyond slowing heat transfer. It determines whether your wall cavities stay dry or become breeding grounds for mold and rot. Insulation alone cannot stop moisture problems. It must work alongside air sealing and vapor management to protect your home’s structure and the air your family breathes. The Attic Genius has seen firsthand how homes across Chicagoland suffer preventable moisture damage simply because these three systems were never coordinated.
How does insulation prevent moisture buildup inside walls and ceilings?
Insulation prevents moisture buildup by keeping structural surfaces warm enough to stay above the dew point. The dew point is the temperature at which air releases its moisture as liquid water. When a wall surface drops below that temperature, condensation forms. Insulation slows heat loss through the wall, which keeps the sheathing and framing warmer and drier.

The placement of insulation matters as much as the amount. Building science professionals follow the two-thirds rule, which states that placing at least two-thirds of a wall’s total insulation on the exterior side keeps the structural sheathing warm and prevents condensation inside the cavity. This principle is especially relevant in cold climates like the Chicago area, where winter temperature swings are severe.
Different insulation materials also behave differently when moisture is present. The table below compares common types by their vapor permeability, which measures how easily water vapor passes through them.
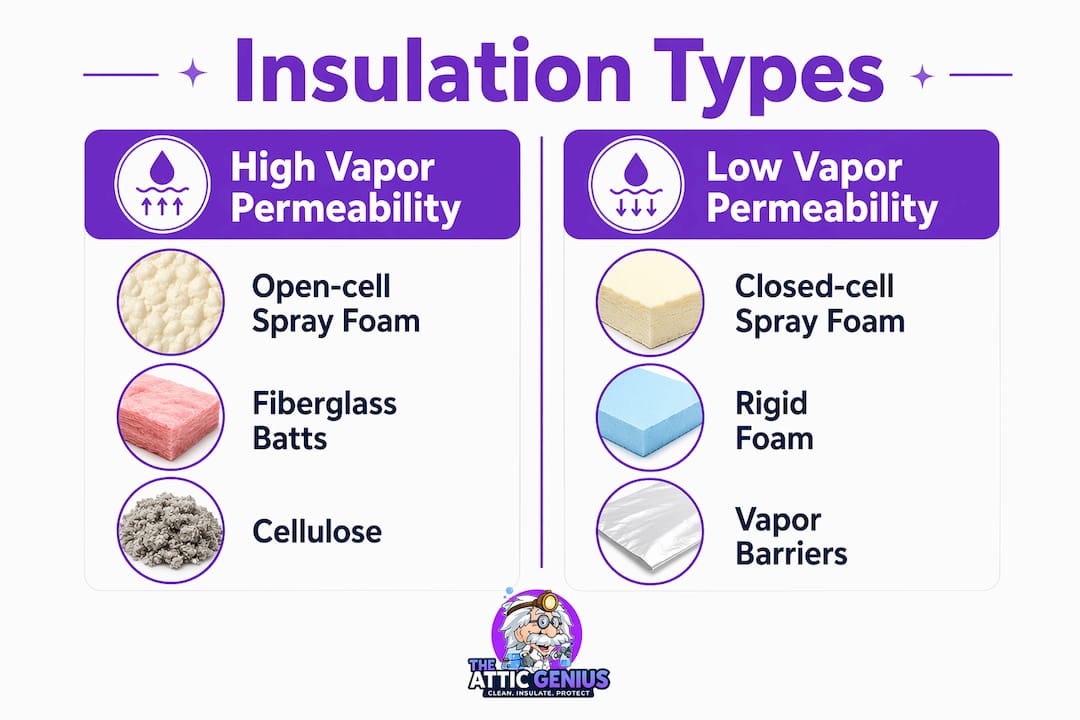
| Insulation type | Vapor permeability | Moisture resistance |
|---|---|---|
| Open-cell spray foam | High (10+ perms) | Low. Absorbs moisture readily |
| Closed-cell spray foam | Very low (≤1 perm) | High. Acts as Class II vapor retarder |
| Fiberglass batt | High (varies) | Low. Holds moisture if wet |
| Rigid foam board | Low to very low | High. Effective exterior barrier |
| Cellulose (blown-in) | Moderate | Moderate. Buffers moisture short-term |
Pro Tip: Closed-cell spray foam acts as a Class II vapor retarder with a permeance rating at or below 1.0 perm. That makes it effective at blocking vapor diffusion, but placement matters. Apply it on the wrong side of a wall assembly and it can trap moisture rather than block it.
Why is air sealing essential alongside insulation for moisture control?
Air sealing is the single most important step in any moisture management plan. Warm indoor air leaking into wall cavities carries up to 100 times more moisture than vapor diffusion alone. That gap in scale means that even a perfect vapor barrier does almost nothing if air is freely moving through gaps and cracks.
Air infiltration also destroys insulation performance. Air leakage can reduce the effective R-value of fiberglass insulation by up to 50% in some installations. You may have R-19 batts in your walls, but if air moves freely through gaps around outlets, plumbing penetrations, and top plates, you are getting far less than half of that rated performance.
The sequence matters too. Air sealing must be completed before adding insulation to prevent air-driven condensation and to preserve the full R-value of whatever insulation goes in afterward. Installing insulation first and sealing later is a common mistake that leaves hidden air pathways in place.
The most common air leakage points in a home include:
- Top plates where walls meet the attic floor
- Electrical outlets and switch boxes on exterior walls
- Plumbing and wiring penetrations through framing
- Recessed light fixtures that open into the attic
- Attic hatch covers and pull-down stair assemblies
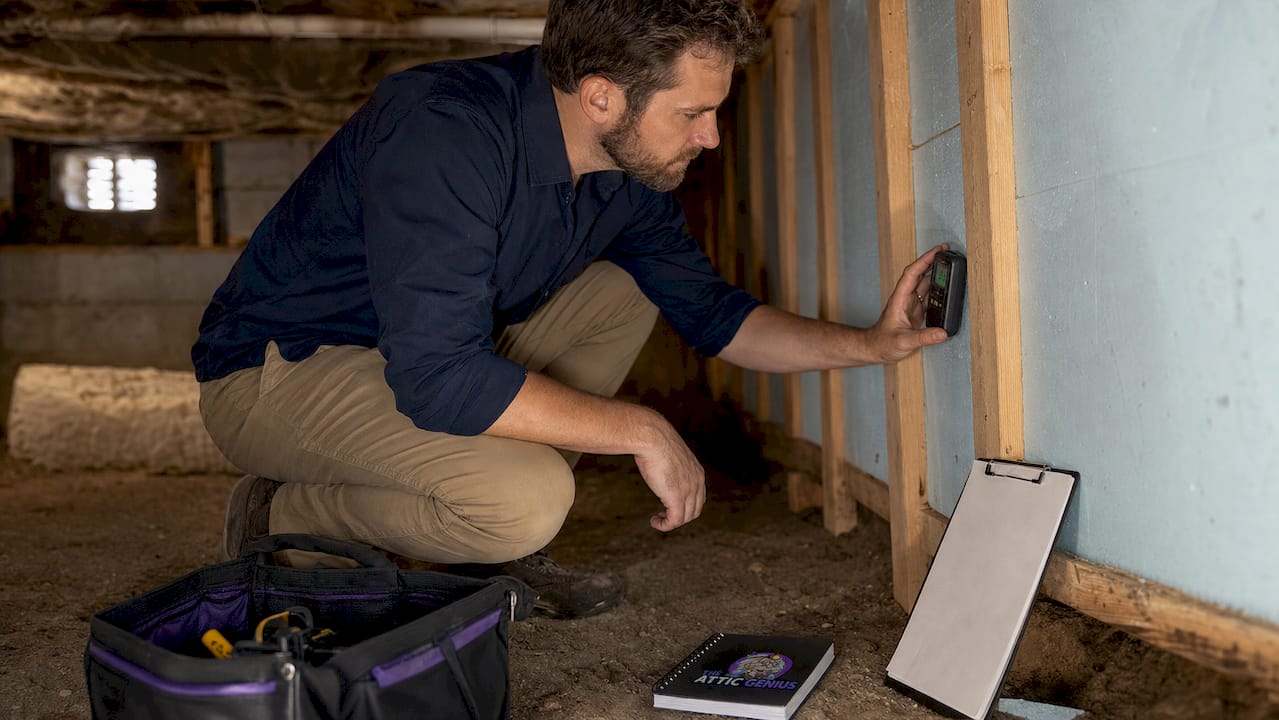
- Rim joists and band joists in the basement or crawl space
- Gaps around ductwork where it passes through ceilings or floors
Pro Tip: Recessed lights are among the worst air leakage points in most homes. Each uninsulated, unsealed can light acts like a small chimney, pulling warm humid air directly into the attic. Replacing them with airtight IC-rated fixtures or sealing them with rigid foam covers before insulating makes a measurable difference.
How do vapor barriers and insulation placement impact moisture control?
A vapor barrier and an air barrier are not the same thing, and confusing them is one of the most common mistakes in insulation moisture management. An air barrier stops bulk air movement. A vapor retarder slows the diffusion of water vapor through materials. Both are needed, but they serve different functions and are often installed in different locations.
Vapor retarder placement depends on climate, occupancy, and HVAC operation, and incorrect placement can trap moisture inside a wall assembly. In cold climates like northern Illinois, the vapor retarder belongs on the warm-in-winter side of the insulation, which is the interior face of the wall. In hot-humid climates, the logic reverses. Getting this wrong creates a moisture trap rather than a moisture barrier.
| Vapor retarder class | Permeance rating | Common materials | Typical placement |
|---|---|---|---|
| Class I (vapor barrier) | ≤0.1 perm | Polyethylene sheeting, foil | Cold climate interior walls |
| Class II (vapor retarder) | 0.1–1.0 perm | Closed-cell spray foam, kraft paper | Cold climate interior walls |
| Class III (vapor semi-permeable) | 1.0–10 perm | Latex paint, open-cell foam | Mixed and warm climates |
The concept of drying potential is equally important. A wall assembly needs to be able to dry out in at least one direction when moisture does get in. Placing a Class I vapor barrier on both sides of a wall cavity eliminates all drying potential and guarantees long-term moisture damage. Continuous exterior insulation is the most effective placement to prevent thermal bridging and condensation risk while preserving the assembly’s ability to dry toward the interior.
What are the consequences of poor insulation moisture control on home health?
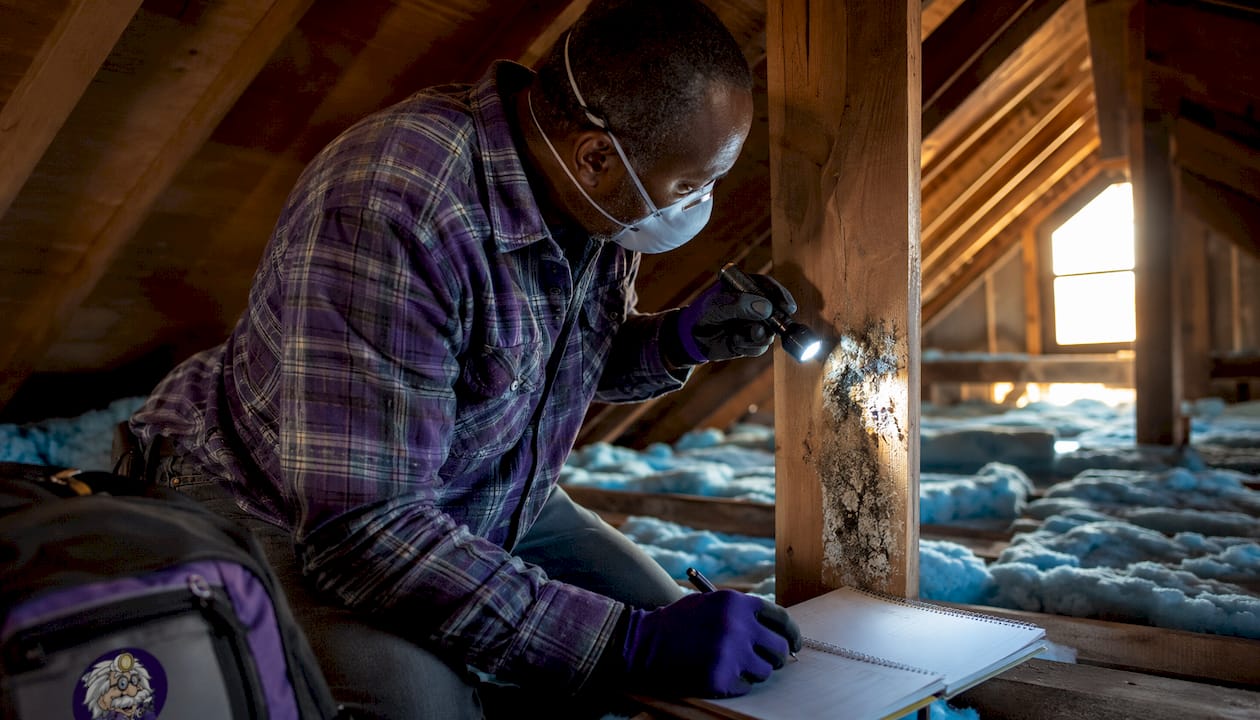
Poor insulation moisture management produces consequences that go well beyond a damp smell. Persistent moisture inside wall cavities and attic spaces creates conditions where mold colonies establish within 24–48 hours of a surface staying wet. The most common species found in moisture-damaged homes are Penicillium and Aspergillus, both of which release spores that trigger respiratory symptoms, allergic reactions, and asthma flare-ups.
Moisture-damaged materials release microbial particles intermittently, driven by pressure changes and drying cycles inside the home. This means the air quality problem is not constant. It spikes when your HVAC system cycles on, when outdoor pressure changes, or when a damp material begins to dry. Homeowners often cannot identify the source because the releases are episodic.
“Retrofitting with insulation and tighter air sealing without upgrading ventilation can worsen indoor air quality by trapping moisture and pollutants inside homes. Tight envelopes reduce natural ventilation, requiring ERVs or HRVs for moisture and pollutant control.”
Structural damage follows a slower but equally serious timeline. Wet wood framing loses strength progressively. Wet insulation loses R-value and compresses. Wet sheathing delaminates and rots. By the time visible damage appears, the underlying problem has typically been active for months or years.
Watch for these warning signs of a moisture problem in your home:
- Staining or discoloration on ceilings, walls, or around window frames
- Peeling paint or bubbling wallpaper on exterior-facing walls
- A persistent musty odor in specific rooms or after the HVAC runs
- Frost or condensation on interior window surfaces during winter
- Visible mold growth in the attic, basement, or crawl space
- Soft or spongy spots in wood floors near exterior walls
- Higher-than-expected heating or cooling bills without a clear cause
What practical steps can homeowners take to improve moisture control?
The most effective starting point is a thorough air sealing project before any insulation upgrade. Sealing gaps at top plates, rim joists, and penetrations stops the primary moisture transport pathway. Air sealing alone can deliver 10–20% energy savings, which is often more than insulation upgrades achieve on their own.
Choosing the right insulation material for each location matters. Closed-cell spray foam works well in rim joists and crawl spaces where moisture exposure is high. Blown-in cellulose or fiberglass performs well in attic floors where vapor drive is lower and drying potential is higher. Rigid foam board on the exterior of wall sheathing addresses thermal bridging while keeping the sheathing warm and dry.
Steel transmits heat 400–1,000 times faster than insulation materials, which means metal-framed walls can develop cold spots and condensation even with insulation between the studs. A continuous layer of rigid foam on the exterior breaks that thermal bridge and eliminates the cold spot.
Practical steps for homeowners include:
- Complete air sealing before scheduling any insulation upgrade
- Choose insulation materials based on location, climate zone, and moisture exposure
- Install an energy recovery ventilator (ERV) or heat recovery ventilator (HRV) if you tighten the building envelope significantly
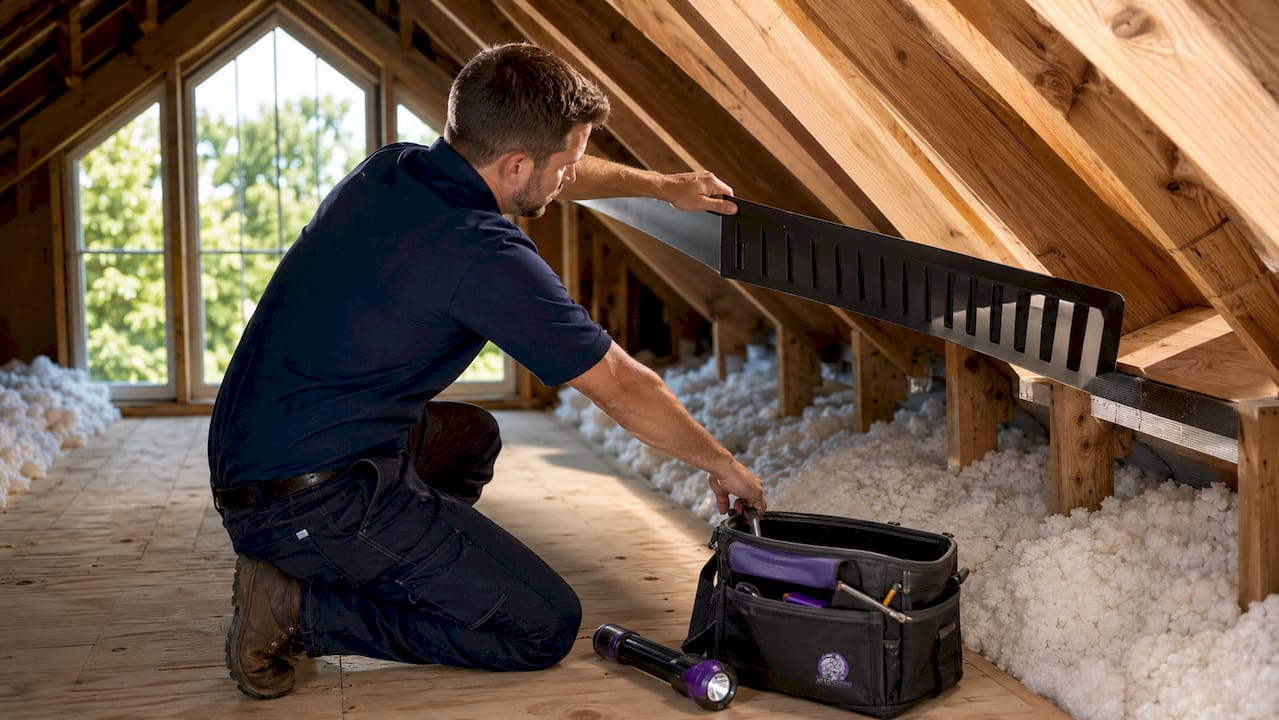
- Inspect attic ventilation annually to confirm it is functioning and unobstructed
- Check vapor retarder condition during any renovation that opens wall cavities
- Review common insulation mistakes before starting a DIY project
Pro Tip: Upgrading insulation without improving ventilation can degrade indoor air quality. If you tighten your home’s envelope, add mechanical ventilation at the same time. An ERV or HRV exchanges stale indoor air with fresh outdoor air while recovering most of the energy from the outgoing air.
Key Takeaways
Effective insulation moisture control requires coordinating insulation, air sealing, and vapor management as a single system, not three separate upgrades.
| Point | Details |
|---|---|
| Insulation is a thermal barrier | It keeps surfaces above the dew point to prevent condensation, not just slow heat loss. |
| Air sealing comes first | Air leaks carry up to 100 times more moisture than vapor diffusion and must be sealed before insulating. |
| Vapor retarder placement is climate-specific | In cold climates, place the retarder on the warm interior side to allow drying toward the exterior. |
| Thermal bridging creates cold spots | Continuous exterior insulation eliminates bridging through studs and frames that standard batts cannot address. |
| Tight homes need mechanical ventilation | Sealing a home without adding an ERV or HRV can trap moisture and pollutants indoors. |
What I’ve learned after years of seeing moisture damage up close
Most homeowners think of insulation as a product you buy by the bag and stuff into gaps. After years of inspecting attics and walls across Chicagoland, I can tell you the real problem is almost never the insulation itself. It is the air leaks that nobody sealed before the insulation went in.
I have walked into attics where a homeowner spent real money on new blown-in insulation, only to find the top plates completely open to the living space below. Every time the furnace ran, warm humid air was pumping directly into that insulation. Within two winters, the sheathing was showing early signs of moisture damage. The insulation was doing its job. The air was not being stopped.
The other misconception I see constantly is the belief that more R-value solves everything. It does not. Adding insulation without air sealing can actually push the dew point deeper into the wall assembly, creating hidden condensation in a spot that was previously dry. That is a worse outcome than doing nothing.
My honest advice: get a professional to assess your air leakage before you spend a dollar on insulation. The attic air barrier is where most of the moisture damage in Chicagoland homes starts. Fix that first, then upgrade the insulation, then address ventilation. In that order.
— Jim
Protect your home with The Attic Genius
Moisture problems in attics and walls rarely announce themselves early. By the time you notice staining, odors, or rising energy bills, the damage is already underway.

The Attic Genius serves homeowners throughout Chicagoland and the Northwest Suburbs with attic insulation services, professional air sealing, attic ventilation upgrades, and moisture and mold remediation. Our team brings 25+ years of combined experience and 400+ five-star reviews. We offer same-day inspections, upfront pricing, and written warranties. If you want to know exactly what is happening in your attic before the next Chicago winter, request a free inspection and get a clear answer the same day.
FAQ
What is the role of insulation in moisture control?
Insulation acts as a thermal barrier that keeps structural surfaces above the dew point, preventing condensation from forming inside walls and ceilings. It must be combined with air sealing and proper vapor management to fully control moisture.
Does insulation act as a vapor barrier?
Insulation is not a vapor barrier on its own. Closed-cell spray foam is the exception, as it carries a Class II vapor retarder rating with a permeance at or below 1.0 perm, but most other insulation types allow vapor to pass through freely.
Why does air sealing matter more than insulation for moisture?
Air leaks carry up to 100 times more moisture into wall cavities than vapor diffusion, making air sealing the dominant factor in moisture management. Insulation without air sealing can actually worsen moisture problems by shifting condensation deeper into the assembly.
Where should a vapor barrier be placed in a cold climate?
In cold climates like the Chicago area, the vapor retarder belongs on the warm interior side of the insulation. Placing it on the exterior side traps moisture inside the wall cavity and eliminates the assembly’s ability to dry out.
How do I know if my home has a moisture problem from poor insulation?
Look for ceiling stains, peeling paint on exterior walls, a musty odor when the HVAC runs, frost on interior windows in winter, or visible mold in the attic or crawl space. These are reliable signs that moisture is accumulating where it should not be.