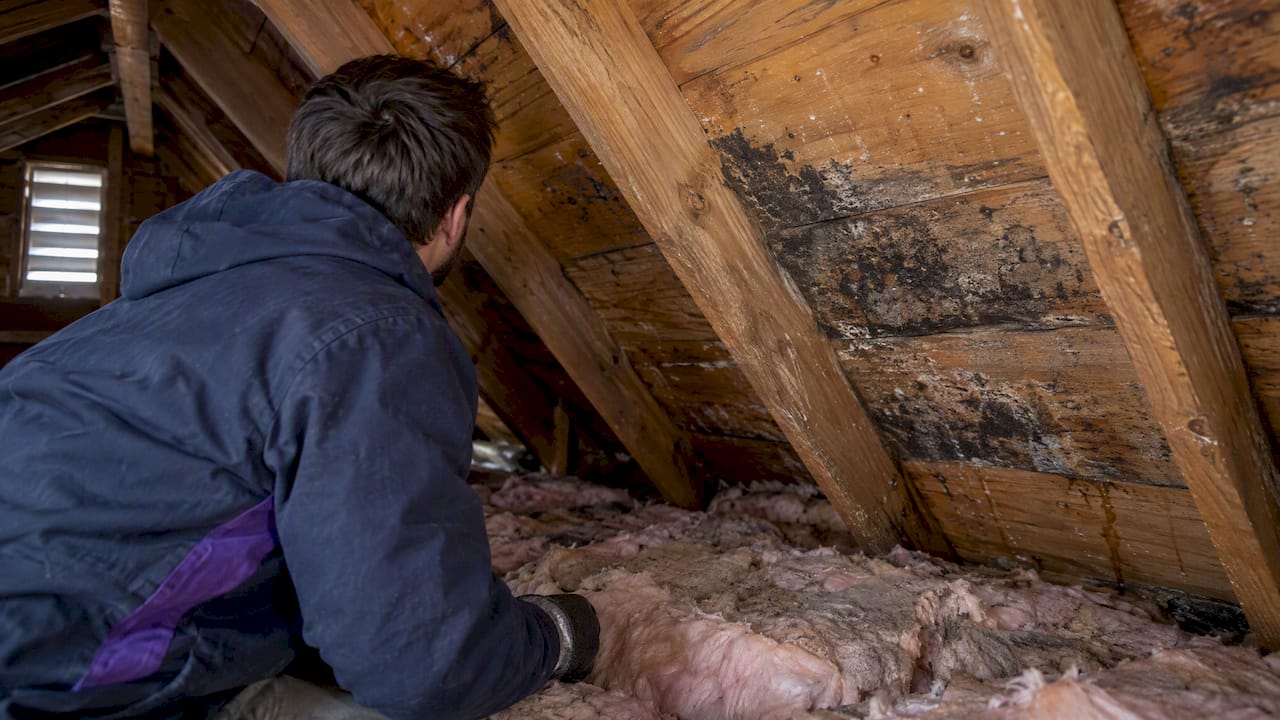
Attic mold in winter primarily stems from warm, moist indoor air escaping into the cold attic and condensing on surfaces like roof sheathing and framing, a phenomenon often driven by the stack effect. This condensation, rather than roof leaks, provides the moisture for mold growth. To address this, homeowners should seal air leaks between the living space and the attic, and dry any wet materials within 24 to 48 hours to prevent further mold development. Maintaining indoor relative humidity between 30% and 50% also helps reduce the moisture available for condensation.
Most attic mold you see in winter comes from warm, moist house air condensing on cold attic surfaces, not from a roof leak. The first move is to seal the air leaks between your living space and your attic, then dry any wet materials within 24 to 48 hours. If mold covers a large area or keeps coming back, call a professional before doing anything else.
TL;DR:
- Keep indoor relative humidity between 30% and 50%, and dry wet insulation, sheathing, or framing within 24 to 48 hours to limit further growth.
- Homeowners can clean mold under about 10 square feet with an N95 mask, gloves, and goggles; areas from 10 to 100 square feet require containment.
- First seal attic floor gaps, then replace wet insulation without blocking soffit vents, and finally confirm that soffit and ridge ventilation remain balanced.
- Call a professional for mold over about 10 square feet, recurring growth, soft framing, contaminated insulation, or ceiling stains after an ice dam.
Table of Contents
- Why Mold Appears in Attics During Winter
- How to Identify Attic Moisture and Mold: A Quick Checklist
- Immediate Actions When You Find Attic Moisture or Small Mold Areas
- Longer-Term Fixes: Air Sealing, Insulation, and Balanced Ventilation
- When to Call a Professional
- How The Attic Genius Handles Winter Attic Mold
- What I’d Do First If I Found Attic Mold Tonight
- Get a Free Attic Inspection Before Winter Gets Worse
- FAQ
- Sources
Why Mold Appears in Attics During Winter
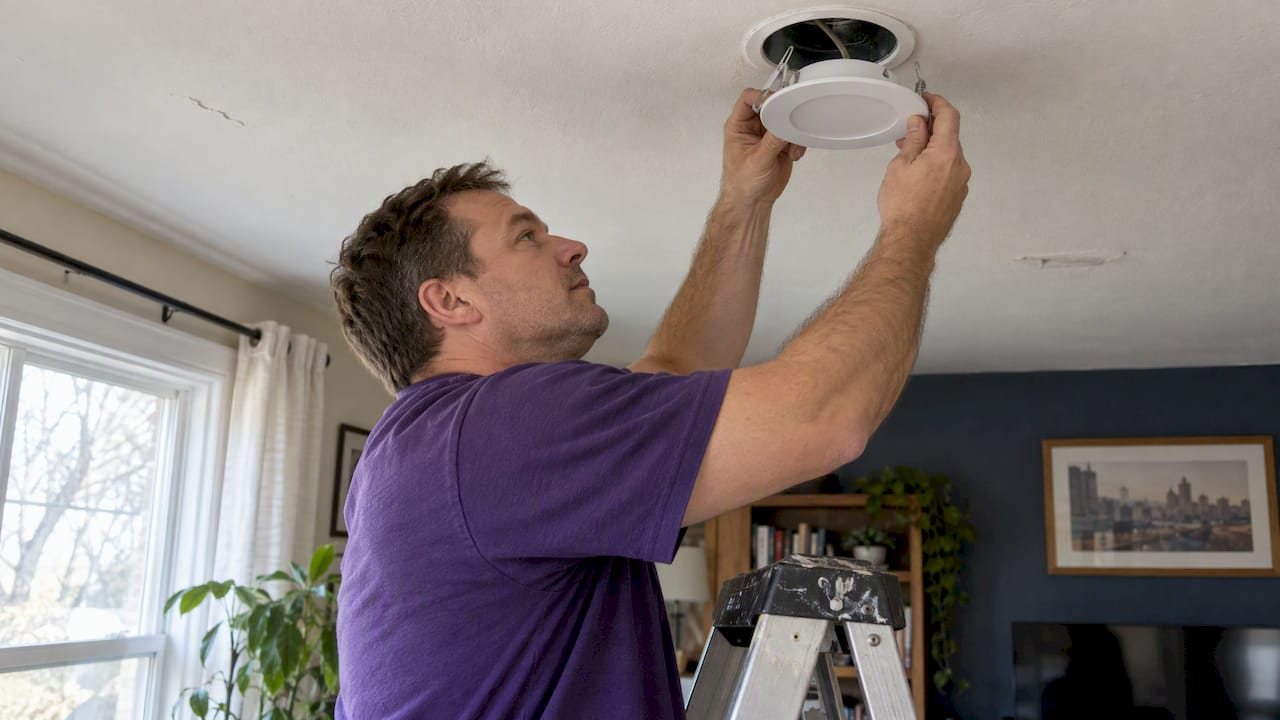
Warm indoor air holds more moisture than cold air, and in winter that warm air rises through your house and escapes through tiny gaps: recessed light fixtures, plumbing stacks, the attic hatch, chimney chases, duct boots. This upward movement is called stack effect. Once that humid air reaches your cold attic, it hits roof sheathing and framing that are often well below the dew point, and the moisture condenses right there. Over a winter, that steady drip of condensation is what feeds mold on sheathing, rafters, and insulation.
Ice dams are a visible symptom of the same problem. Heat escaping into the attic warms the roof deck, melts snow above the insulated part of the attic, and that water refreezes at the colder eaves, building up ice that backs water under shingles. That meltwater can soak into the attic and contribute to the same mold risk as condensation. Ice dams are often an early warning that attic heat is escaping, and fixing the dam without sealing the leaks usually means it comes back next winter.
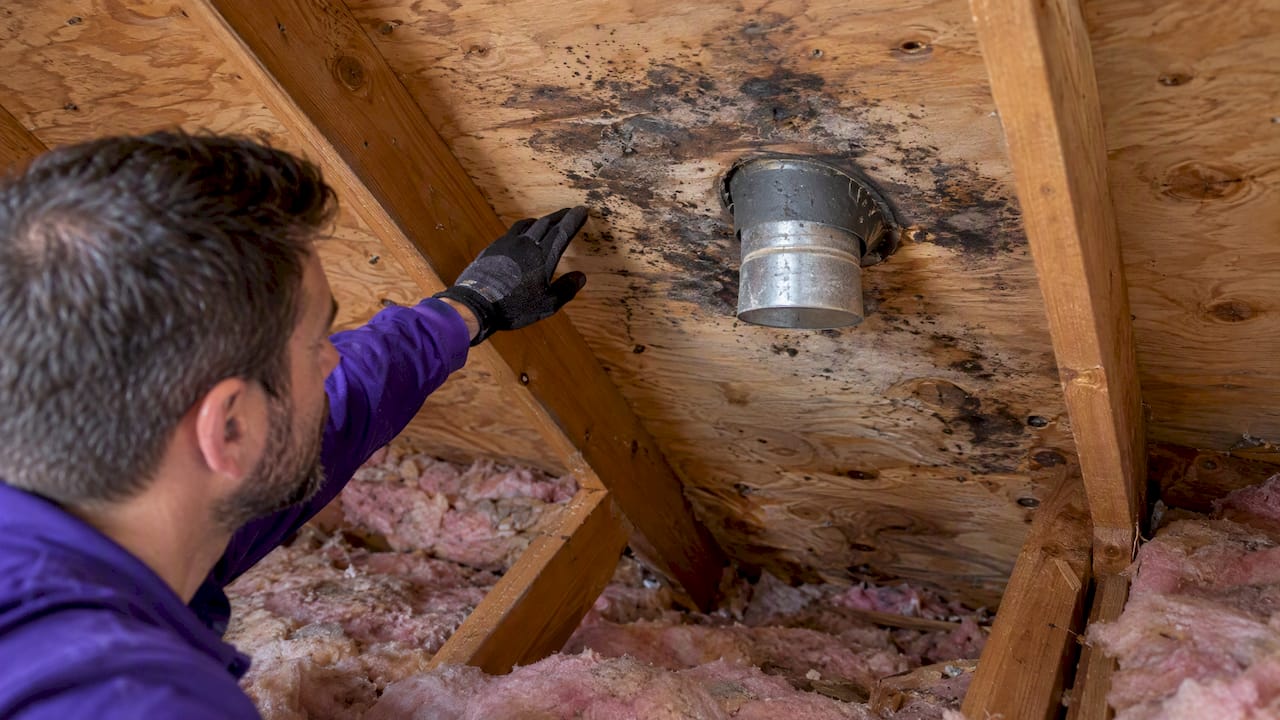
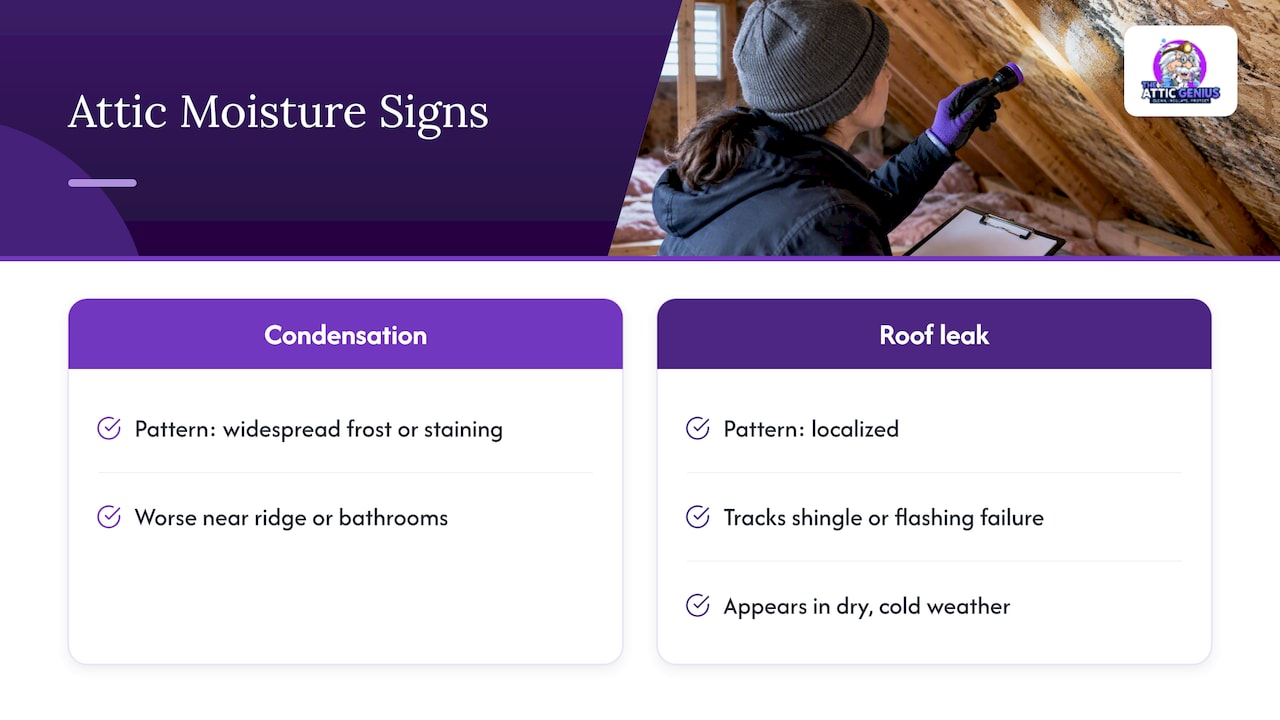
It helps to tell condensation apart from an actual roof leak. Condensation tends to show up as widespread frost or staining across the underside of the deck, often worse near the ridge or over bathrooms. A roof leak is usually localized, tracks with a specific shingle or flashing failure, and shows up even in dry cold weather. Keeping indoor relative humidity between 30% and 50% lowers the amount of moisture available to condense in the first place.
How to Identify Attic Moisture and Mold: A Quick Checklist
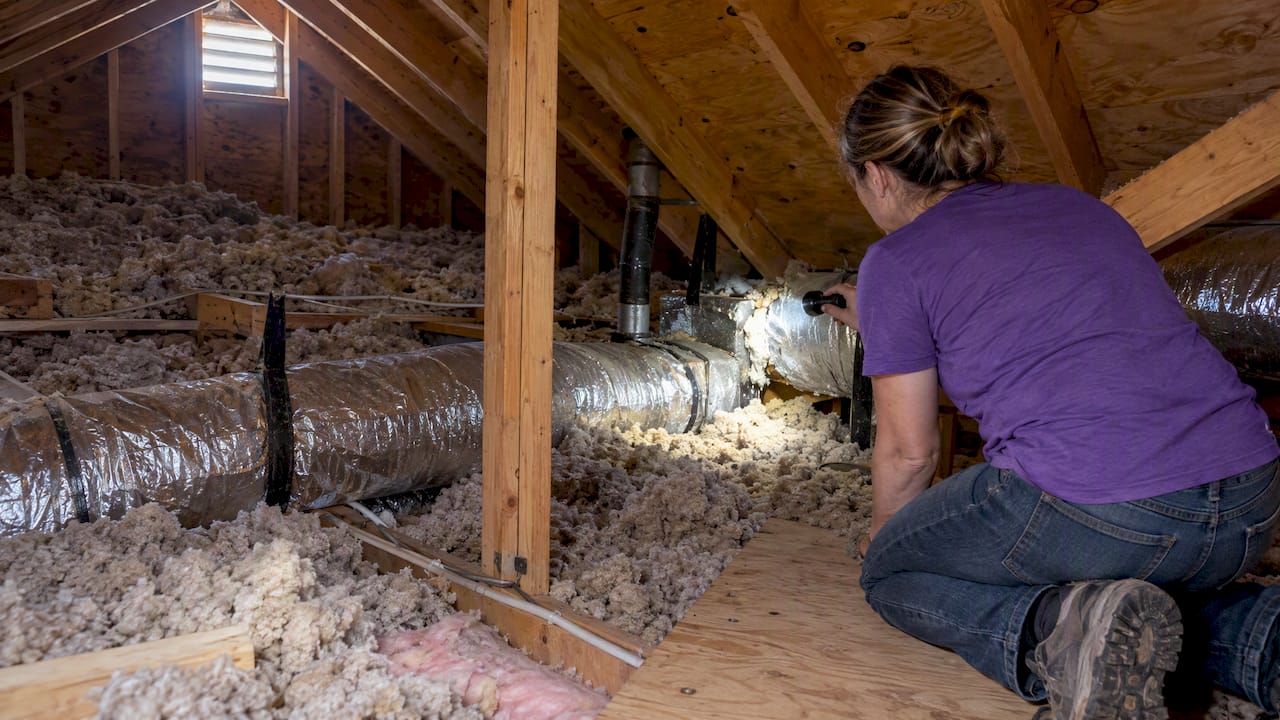
A flashlight and a few minutes at the attic hatch can tell you most of what you need to know. Look for these signs before assuming the worst or ignoring a musty smell:
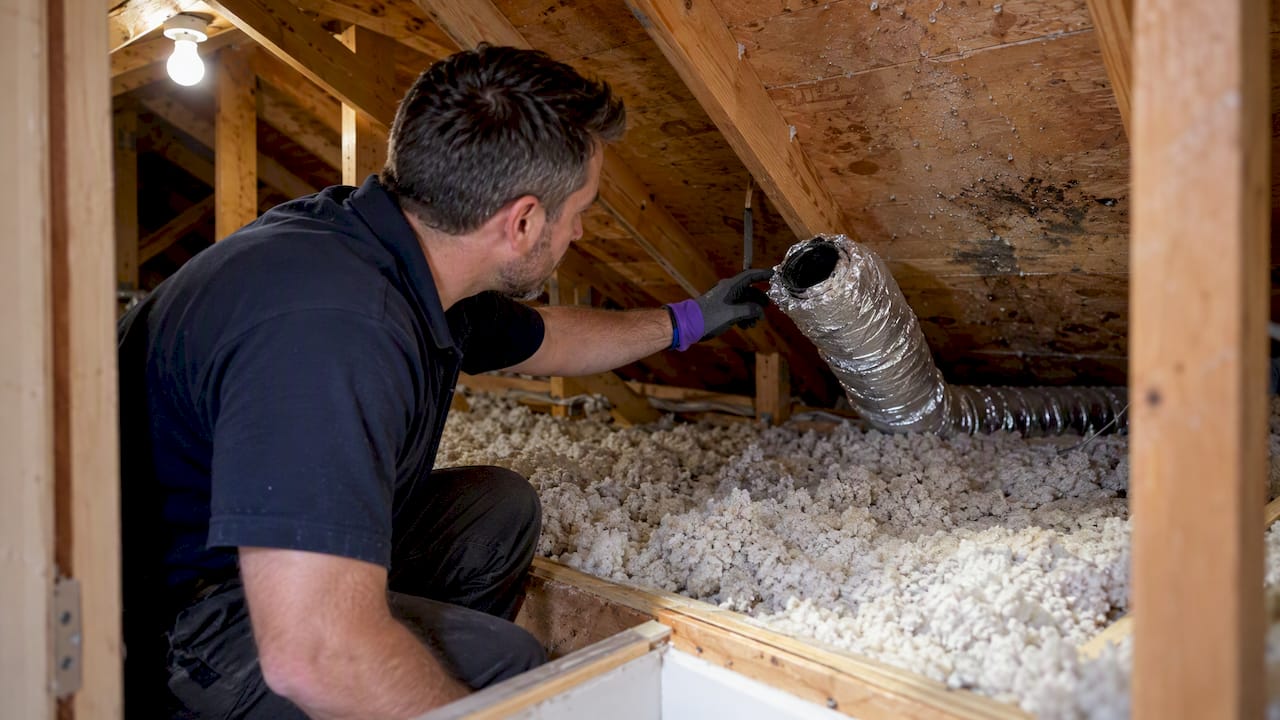
- Dark or black staining on the underside of the roof deck or rafters
- Frost or ice crystals on nail tips or sheathing on cold mornings
- Rusted roofing nails, which usually mean chronic dampness
- Compressed, dirty, or damp-looking insulation, especially in streaks
- A musty odor when you first open the attic hatch
Dirty or discolored insulation is one of the most useful clues you have, because it often marks where air is leaking through and filtering dust as it passes. Check around recessed can lights, plumbing stacks, the attic access hatch, chimney chases, and duct boots first. A simple hygrometer placed in the attic or near suspect areas can confirm whether humidity is running high, and if you’re poking around visible mold, a dust mask, gloves, and goggles are worth putting on before you go any further.
Immediate Actions When You Find Attic Moisture or Small Mold Areas
Speed matters more than perfection here. Wet insulation, sheathing, or framing should be dried within 24 to 48 hours to keep mold from establishing itself further.
- Improve airflow if it’s safe to do so, and run a fan to move air across damp surfaces.
- Keep any dehumidifier outside the attic if possible, since attics are rarely insulated or heated enough for one to work efficiently inside.
- Clean small mold patches yourself only if the affected area is modest, and stop and call a professional if it’s spreading.
- Hold off on new insulation until the moisture source is sealed. Insulating over active mold just traps the problem.
Small mold areas under about 10 square feet can typically be cleaned by a homeowner wearing an N95 mask, gloves, and goggles, while areas between 10 and 100 square feet call for containment, such as 6-mil polyethylene sheeting, to keep spores from spreading. While you’re in triage mode, don’t block soffit vents with insulation or storage, and don’t let a bathroom fan or dryer vent dump directly into the attic. Both mistakes add the exact moisture you’re trying to remove.
Longer-Term Fixes: Air Sealing, Insulation, and Balanced Ventilation
Permanent prevention follows a specific order, and skipping ahead usually wastes money. Building science and Department of Energy guidance call for sealing attic floor penetrations before adding or upgrading insulation, then restoring balanced ventilation so the attic can shed whatever moisture still gets through.
The sequence looks like this:
- Seal first: close gaps around light fixtures, plumbing stacks, wiring penetrations, the attic hatch, and chimney chases with caulk, spray foam, or rigid blocking for larger openings.
- Insulate second: replace wet or compressed insulation and bring the attic floor up to a consistent depth, without covering soffit vents.
- Ventilate third: confirm intake at the soffits and exhaust at the ridge are both open and roughly balanced.
Contractors doing this work often use a blower door or infrared camera to find leaks that aren’t obvious from the hatch, which is a faster and more precise way to find bypasses than a visual scan alone. Baffles at the soffit are what keep that intake clear once insulation goes in, so if you can see insulation jammed against the roof deck at the eaves, that’s a sealing and ventilation problem waiting to happen. Mechanical attic fans are rarely the right first fix, since they can pull conditioned air out of the house faster than they remove humidity, which makes the stack effect worse rather than better.
Pro Tip: Before you add a single bag of insulation, confirm your bathroom, kitchen, and dryer vents actually terminate outside the attic, not just somewhere inside it.
As a homeowner, three checks cover most of the risk: verify baffles are in place at every soffit bay, confirm exhaust fans vent to the exterior, and make sure nothing is piled against the soffit openings from inside the attic.
When to Call a Professional
Some situations move past a weekend project. Call a professional when you see:
- Mold covering more than roughly 10 square feet
- Mold that returns after you’ve cleaned it once already
- Soft, rotted, or sagging sheathing or framing
- Pest or vermin waste contaminating the insulation
- Water stains on ceilings or walls following an ice dam
A qualified contractor typically uses blower-door testing, infrared imaging, and moisture meters to find the moisture path, then contains and removes damaged material consistent with OSHA guidance before sealing and rebuilding insulation. Ask any contractor whether they air-seal before insulating, what diagnostic tools they use, and whether the scope and warranty are in writing. If anyone in the home has asthma or another respiratory condition, treat mold removal as a priority rather than a someday project.
How The Attic Genius Handles Winter Attic Mold
We recommend starting with an inspection to find the actual moisture source rather than guessing. From there, affected areas should be contained and cleaned when needed, air-sealed to prevent warm air from entering the attic, wet insulation replaced or repaired, and attic humidity should be confirmed under control before completing the job.
We back every project with upfront pricing and a written warranty, and we offer moisture and mold remediation alongside air sealing and attic ventilation work as one connected service rather than separate fixes. Our team brings more than 25 years of combined experience and over 400 combined five-star reviews from homeowners across Chicagoland.
What I’d Do First If I Found Attic Mold Tonight
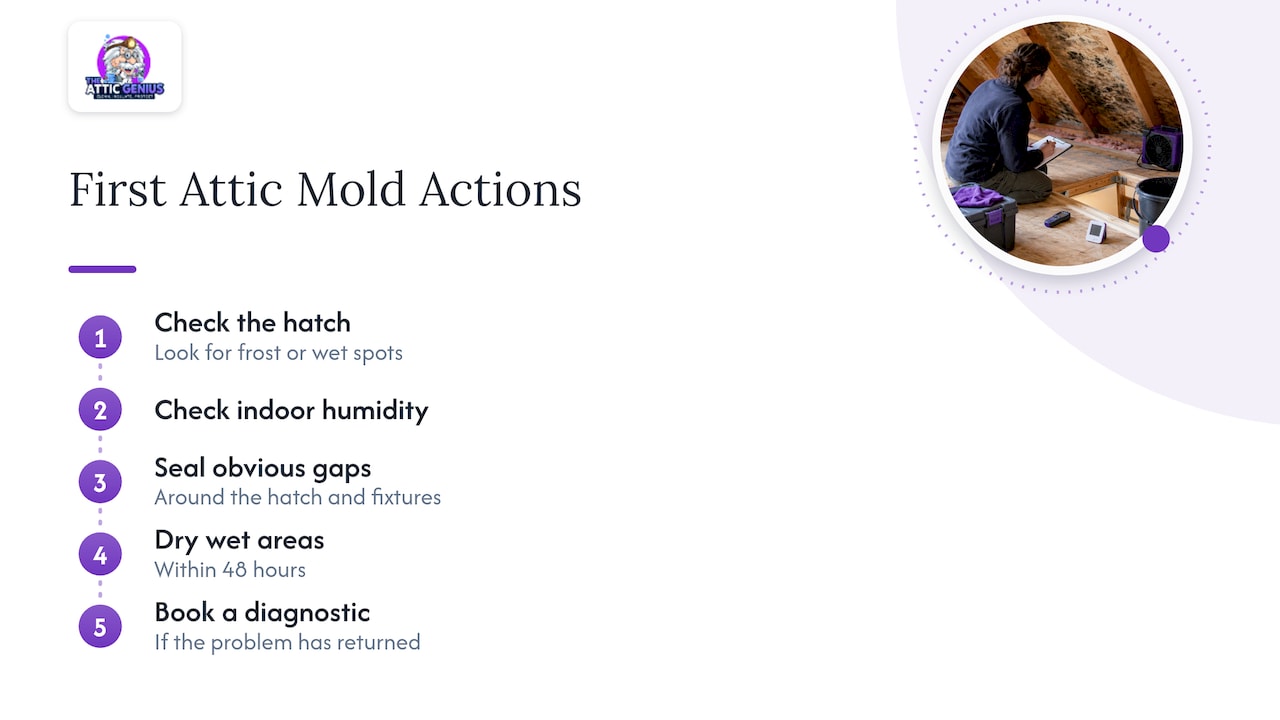
If I found mold in my own attic tonight, I’d check the hatch for frost or wet spots, check my indoor humidity, and seal the obvious gaps around the hatch and fixtures before doing anything else. I’d dry wet areas within 48 hours and book a professional diagnostic if the problem had already come back once.
Sealing and targeted repairs almost always beat repeated cleanup, both in cost and in how long the fix actually lasts.
— Jim
Get a Free Attic Inspection Before Winter Gets Worse

We offer a free inspection that walks through your attic, checks humidity and air leaks, and gives you a written scope before any work starts. From there we handle moisture and mold remediation, air sealing, and attic ventilation upgrades under one roof, with upfront pricing and a written warranty on the work. Schedule your inspection and find out exactly what’s driving the moisture in your attic.
FAQ
Is mold in an attic bad?
Attic mold is a real problem because it signals an ongoing moisture source and can damage sheathing, framing, and insulation if it’s left alone. It can also affect indoor air quality, particularly for people with asthma or allergies, so it’s worth addressing rather than ignoring.
What causes mold in a house during winter?
Winter attic mold is usually caused by warm, humid indoor air leaking into a cold attic through gaps around lights, plumbing, and the attic hatch, where it condenses on cold surfaces. Keeping indoor humidity between 30% and 50% reduces how much moisture is available to condense.
How long does it take for mold to grow on insulation?
Mold can start growing on wet insulation within a couple of days if the moisture isn’t addressed, which is why materials should be dried within 24 to 48 hours of getting wet. The exact timeline depends on humidity, temperature, and how saturated the material is.
Does mold in a house ever go away?
Visible mold can be cleaned, but it returns if the moisture source that fed it isn’t fixed. Removing the mold and sealing the underlying leak or condensation point is what actually stops it for good, not cleaning alone.
Sources
- A Brief Guide to Mold, Moisture, and Your Home — EPA
- Mold Cleanup Guidance — OSHA
- Measure Guideline: Guide to Attic Air Sealing — Building America / DOE
- Dealing with and preventing ice dams — UMN Extension