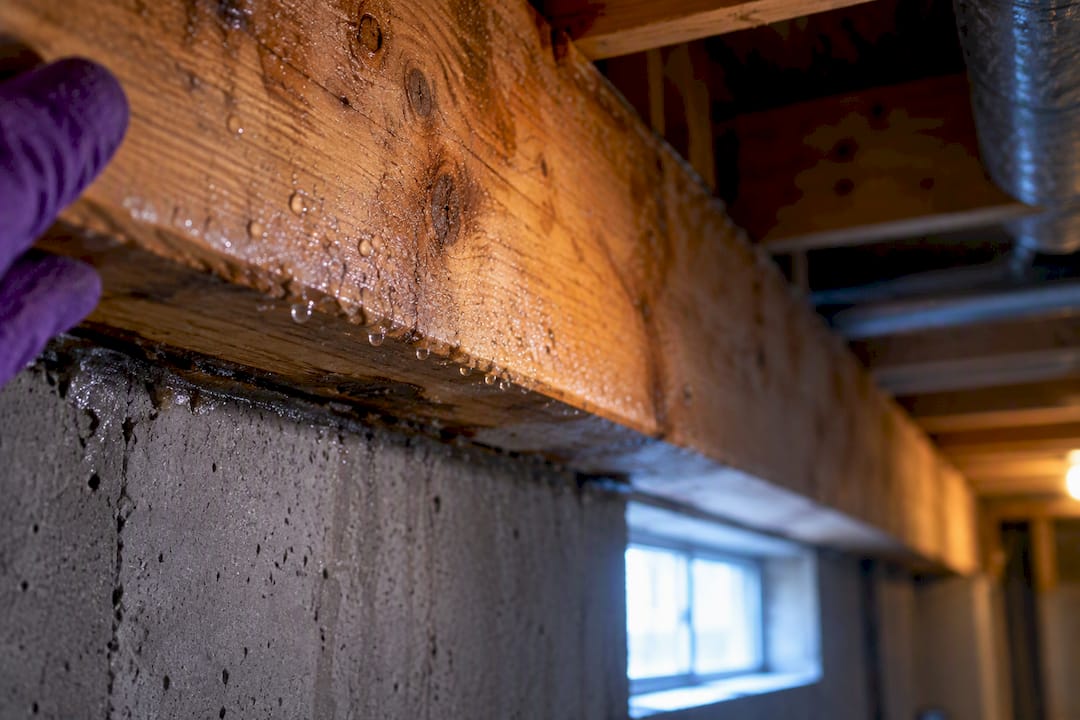
Rim joist condensation happens when warm, moisture-laden indoor air meets the cold wood framing at the edge of your foundation, leaving water droplets that can rot wood and feed mold. The highest-value fix is not more insulation but a continuous air seal that keeps humid air away from that cold surface, paired with keeping indoor relative humidity in check. Start by checking a hygrometer reading near the rim cavity and pulling back a section of existing insulation to look for moisture or staining.
TL;DR:
- Proper air sealing at gaps around the sill plate, subfloor seams, and framing is essential to prevent humid indoor air from reaching the cold rim joist surface.
- Seal and insulate with continuous, air-impermeable materials like spray foam or rigid foam panels to create a durable barrier that reduces condensation risks.
- Maintaining indoor relative humidity below 60% and using a dehumidifier near the rim joist can significantly decrease moisture buildup and mold potential.
- External insulation raises the rim joist temperature, making condensation less likely but may require professional installation to ensure safety and effectiveness.
- Regular seasonal inspections and moisture monitoring help detect early signs of failure, preventing long-term damage and costly repairs.
Table of Contents
- How to tell if it’s condensation or a leak
- Why rim joists condense: the science behind it
- Short-term fixes you can do right now
- Permanent fixes: air sealing and insulation that actually work
- Spray foam safety and code notes you shouldn’t skip
- Controlling humidity with dehumidifiers and whole-house systems
- A short checklist to keep rim joists dry long-term
- What years of inspections reveal about rim joist failures
- Let The Attic Genius handle your rim joist condensation
- Authoritative resources to read next
- Sources
- FAQ
How to tell if it’s condensation or a leak
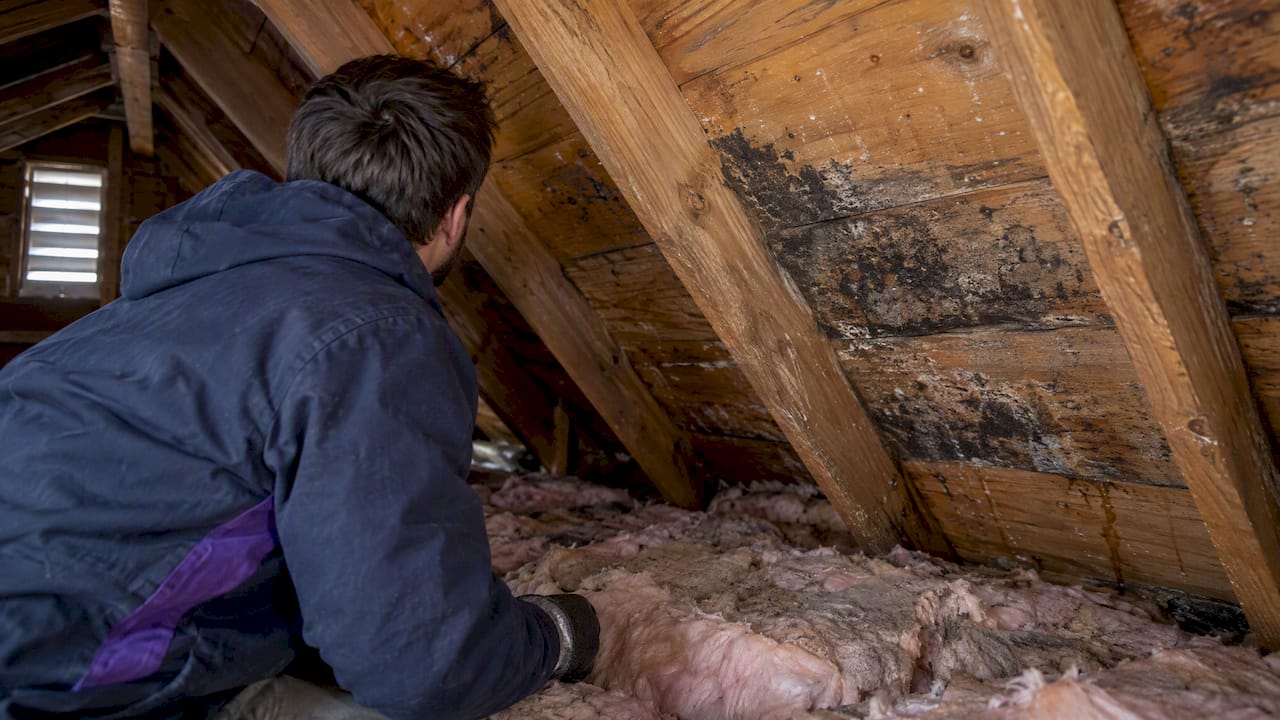
Condensation tends to show up as fine beading or a damp film on the coldest surfaces, often worse in winter when indoor humidity is high and the rim joist is at its coldest. A musty smell, dark staining on wood, or soft, spongy framing near the top of the foundation wall point to moisture that has been sitting there a while rather than a single event.
A few checks help sort out what you’re dealing with:
- Place a hygrometer within a foot of the rim joist and note the reading against room humidity.
- Peel back a small section of batt insulation and check for wet fibers, mold, or wood discoloration.
- Touch the framing: cold and slightly damp usually means condensation, while a wet trail running downward suggests a leak.
- Note the season: winter dampness usually tracks with indoor humidity, while summer dampness after opening basement windows suggests humid outside air is the source.
Moisture pooling near the floor, staining that follows a straight line from outside, or dampness after rain rather than after a cold snap usually points to a leak, not condensation, and needs a different repair.
Why rim joists condense: the science behind it
Condensation is simple physics: warm air holds more moisture than cold air, and when that warm, humid air touches a cold surface, it drops water it can no longer hold. Rim joists are almost always the coldest wood surface in a house because they sit right at the foundation edge, exposed to outdoor temperatures on the other side of a thin band of framing.
The problem is usually not a lack of insulation but air leaks that let humid indoor air reach that cold surface in the first place. Gaps at the sill plate, subfloor seams, and framing connections are common leak points, according to University of Minnesota Extension, which notes that workmanship-sensitive connections at the sill plate, rim joist, and subfloor are frequent sources of air leakage.
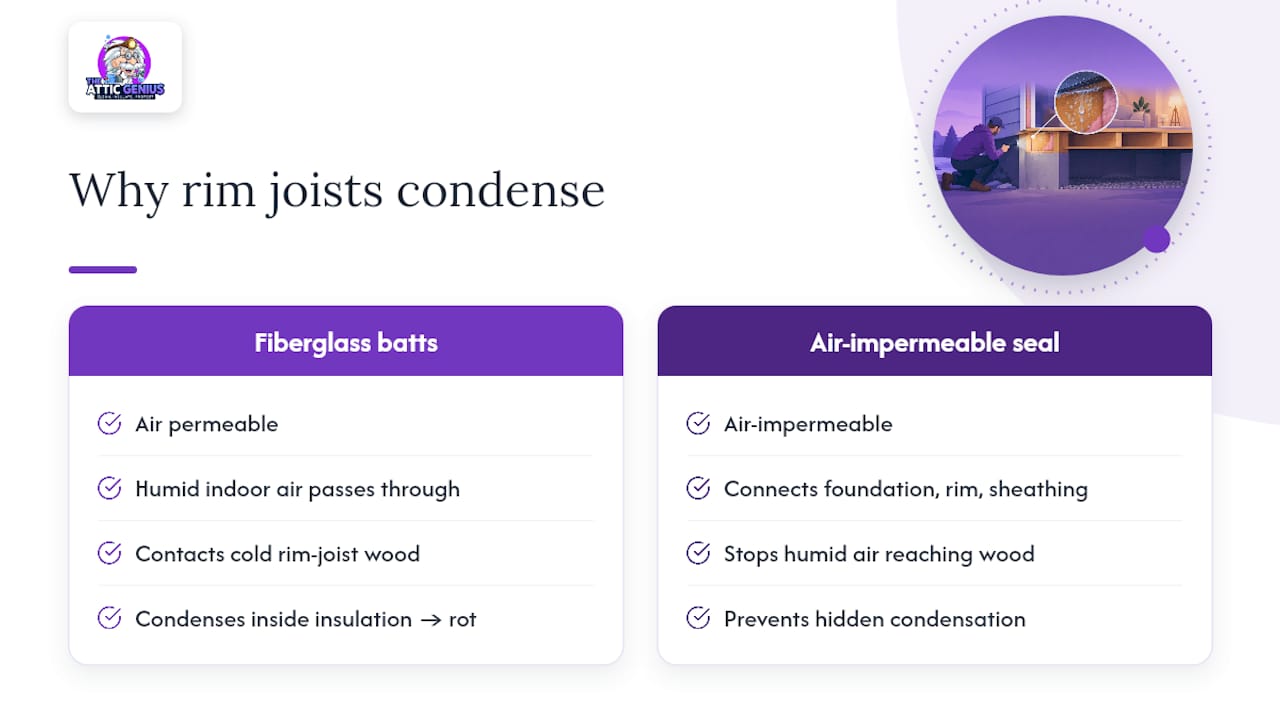
Fiberglass batts, the most common rim joist insulation, do little to stop this because they are air permeable: humid air passes through them, hits the cold wood, and condenses right inside the insulation where nobody sees it until rot sets in. Building science research describes the fix as a “critical seal,” an air-impermeable barrier that connects the foundation wall, rim joist, and floor sheathing into one continuous air barrier, as detailed by Building Science Corporation.
Short-term fixes you can do right now
While you plan a permanent repair, a few low-risk steps reduce condensation right away.
- Check relative humidity with a hygrometer placed a few feet from the rim joist, and work toward keeping it under 60%, a threshold the U.S. Department of Energy recommends for limiting condensation and mold risk.
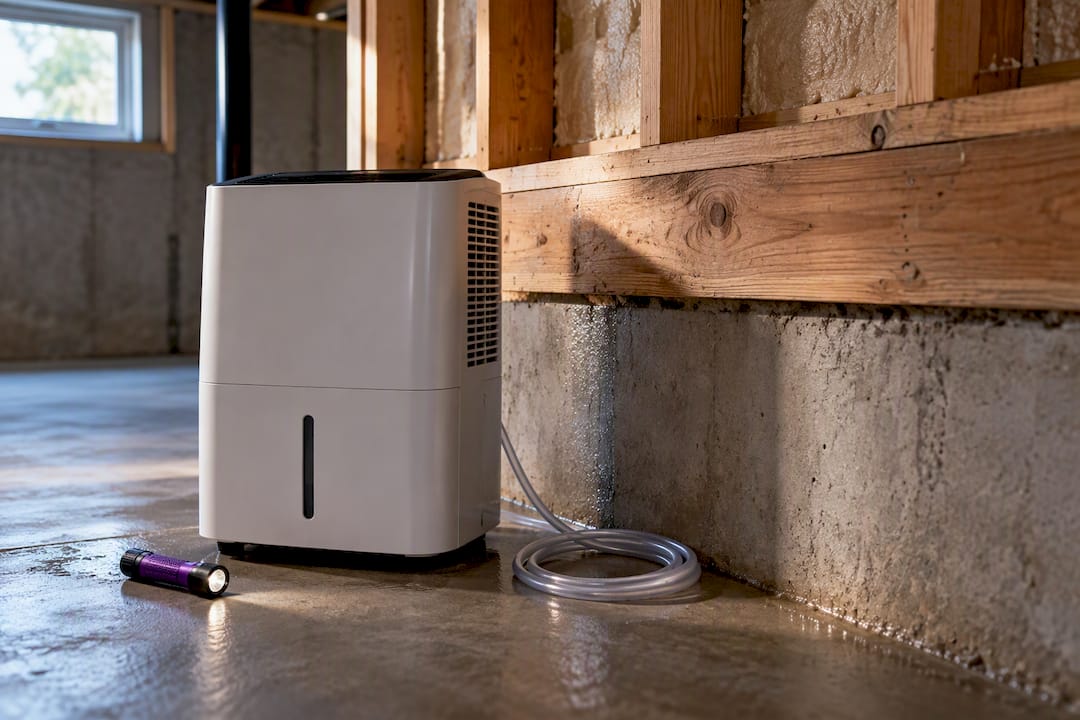
- Run a portable dehumidifier near the affected area, sized for the basement’s square footage, and empty or drain it regularly.
- Pull out any wet batt insulation, let the cavity dry fully, and seal visible gaps with caulk or a can of expanding foam before replacing insulation.
- Skip the urge to “air it out.” Opening basement windows in summer often pulls in humid outside air that makes condensation worse, not better.
Pro Tip: Run the dehumidifier for a few days before resealing gaps so you’re not trapping existing moisture behind new caulk or foam.
Permanent fixes: air sealing and insulation that actually work
Durable repairs treat the rim joist as an air-sealing problem first, insulation second.
- Interior rigid foam panels: Cut rigid foam board to fit each rim joist bay and seal every edge with canned foam or high-quality tape so no gaps remain, since a partial seal still lets humid air sneak through.
- Exterior rigid insulation: On accessible foundations, adding rigid insulation outside the rim joist area raises its surface temperature, which reduces the odds of it ever reaching the dew point.
- Critical-seal spray foam: Spray polyurethane foam applied directly to the rim joist and connecting the foundation wall to the floor sheathing creates one continuous air barrier, which is why building scientists favor it for this specific detail.
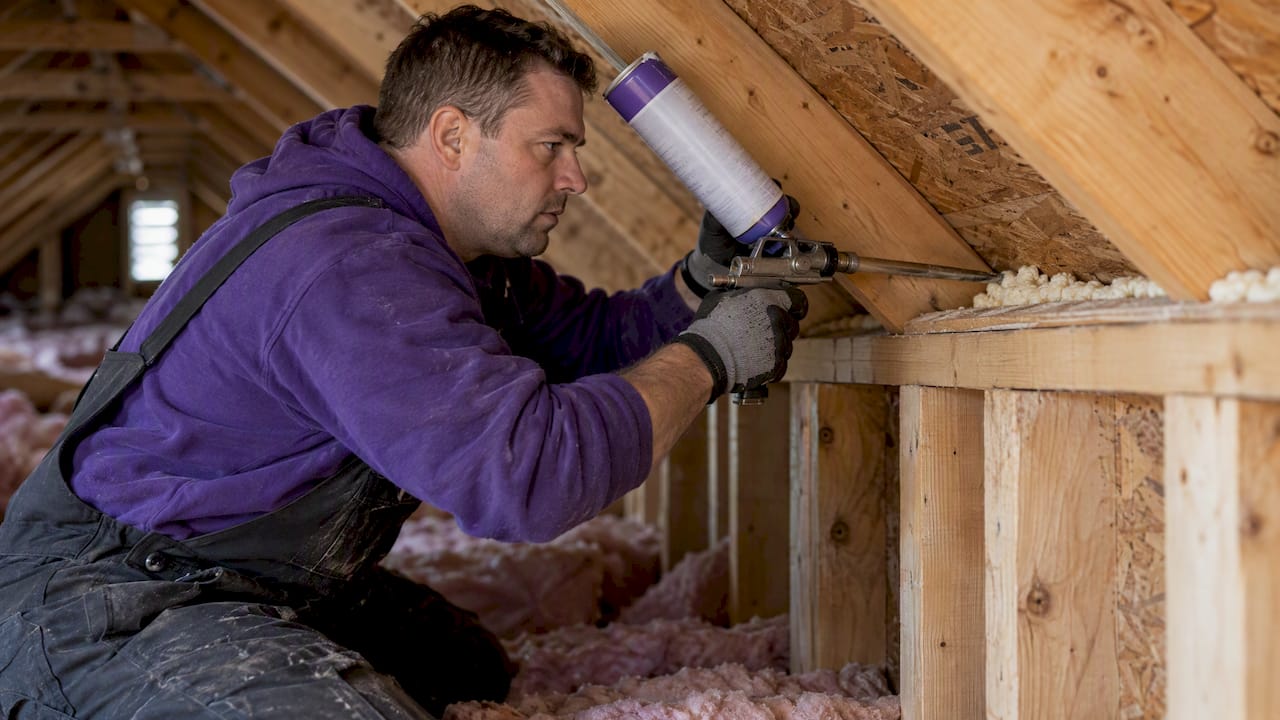
- DIY vs. professional: Cutting and taping rigid foam panels is reasonable for a handy homeowner, but spray foam application, especially anything beyond a small gap-filling can, is better left to a licensed applicator who can manage ventilation and coverage properly.
Costs and timelines vary by house size and whether you’re doing rigid foam yourself or hiring out spray foam work; a rim joist insulation cost guide breaks down what homeowners typically budget for professional work. One detail worth remembering: insulating basement walls before sealing the rim joist can make condensation worse by widening the temperature gap between conditioned air and the still-cold rim cavity, so the rim comes first.
Spray foam safety and code notes you shouldn’t skip
Spray polyurethane foam works well as an air barrier, but it comes with handling rules worth knowing before you commit to it.
- The U.S. EPA recommends vacating treated areas during application and following manufacturer guidance on ventilation and re-entry time, since off-gassing during curing can be hazardous.
- Building codes typically cap how thick exposed spray foam can be before it needs a separate thermal or ignition barrier, so check with your local code official before a large rim joist application.
- Professional applicators use negative-pressure containment, local exhaust, and personal protective equipment, steps that are hard to replicate with a small DIY canister.
- Small gap-filling cans are fine for a weekend project, but full rim joist coverage is a job better suited to a licensed applicator.
Emissions during spray foam application can run far higher than during the cured phase, according to an EPA emissions characterization study, which is exactly why ventilation and re-entry timing matter more during and right after application than months later.
Controlling humidity with dehumidifiers and whole-house systems
Sealing the rim joist stops the biggest source of moisture, but keeping overall humidity down protects the rest of the basement too. The Department of Energy recommends keeping indoor relative humidity below 60% to limit condensation and mold growth, and that threshold matters just as much for wood framing as it does for air quality.
A portable dehumidifier works fine for a single problem area if it’s properly sized and the room has decent air movement to mix humidity evenly. If condensation keeps returning across a whole basement, or the climate runs humid for months at a time, a whole-house dehumidifier tied into the HVAC system tends to hold humidity steady far more reliably than a portable unit or air conditioning alone. Similar climate-control logic applies in other enclosed spaces prone to moisture buildup, as this guide to package room humidity control illustrates for a very different setting.
Placing a dehumidifier near the rim joist itself, rather than tucked in a far corner, gets faster results and gives you a more accurate read on whether the fix is working.
A short checklist to keep rim joists dry long-term
Rim joist problems tend to come back if the underlying causes aren’t addressed on a schedule.
- Check relative humidity and temperature near the rim joist each season, not just when you notice a problem.
- Inspect the sill plate and rim joist seal once a year for gaps, especially after any plumbing or electrical work nearby.
- Stick with air-impermeable insulation details, rigid foam or spray foam, rather than switching back to batts in this location.
- Keep bathroom fans, dryer vents, and any dehumidifiers running as needed to control indoor moisture sources year-round.
Pro Tip: Log your rim joist humidity readings on your phone each season. A rising trend over a year is often the earliest sign of a failing seal, long before you’d see visible moisture.
What years of inspections reveal about rim joist failures
The most common mistake we see is a homeowner insulating with batts and calling the job done, without ever sealing the air leaks feeding moisture into that cavity. A proper inspection checks airtightness at the sill plate, the condition of the existing rim cavity detail, nearby HVAC or plumbing sources of humidity, and any early mold signs before they spread into the framing. This exact failure pattern is common and can be addressed by experienced crews with many positive customer reviews from the Chicagoland area.
— Jim
Let The Attic Genius handle your rim joist condensation

You can chase this problem with a hygrometer and a case of caulk, or you can have a specialist crew seal it properly the first time. The Attic Genius focuses on attic, basement, and crawl space work exclusively, which means the technician who shows up at your rim joist has done this repair far more often than a general contractor squeezing it between other jobs.
- Basement and crawl space insulation: proper air sealing and insulation detailing at the rim joist and beyond.
- Air sealing: closing the leak pathways that let humid air reach cold framing in the first place.
- Moisture and mold remediation: for cases where condensation has already led to mold growth.
Some jobs may come with upfront pricing and a written warranty, and same-day inspections may be available to minimize wait times. Book a free inspection and get a written scope before any work starts.
Authoritative resources to read next
- Building Science Corporation’s critical-seal detail
- EPA guidance on spray foam re-entry
- DOE dehumidifier guidance
- UMN Extension on basement moisture
Sources
- Info-408: Critical Seal (Spray Foam at Rim Joist) | Building Science Corporation
- Consumer dehumidifiers | U.S. Department of Energy
- Framing and air sealing homes in cold climates | University of Minnesota Extension
- Vacate and safe re-entry time after spray polyurethane foam application | U.S. EPA (archived)
FAQ
Is it a good idea to spray foam a rim joist?
Yes, spray foam is one of the more reliable options because it creates a continuous air barrier across the rim joist, foundation wall, and floor sheathing, a detail building scientists call the critical seal. Full coverage work is generally better handled by a licensed applicator who can manage ventilation and re-entry timing properly.
What’s the best way to insulate rim joists?
The most reliable approach pairs an air-impermeable material, either rigid foam panels sealed at every edge or spray foam, with attention to sealing the sill plate and framing connections first. Batt insulation alone tends to fail here because it lets humid air pass through and condense against the cold wood.
Can I use DIY spray foam cans to insulate my rim joists?
Small cans work fine for filling gaps and minor cracks, but covering entire rim joist bays is a bigger job that involves off-gassing risks during application and curing. The EPA recommends vacating treated areas and following ventilation guidance, which is easier to manage with professional equipment.
Do rim joists need to be insulated?
Yes, an uninsulated rim joist is typically the coldest surface in a basement and a common spot for condensation, heat loss, and drafts. The insulation only works long-term if it’s paired with an air seal, since fibrous insulation without sealing often traps moisture instead of blocking it.