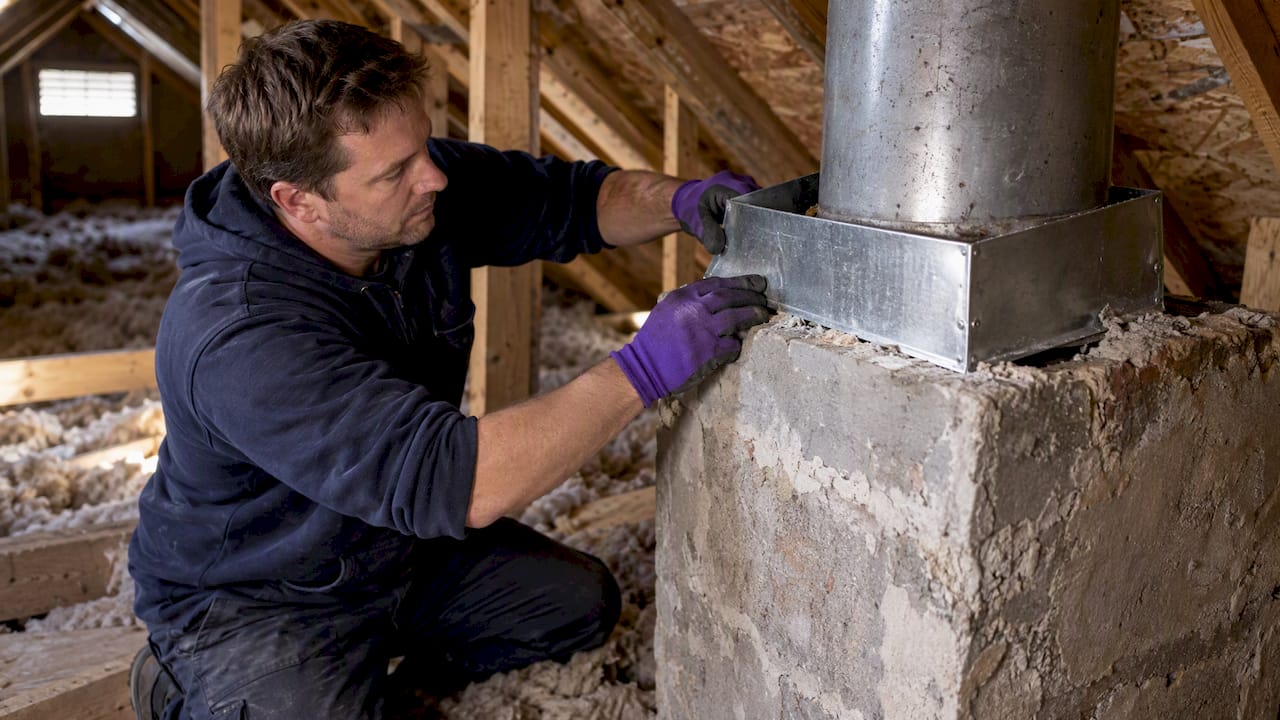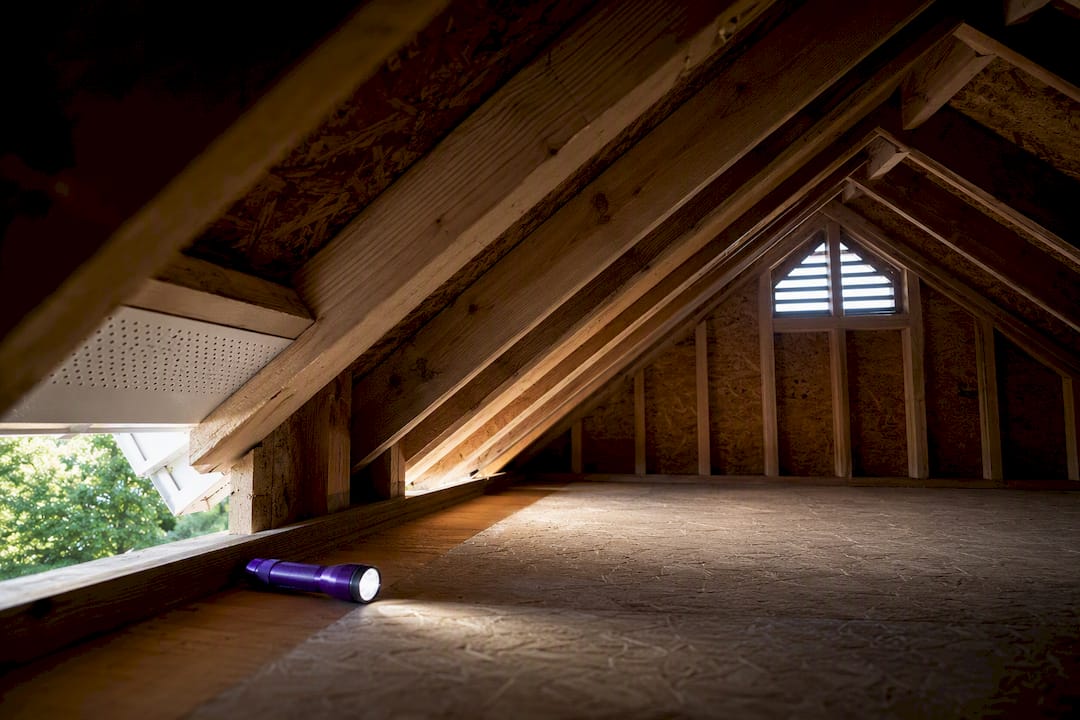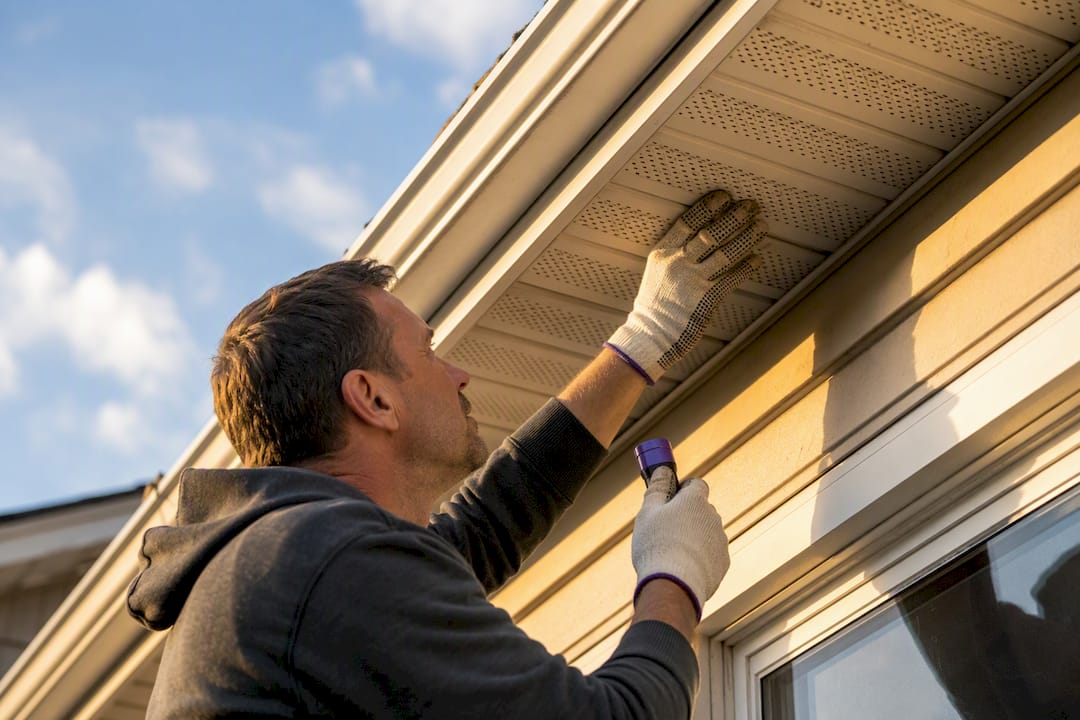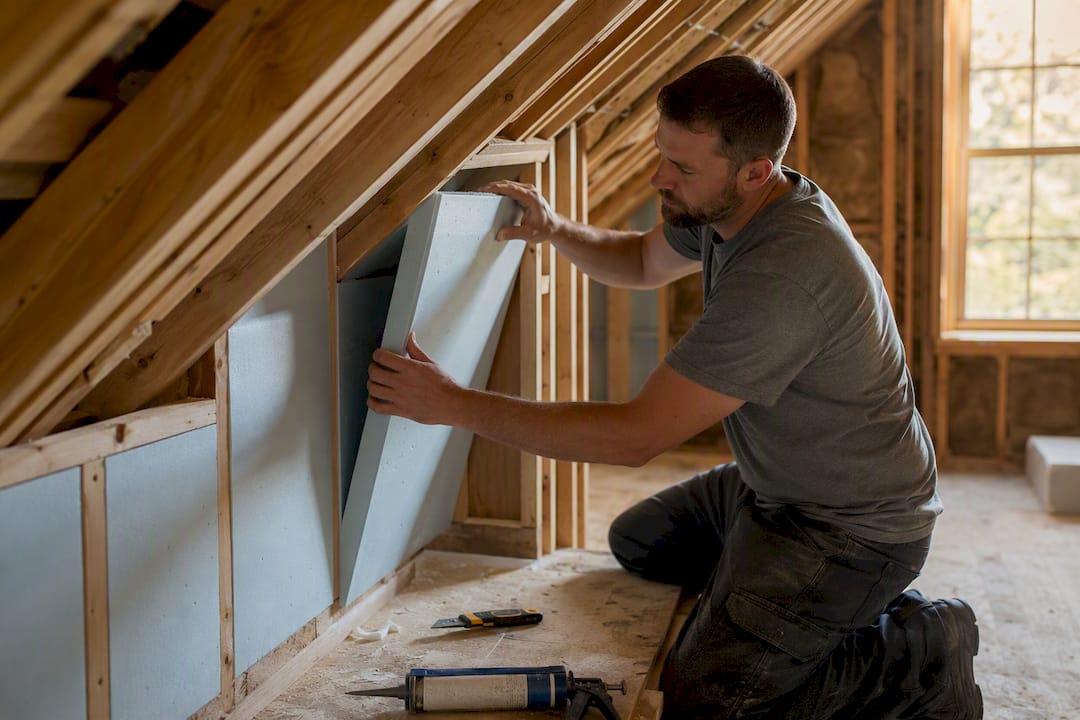
Attic knee wall insulation typically involves two main approaches: either insulating the sloped roof to bring the triangular attic into the home's conditioned space, or air-sealing and insulating the knee wall itself. Professionals often favor conditioning the attic when practical, as it eliminates a category of leaks and can create usable storage, whereas insulating the knee wall directly is generally less invasive and cheaper. For a durable retrofit, it is crucial to seal every cavity with blocking and use rigid foam as the attic-side air barrier, especially since shallow 2x4 rafter bays (approximately 3.5 inches) often require supplemental rigid foam to meet current R-value requirements.
Best practice is one of two moves: insulate the sloped roof so the triangular attic behind your knee wall joins your home’s conditioned space, or, if that’s not practical, air-seal and insulate the knee wall itself with a durable rigid-board backer and blocked joist bays. Both approaches work. Professionals generally prefer conditioning the attic when there’s room to do it right, because it removes a whole category of leaks before they start.
Before you touch any insulation, check two things: whether ducts or plumbing run through that triangular attic space, and how deep your rafters actually are. Ducts in an unconditioned space push you toward conditioning the attic. Shallow 2×4 rafter bays limit how much insulation you can pack in no matter which route you take.
- Inspect the space first: look for ducts, wiring, and old insulation before deciding on a method.
- Measure rafter and joist depth. A 2×4 cavity (about 3.5 inches) rarely reaches the R-values current codes expect for exterior walls.
- Confirm your climate zone’s R-value target before buying materials, since knee wall cavities often can’t accommodate modern ceiling R-values without extra rigid foam.
Key Takeaways
Sealing every cavity with durable blocking before insulating, and choosing rigid foam as the attic-side air barrier, determines whether a knee wall retrofit lasts or fails within a few years.
| Point | Details |
|---|---|
| Choose your approach first | Condition the triangular attic when ducts, plumbing, or deep rafters allow it; otherwise seal and insulate the knee wall itself. |
| Block before you insulate | Install blocking at the top and bottom of every cavity and seal its edges before adding any insulation. |
| Rigid foam beats housewrap | Use rigid foam, OSB, or drywall as the attic-side air barrier, since it resists sagging and holds a seal longer. |
| Match insulation to R-value targets | Shallow 2×4 bays often need supplemental rigid foam to reach your climate zone’s ceiling R-value requirement. |
| Know when to call a pro | The Attic Genius offers same-day inspections and handles ducts, mold, and pest contamination that go beyond a simple DIY fix. |
Table of Contents
- Attic Knee Wall Insulation Steps: Choosing the Right Approach
- Materials and Tools Needed for Insulating Attic Walls
- What Safety Steps Come Before Installing Insulation?
- Step-by-Step Instructions for Insulating Knee Walls
- How Should You Manage Ventilation and Condensation?
- Common Mistakes in Knee Wall Insulation and How to Fix Them
- When Should You Call a Professional for Knee Wall Insulation?
- What Actually Matters Most in a Knee Wall Retrofit
- Get a Professional Assessment of Your Knee Wall Insulation
- Sources
Attic Knee Wall Insulation Steps: Choosing the Right Approach
The two-approach decision isn’t really about preference. It’s about what’s already in that triangular attic and how much patience you have for detail work.
Insulating along the roof slope, so the attic joins your conditioned envelope, means moving the air barrier and insulation to the roof deck itself. It’s more material and more labor up front. But it collapses a dozen small air-sealing tasks into one continuous plane, and it turns that cramped attic into usable storage you can actually stand a box in without worrying about squishing insulation.
Insulating the knee wall itself keeps the triangular attic vented and unconditioned, the way most builders originally intended. It’s less invasive, often cheaper, and doesn’t touch your roof assembly. The tradeoff is that you now have to seal every seam, every wire penetration, and every joist bay perfectly, because that thin plane is your only defense against air moving between your living space and the outside.
A few triggers should push you toward conditioning the attic instead of just insulating the wall:
- Ducts or plumbing run through the space (moving them into unconditioned territory risks freezing or energy loss).
- Your rafters are 2×6 or deeper, giving you room for meaningful insulation along the roofline.
- The roof has hips, skylights, or dormers that make simple knee wall blocking impractical.
- You want the space for storage and don’t want insulation sagging every time you climb in there.
If none of those apply and your rafters are shallow 2×4 stock, sealing and insulating the knee wall is the more sensible, lower-cost path. Building scientists at Fine Homebuilding note that including the triangular attic in the conditioned envelope tends to hold up better over decades, mainly because it eliminates the hidden air boundary that fails quietly behind a knee wall.
Pro Tip: If you’re on the fence, climb into the triangular attic on the coldest or hottest day of the year and feel for drafts around the eaves. If you can feel outside air moving, that space is already telling you it wants to stay unconditioned and vented.
Materials and Tools Needed for Insulating Attic Walls
Get the backer material right and everything else falls into place. Rigid foam board is the standard choice for the attic-side air barrier because it resists sagging and doubles as insulation, unlike OSB or drywall, which need a separate layer of rigid foam to add meaningful R-value. Durable, rigid materials outperform housewrap for this job specifically because housewrap sags, tears, and doesn’t hold a seal at the seams the way taped foam does.
For the stud bay itself, you have three realistic options:
- Dense-pack blown cellulose or fiberglass: fills irregular cavities completely and resists settling better than loose-fill, but requires a blower and a netting or mesh to hold it in place.
- Fiberglass batts: cheapest and easiest for a DIYer, but only effective if cut precisely and installed without gaps or compression.
- Closed-cell or open-cell spray foam: highest R-value per inch and adds its own air seal, but it’s the most expensive option and needs proper ventilation during application.
Materials and tools checklist:
- Rigid foam board (1 to 2 inches, depending on your climate zone’s R-value target)
- Foil tape or seam tape rated for foam, plus caulk or low-expansion spray foam for perimeters
- Blocking material (rigid foam or dimensional lumber cut to fit joist and rafter bays)
- Batts, blown insulation, or spray foam kit, matched to your chosen cavity fill
- Weatherstripping and latch hardware for access doors
- Utility knife, straightedge, tape measure, staple gun or construction adhesive
- Respirator rated for fiberglass or cellulose dust, gloves, safety glasses
- Blower rental (if dense-packing) from a local tool rental outlet
Keep your climate zone’s R-value target in front of you the whole time. A 2×4 bay filled with batts alone often falls short of what current codes expect for exterior walls, which is exactly why rigid foam as a supplemental layer shows up in nearly every professional knee wall spec. For a side-by-side look at how these materials compare on cost and performance, this breakdown of insulation options is worth reading before you buy anything.
What Safety Steps Come Before Installing Insulation?
Skipping the prep work is how a weekend project turns into a mold remediation call six months later.
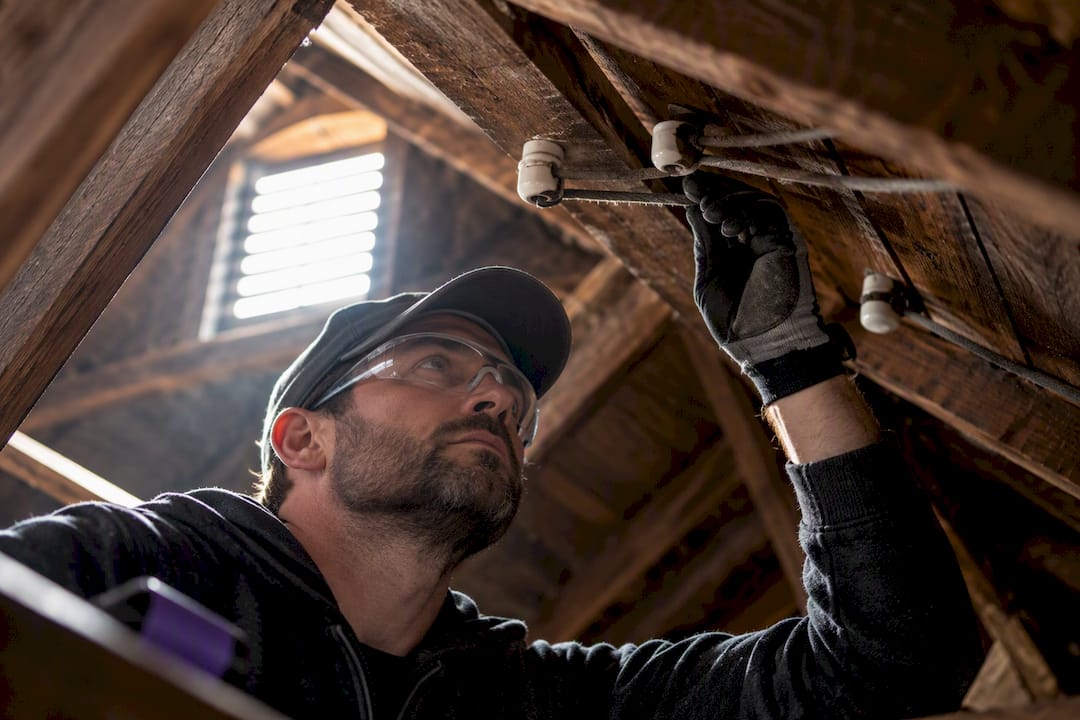
Start with electrical. Find your breaker panel and know which circuits run through the attic space before you start moving anything. Old knob-and-tube wiring or damaged insulation on wires is a real hazard if you compress it under blown insulation or batts. If you see anything that looks brittle, cracked, or improperly spliced, stop and call an electrician rather than working around it.
Next, look for signs of trouble that have nothing to do with insulation: dark staining on sheathing, a musty smell, or droppings in the corners. Any of these point to moisture intrusion or pest activity that needs to be dealt with before you seal anything up, because trapping mold or contaminated debris behind a new air barrier only makes the problem worse and harder to reach later. The Attic Genius handles mold remediation and pest waste cleanup for exactly this reason.
Map out where ducts, plumbing lines, and HVAC equipment sit relative to the thermal boundary you’re about to create. Decide which side of that boundary each one needs to be on, and move or protect anything that would otherwise end up on the wrong side of your new insulation plane.
Set up your workspace with the same care:
- Lay down a sturdy walking board across joists so you’re never stepping directly on drywall or loose insulation.
- Bring a headlamp or clamp light. Attic corners are dark even at noon.
- Ventilate the space, especially if you’re using solvent-based caulk or spray foam.
- Wear a properly rated respirator, gloves, and eye protection the entire time, not just during the messy parts.
Pro Tip: Take photos of the space before you start, especially around ducts and wiring. When you’re three hours into blowing in cellulose and can’t remember where that junction box was, you’ll be glad you have a reference.
For a full walkthrough of what to check before you even open a bag of insulation, The Attic Genius’s attic prep checklist covers the inspection points most DIYers miss on their first pass.
Step-by-Step Instructions for Insulating Knee Walls
This is the order that actually works, in the sequence building scientists and the DOE’s own installation procedure both follow. Skip a step or do them out of order and you’ll be redoing work later.
Step 0: Measure and inspect. Walk the full length of the knee wall run. Note rafter spacing, joist bay width, the location of every access door, and anywhere a duct or pipe crosses the space. Write it down or photograph it. This is your map for the rest of the job.
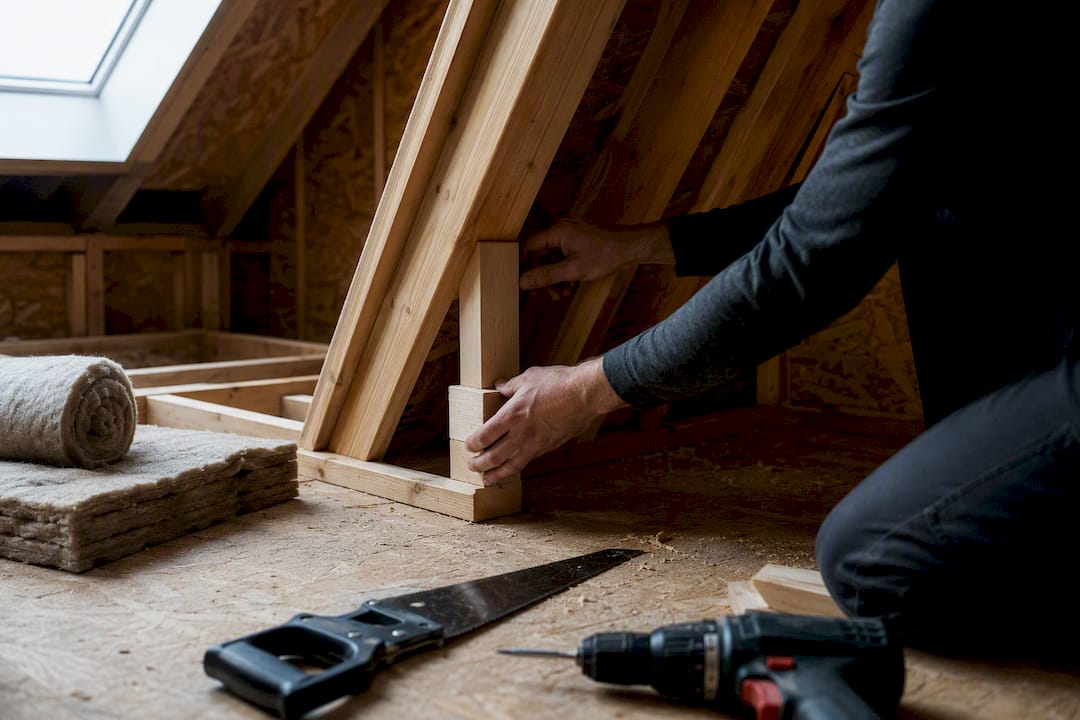
Step 1: Install blocking at the top and bottom of every cavity. Cut rigid foam or lumber to fit snugly between floor joists under the knee wall’s bottom plate, and between rafters above the top plate. This blocking defines the top and bottom of your insulated cavity and stops air from sneaking around the ends. Seal every edge of the blocking with caulk or spray foam. Skipping this step is the single most common reason knee wall insulation fails within a few years.
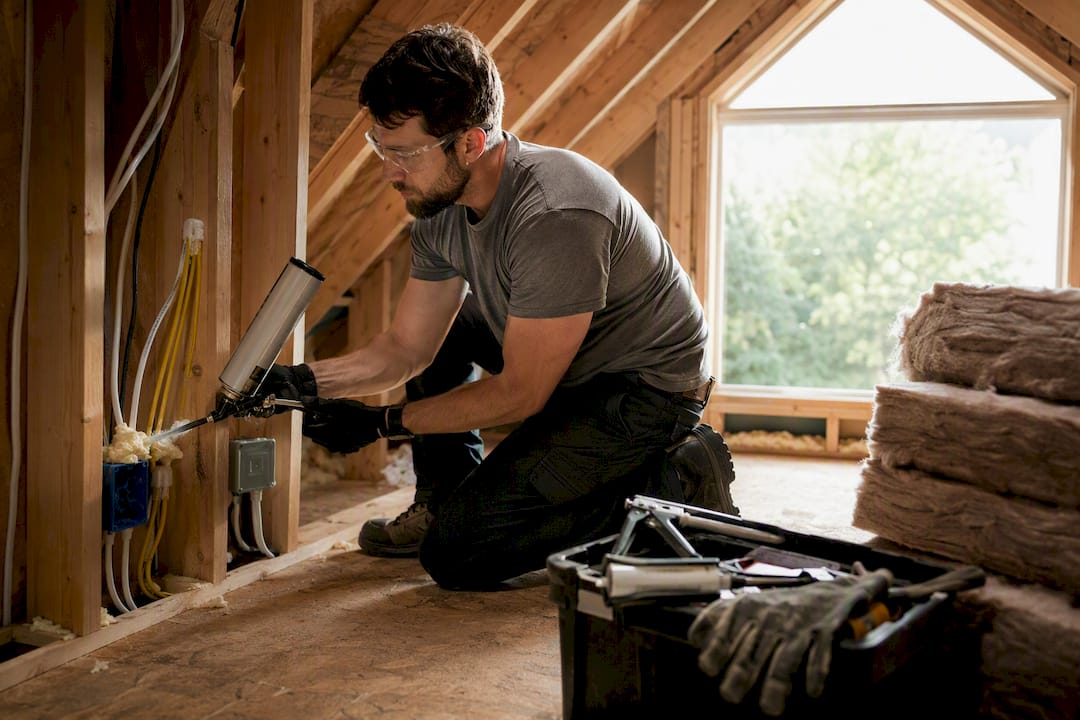
Step 2: Air-seal every penetration. Wiring holes, junction boxes, plumbing stacks, and duct penetrations all need to be sealed before you install the backer. Use caulk for small gaps, foam gaskets behind electrical boxes, and low-expansion spray foam for anything larger. Sealing caulking and high-performance sealants properly at this stage prevents the slow, invisible air leaks that show up as cold spots years later.
Step 3: Attach the rigid attic-side backer. Cut your rigid foam board (or OSB or drywall, if you’ve chosen one of those) to fit each bay precisely. Tape every seam with foam-rated tape and caulk the perimeter where the backer meets framing. Leave yourself a way to access at least one point per bay for the next step, and plan to seal that access hole permanently once insulation is in.
Step 4: Fill the cavity with insulation. If you’re dense-packing blown cellulose or fiberglass, install netting first and pack to the manufacturer’s specified density, not just until it “looks full.” If you’re using batts, cut them to fit tightly around obstructions without compressing the material, since compressed insulation loses much of its R-value. Spray foam should be applied to the thickness the manufacturer specifies for your climate zone, not eyeballed.
Step 5: Insulate and weatherstrip access doors. These small doors are notorious weak points. Attach rigid foam to the back of each door, install weatherstripping around the frame, and switch to a latch that actually compresses the seal shut rather than a simple hook-and-eye. Guidance on winterizing doors applies just as well to attic access panels as it does to exterior doors.
Step 6: Verify your work. Patch any access holes you left in the backer during Step 3. Take a final round of photos for your records. If you have access to a blower door test or an infrared camera, a quick pass will confirm whether your seals actually hold, and it’s worth doing before you consider the job finished.
- Blocking installed and sealed at both top and bottom of every cavity
- All penetrations sealed before backer installation
- Backer seams taped, perimeters caulked, access holes patched
- Insulation installed to full depth without compression
- Access doors weatherstripped with a compression latch
Pro Tip: Do Steps 1 through 3 for one full bay before moving to the next, rather than blocking the entire wall and then air-sealing the entire wall. Working bay by bay means you catch a missed gap while it’s still easy to fix.
How Should You Manage Ventilation and Condensation?
Whichever approach you chose earlier determines how you handle airflow now, and getting this wrong is how a well-insulated knee wall turns into a mold problem within a year.
If you’re leaving the triangular attic unconditioned and vented, your job is to protect the soffit-to-ridge airflow path. Install baffles at the eaves to keep insulation from blocking the intake vents, and make sure the blocking you installed above the top plate doesn’t accidentally seal off that ventilation chute. The whole point of this approach is that outside air keeps moving through the attic space, carrying moisture out before it condenses on cold surfaces. Baffles and their role in attic ventilation matter more here than most DIYers expect.
If you’re conditioning the triangular attic instead, you’re building an unvented assembly, and that requires a different kind of protection. Continuous rigid foam on the roof deck’s underside, or closed-cell spray foam applied directly to the sheathing, keeps the wood surface warm enough that moisture in the air can’t condense on it. The logic is straightforward: cold sheathing plus humid indoor air equals condensation, so you either keep the sheathing warm or keep the humid air away from it entirely.
Thicker rigid foam on the attic side does double duty. It insulates, and it keeps the stud bay warmer, which pushes the dew point further from the surface where condensation would actually form. In colder climate zones, this is not a detail to skip. Under-sizing the rigid foam layer in an unvented assembly is one of the more expensive mistakes to discover after the drywall goes back up.
Common Mistakes in Knee Wall Insulation and How to Fix Them
Most knee wall failures show up as specific, recognizable symptoms, and each one traces back to a specific missed step.
A cold draft at the baseboard on a windy day almost always means an unblocked joist bay. Air is moving freely from the attic into the wall cavity and down to the floor. The fix is to pull back the insulation, install proper blocking at the bottom plate, and seal its edges, exactly the step that gets skipped when someone rushes straight to filling cavities with insulation.
A wall that feels cold to the touch, even with insulation installed, usually points to a missing or incomplete air barrier rather than a lack of insulation. Insulation slows heat transfer, but air moving through gaps carries heat away far faster than it can conduct through a solid material. Add rigid foam where the backer is thin or missing, and re-tape any seams that have come loose.
Sagging batts or thin spots in blown insulation a year or two after installation often mean the netting wasn’t secured tightly enough, or batts were cut too narrow and gradually slumped. Re-pack the affected bays and, if you used batts, switch to a slightly oversized cut that friction-fits rather than one that was already loose going in.
- Draft at the baseboard: unblocked joist bay, needs blocking and sealing.
- Cold wall surface: missing air barrier, needs added rigid foam and sealed seams.
- Musty smell after the work is done: trapped moisture or missed mold, needs professional remediation, not more insulation.
- Door drafts at attic access panels: missing weatherstripping or a weak latch.
Pro Tip: If a fix doesn’t hold after a second attempt, the problem usually isn’t where you think it is. Air follows the path of least resistance, so a leak that seems to be coming from one spot may actually be entering somewhere else in the bay and traveling before it escapes.
Some problems are past the DIY stage the moment you find them. Active mold growth, heavy rodent contamination, or ductwork and plumbing tangled through the thermal boundary all call for a professional rather than another weekend of patchwork.
When Should You Call a Professional for Knee Wall Insulation?
A clean, shallow knee wall with no ducts, no contamination, and easy access is a reasonable DIY project for a patient homeowner. Once mechanicals, moisture, or structural quirks enter the picture, the calculus changes.
The Attic Genius has spent more than 25 years combined handling exactly these jobs across Chicagoland and the Northwest Suburbs, backed by over 400 five-star reviews from homeowners who called in a professional rather than guess their way through it. What a trained crew brings that’s hard to replicate solo:
- Blocking and air-sealing done to a standard that passes inspection, not just “looks sealed.”
- Blower-door or infrared testing to confirm the air barrier actually holds, rather than hoping it does.
- Documented warranties on the work, so a failure six months later isn’t your problem to diagnose alone.
- Safe handling of mold, mildew, and pest waste without spreading contamination through the rest of the attic.
If your inspection turns up ducts running through the triangular attic, any sign of mold, or wiring that looks questionable, that’s the point to bring in a professional rather than push forward. A same-day inspection can usually tell you within an hour whether you’re looking at a weekend project or a job that needs a crew.
What Actually Matters Most in a Knee Wall Retrofit
Most articles on this topic treat blocking and air sealing as a footnote before the “real” work of stuffing cavities with insulation. That ordering is backward, and it’s the reason so many knee wall retrofits fail within a couple of winters. The insulation isn’t what’s holding back the cold. The air barrier is. A wall packed with fiberglass but full of gaps at the joist bays performs barely better than an empty one, because moving air carries heat far faster than a stationary gap in your insulation ever could.
The conventional advice to “just add more insulation” also undersells how often the smarter move is to change the boundary entirely. If your rafters have the depth for it, conditioning the triangular attic solves problems that knee wall patching never fully resolves. It’s more work up front. It’s also usually the last time you’ll touch that space.
Prioritize blocking and sealing over insulation thickness, every time. Get that right first, and the insulation choice becomes almost a footnote.
— Jim
Get a Professional Assessment of Your Knee Wall Insulation
Reading through six steps of blocking, sealing, and backer installation probably tells you something: this is precise work, and a missed seam or an unblocked bay can undo the whole job. The Attic Genius handles this exact retrofit across Chicagoland and the Northwest Suburbs, with crews who block, seal, and verify to a standard a weekend project rarely reaches on the first attempt.

What sets a professional visit apart isn’t just the labor. It’s the diagnosis. Our team checks for the ducts, mold, and questionable wiring that turn a simple knee wall job into something bigger, and we flag it before we start, not after we’ve already sealed it behind rigid foam. If your attic passes a clean inspection, we insulate it right the first time, with a written warranty behind the work. If it doesn’t, you’ll know exactly what you’re dealing with and what it costs to fix.
Start with a same-day inspection to find out why your attic floor might need insulation beyond just the knee walls, and get a straight answer on what your space actually needs before you buy a single sheet of rigid foam.
Sources
For readers who want the underlying technical detail, these are the primary references behind this guide:
- Air sealing and insulating attic knee walls – Building America Solution Center
- Energy
- Insulating behind kneewalls – Fine Homebuilding