
Blown-in insulation for a Chicagoland attic typically costs between $1,193 and $3,077, with most homeowners paying $1,500 to $2,500 for an average attic. Installed pricing generally ranges from $0.90 to $2.40 per square foot, varying based on material type, the attic's square footage, and access difficulty. Factors such as the target R-value, the need for air sealing, or the removal of old insulation can significantly increase the overall project cost.
Expect to pay somewhere between $1,193 and $3,077 for a typical installed blown-in insulation job, with most homeowners landing near $1,500 to $2,500 for an average attic. Installed pricing generally varies per square foot depending on material and labor costs. Before you request a single quote, check three things: which material you want, your attic’s square footage and access difficulty, and whether the job needs air sealing or old insulation removed first.
TL;DR:
- The total cost for insulation ranges from $1,193 to $3,077, with most homeowners paying between $1,500 and $2,500 for an average attic.
- Installed rates vary from $0.90 to $2.40 per square foot, and higher R-value targets significantly increase the overall price.
- Material costs differ: fiberglass costs $0.90 to $1.80 per square foot, cellulose $1.00 to $2.00, and mineral wool $1.50 to $2.50, with performance and moisture resistance influencing choice.
- Larger attics, complex access, removal of contaminated insulation, and extensive air sealing can add hundreds to thousands of dollars to the project.
- Professional installation includes attic inspection, air sealing, depth verification, and warranties, often leading to better coverage and energy savings than DIY methods.
What Topics Are Covered in This Blown-In Insulation Cost Guide?
- How Much Does Blown-In Insulation Cost Per Square Foot?
- Fiberglass, Cellulose, or Mineral Wool: Which Costs More?
- What Does Blown-In Insulation Cost by Attic Size?
- DIY vs. Professional Installation: Which Actually Costs Less?
- What Factors Push Your Quote Higher or Lower?
- How Do You Estimate Bags and Depth Yourself?
- How Long Does It Take to Pay Off Blown-In Insulation?
- What Should a Professional Insulation Job Include?
- What Questions Should You Ask Before Signing a Quote?
- Is Cheaper Insulation Actually Cheaper in the Long Run?
- Ready for an Accurate Attic Insulation Quote?
- Sources
How Much Does Blown-In Insulation Cost Per Square Foot?
Contractors typically quote blown-in insulation between $0.90 and $2.40 per square foot installed, according to industry cost data. That range covers material, labor, and equipment. Material alone, if you’re buying bags without paying for installation, usually runs lower, often in the $0.30 to $1.00 per square foot range depending on the product and how deep you need to fill.
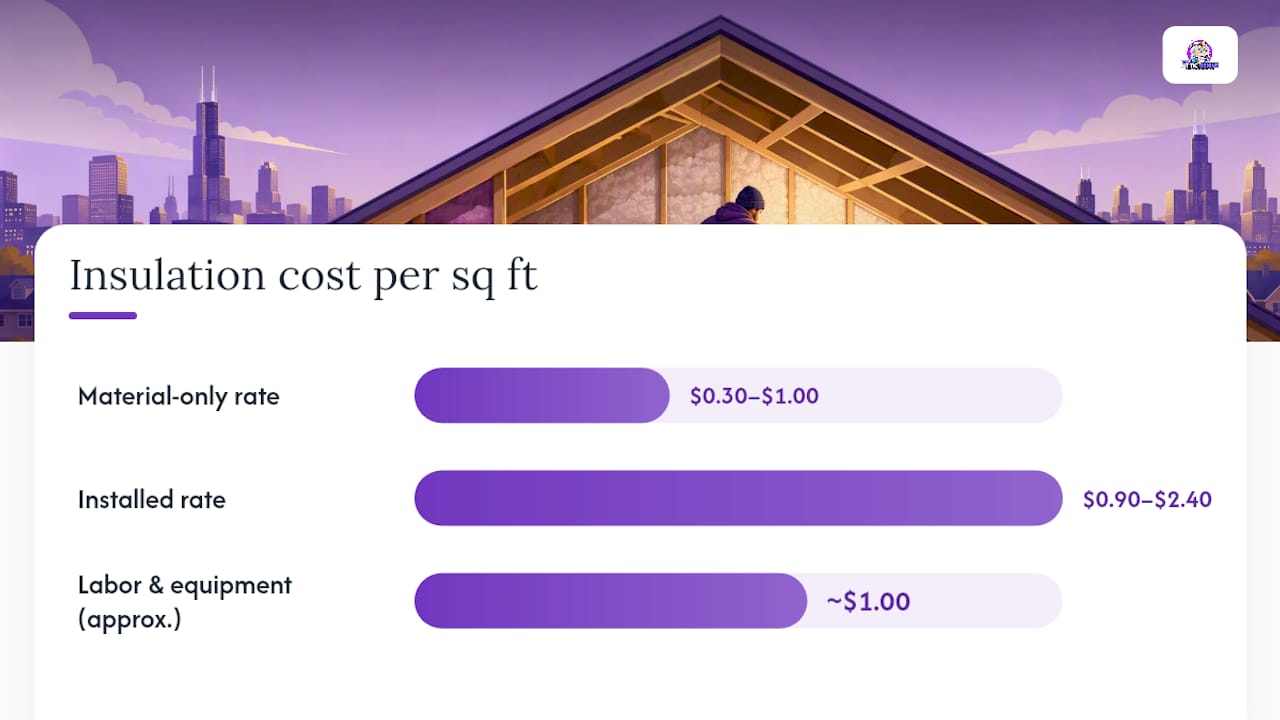
The gap between “material-only” and “installed” pricing throws a lot of homeowners off when they start comparing DIY store prices to contractor bids. A bag of cellulose at the hardware store looks cheap until you factor in the blower rental, the truck to haul it, and the hours it takes to do the job right. Installed pricing bundles all of that into one number, which is why it looks higher on paper but often ends up being the better value once you count your own time.
R-value targets also move the price more than most people expect. The Department of Energy’s insulation guidance sets different recommended R-values by climate zone, and hitting a higher target means blowing in more material at greater depth. Going from R-30 to R-49, for example, can add several inches of material and a meaningful jump in total cost, since you’re paying for volume, not just square footage covered.
Typical cost snapshot:
- National average installed range: $1,193 to $3,077
- Installed rate: $0.90 to $2.40 per square foot
- Material-only rate: roughly $0.30 to $1.00 per square foot
- Full-range extremes: under $600 for small top-offs to over $6,000 for large, complex attics
Quick Stat: Homeowners who under-insulate relative to their climate zone tend to see the smallest returns on their investment, per DOE guidance on regional R-value targets. Insulating past the recommended level for your zone rarely pays for itself.
Fiberglass, Cellulose, or Mineral Wool: Which Costs More?
Material choice changes both the sticker price and how the insulation performs over the next 20 years. Here’s how the three common blown-in materials stack up:
- Blown fiberglass: Installed cost typically runs $0.90 to $1.80 per square foot. It delivers around R-2.2 to R-2.7 per inch, so hitting R-49 takes roughly 18 to 22 inches of depth. It resists moisture well but can settle unevenly if it’s over-fluffed during installation, leaving thin spots you won’t notice until your energy bill does.
- Blown cellulose: Installed cost usually falls between $1.00 and $2.00 per square foot. It offers a slightly better R-value per inch, around R-3.2 to R-3.8, meaning R-49 needs roughly 13 to 15 inches. Cellulose is treated with fire retardant and packs densely, but it holds moisture longer than fiberglass, which makes it a poor choice for attics with roof leaks or condensation problems.
- Mineral wool (blown): Less common but growing in popularity, mineral wool installed costs tend to run higher, often $1.50 to $2.50 per square foot. It’s naturally fire resistant and doesn’t feed mold growth the way cellulose can, which makes it worth the premium in attics with existing moisture concerns.
For most Chicagoland attics, cellulose or fiberglass covers the job well. Mineral wool earns its higher price tag mainly when moisture or fire resistance is a specific concern. A closer look at material tradeoffs can help you weigh which one fits your situation before you start collecting quotes.
What Does Blown-In Insulation Cost by Attic Size?
Square footage drives the bulk of your bill, but complexity changes the math fast. Here’s what typical jobs look like at different sizes, assuming cellulose insulation to an R-49 target in an attic with average access:
- 500 sq ft attic, top-off only: Roughly $600 to $1,100. This assumes existing insulation is in decent shape and you’re just adding depth, no removal or extensive air sealing needed.
- 1,000 sq ft attic, top-off with air sealing: Roughly $1,500 to $2,800. Air sealing typically adds $300 to $1,500 depending on how many penetrations, gaps, and can lights need attention, per cost breakdowns from insulation contractors.
- 1,500 sq ft attic, full removal and reinstall: Roughly $2,800 to $4,600. Removing contaminated or wet insulation adds $1.50 to $3.00 per square foot on top of new material costs, which is why this scenario runs noticeably higher.
- 2,000 sq ft attic, top-off with air sealing: Roughly $3,000 to $5,200. Larger attics often have more bypasses and irregular framing, which pushes both material use and labor time up.
Your actual number moves based on roof pitch, how easy the attic is to access, and whether your contractor finds surprises like rodent damage or old vermiculite once they’re up there.
DIY vs. Professional Installation: Which Actually Costs Less?
The upfront number tempts a lot of homeowners toward DIY, and it’s not hard to see why. For a 1,000 square foot attic, material-only costs with a rented blower typically run $600 to $1,100. A professional installation for the same job runs $1,200 to $2,500. That’s a real gap, but it doesn’t tell the whole story.
| Factor | DIY | Professional |
|---|---|---|
| Upfront cash cost (1,000 sq ft) | $600–$1,100 | $1,200–$2,500 |
| Coverage consistency | Often uneven depth | Depth verified and documented |
| Air sealing included | Rarely done | Usually included or offered |
| Time investment | 6–8 hours, plus equipment pickup | Typically completed in a day |
| Warranty | None | Written warranty common |
DIY installations frequently deliver lower effective R-value than the bag count suggests, mostly because coverage ends up uneven and air sealing gets skipped entirely. That gap between what you paid for and what you actually got is where a lot of DIY savings quietly disappear.
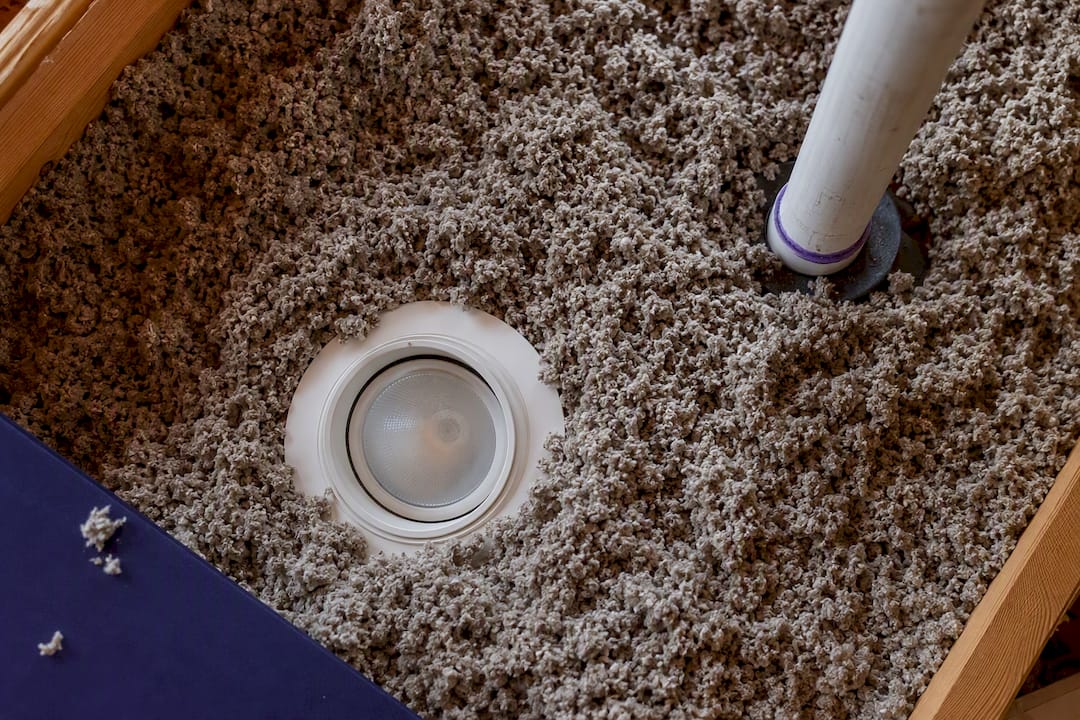
Pro Tip: If your attic has more than a couple of recessed lights, plumbing stacks, or a complicated roofline, skip the rental blower. Uneven coverage around those obstacles is the single biggest reason DIY jobs underperform their R-value on paper. Check our list of common DIY insulation mistakes before you commit to renting equipment.
What Factors Push Your Quote Higher or Lower?
A handful of variables explain almost every difference between a $1,200 bid and a $4,000 bid on paper-similar attics.
- Access difficulty: Cramped attics, low clearance, or attics reached only through a small scuttle hole add labor time and often $200 to $500 to a bid.
- Removal of old insulation: Contaminated, wet, or pest-damaged insulation needs to come out before new material goes in, adding $1.50 to $3.00 per square foot.
- Air sealing scope: Sealing gaps around can lights, plumbing stacks, and the attic hatch typically adds $300 to $1,500 depending on how many penetrations exist.
- R-value target: Chasing R-60 instead of R-38 means more material and more labor hours, straightforward but often underestimated by homeowners comparing quotes.
- Labor rates and regional demand: Attic air sealing cost in a market like Chicago tends to run higher than rural areas simply due to labor costs and demand.
- Hazard remediation: Mold remediation or pest waste cleanup, when discovered mid-job, can add anywhere from a few hundred to a few thousand dollars depending on severity.
A solid quote itemizes these separately rather than folding everything into one vague number. If a bid doesn’t break out removal, air sealing, and material costs, ask for that breakdown before you sign anything.
How Do You Estimate Bags and Depth Yourself?
Manufacturers publish bag charts that convert square footage and target R-value into a bag count, and it’s worth running the math yourself before a contractor quote arrives so you can sanity-check what you’re told.
- Find your attic’s square footage by measuring length times width, subtracting for any non-insulated areas like a finished room.
- Check your current depth and R-value, usually a quick visual estimate: about 1 inch of cellulose equals roughly R-3.2 to R-3.8.
- Determine your target R-value based on your climate zone, using DOE recommendations as your baseline.
- Calculate bags needed using the manufacturer’s coverage chart printed on the bag or an online calculator like GreenFiber’s, which factors in square footage and desired depth.
For a 1,000 square foot attic going to R-49 in cellulose, expect somewhere around 60 to 70 bags depending on brand and settled density, translating to roughly $700 to $1,000 in material alone. Always cross-check calculator output against a contractor’s depth verification. Bag charts assume perfect application, and real attics rarely cooperate that neatly.
How Long Does It Take to Pay Off Blown-In Insulation?
Simple payback is the easiest way to judge whether the upfront cost makes sense: divide your total project cost by your estimated annual energy savings. A DOE example shows a $1,131 attic insulation project generating about $239 in annual savings, landing at roughly a 5-year payback.
Your own number depends heavily on your starting insulation level and your climate zone’s recommended R-value target. Homes that are significantly under-insulated to begin with see faster payback, while topping off an attic that’s already close to target sees diminishing returns.
Quick Stat: DOE guidance notes that recommended R-values vary by climate zone, and gains taper off once you exceed the recommended level for your region. Chasing R-60 in a zone where R-38 is the target rarely improves payback.
Air sealing is the piece that determines whether you actually get the savings the math promises. Sealing bypasses before adding insulation is often the single highest-value step in the whole project, since insulation without air sealing still lets conditioned air leak straight through gaps around lights, wiring, and the attic hatch.
What Should a Professional Insulation Job Include?
A reputable contractor doesn’t just show up and start blowing material into your attic. There’s a standard sequence that separates a job that performs from one that looks fine on day one and underperforms by winter.
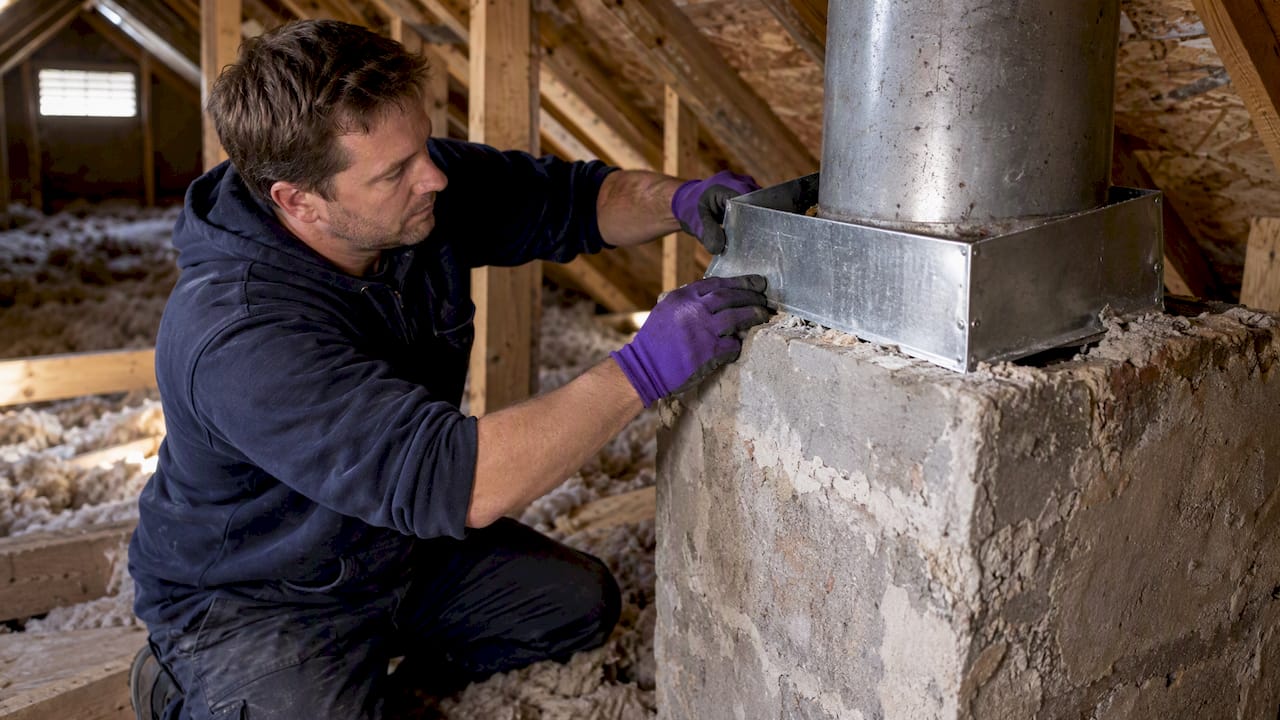
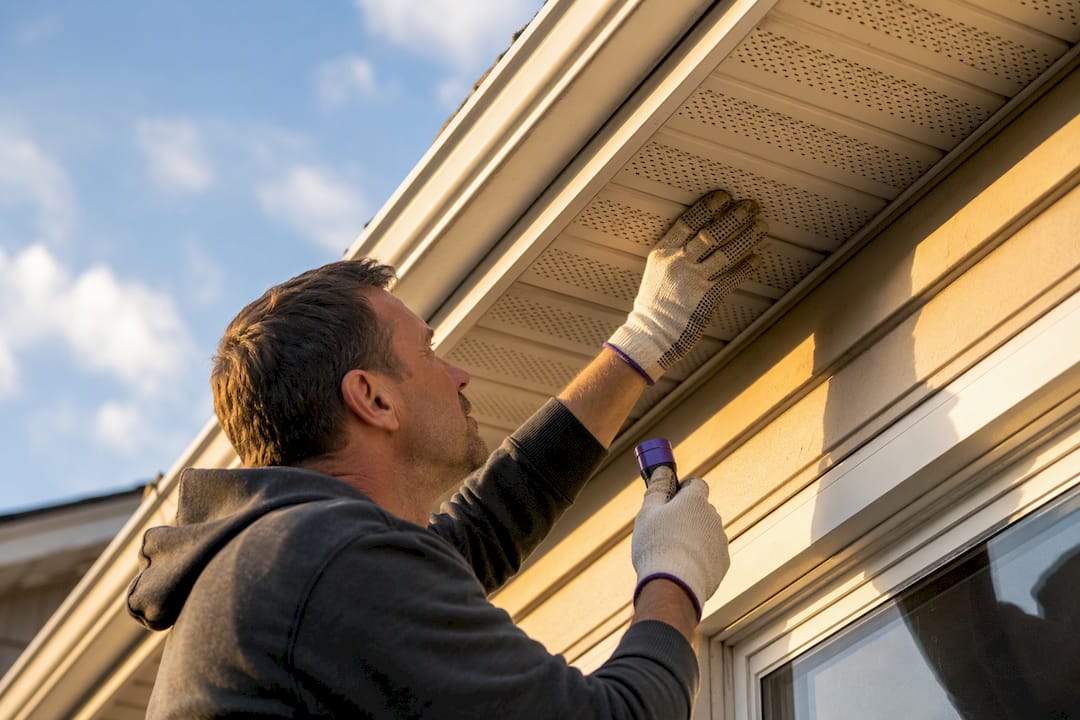
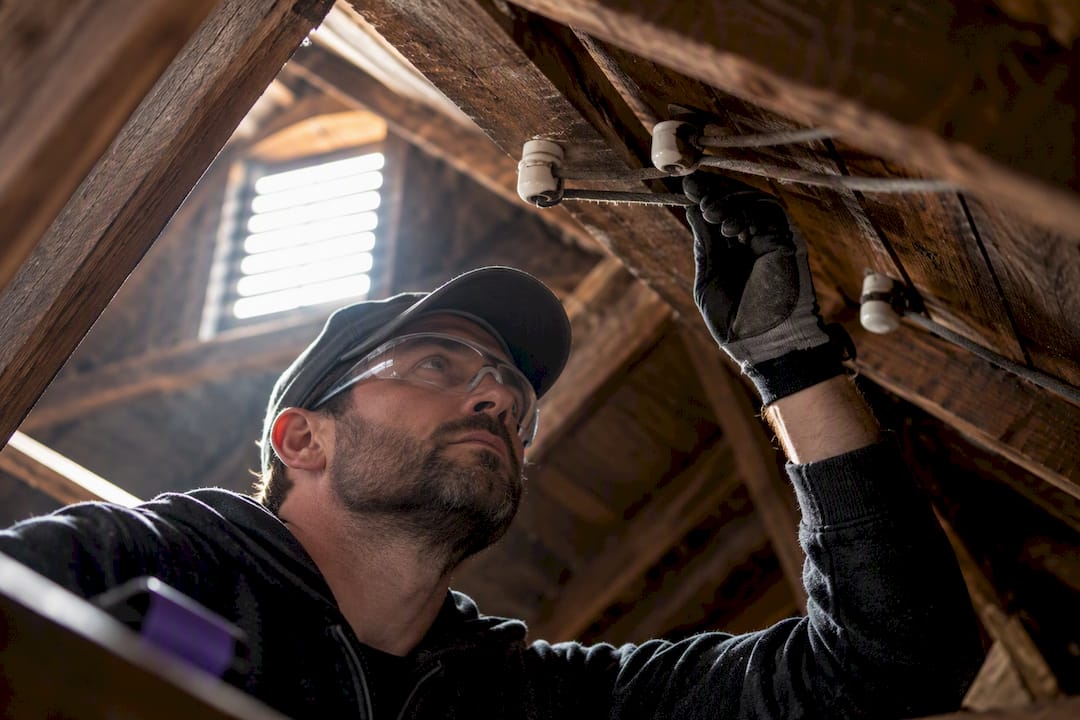
Before any work starts, a proper inspection checks attic ventilation, recessed light fixtures (a common fire hazard if buried in loose fill), signs of rodent activity or mold, and the condition of the attic hatch or scuttle hole. Skipping this step is how homeowners end up with insulation packed against a leaking roof vent or a mouse nest they didn’t know was there.
What a professional scope typically includes:
- Full attic inspection with photo documentation before work begins
- Air sealing of penetrations, top plates, and the attic hatch
- Baffle installation at eaves to preserve soffit ventilation
- Depth verification markers placed throughout the attic
- Cleanup and haul-away of old material or debris
- A written warranty covering workmanship
The Attic Genius has handled attic insulation projects across Chicagoland and the Northwest Suburbs for over 25 years combined experience, backing that work with more than 400 five-star reviews from homeowners. Upfront pricing and written warranties come standard, along with same-day inspections for homeowners who want a number fast rather than waiting a week for a callback.
Pro Tip: Ask your contractor for depth verification photos after the job, not just before. Depth cards or markers left in the attic prove the material actually reached the target R-value across the whole space, not just near the access point.
What Questions Should You Ask Before Signing a Quote?
Getting two or three quotes only helps if you’re comparing the same scope of work. A cheaper number that skips air sealing isn’t actually cheaper once you factor in what it fails to deliver.
Ask every contractor these questions:
- What material brand and type are you using, and what’s the R-value per inch?
- What R-value target are we hitting, and how many inches of depth does that require?
- Is air sealing included, and if so, what specifically gets sealed?
- Does the quote include removal of existing insulation, or is this a top-off?
- Will you provide before-and-after photos and depth verification?
- What does the written warranty cover, and for how long?
Then compare bids this way:
- Convert every quote to a per-square-foot number so you’re comparing apples to apples.
- Flag any bid that’s dramatically lower than the others, since it often means air sealing or removal got quietly left out.
- Ask for references and confirm the contractor carries insurance before signing anything.
- Request the scope in writing, not just a verbal walkthrough, so there’s no ambiguity later.
A prepared attic before the estimate visit, cleared of stored boxes and obvious clutter, also tends to produce more accurate first-visit quotes.
Is Cheaper Insulation Actually Cheaper in the Long Run?
Homeowners fixate on the sticker price, and I get why. But the number on a quote rarely tells you whether the job will actually deliver on the R-value it promises. My honest take: prioritize air sealing paired with a solid top-off over chasing the highest possible R-value. A well-sealed attic at R-38 outperforms a leaky one at R-60 every time.
Only pull the trigger on full removal and replacement when there’s real contamination, wet insulation, pest waste, or mold. Otherwise you’re paying for demolition you don’t need. And if your attic has tricky access, high R-value targets, or any sign of a pest or moisture problem, that’s exactly when hiring a professional stops being optional and starts being the only way to know the job was actually done right.
— Jim
Ready for an Accurate Attic Insulation Quote?
Everything above gives you the math to sanity-check a bid, but the fastest way to know your real number is a same-day inspection. The Attic Genius is the practical next step for Chicagoland homeowners who want a firm price instead of a rough online estimate. Unlike a DIY blower rental or a guess-and-check quote from an unlicensed crew, you get upfront pricing before work starts, a written warranty on the finished job, and a team with 25+ years of combined experience behind more than 400 five-star reviews.

Services cover the full scope this guide walks through: attic inspection, blown-in installation, air sealing, insulation removal, and mold or pest waste cleanup when an attic needs more than just new material. Every estimate comes itemized, so you can see exactly what you’re paying for instead of one vague lump sum.
If you’re ready to see what your attic actually needs, schedule an inspection and get a written quote before your next heating or cooling season starts.
What Are the Sources for Blown-In Insulation Cost Information?
- Energy
- Blown-In Insulation: Cost, R-Value & DIY vs Pro (2026) — TheRoofingBrief
- 2026 Blown In Attic Insulation Cost: Prices & Factors — Thumbtack