
Put a ground vapor barrier down. Preferably 10 to 20 mil reinforced polyethylene, sealed at every seam. Address any standing water first, since a barrier traps liquid water instead of blocking it. If your crawl space has ductwork, past mold, or sits in a humid region, budget for full encapsulation rather than a floor-only fix. The next sections cover exactly which material, how to install it, and what it costs.
TL;DR:
- A vapor barrier must be sealed tightly at all seams using manufacturer-approved tape to prevent vapor leaks that can undermine moisture control.
- Reinforced polyethylene sheeting of 10 to 20 mil thickness offers optimal durability and vapor-blocking performance for most residential crawl space applications.
- Installing a ground vapor barrier is only part of moisture management; proper grading, drainage, and humidity control measures are also essential for effectiveness.
- Full encapsulation is recommended in humid regions or when ductwork, mold, or pests are present, but a well-installed floor barrier can suffice in dry, ventilated crawl spaces.
- Regular inspections and maintenance are crucial to identify lifted seams, trapped water, or mold growth, which can compromise the barrier’s performance over time.
Table of Contents
- What Does a Vapor Barrier Do in a Crawl Space?
- What Thickness Vapor Barrier Do You Need?
- How to Install a Crawl Space Vapor Barrier Step by Step
- Should You DIY the Vapor Barrier or Hire a Pro?
- Common Vapor Barrier Mistakes and How to Fix Them
- How Much Does a Crawl Space Vapor Barrier Cost?
- Ground-Only Barrier or Full Encapsulation?
- Why Trust This Guide
- Does a Vapor Barrier Improve Indoor Air Quality?
- An Editorial Take on Getting This Right
- Get Professional Help With Crawl Space Moisture
- Sources
What Does a Vapor Barrier Do in a Crawl Space?
A vapor barrier stops water vapor from rising out of bare soil into your home’s framing. It does not stop liquid water. That distinction trips up a lot of homeowners who lay plastic over a damp crawl space and wonder why the smell doesn’t go away. Standing water needs drainage, a sump pump, or grading work. The barrier’s job starts after that water problem is solved.
The scale of the vapor problem is easy to underestimate. Exposed soil under an average home can release 10 or more gallons of moisture per day into the air above it. That vapor migrates upward into floor joists, subfloor sheathing, batt insulation, and eventually the living space, where it shows up as high indoor humidity, musty odors, or foggy windows in winter.
A vapor barrier is one piece of a larger moisture-control system, not a standalone fix. Effective moisture management usually requires:
- A continuous ground vapor barrier covering exposed soil
- Proper exterior grading so water drains away from the foundation
- Foundation wall damp-proofing or a drainage mat where walls stay damp
- Sealed vents (in sealed crawl designs) or controlled ventilation
- Mechanical dehumidification when humidity stays above 60%
EPA moisture control guidance makes the same point: a vapor barrier manages vapor, but drainage and foundation work handle the liquid water a barrier alone cannot touch.
What Thickness Vapor Barrier Do You Need?
“Mil” measures plastic thickness. One mil equals one-thousandth of an inch, so a 6-mil sheet is noticeably thinner and more prone to tearing than a 20-mil sheet. Thickness affects three things: how well the material resists foot traffic and debris punctures, how long it lasts before it needs replacing, and how much it costs per square foot.
Here’s how the common thicknesses break down in practice:
- 6-mil polyethylene: the code minimum under most versions of the IRC, fine for a short-term fix but easily punctured by gravel or crawling contractors
- 10 to 12-mil reinforced poly: the sweet spot for most residential jobs, durable enough to survive HVAC techs and pest inspectors walking on it for years
- 20-mil reinforced or cross-laminated membrane: built for full encapsulation projects, high-traffic crawl spaces, or areas with sharp rock and debris
Look past the mil number to the permeance rating, too. Materials rated Class I (under 0.1 perms) block far more vapor transmission over time than thin, unreinforced sheeting, which is why industry guidance from installation specialists generally steers homeowners toward 10 to 20-mil products even though 6-mil satisfies the letter of the code.
Statistic Callout: Soil beneath a typical home can emit 10-plus gallons of water vapor daily, which is roughly the moisture in a full bathtub rising into your framing every few days.
Specialty situations call for different products. Bonded or spray-applied vapor barrier systems work better on uneven concrete or crawl spaces with irregular piers where sheet goods are hard to fit tightly.

How to Install a Crawl Space Vapor Barrier Step by Step
Getting this right comes down to preparation and seam work more than the plastic itself. A poorly taped 20-mil barrier fails faster than a well-sealed 10-mil one.
- Clear the space. Remove debris, sharp rocks, and construction scraps that could puncture the liner, and fill or grade any low spots that collect water.
- Fix active water first. Install a drain line or sump pump if you see standing water or wet soil, since laying plastic over it just traps moisture underneath.
- Calculate material. Multiply your floor area by roughly 1.35 to account for wall run-up and seam overlap, then round up to the next full roll and add 10% for waste and mistakes.
- Lay and overlap sheets. Start at the far wall and work toward the access point, overlapping each sheet by 12 inches where possible and never less than 6 inches.
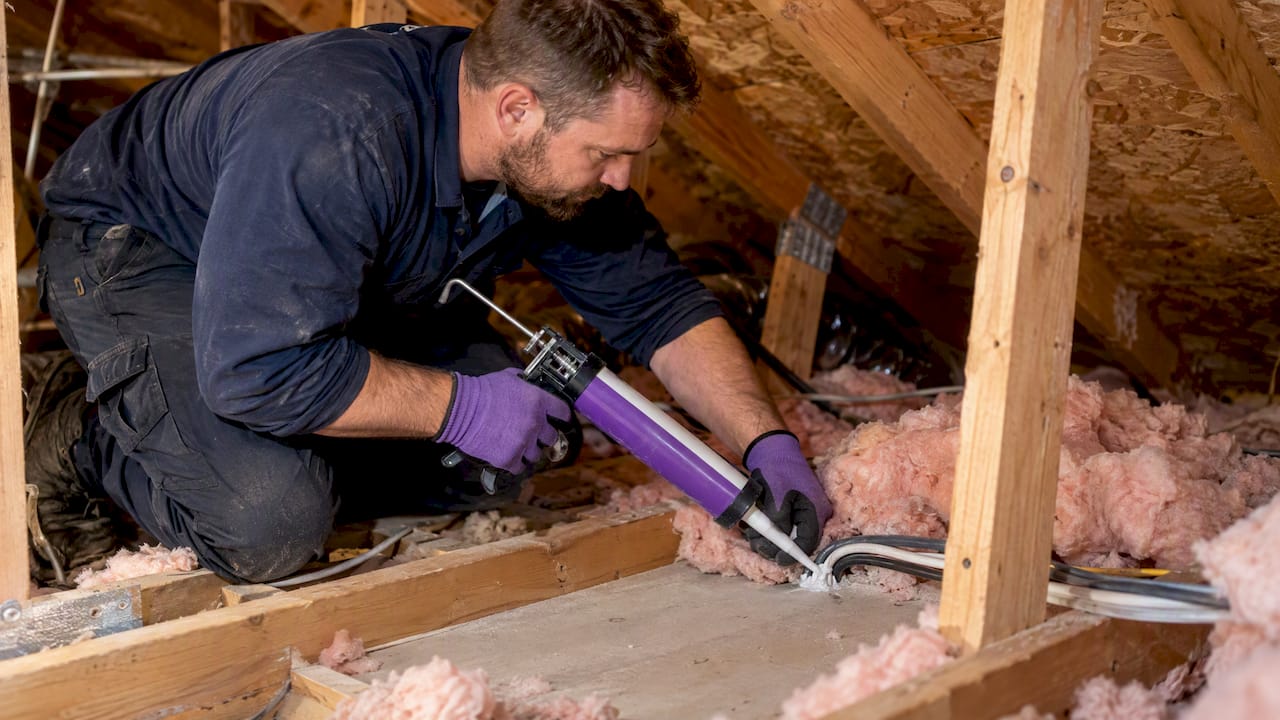
- Seal every seam. Use polyethylene-compatible seam tape (not duct tape, which fails within months in humid conditions) and press it down firmly with a roller.
- Wrap penetrations. Seal around piers, pipes, and posts with tape or fitted collars, and run the material up foundation walls, securing the top edge with a termination bar and mechanical anchors.
Pro Tip: Buy seam tape from the same manufacturer as your barrier. Mismatched adhesives are one of the most common reasons homeowners find lifted seams a year later.
Should You DIY the Vapor Barrier or Hire a Pro?
A dry, accessible crawl space with a floor-only barrier is a realistic weekend DIY project for a homeowner comfortable crawling around with a utility knife, tape, and a roll of poly. You’ll need the sheeting, seam tape, a termination bar for wall edges, work lights, and a respirator mask for dust and mold spores.
Several conditions push this toward a professional job instead:
- Standing water or a history of flooding that needs drainage design, not just plastic
- HVAC equipment, ductwork, or a combustion appliance like a water heater sitting in the crawl space
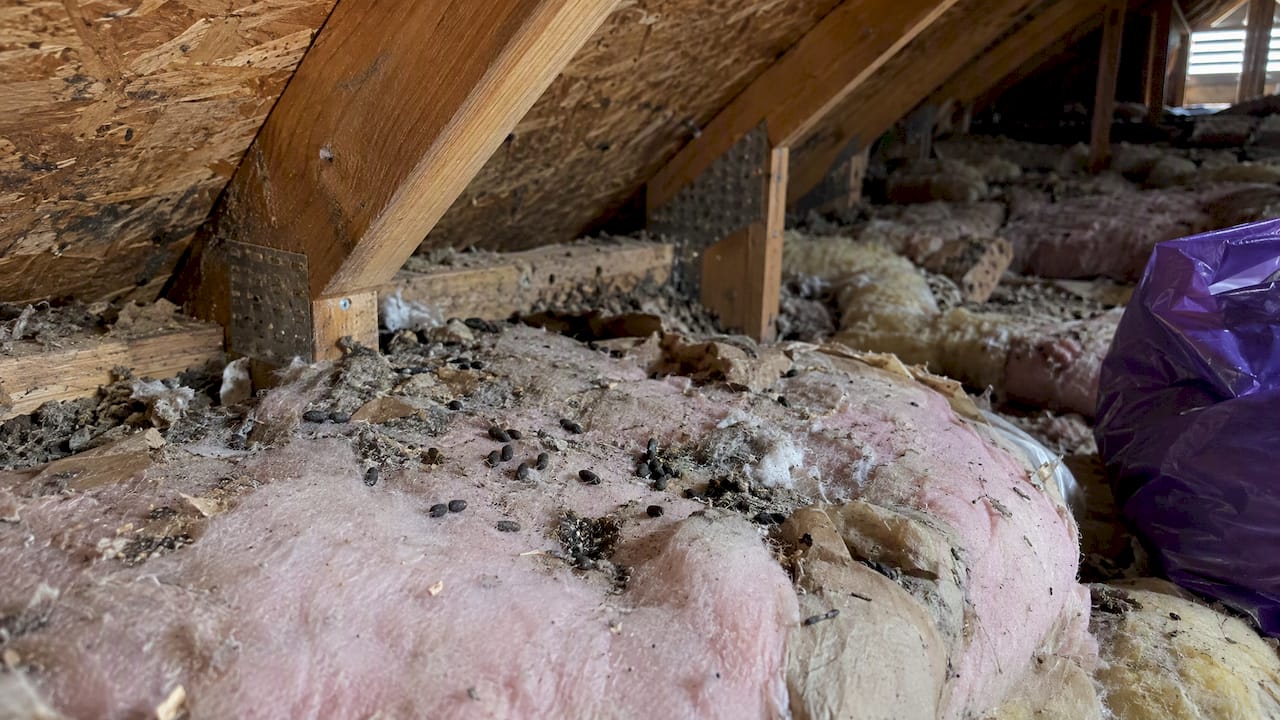
- Visible mold, pest droppings, or contamination that needs remediation before any barrier goes down
- Clearance under 24 inches, which can add 50 to 100% more time to the job and makes proper sealing far harder to verify
A solo homeowner working a dry, decent-clearance crawl space can usually finish in a weekend. A two-person crew handles the same job in half a day to a full day. Combustion appliances in a sealed crawl space raise real carbon monoxide risks, and some jurisdictions require permits or inspections for encapsulation work, so check local code before sealing anything shut.
Common Vapor Barrier Mistakes and How to Fix Them
Most vapor barrier failures trace back to the same handful of shortcuts. Unsealed or poorly taped seams let vapor right back through. Using generic duct tape instead of polyethylene-rated seam tape means the adhesive fails within a season. Skipping wall termination leaves a gap where humid air sneaks in above the barrier’s edge. And installing over standing water, rather than fixing the drainage first, traps moisture and accelerates wood rot and mold growth instead of preventing it.
Walk your crawl space once a year and check for lifted tape, trapped puddles under the plastic, musty odors, or visible mold on joists. Small problems are cheap to fix: re-tape loose seams, add a sump or French drain if water keeps showing up, and treat any mold you find promptly, whether that means a DIY solution or professional mold removal. If you keep seeing recurring moisture despite a solid floor barrier, that’s usually the sign to phase up to full encapsulation.
Pro Tip: Seam quality beats material thickness. A well-taped 10-mil barrier outperforms a poorly sealed 20-mil one, because water vapor finds the weakest gap, not the thinnest plastic.
How Much Does a Crawl Space Vapor Barrier Cost?
Material costs scale with thickness. Basic 6-mil poly runs cheapest per square foot, 10 to 12-mil reinforced sheeting costs more but lasts years longer, and 20-mil encapsulation-grade membrane sits at the top of the range. Add seam tape, a termination bar, fasteners, and pipe collars to any estimate, since these small accessories add up on a full crawl space.
Budget ranges generally break down like this:
- DIY floor-only barrier: lowest cost, mainly materials plus your own labor
- Professional floor-only install: mid-range, covers labor, disposal of old materials, and proper sealing
- Full encapsulation (barrier, wall coverage, sealed vents, and a dehumidifier): the highest upfront cost, but it addresses humidity and structural protection comprehensively rather than partially
Statistic Callout: A floor-only barrier stops most soil-based vapor, but full encapsulation with a dehumidifier delivers the larger, sustained energy savings homeowners actually notice on utility bills.
If the full encapsulation number feels steep, phase it. Installing a quality floor barrier now, then adding wall insulation and a dehumidifier in a later budget cycle, is a practical path that still captures most of the moisture benefit immediately.
Ground-Only Barrier or Full Encapsulation?
A ground-only barrier covers exposed soil and stops most vapor emission from below. Full encapsulation extends that coverage up the foundation walls, seals vents, and typically adds a dehumidifier, turning the crawl space into a conditioned, semi-sealed part of the building envelope.
The choice usually comes down to climate and what’s living in your crawl space:
- Humid regions benefit more from sealed, encapsulated crawl spaces, since ventilating a crawl space in a humid climate can actually worsen condensation rather than dry it out
- Ductwork or HVAC equipment sitting in the crawl space makes encapsulation pay off faster, since conditioned ducts lose less energy in a sealed, dry space
- A history of mold or wood rot is a strong signal to encapsulate rather than patch with a floor barrier alone
If your crawl space is dry, ventilated adequately, and free of ductwork, a solid floor barrier alone may be enough. Everything else points toward encapsulation, even if you get there in phases.
Why Trust This Guide
Professionals in the attic, garage, and crawl space moisture field have over 25 years combined experience and many positive reviews from local homeowners. That work follows a consistent process: inspect the crawl space, correct drainage or mold issues first, install the barrier with manufacturer-compatible seam tape, document the work with photos, and back it with a written warranty.
Inspections and upfront pricing before work starts are typically provided. On jobs with visible pest activity, the team leaves an inspection gap near the foundation so termite inspectors can still do their job without disturbing the barrier.
Does a Vapor Barrier Improve Indoor Air Quality?
Yes, and the mechanism is more direct than most homeowners expect. Crawl space air doesn’t stay in the crawl space. Through a phenomenon building scientists call the “stack effect,” air rises from the lowest parts of a house up through wall cavities and floor penetrations into the living space above. If that crawl space air carries excess moisture, mold spores, or musty odors, your first-floor rooms inherit all of it.
Cutting off soil vapor at the source reduces the moisture load that feeds mold and dust mites in the crawl space, which in turn reduces what gets pulled upstairs. Homeowners who encapsulate a musty crawl space often notice the smell disappearing from upper floors within days, not because the air was directly connected but because the moisture source driving it stopped.
Energy efficiency benefits ride along with the same fix. A humid, uninsulated crawl space forces your HVAC system to work harder, especially if ductwork runs through that space and loses conditioned air to a damp environment. ENERGY STAR’s guidance on closed crawlspace design recommends pairing a full vapor barrier with sealed vents and either supply air or dehumidification, specifically because that combination stabilizes both humidity and temperature in the space above.
The connection between crawl space moisture and whole-house comfort isn’t limited to the floor level. Similar principles apply to insulation choices throughout the home, where controlling moisture at one entry point often reduces problems that would otherwise show up somewhere else in the building envelope.

An Editorial Take on Getting This Right
Most vapor barrier advice online treats thickness like it’s the whole game. It isn’t. A 20-mil membrane with sloppy seams performs worse than a well-taped 10-mil one, and I’d rather see a homeowner spend money on quality tape and proper termination than upgrade plastic thickness alone. That’s the piece the “just buy thicker plastic” advice misses.
The bigger failure I see in conventional guidance is treating encapsulation as an all-or-nothing decision. It isn’t. Phasing works. Get a solid floor barrier down correctly this year, budget for wall insulation and a dehumidifier next year if the humidity numbers still justify it. That approach gets moisture control moving now instead of stalling a project because the full encapsulation number feels too big to tackle at once.
If there’s one thing homeowners should prioritize above all else, it’s fixing standing water before anything touches the ground. A beautiful, expensive barrier installed over an active water problem does more harm than no barrier at all, because it traps moisture against your framing instead of letting it dry.
— Jim
Get Professional Help With Crawl Space Moisture
If your crawl space has standing water, visible mold, ductwork running through it, or clearance too tight to work in comfortably, that’s the point where hiring a pro saves you time, guesswork, and potential rework. Basement and crawl space insulation, moisture and mold remediation, air sealing, and dehumidifier installation are often handled as connected parts of one job to simplify the process.
Before you call for a quote, have a few details ready: the approximate square footage of your crawl space, photos of any standing water or damage, whether HVAC equipment or ductwork runs through the space, and any known mold or pest history. That information lets an inspector give you an accurate assessment on the first visit rather than a rough guess.
Projects often include upfront pricing and a written warranty, with inspections available across the service region. Check out the basement and crawl space insulation services page to see what’s included and request an inspection.
Sources
- Unvented insulated crawlspaces | Building America Solution Center (PNNL/BASC)
- Moisture control guidance | U.S. EPA
- Designing closed crawlspaces | ENERGY STAR
- Insulationrvalues
- Crawl Space Vapor Barriers: Thickness, Types & Installation (Crawlspace Energy Institute)